Transcripts
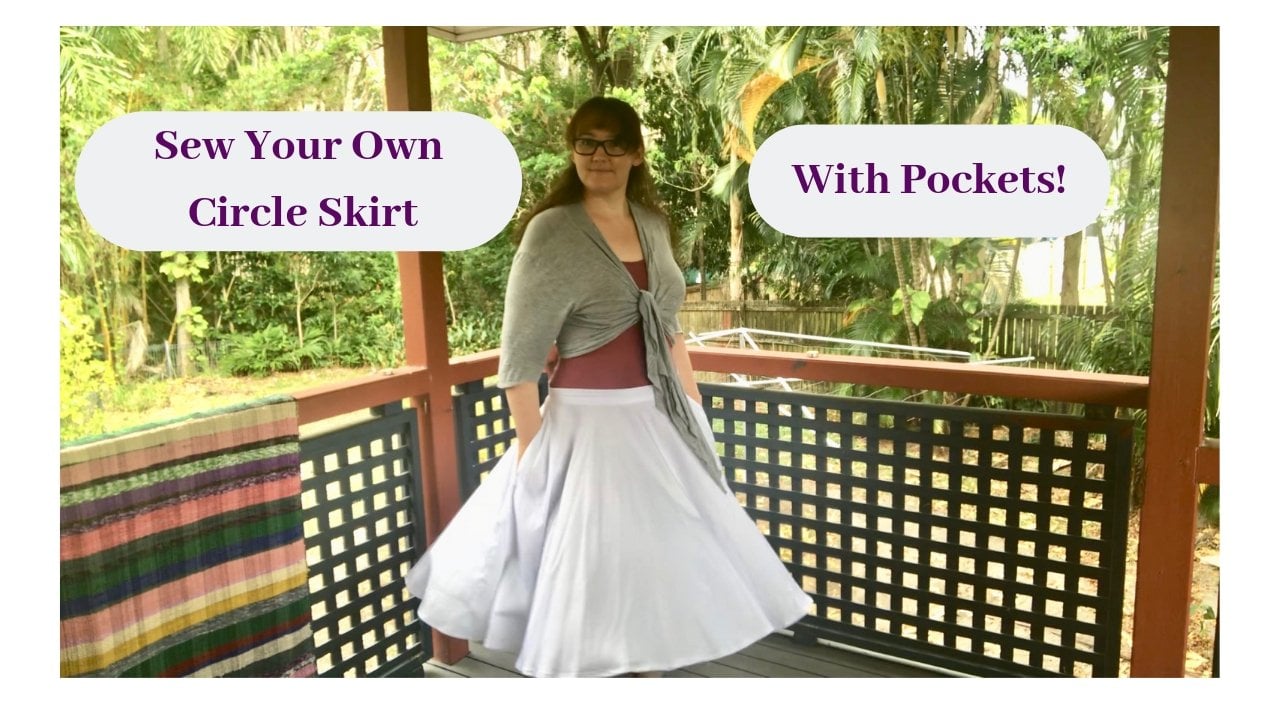
1. Intro : Hello, my name is Melissa Jane and I am a dress maker and a designer, and I find it offensive that women's clothing do not have any decent pockets anymore. What do women want? When do we want them? They go. So I've decided to create this course to show you the three most common pockets that can be used in any government these days. This is called the patch pocket. It can be made into multiple shapes and sizes, but I've also shown you how to do it in using calico so that you can adapt this onto any kind of damage that you have. There is also the in-sync pockets. This is the one that you can put into any seem of your garments. Just like it. And you won't even see it from the outside. But one of the most common pockets that I have found lately is the faux Jane's pocket. This particular one, I thought this was an actual pocket when I first bought these genes and I thought they were just toboggan. But no, it did not have any pockets at all. So I've decided to fix that. Now. I have a usable pair of jeans with pockets. So along with this course of also included some patents for pockets that you can use in your own clothing. Just download them, follow the instructions on the patents themselves, and they got you have your very own pockets. So I hope you enjoyed this course on pockets because it's a bad time. We have pockets back in women's clothing again.
2. The Patch Pocket: Alright, let's start off on the easiest pocket patent. All we need is a piece of paper. Now this is a piece of a full paper, not us letter. If a you are using a US letter is going to be slightly bigger. What you needed to fold it in half like this. And over again. Once you get a metal ruler for a nice clean cut. But I'm just being lazy. So now what we have is just a regular rectangular piece. And what we're going to do, we're going to fold this top section down here. This in particular is two centimeters. And then we're gonna fold it over again, exactly two centimeters. There we go. You have the basics of a pocket pattern, including seam allowances. So this one here is going to be a little bit bigger than what you would normally find. But look, I'm gonna fail big hand, but there we go. Good pocket size and we have about a centimeter of seam allowance around it. One thing you can do is that you can round this edge off as well if you don't want to fold the edges of the faunal pocket and tops digit down, you can round it and I'll show you how to do that here and I'll show you how to stitch that in place so that it's nice and neat. So you have your top stitched pocket pattern, including your seam allowances. So this is a same lands that is the same amount and you have a same allowance going all the way around here. No, way along there. There we go. So what we're gonna do here is when you put in all of your seam allowances, it's always best to measure it out, but at the same time, I'm just gonna wing it. So in this situation, we're going to cut out the fabric that we're going to be making the pocket out off. And I am just going to be using plain old Calico. So you can see the difference. We now have a patent and bees and fabric. In your situation, you'll need to make sure that you can actually stitch your pocket patent paste onto your garment. In whatever situation that is. It can either be a pair of jeans, it can be a bag, it can be a jacket, anything. So all situations are slightly different, but I'm gonna show you how to stitch this particular one onto some fabric finding to prepare this party first, first thing I'm going to do is I'm going to do a little running stitch all the way along here. You start off with the same layout here first. So this plot here is folded in before you fall this pot He down. Let's do this. And I'm just going to start it about halfway down inside the same allowance. I don't want this to be seen on the outside. Now, you can do this with your machine if you like, but I'm just going to show you as much of it by hand as possible. So with this stage, it's literally just going in and out, in and out, and just letting it gather up onto the needle. So now what we do is you can see here it's already trying to fold over slightly because this is exactly what we need. We need this to do this. There we go. There's gonna be a couple little gathers along here. But this is exactly what we needed to do. We need this tension so that we can fold this over and have a nice crisp edge. Okay, and I use this part here to make that nice and time. Here we go. Just like that. You just fold it down and the next step is to use your iron. Yes, you will need to iron this to keep it in place. If you don't have one, you can give it just a good press down and then pin it into place. It is going to be a little bit more fiddling to do it that way because the fabric is always going to want to sit back in its original position again. And it can be done. It can be done just a little bit more knowing that way there we go. And there we go. And that way on the outside, we just need to bring that in, press it down. And on the outside we have a nice crisp edge, just like that. Maybe going. And the next step will be to follow that down and fold that part there down. An ion that in place as well. And you have a pocket ready to be top stitch down. Here is our pocket pin. I have folded over the top section here like that and I'm gonna top stitch it now. Top stitching means that you are stitching from the right side of the fabric. So what you see on the top here is what is going to be stitched. So I know that what I'm doing isn't black threads so that you can see it easily. Otherwise, normally you would be stitching it in the same color or even a contrast if you want, it's completely up to you. Okay, so they began thompson. Now, an industrial machine might this one here. It works the same way as a domestic machine, just with only a straight stitch. So you can do the exact same thing on a domestic machine. Easily die. Now, let's put this onto fabric. Now. I'm just going to be putting it onto this particular piece of fabric to show you how to top stitch it down. But in your particular situation, when you place it onto whatever you want to put the pocket onto. And you just have to make sure that you aren't stitching through every single layer of fabric back in front and you have it. You have the correct needle needed for that particular fabric. Like if you're using jeans, you have to make sure that you are using a particular genes type sewing machine needle, one that you know for effect can actually get through the fabric without tearing it. So a gene's Natal will need about an 80, or think it's 14 or 16. And it really depends on the sizing of a, it should say genes on a, depending on what brand you have. So make sure you have the correct needle that can actually handle going through multiple layers of a thick of fabric. Or if you're using a much thinner fabric, you have to make sure that you have a, a needle that has a lower number on it, sorry, below the number on the natal definitive fabric. Now I have got is top switch down. But the process I'm going to be doing is this way. And I start right at that stitch line there. And I'm going to, so you can say this. So you can see this is the top section here. I'm gonna say from here down to this point here, across and then starts to strike down. That way. This reinforces this top corner here to make sure it doesn't start coming loose. It's the best way to make sure that you don't have pocket flux opened by n. And then I'll do the same thing over here. Let me show you. And you do try to stitch as close to the edge of the fabric is possible. We go substitute in place. And as you are going around the corner like this, do a couple of stitches around. Whoops, DID that. Do not Steve, over your pins at the very, very bad idea. I've had many pins break on me in the past when I've accidentally caught them underneath my, my sewing machine later. And I'm very glad that I actually wear glasses because I've had quite a few of them hit me in the eyes before. So I'm going from personal experience here, please do not stitch over your needles and your pins. So you line up this little point right here till feedback stitches and then cut it off a fully top-secret pocket and you can have them whatever size you want. And that's not very neat. But at the same time, this will give you the opportunity to make your own pocket patents. And you can shape it whichever way you want, like in a pair of jeans, how it's got the V shape at the bottom here. All you have to do is just cut it off around the edge to the same technique with a running stitch along and then just pull in all the corners. That's all you have to do. So let's do some other pockets. Shall we?
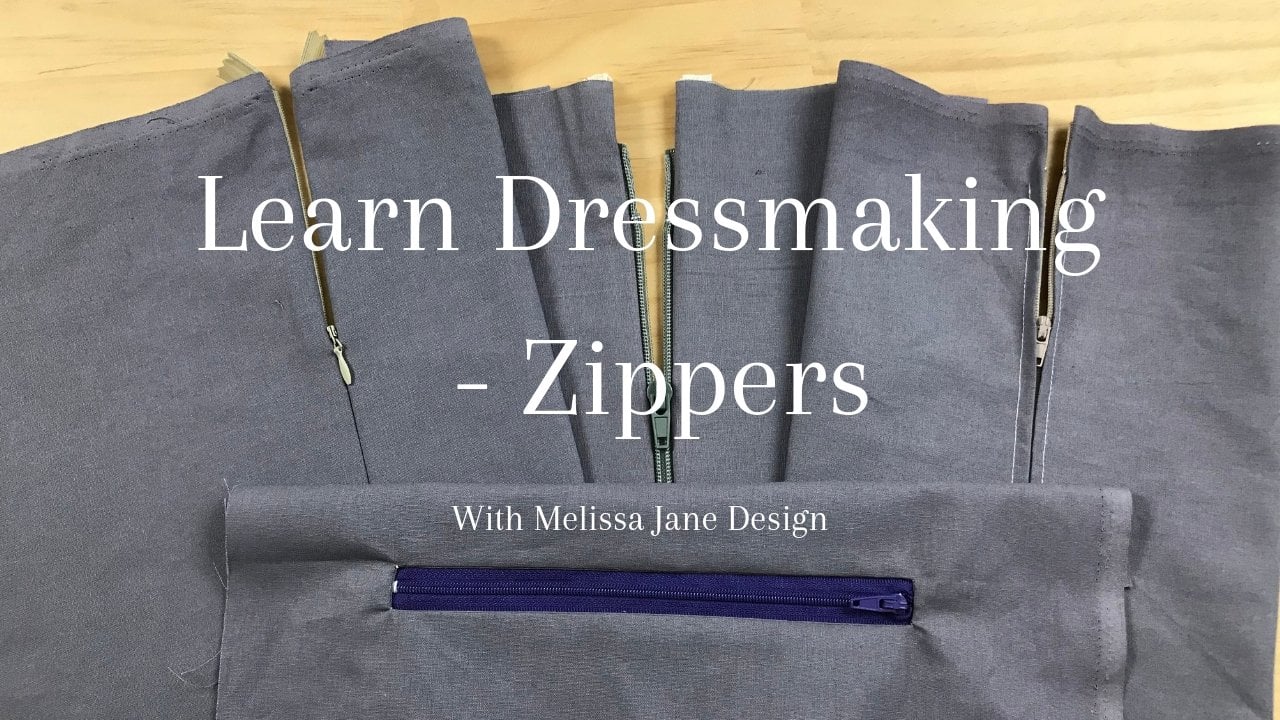
3. The In-Seam Pocket: We've done the top stitched pocket. You've got the patent pays for it. You can always make it bigger or smaller. Doing it this way just means it's a little bit easier. That's done. But what happens if you have a seam running down here that you want to put a pocket into. Very, very similar when it comes to skirt that have a side, same pants that have a side same dresses, jackets, things like that. If it has a side same, you can put a pocket in it. Right? Now, most of these types of sames will have an over stitched like a surged edge. Ok, so I'm going to show you the best way to unpick this. Get yourself a decent unpicking. This one here isn't my greatest. If you get one that's got a good ergonomic handle on, it makes life so much easier. Now, here's a little trick for you. Are only unpick. The same lines that's going along here, okay? Don't unpick the ones that are going or evolve. So you need the natal threads to be caught, not the loop or threads like this. It all just unravels like that. And we've gotten, so leave that in place. So this is another patent pace that I actually created for an old-school Scotia calls, where I made a custom scope with pockets in it. But I'm also going to be including a patent piece that you can print out full discourse. Make a little bit easier. So what I'm going to be doing, so I'm going to be adjusting the size and shape of this one to fit it into here. Because this is a really, really big pat, patent pays its a really big pocket. It does include a one centimeter same alleles all the way around so that you can institute in place. But it fits my whole hand and it's really, really big, something like this, just a little bit smaller. I'm just doing this by I. So I'm gonna go right the way around. Being extremely technical. And make sure I keep that one centimeter seam allowance there. Because up until that point, that's going to be where the same line is. So I'm going to trim this one then it will still have the one centimeters seam allowance, but make it just a little bit more comfortable depending on what kind of gum and this is going to go into and what kind of fabric it needs to be made off as well. So this is all very technical, isn't it? If you want to be technical about it, you definitely can. And honestly, if you can fit your hand in, it means that you can fit other things into it, like essentials and bullets or fine or Taser. Whatever flux you but maybe good. Alright. This, lets say I want to put this right here. You wanna make sure that wherever you place this pocket, it's going to sit comfortably on your hips so you measure exactly where it feels comfortable on your body in order to put your hands. Sorry, I'm going to go. Now if anybody's curious, this is a friction pen. It will, the ink on this will disappear and the heat. So just be careful about them. It means that I can draw on fabric in any way I want. And I know that if I want to remove the markings in any way, I will just put an iron ivory and all is well, I leave that the same amounts will be right here and here. So this quantity here is with the same allowance will be. So I know that I have to give this enough space to put the similarity. And so I'm going to go about here to about there. That will give me enough space. If I unpick all of this, it's going to give me enough space to insert this pocket and for maneuverability so I can stitch it in place. Now. So I'm going to unpack that. And let's cut this out. Always make sure that you are following along the grain line of the fabric for this one, make sure that it will hold itself nice and comfortably. So I would like to do just put the edge of cut and paste right there. Sorry, I did that one wrong. A little habit that I have is I put the point of each of my pins into the corners there. That way it holds the corners down flat and tight. And I'm not going to have any light lifting on the corners and the edges. And here's a little trick from address maker. Make sure that your patent case is to the outside of whatever hand you're cutting with. So if you cut with your with your left hand, make sure that the patent pace is that side because I have found that it gives a much smoother cut all the way around. So if this being on my right in my right hand in on my right-hand side. And obviously you would cut out as many as you need. For this one. I just needed the two. All right. Let's turn to unpick this thing showing okay, so what we've got so far, we have IT pieces here. We have this completely unpicked and open. There is two sine t because it wrong the first time. You don't need that. So what we need to do here. Is we need to openness. Then put this one in exact position that it needs to go in. So this is the outside of the Garmin, right? This is the outside. So you make sure, especially if you have fabric for your pocket, you need to make sure that the right side of the pockets of the outsides of the nice pretty side of the print. Whatever you've got on here is facing towards the outside of the fabric. So you have the right side, the fabric to the right side of the pocket. Okay. Good. Good. Alright, so that's the, that's the closest. Okay, now we're going to pin this one into place. Like so. So what I'm gonna do here is I'm just going to slightly move this out of the way, stitch this along the line here, and then finish it off with an oval lockout or is exact stage depending on if you don't have an eval logo slash search or whatever you wanna call it. If you don't have one, just put a zigzags ditch all the way along the edge there and it'll stop it from frame. Then once you've stopped that and finish that side of you going to do the exact same thing on the other side. Like so. And that's going to be stitched in place like that. Ok. So we have both of the pocket pieces on the inside here like that. Because we did this in this way. Because what we need to do now is to flip these two. The inside, like so like that. And we want the seam allowances to be on the inside of the garment. And we have a nice smooth transition from the outside of the government into the pockets. So what we need to do here is we need to make sure that we line up both of these pockets and the stitch lines right here. And we are going to stitch a line from this point about up here, down to about a centimeter passed with the part here is so we are going to be following the same stitch lines. We're going to double back then. So backstage here and then turn it around with the natal still in the in February. And I go along this way and go all way around here. And then stop it here, backstage here, and then go down and made it along here. And we are essentially going to just be stitching this pocket directly into place. And then we're going to go around here without the oval lockup or the zig zag stitch. Your choice. So let's get it done. So I'd left it to the, there's a little bit of space here because this is a cut piece of thread. And I wanna make sure I'm going to hold this in place and that's not going to unravel. So here we go. We're just going to start the stitching from up the top here. Make sure that this is all mine and I can feel with my fingers exactly where both of the layers of the pocket is. And I'm going to stitch it down to about this point here. That is about a centimeter from the edge of the fabric of the pocket. And now I'm going to just exhibition a few stitches and leave the needle in place. You can do the same thing on the domestic machine. You just have to use the hand crank. So technical. And we're going now, you can put pins all the way around the pocket here. But because this is such thick fabric and it's sticking to itself very, very well. I don't want to, and I don't need to. You are using very slippery fabric. Listen here is not so prefabricate holding onto itself quite well out suggests using pins all the way around to hold both of the patent pieces together while you're stitching. But because this is calico, it holds itself together quite well. And let me show you a little bit about what I'm doing here. I see a hand here and I'm not pushing it anyway. I'm just slowly guiding it around the curve. Yeah, this is a much sharper curve here. So I'm gonna get to a point. I'm going to place bring their boats is keep neighboring it around. Okay. I'm just gonna make sure that both of the same announcers are pointing towards the pocket. We're going nice and straight into moving to closer. This guy Damocles digits to hold things in place. Name, criminal. And now we're going to say now, because it's been stitched up nicely, is one handed. C. And if I wasn't doing it one handed, I could make it so that the seams would match perfectly together. But then it's one-handed. Maybe go. And now you have a pocket that fits quite nicely like that. Next thing to do would be to just finish off all around the edge here, all the way back down to here. And you have a in same pocket. So here's a little tip for you. When you are overlooking, also urging, make sure that you put the blade down. Otherwise, you get this problem because the blade is much further forward than what the needle is. So when you are searching down here, make sure you have the blade down. You get the natal to ride on this corner point. You make sure the needle is in. You lift up the foot, twisted around and then you keep going. But if you don't have the blade down, it's going to cut into it a lot further than what you want. Like I did here. I made sure that the blade was down. I brought the needle all the way to this point, twisted around, and then I just kept going. So ignoring this part here because I just wanted to show you what would happen if you let the blade up when you want to go around corners while you're overlooking. But this, if you just press that down, you might even be able to tell that there is a pocket there.
4. Add Hip Pockets to Jeans!: The genes in this situation here, where there is no pocket at all, but there is the stitch line and to put a pumpkin, so this is just called a faux pocket. We need to be able to create a pocket piece to go inside here. So you have the pocket facing, which is this section here. Plus you have the little section here, which is the lip. Now we need to be able to create a fabric pace for the pocket on the inside. Now I have created a patent pace for this, but I'm going to show you how to measure out exactly what you want. Because depending on the size and shape of your particular garment, you need to make sure that you cut out the fabric exactly along the same angle as this point right here for both sides. And then you need to unpick them. So I've completely unpicked these. And let's show you from the inside. So you can see on the inside here, this is where it hasn't been unpicked right there. But I've unpacked this one to show you what I need to do. So I need to create a pocket that goes about five centimeters beyond this point right here. So the pocket will go all the way along here down to this point right here. And it will attach, the front section will attach onto here, and the back section will attach onto here. And then when it's all done, I will stitch it right back along here. I had to open up this entire part of the waist band because I needed to make sure that the top of the pocket here will be able to be stitched into this point up here. And I needed this free so I can stitch the back of the pocket onto this point right here. This is the patent pace that I created for this particular pocket, but I'm honestly think this is going to be a little bit too big because even though I've got quite big hands, but this I need to make sure that my hand is going to be able to fit in here. But look at that, that is a lot of space here. But you also have to remember that these are fairly tight fitting pants and I need to make sure it's not going to impede on my movement or maybe being able to sit down. So if I have anything too big in here, it's not gonna be able to bend as I'm sitting down because it is right on that point where I need to be able to move. So we've got the crunch line here. We've got the left point, which is this point right here. Now, the tighter these parents are, it usually means that they don't have pockets because they want to be very tight fitting. So this is a junction point where this needs to be able to move. And if I've got a pocket, these big, it's not gonna be a functional Pocket. Yes, I'm audio to fit my hands in there, but it's just too big. So I'm going to actually cut this down to be, let's say about here. There and cut it down to this point along the sides. And then I'll cut it down to about there so that my hand can sort of fit comfortably in it. And I'll add the extra seam allowances. Along here. Okay. Now, with this angle right here, all I did was I laid this down flat. Okay, I lay this down flat. And I put the piece of paper over the top of an untrue along this line here, exactly what the angle was. So I drew it right there along the angle. And I made sure that the top section that was going to go inside the waist band was halfway in between where it is pocket began right here and where my zippers, and that seems to be a fairly good spot. Now, this is going to cause a little bit of a problem, especially when I stitch it back down again. So when I am stitching this back down again, I'm going to stitch it down along here, move this out of the way as much as I can. And then I'm gonna live my Datalab, go over the top of this, move it out of the way, and then stitched this back down again. So hopefully I won't miss too many stitches and I'll just have to move this around a little bit. And this is what happens when I realized that I actually made the curve on this pocket pattern on the wrong side. So the straight edge has to be from the bottom of the pocket along the side seems. So. This is just making very, very grateful that I'd actually made this entire poker pattern using my friction pen so I could just erase aligns really easily. So this side where I'm now putting the curve is the side that points towards the zipper. And the other side has to be where the straight edge is to get stitched into the seam allowance on the side seem so, yeah, this is all very technical. But at the same time, I will be needing this up a little bit later when I upload this particular patent template into the PDF downloads. And it's also because I've drawn seam allowances so many times that I've got a pretty good I4. How big a scene lands should be. So now I'm cutting this out of Calico because I wanted this to be very easy for you to be able to see the difference between the Calico pocket and the Jains. And here we go. So the first step is I need to make sure that it is going to line up properly against where they seam allowance disease for both the genes and the pocket itself. The same lands for the James is just a little tiny bit bigger. And also because of the way that it's already been staged, it's a little bit stretched out, so I'm going to have to move, maneuver it so it works properly. There we go. It's all in place now to stitch along this line, right along here. Just like that. We turn this down a little bit later as well. So the next step is to understand. And that's so that when the pocket is on the inside, just like that, it means that it's going to sit nicely on the inside without poking out in any way. So now it is time to attach the other side of the pocket onto the front section that we've already stitched in place. So here we're going to be stitching around alone the long edge of the pocket itself and up along the straight section which is going to be attached to the side. Same. Now, you know, kinda see that attachment on the outside of the government because it is actually going to be stitched onto the seam allowance. So I'm just putting this in place to hold them both together. And I'm going to be searching all along that edge and then overlooking as well. But you can choose to zig zag stitch if you prefer. Just like that. Now here's the way it does get a little bit fiddly. We need to make sure that the seam allowance underneath here is not going to be closing to get a big lumps. So I'm just going to be trimming this down. This is the section that was under siege. So so this was the seam allowance of the section that was undistinguished. And now what I'm going to be doing here is I'm going to be pushing it up into the waste banded, pinning it in place to make sure that it is placed correctly before I attach it onto the back face XX section right here. Because we want to make sure that we're not going to be seeing the pocket from the outside. So this way, what I'm doing here is I'm pushing it down and I'm folding it down so that it is behind the front section of the pocket so that you're not gonna see it and it's going to create a very strong crease there. And that way I know that I'm going to use that as my seam line. Now here's a very good section where you have to trim the seam allowance here to make sure that he is going to be able to be maneuvered in place. And next thing you just need to do is need to pin together the right sides of the facing section, which is that little panel that we unpicked just above the waist band and then attaching it onto the back pocket. So I'm putting it in place here, making sure that I sort of maneuver it around so that it's going to be fitting properly. There we go. So now it is stitched in place. And you are not should not be able to see the lining of the pocket that I've just sit in. And we have to make sure that it is all in place. And we're going to be stitching it onto the side same and up into the baseband. You know, you can't see it because we've made sure to put it all in place properly. So it's teaching the waist band and signals. I'd seems they can't even tell you yeah, one side as appropriate, the other side does not. And now we've been able to add pockets into a pair of jeans that did not have pockets before agar. Count me to see yours.
 Andi Bowen, Dressmaker-Corsetiere-Creative Weirdo