Transcripts
1. Introduction: Welcome to this new series of snack sized acrylic
painting classes, designed to help you
grow your skills one simple subject at a time. Instead of overwhelming you
with everything at wants, each short lesson focuses on a single topic related to
painting with acrylics, so you can learn quickly, practice confidently, and build your
knowledge step by step. Throughout this
series, we'll explore essential subjects like
painting surfaces, acrylic paint types,
brushes and tools, color mixing, beginner
friendly techniques, textures, layering,
palettes, mediums, and more. Every class is designed to
be approachable, practical, and easy to fit into your day, whether you're completely
new to acrylic painting or returning
to art after a break. In this class, I'd like to introduce you to the
acrylic medium and get you started painting straightaway by taking out the guesswork when
it comes to choosing paint. Acrylics is one of the most
versatile painting mediums there is and is perfect
for beginner painters. So let's dive right in
and learn about paint. Meet me in the next
lesson to get started.
2. Class Project: O. For your class project, I'd love for you
to begin building your own acrylic
paint collection. So after taking the class, I'd like you to take a
photo of the paint you currently own or the paints you've decided to purchase
or may have already bought and upload it to
the project gallery. You can do this by clicking on the blue submit
Project button under the Projects and Resources tab on the bar below this video. Once there, you'll
be asked to give your project a title
and upload a photo. You can also write a blurb
and ask any questions there. Everyone will be able to
see your project once it's published unless you
designate it private. As you add new paints
to your collection, feel free to update your project with new photos
and observations. Watching your supplies and your confidence grow over
time is part of the fun. I'm looking forward to viewing your progress and seeing what appeals to you and seeing what's available in
your neck of the woods. If you have any questions about the acrylic medium in
general or brands and types, feel free to ask in
the student gallery or in the discussions area
found below this video. I check my messages daily, and we'll get back
to you promptly. Now, without further ado, let's talk about how to choose acrylic paint as a
beginner painter.
3. Choosing Paint Type: One of the most overwhelming
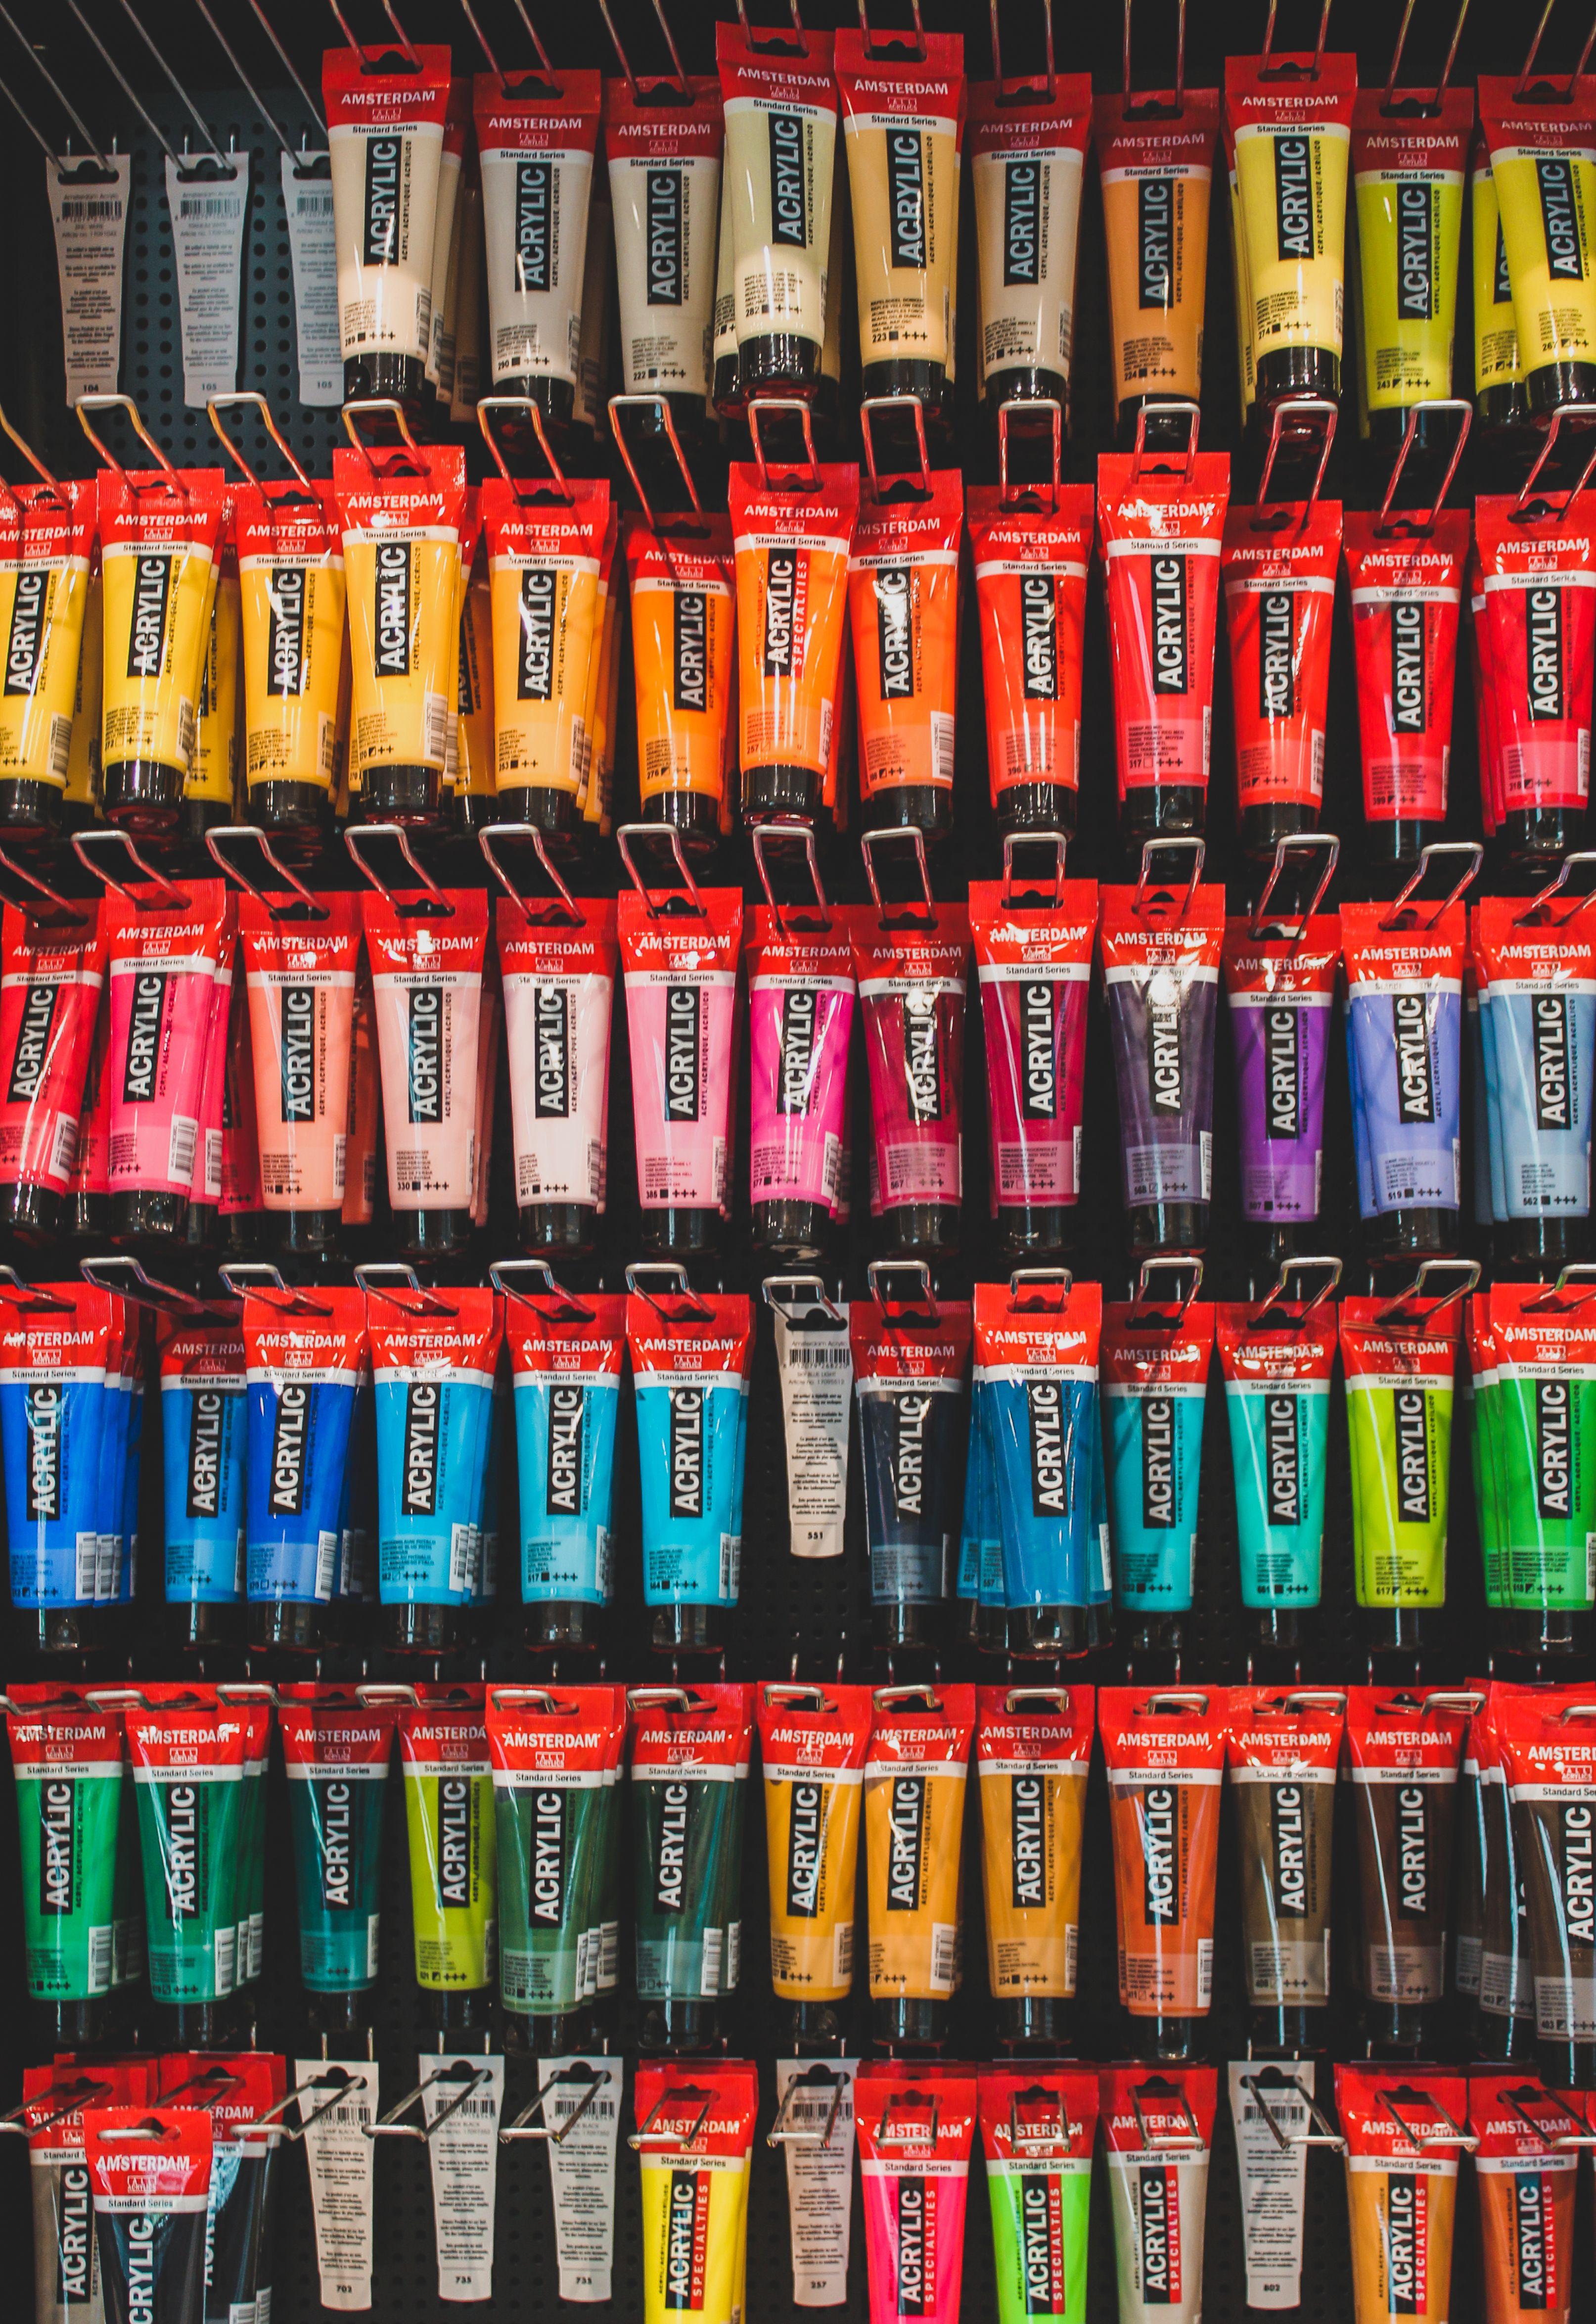
parts of starting your acrylic painting journey is standing in front of a wall
of paints and wondering, Which ones do I actually need? The good news is that you
don't need dozens of colors or the most expensive paint to begin creating
beautiful artwork. In this class, I'll
walk you through the different types of
acrylic paint available, explain who they're
best suited for, and help you make smart choices that fit your goals and budget. The aim for this class
is for you to know exactly what to look for when purchasing your first
acrylic paints. First thing you may notice
when you're shopping for acrylic paints is that they're generally divided
into two categories, student grade and artist grade. Student grade is more affordable and it's great for
practice and learning. The colors usually have
less pigment concentration, so it makes them less expensive. And the colors also may require more layers
for full coverage. In artist grade, you have
a higher pigment load. The colors are richer
and more vibrant. There's better light
fastness and durability. They're more expensive,
but they often last longer because a
little goes a long way. When you're just
getting started, student grade paints are a
wonderful place to begin. As your skills grow, you can gradually add artist grade
colors to your collection. When you hear people
say acrylic paint, they're actually talking about
a whole family of paints. Each type is designed for a different painting
style or purpose. Some are thick, can hold
breast strokes beautifully, others flow like cream or ink. Some stay wet longer and
others dry very quickly. The good news is that you don't need every type to get started. As a beginner, your goal isn't to collect a lot of paints. It's to choose one
type that helps you build strong
painting skills. Let's look at some
different paint options. I've broke them down into four main categories
heavy body acrylics, open acrylics, fluid
acrylics, and refine. Heavy body acrylics are my favorite recommendation
for beginners. They have a thick,
buttery consistency that holds brush marks and palette
knife textures beautifully. They're easy to control and mix, making them excellent for
learning color mixing, brush work, and
painting techniques. You usually find
them available in both student grade and professional or
artist grade lines. If you're buying your
very first set of paints, this is the direction
I would recommend. Think of heavy body acrylics as the classic acrylic
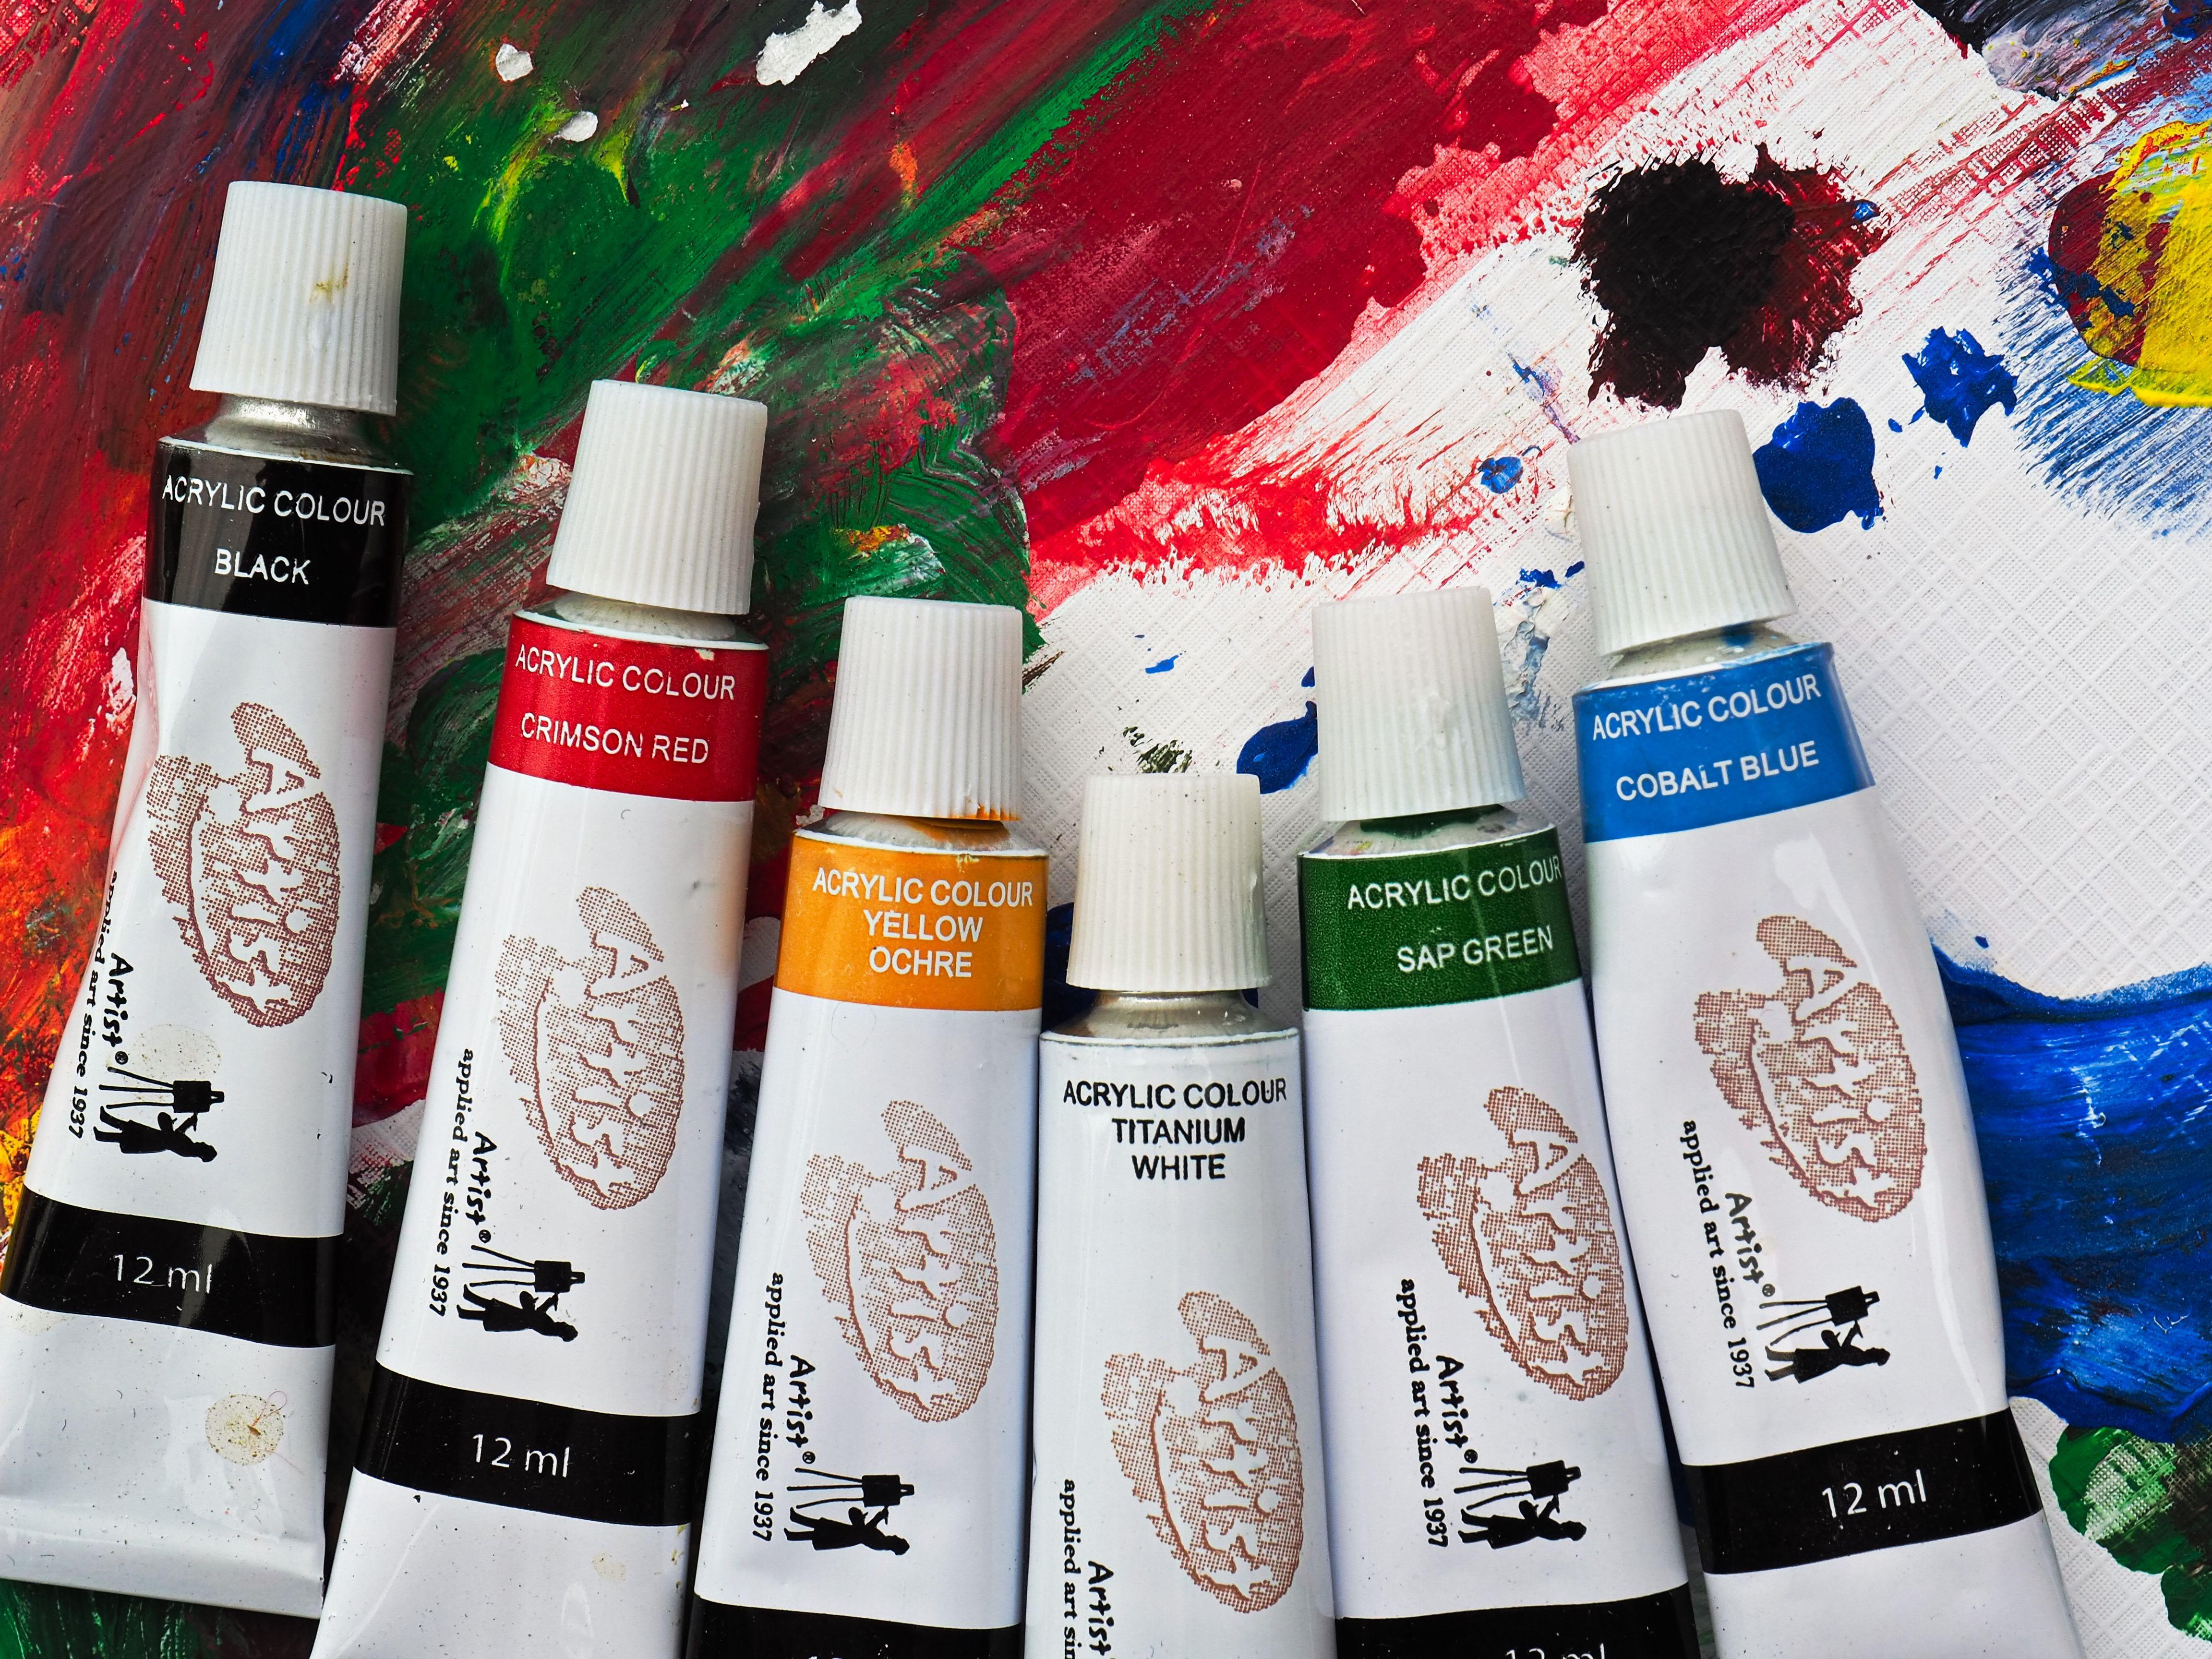
painting experience. They're usually found in tubes, either metal or
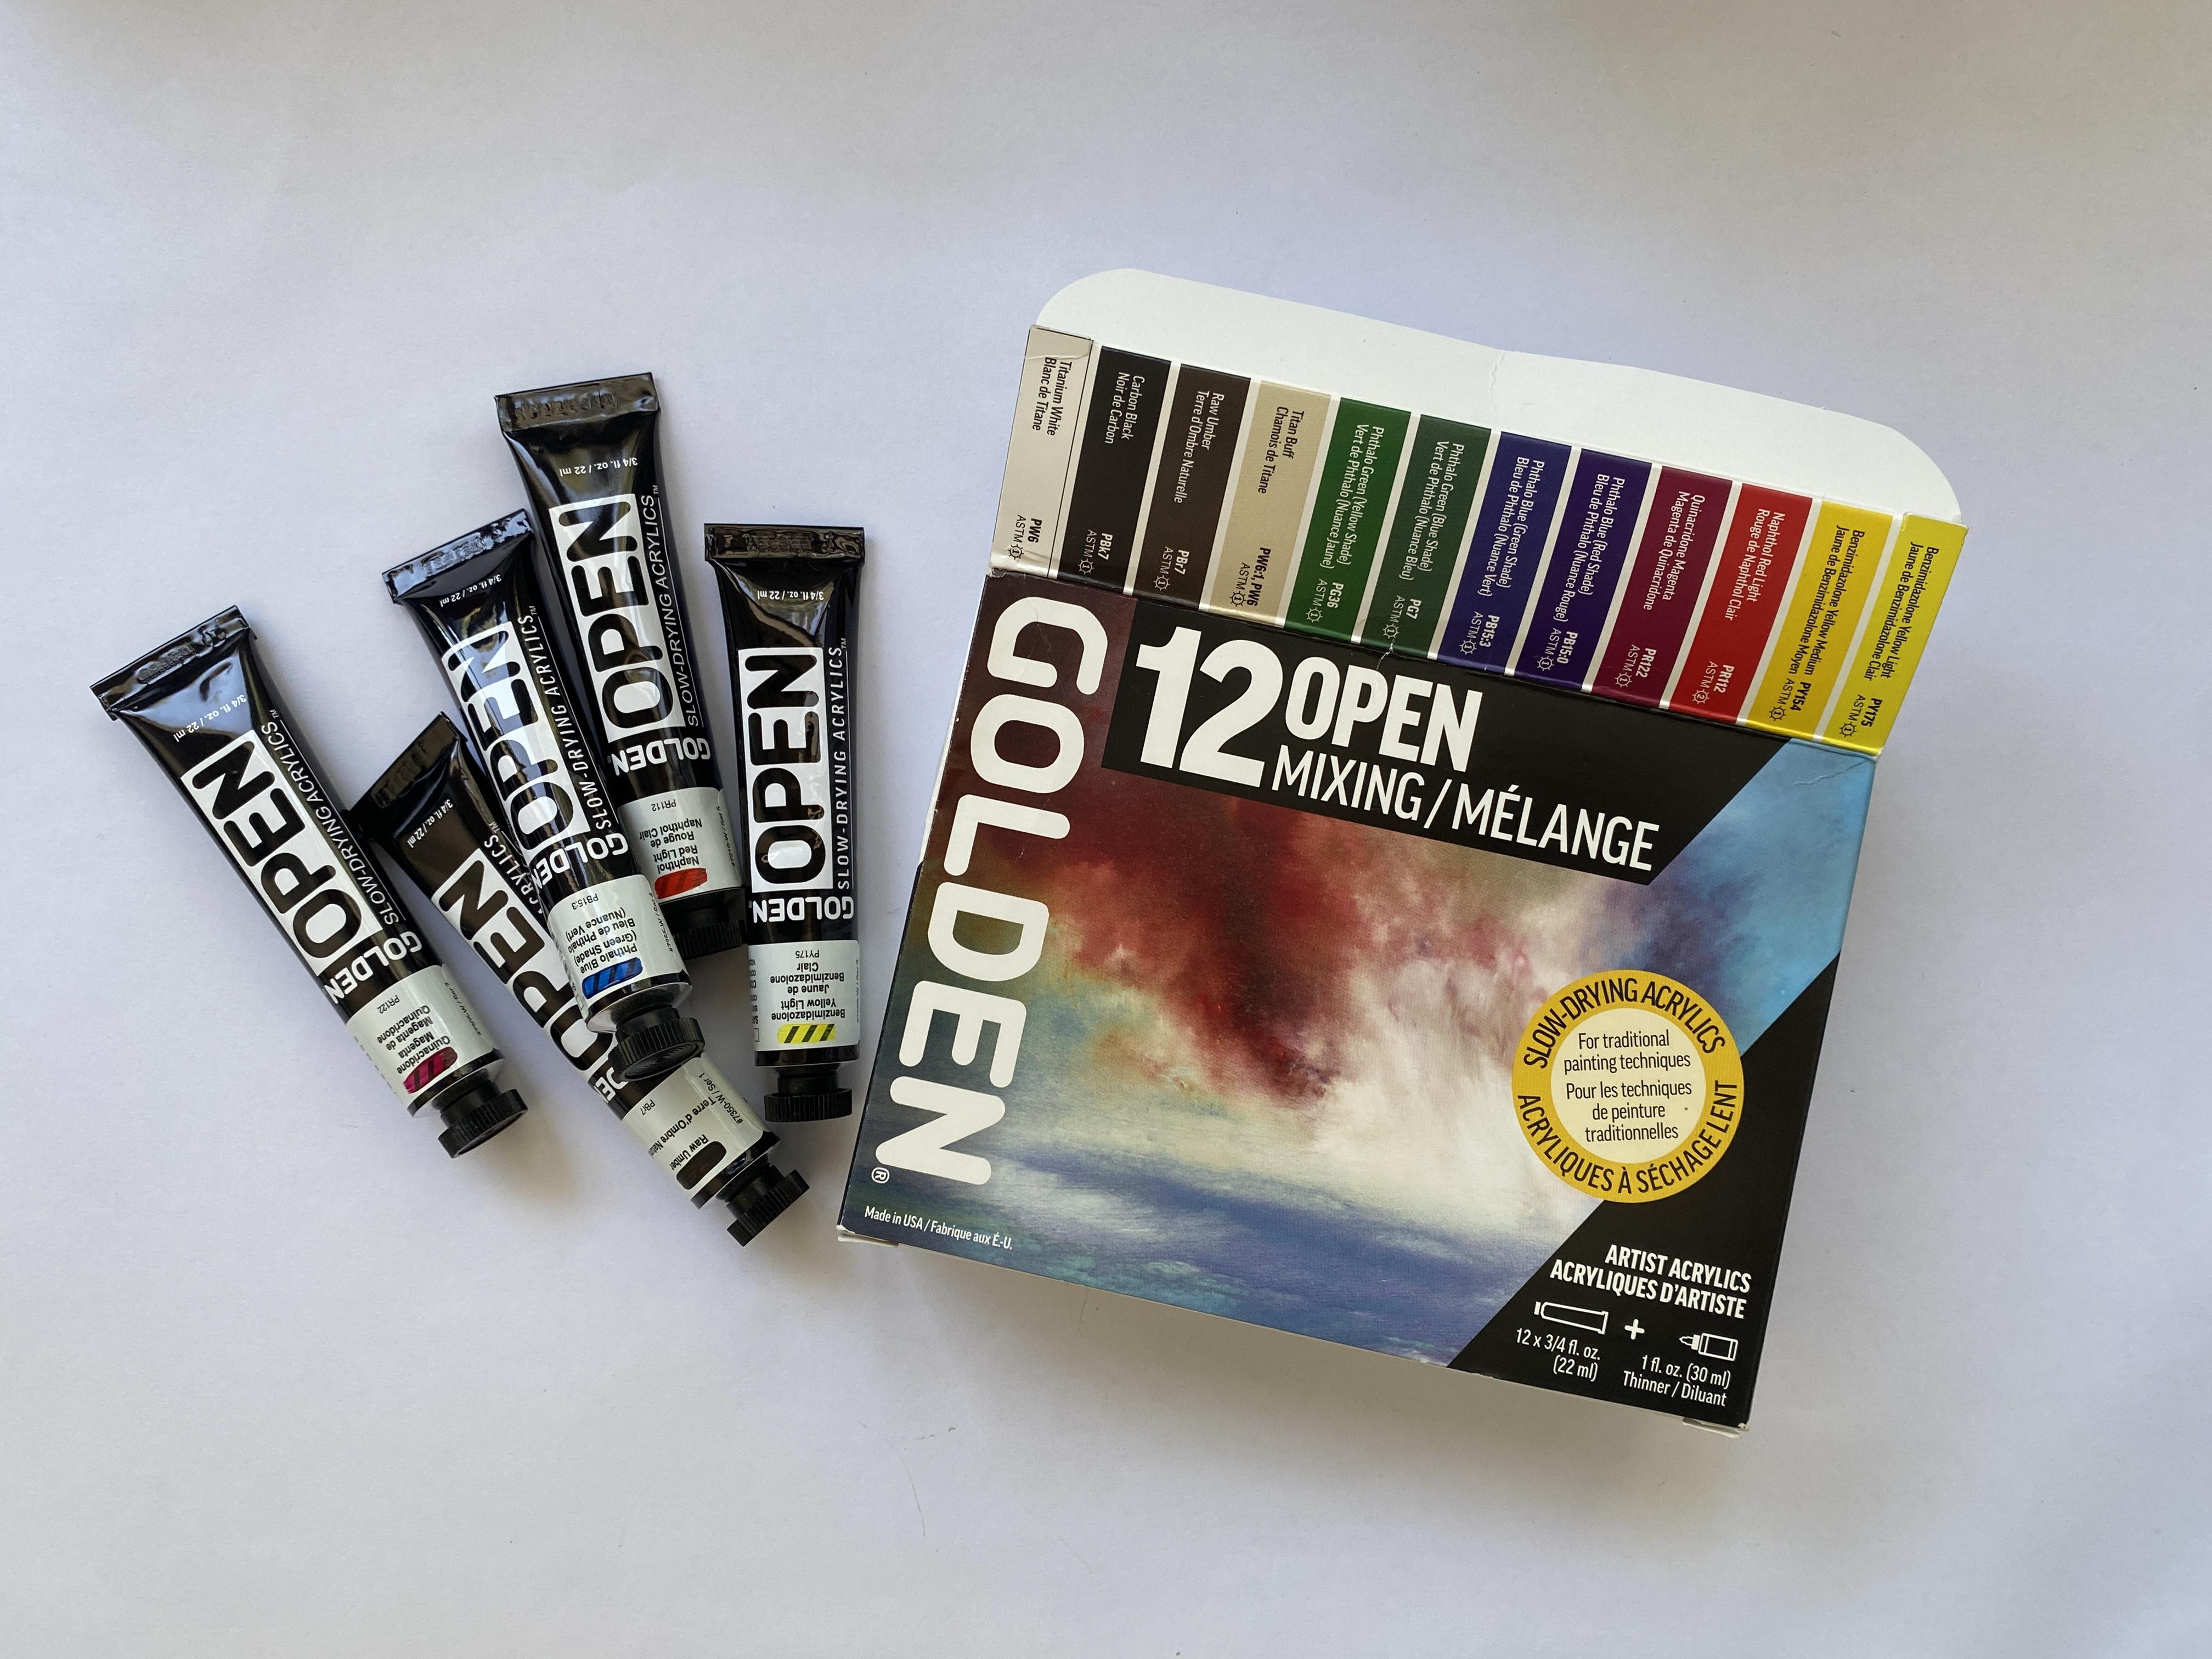
plastic tubes or jars. There's also open acrylics.
They're a little different. They're designed
to dry much more slowly than
traditional acrylics. That gives you extra time to blend colors and soften edges. If you've heard people say
acrylics dry too fast, open acrylics solve
that problem. Many people who started
with oils move to open acrylics
because they're much more like oils than
regular acrylics. And you don't need chemical
thinners and solvents. They are wonderful, but
they do cost a little more and aren't necessary
when you're just beginning. If you already know
you enjoy blending or eventually want to paint
in a more realistic style, they're worth exploring later. There's also fluid acrylics. Fluid acrylics have the
same pigment strength as heavy body paints, but
they're much thinner. Instead of thick brush strokes, they flow smoothly across
your painting surface. They're wonderful for
smooth painting, glazing, pouring techniques, fine
details, and mixed media. They're a fantastic addition
to your collection later on, but they aren't essential for
your first set of paints. Liquid acrylics are very similar to the
watercolor medium, except fluid acrylics
are permanent when dry and they cannot be
reactivated or reworked. Lastly, I want to
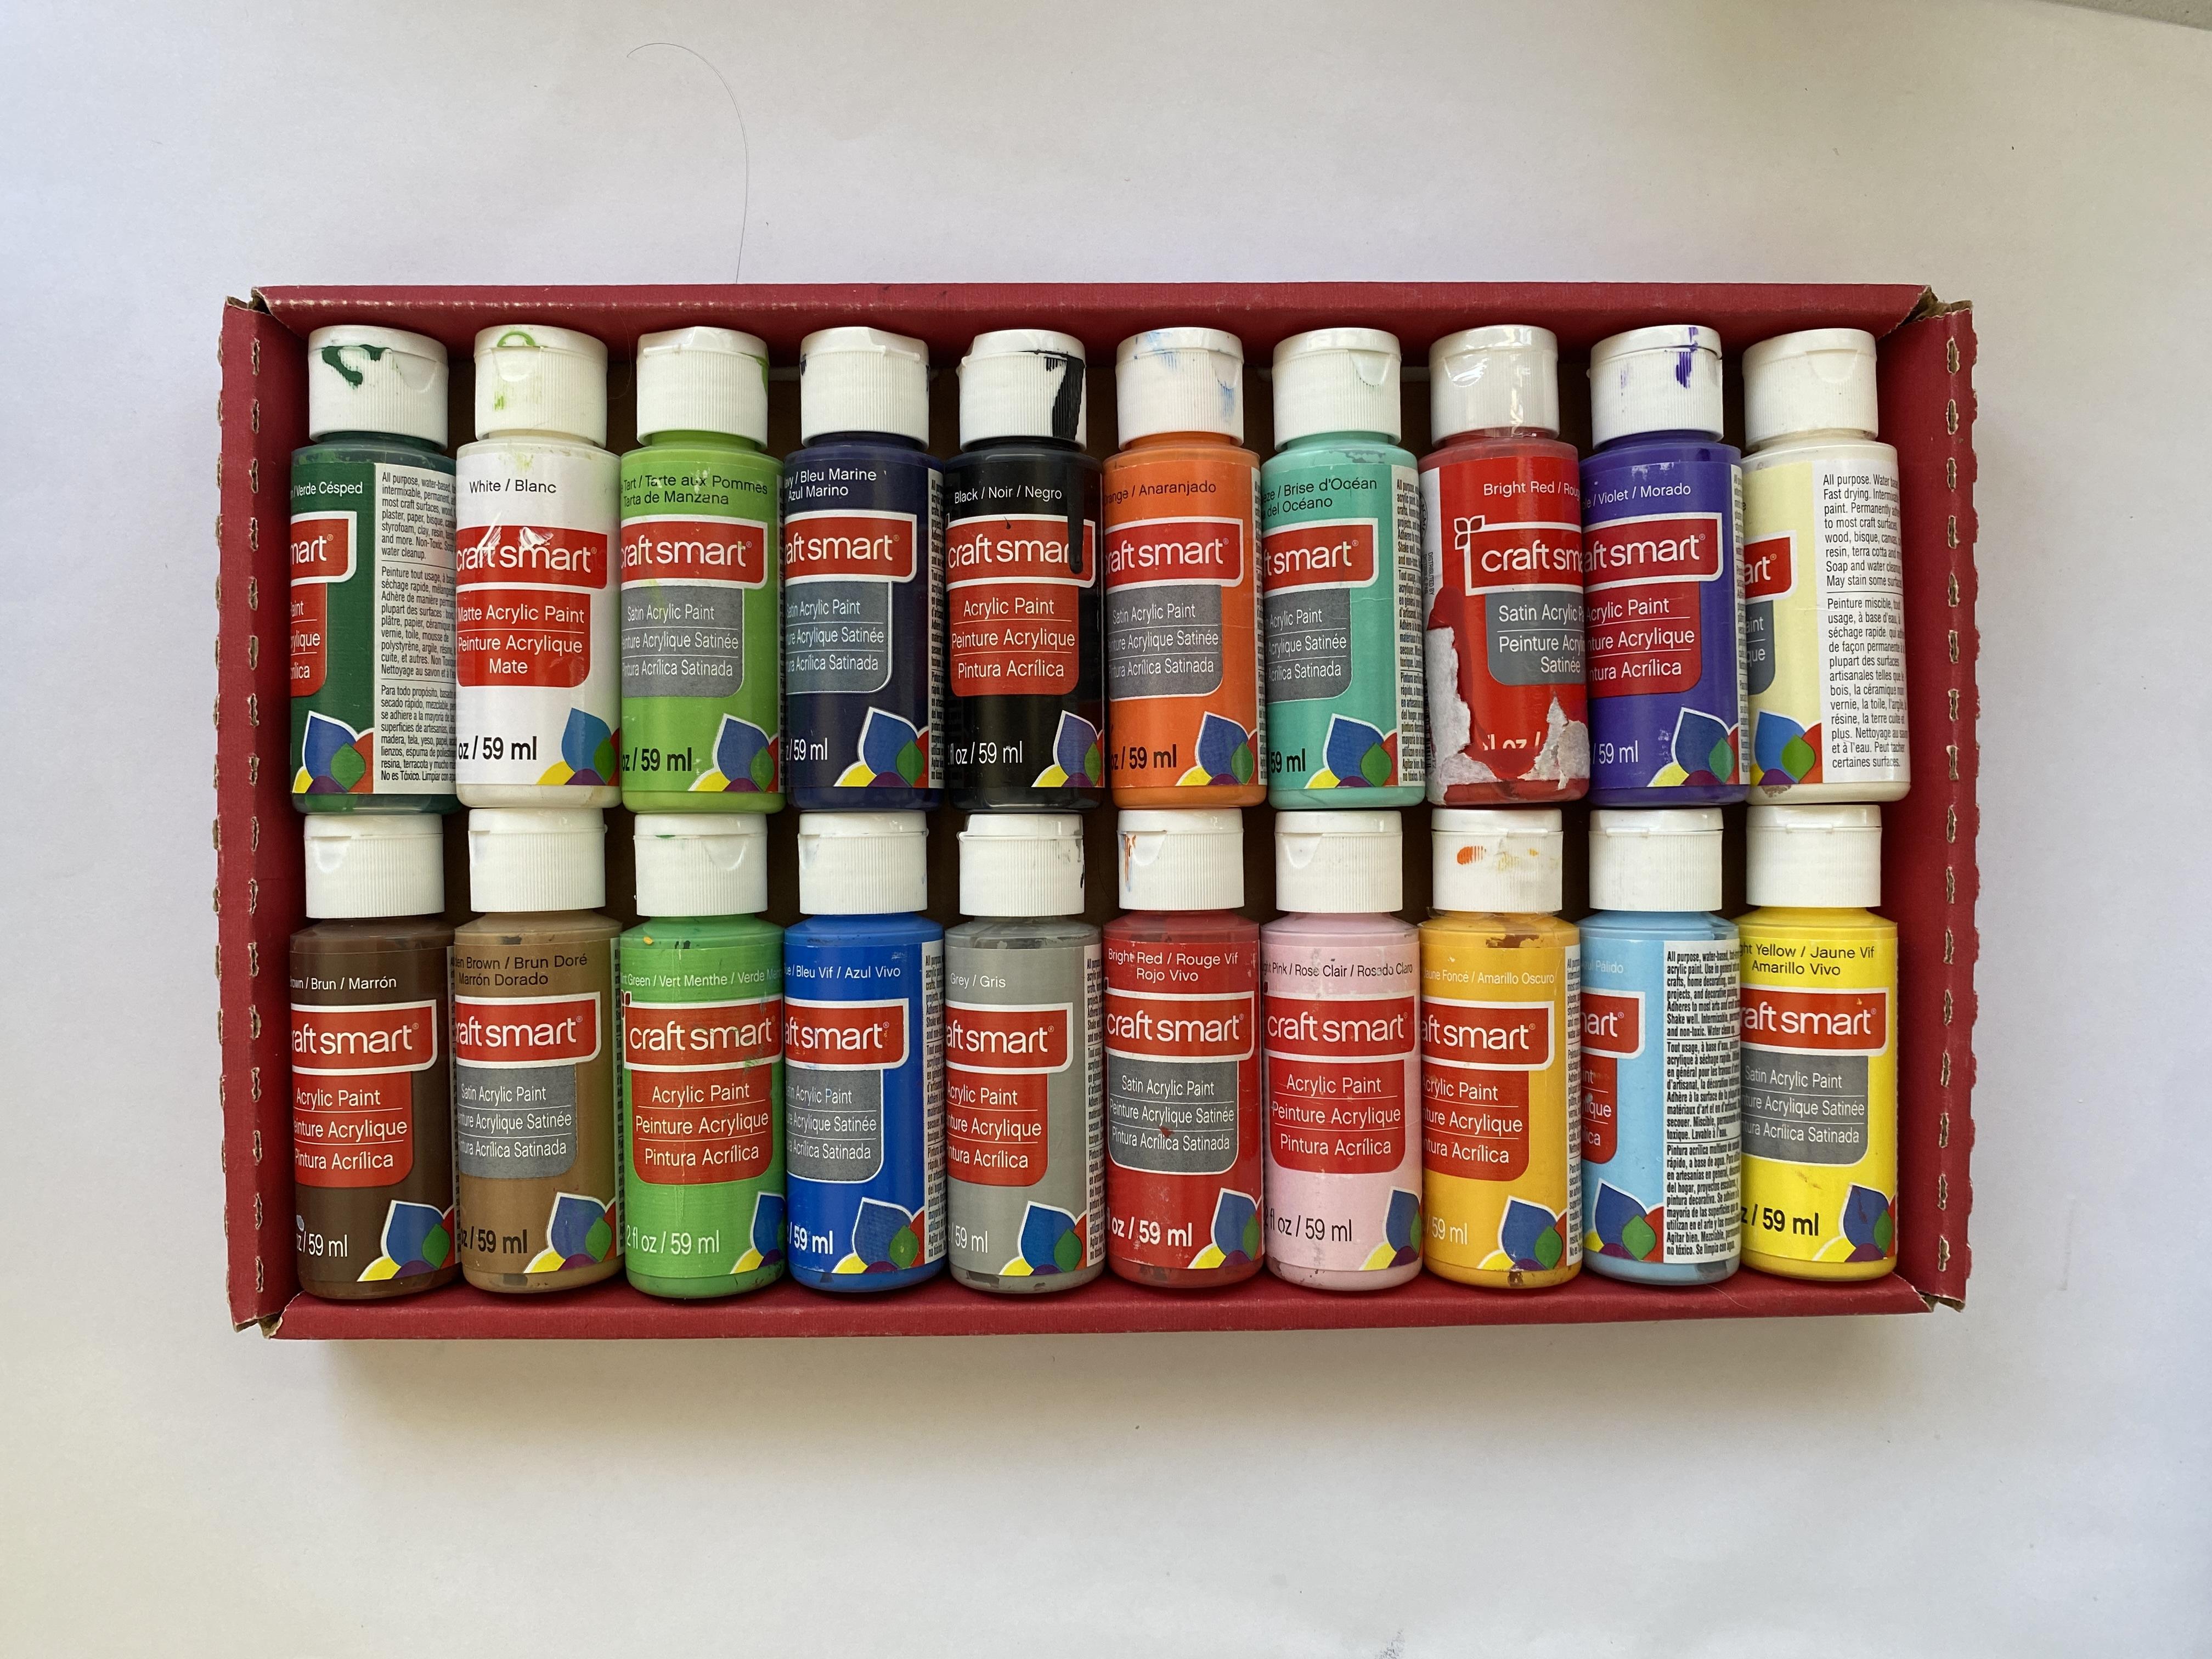
mention craft paints. I use a lot of craft
paint in my projects. Craft paints are inexpensive
and easy to find, and they're perfect for
decorative painting, signs, ornaments, home decor projects,
and children's crafts. However, they're
usually made with less pigment than
artist acrylics, which means color mixing and painting techniques can
be more challenging. If your goal is to learn
fine art painting, I recommend investing in student grade artist
acrylics instead. You'll likely have a more
enjoyable learning experience. That being said, all
the projects you see here were created
with craft paints. So do not feel like
you have to purchase the best paints to get started
in your painting journey. In the next section,
I'll narrow down colors and brands to
choose. See you there.
4. Colors and Brands?: In the last section,
I recommended heavy body acrylics for
the very beginner painter. And with that in mind,
I'd like to also suggest which colors and
brands to start with. There's a vast array of heavy body acrylic
brands and colors, but you only need to be given a few colors from a good brand. Let's start with colors. My recommendation is to buy
a starter set or mixing set. These sets have only
the very basic colors you need for mixing, so you'll learn color theory. Many paint companies make sets for professionals
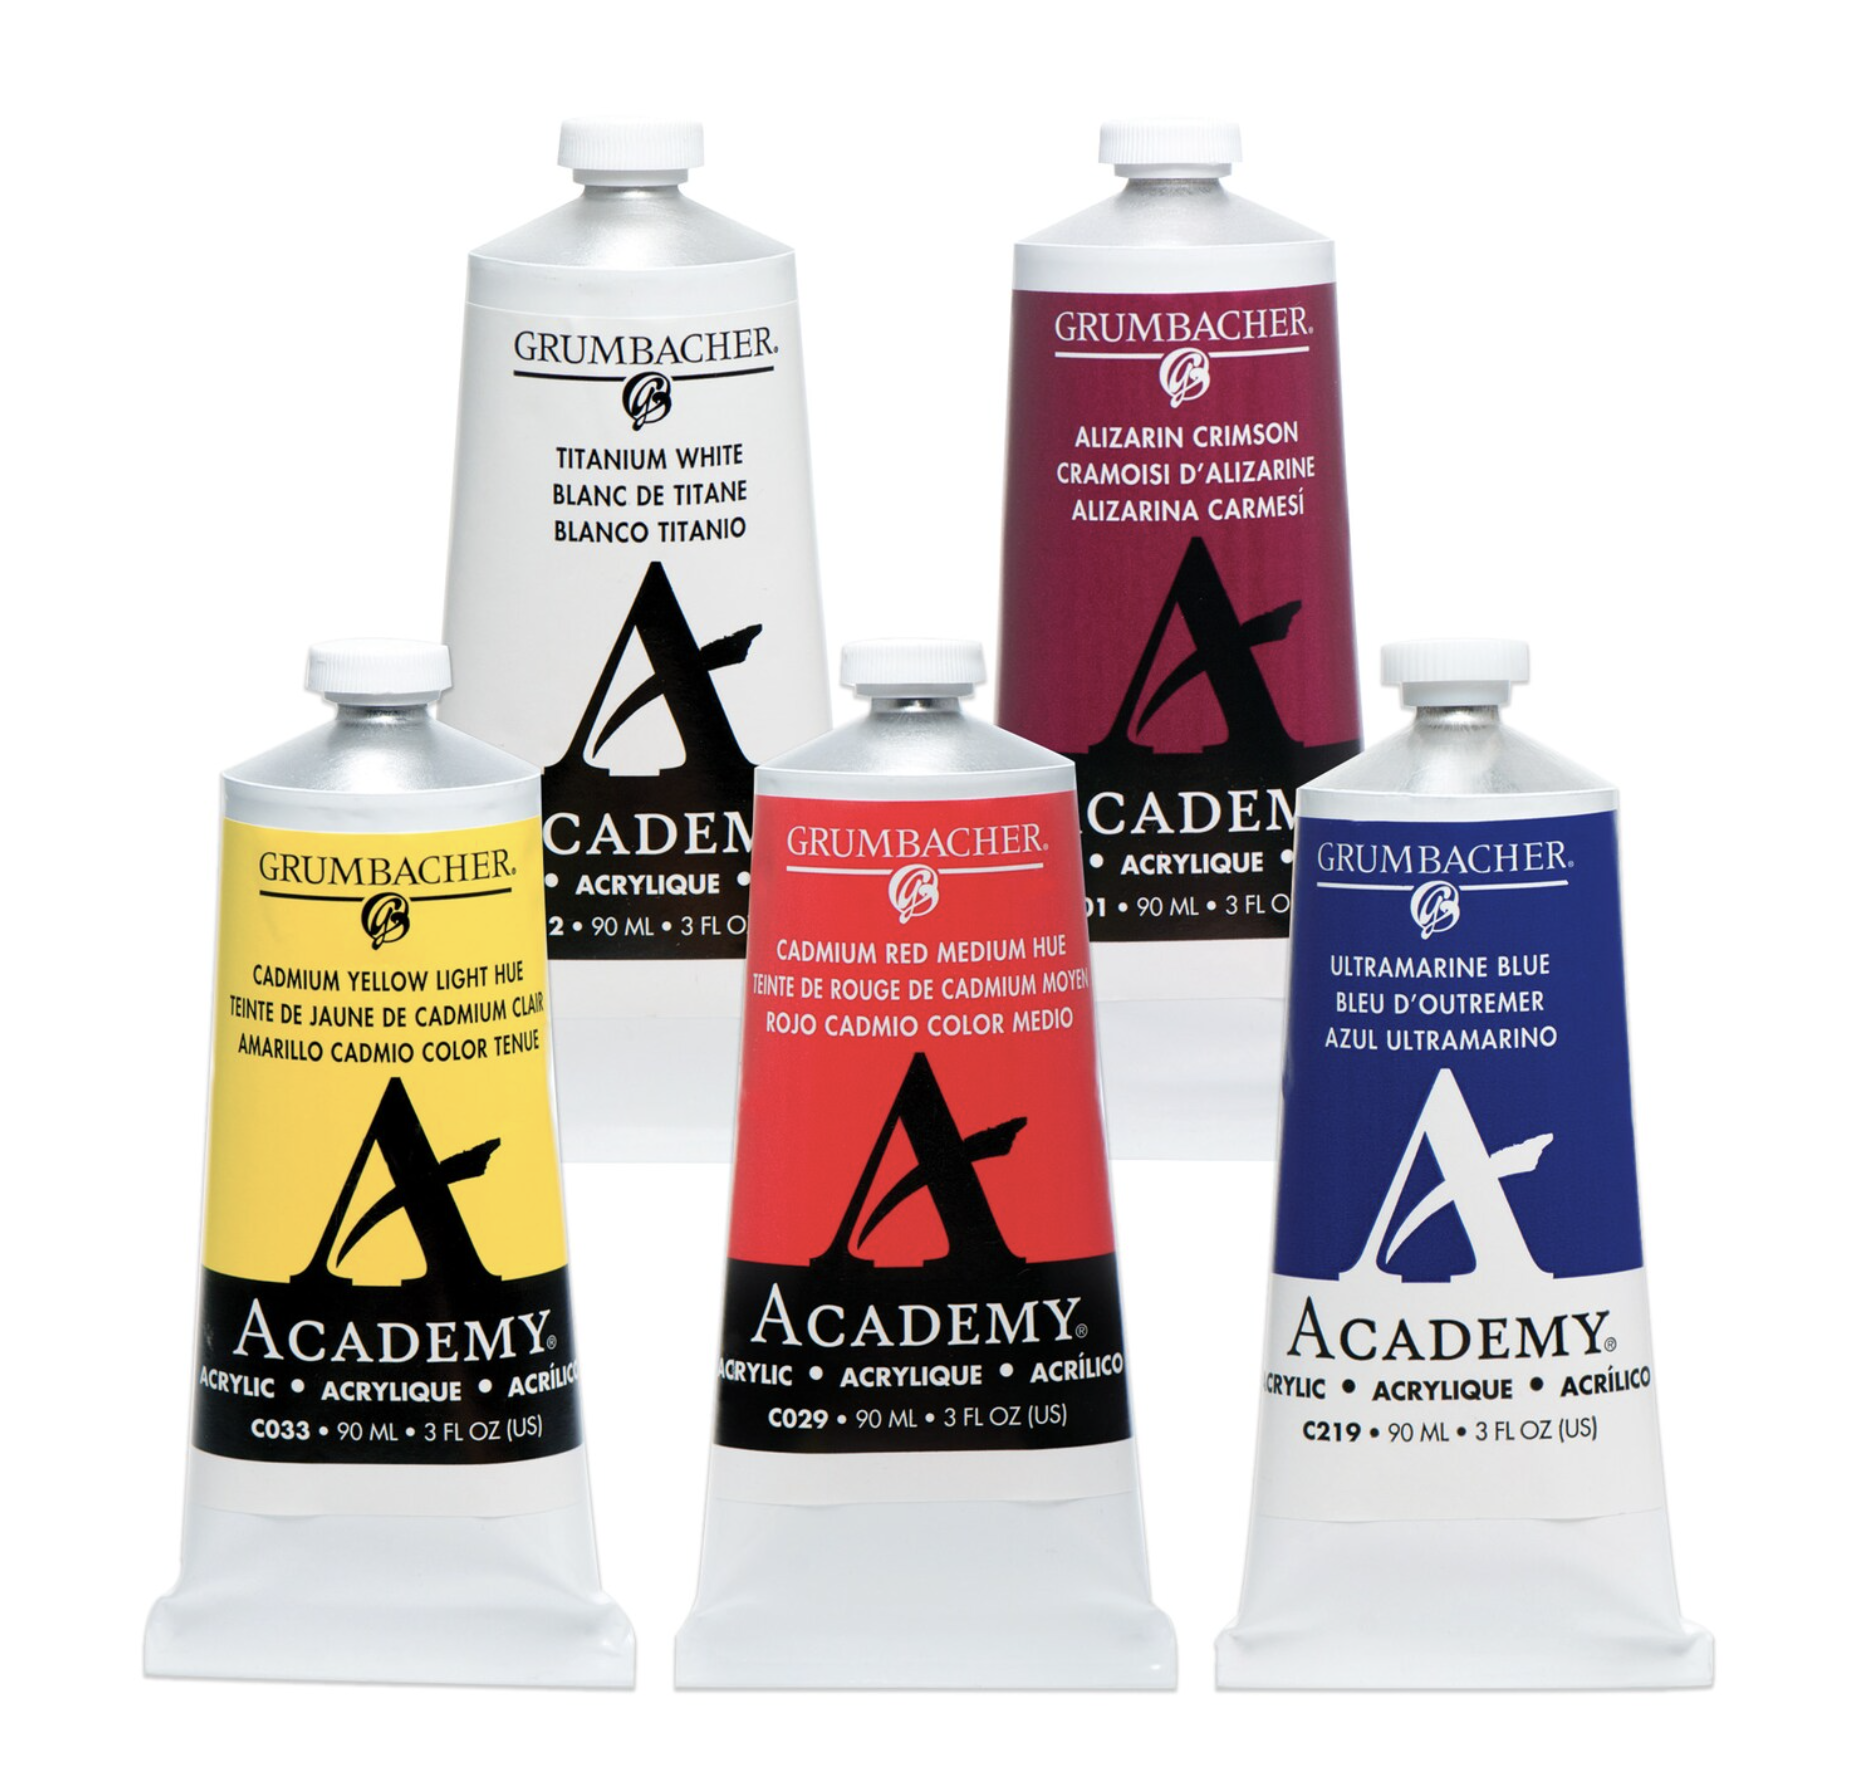
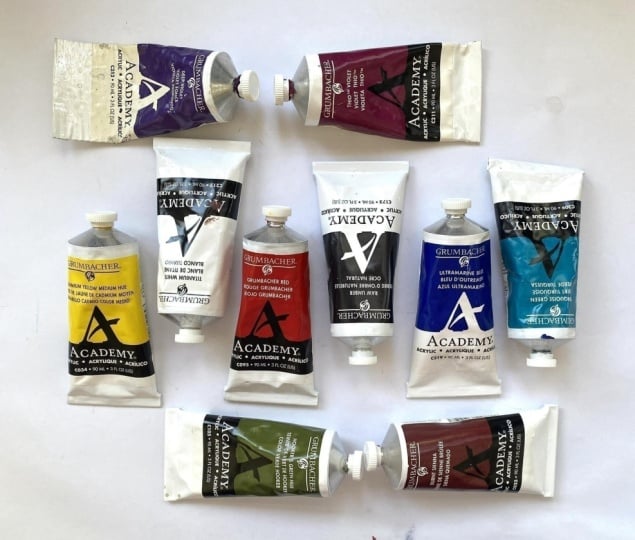
and students. Grumbacher makes a classic
set and a mixing set, and these are perfect
for beginners. If you can't find
a set like this, I suggest you only buy the colors that you
absolutely need, and you can add others as you grow your skills
and preferences. For beginning and painting, you'll only need
the primary colors, red, yellow, and
blue, plus white. From all these colors, you
can mix all other colors. In my class beginning acrylics, an introduction to acrylics
in the painting process, you'll see a very basic exercise that demonstrates how
to mix all colors. It's in Lesson
five. This exercise is very good for beginners
learning the basics of color mixing and for
more advanced painters to use to discover how their
brands and colors will mix, especially with paints
you've never used before. Once you do the color
wheel exercise, it's good practice to keep it close by for a reference
while painting. In this short class,
I'm not covering all the ins and outs of color
theory for new painters, but I do want to
make sure you're aware that it's very
important to get to know your chosen paints and that brands and colors do
make a difference. And exploring this is an essential part of your
growth as an acrylic painter. In a nutshell,
there's warm colors like red, yellow and orange. And there's cool colors like
blues, greens and purples. And within the worms, there's also cool and warm. This is called color leaning
or the bias principle. For example, a lemon yellow
or cadmium yellow light is a cool yellow, and cadmium yellow medium is
considered a warm yellow. Sunflowers come in
cool and warm yellow. This happens with reds
and blues, as well, and choosing the warm or cool of any particular color will greatly affect how
your colors mix. There's some superb
classes here on Skillshare that deep
dive into this topic, and I would strongly
encourage you to take a color theory class and
even more importantly, experiment with your
chosen paints a lot. And you'll make many
wonderful discoveries. When I first started teaching
at Michael's Crafts, I received my instructor
certification from the Grumbacher
Paint Company. So most of my experience with fine art and teaching
is with their paint. They've been making paint
for over 100 years, and it's very good quality. Specifically, I use
their classic set, which includes ultramarine blue, cadmium yellow, Grumbacher, red, titanium white, burnt
sienna, and rah umber. In my opinion, these colors from the very beginning are a
perfect set to begin with. As you start to paint more, and as your budget allows, you can certainly add
more to your collection. I personally like
to use a lot of vibrant purples and
pinks in my florals. So I add quinaquidon magenta, which is a cool red, and my all time favorite
color is teal. So I have several
turquoise greens included in my art box, as well. I've included Grumbacher's
Academy color chart in the resources if you're interested in other colors
that they have available, which is probably a good segue into which brands to choose. Every reputable paint
company I know of has a website and access to information on
their products, including these
valuable color charts. So when choosing a paint brand, you may want to view
their website first. Some companies also have
demonstration videos and classes featuring their products that are very informative, especially when you're
at the exploring stage in your art journey. I'm very frugal, so I try to purchase paint
that's on a sale. It's a great way
to experiment with a variety of brands
without breaking the bank. Choosing a brand is part
personal preference and in part will depend on
what type or style of painted products
you are producing. Fine artists need to purchase the best quality
they can afford, while crafters can get away with lower quality
because most crafts do not need to last
hundreds of years. Pigment is expensive, so the greater the pigment load
means the better the paint, and different pigments
can be different prices. That's why sometimes
you'll see a blue tube of paint will be more expensive
than a white tube, even though they're
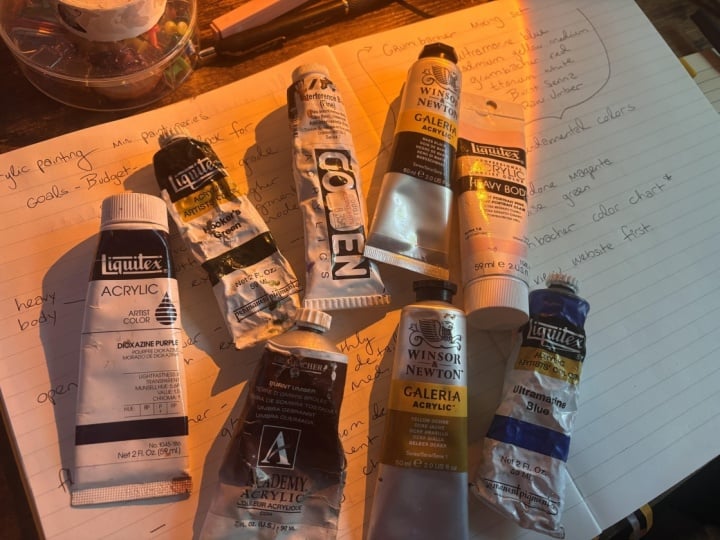
exactly the same size. Heavy body brands
that I've used and consider top quality are Golden, Grumbacher, Liquitex,
and Windsor Newton. And interestingly, they all
jibe with each other well. So if you find a good sale on golden after purchasing
liquid tech, they will mix together fine. However, the colors may
vary between brands. So again, making
your own color wheel with your chosen paints
will benefit you greatly. As you take more classes and work with different
brands and colors, you'll gain more
knowledge and begin to develop your own preferences. So the key is to
just get started, and I guarantee you'll
grow from there.
5. Wrap-Up!: Let's do a quick recap. Today, you learn the difference between heavy body acrylics, open acrylics, fluid
acrylics, and craft paints. You also learned why heavy
body acrylics in student or artist grade are the best paints to use when
you're just starting out. Remember, though, the best paint isn't necessarily the
most expensive one. It's the one that
helps you paint consistently and enjoy
the learning process. Don't get caught up in
buying everything at once. Start simple, practice often, and let your supplies grow
alongside your skills. I can hardly wait
for you to post your class project so I can
get to know you better. Also, I have quite a few classes here on Skillshare and would love for you to continue growing your confidence by
building your skills. So please check to see if any of my other classes will
be of interest to you. In addition, Skillshare
has thousands of classes that will
help you get started in acrylics and
keep you engaged in discovering more about this
fun and versatile medium. Make learning a wholesome, regular part of your day, and you'll see
improvement straightaway. Before you go, thank you so
much for taking this class. I hope it helped make choosing acrylic paints feel
much less overwhelming. If you enjoy this lesson, I'd love for you to
click the follow button here on the platform. That way, you'll be
notified as soon as I release another
acrylic painting class. Also, leave a review and let
me know what you thought of this class and what you'd like me to address in the
next snack class. As always, if you have
questions about anything in this class or with the
acrylic medium in general, you can ask in the
discussions area below the video or in the project gallery when
you post your project. I'm glad to have you
here. Until next time. Happy painting.
 Brigitte Miller, Artist | Creatively B