Transcripts
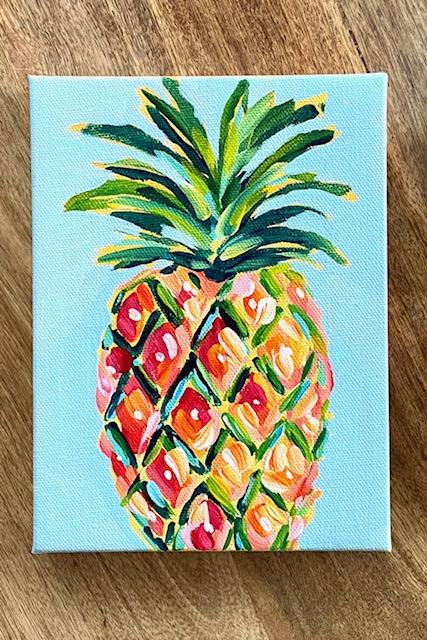
1. Introduction: Hey everyone, I'm l. In this class, I'm going to teach you how to paint a colorful pineapple just like this one. I am using a golden fluid acrylic paints in a variety of colors that I will list below the video. But feel free to use whatever paints and colors you already have on hand. You will also need a pallet to mix your paint colors, some small paint brushes and paper towels and water to clean your brushes. I will list all of the supplies that I used as well as my reference photo. And the About section below the video. For your class project, I would love to see your version of a colorful pineapple. You can click on the projects and resources tab below the video to upload a photo of your work. All right, let's get started.
2. Tone the Background: I'm going to start my pineapple by putting a warm yellow wash all over the canvas and letting it dry first, I want this color to pop through in different areas of the finished painting. I'm wetting my brush and I'm just putting a thin layer of wet paint all over the canvas. This is Indian yellow hue by golden. Yellow ocher or any other warm yellow would work just fine. Even a warm pink might be cute. Or peach. Whatever color you would like to see it popping out of air from behind your pineapple. And the end of the painting doesn't have to go on evenly either because most of it's going to get covered up. And I'm going to let this dry completely before I sketch in my pineapple.
3. Sketch and Outline: Next, I'm going to sketch in my pineapple with my pencil. You can skip this part and just go right in and sketch with error paint if you're comfortable doing that. But with something like a pineapple, I like to have a little bit more of a guide, a little bit more rounded at the bottom. And just kinda of glancing at the reference photo and trying to make some of these leaves are a pinup beliefs that are No. I'm really just trying to get the direction right. I'm not getting them all in here. Some of them sort of pointing up. And then the ones on this side here, Our little bit more of an angle. And then some stray can have them going off the top if you want. And then I'm going to give myself a little pattern in here. I'm not making really perfect diamonds, but and I'm going to leave a little space in between. Sort of more like circular, circular diamonds, if that makes sense. And then I'm using the first ones that I created as a bit of a guide for the rest of them. So they nest straight in between each other. And they can be imperfect. The painting is going to be loose so you don't have to worry about getting the shapes exact. I think they're a little cuter if they're a bit mismatched anyway. So some come off the side here. I'm going kind of dark with my pencil. Hopefully you can see it. If you're using a pencil, you don't have to go so dark, as long as you can see it is trying to get the camera to pick this up. If I can. And so I have a rough pattern here, which I think we'll be fine. First, I am going to think I'm going to start with my dark color. You use some turquoise. And I have a small brush here. This is a number 2. And I'm going to put some of my turquoise in between some of the diamond shapes. If I look at my reference photo, lighter on the side and darker on the left and toward the top. So that's where I'm going to put my turquoise and then I'm going to be I'm going to be lighter over here and use some greens. The pineapple usually needs a lot of layers. So we're likely going to have to go over these lines again. I think that's good. I'm going to fill in a little bit of these darker leaves up here, just where I kind of see some shadowy areas in the reference photo. Well, that's a good start. Then I'm going to take a little bit of my head, say yellow. Same brush, mix up a green and fill in in between the rest of the diamond shapes. And you can even put some next to the the blue ones. I like to have a lot of color going on in my pineapples. I'm going to take a little bit of this green and add it to the top here. And just for a third layer, I'm going to add some highlights over and next to some of the green and blue. And I'll do that with some lighter blue as well. You don't have to do it on all of them. But you can see already how much more life this is giving the painting before we even start to fill in the reds and yellows and oranges of the actual pineapple carrying amount. Let this dry completely. And then I'm going to mix my warm colors.
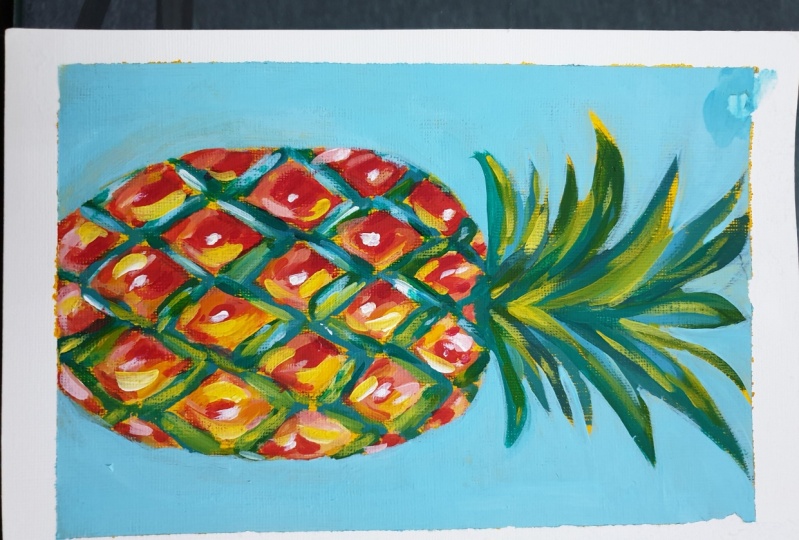
4. Fill in the Warm Colors: I let this dry completely. And now I'm going to use my warm colors, my red and my yellow and my weight. And I'm going to start to fill in the little diamond shapes here. I'm gonna do sort of the same thing where I went more blue to green. I'm gonna do a little more darker red to maybe pinks and oranges. So I have this flat, bright brush number 3. And I'm just partially filling in some of the diamonds. There's not there's not an exact way that I'm doing this. I'm just filling in part. And then the other parts we'll have a little bit of this background yellow showing through, but then I'll add a Hansa yellow and I'll add some orange and pink and white. Mix some orange. And I'll put a little white in there to make it stand out a little more. Lighten it up. A lot more white. As I move across the pineapple. So pinks and orange. I'm going to wait my brush a little and get some of this yellow. And it's okay that this is wet at all. Blend, which is fine as long as it's not blending with the greens and the blues that we put down in the beginning. Starting to take shape. Some just going to keep mixing different shades of red, orange, and pink. And keep filling in my pineapple until until most of the background is covered. And until I feel like it's certs to have more of a finished look. I'm trying to keep the variation of the dark reds and the light pinks and kind of mix a little bit of peach. It's okay if you go over your background lines a little bit. Can always touch those up later. Usually I have to go back and forth on a pineapple a few times. Don't worry about air edges over here because we're going to clean everything up with a background color. I think that's mostly the effect that I was looking for. Reds more into pinks and yellows. I am going to let this dry and work up here a little more.
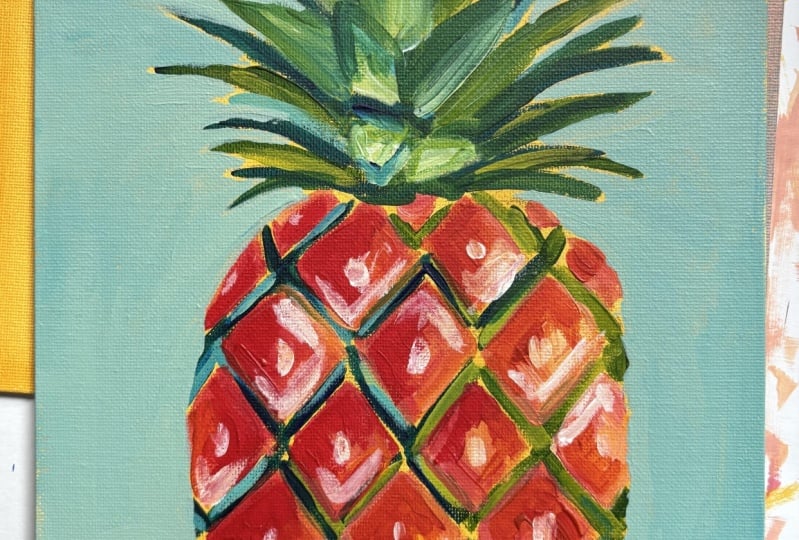
5. Paint the Crown: This is still wet but that's okay. And I'm using the same brush. I just wiped it off a little. And I'm just going to layer the crown area a little more. I was calling it leaves earlier and gets the Qur'an and made a little bit more green. You can add if you want to desaturate your green, you can add a little bit of red to it. Now bring the saturation down a bit mixing and a little yellow to give it some highlights. And now I'm going to let all this dry. And then I'll come back and mix up a background color and I will carve this out a little more so it has a little bit better of a shape. All right, Let's learn everything completely dry.
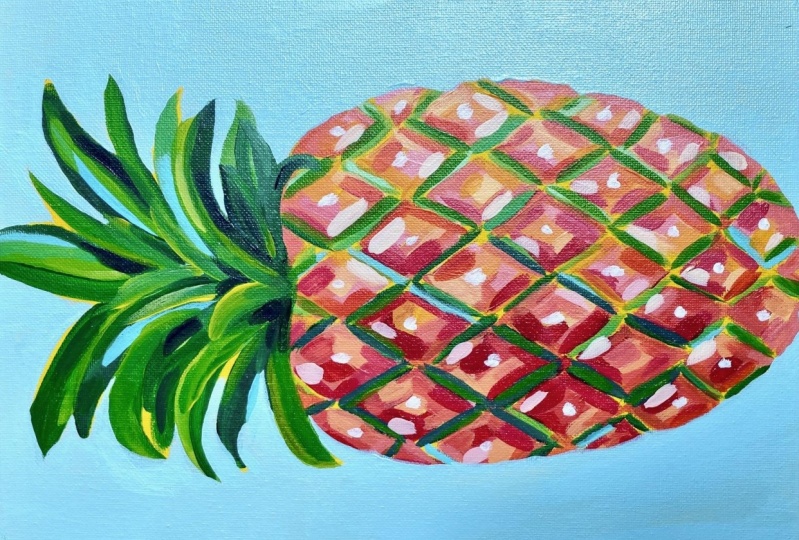
6. Paint the Background: I'm going to mix a blue color for the background using my Payne's gray. I think I'm going to add a little bit of turquoise. And we'll see how that comes out. Payne's gray leans a little blue. It's a little more turquoise than I wanted. I think that'll work. Okay. So when I go around my pineapple here, I'm not I'm not going to leave a smooth edge because if you look at a pineapple, it's not really smooth. So I'm going to leave it like that. And I'll do the same on this side. And you don't have to worry about having a steady hand. And then I'm going to cut and reshaped some of this around a little. So I want some of these leaves to be turning down a little. I am going to leave the yellow pumping through. Like the way that looks. You can always go back and cover up more of the yellow liter if you left too much. Just kinda glance at a photo of a pineapple and make sure you have your crown going. Currently. It's going in the right direction. And if you want to, you can you can cut way in and break some of them up. If you went. You need to get an auto closer. I think I like that. I can see a little of the yellow through a background. I'm not sure Mike, over the background again, once it dries, I'm going to see how I how I feel about it. Once it dries a little bit more. I'm gonna do some touch ups on the pineapple next.
7. Add the Final Details: I am not going to wait for the background to dry because I'm not going to work in that area. So now I really like where I am with the pineapple, but I feel like the darks need to be darkened and there are not enough highlights. So I'm going to add some more lighter colors. Basically, I'm going to go over everything one more time with another layer. I'm going to add a little bit of Payne's gray, turquoise for my darks. And just give that a little bit more depth. I'm using a size two brush. And I'm going to mix some turquoise, some Payne's gray. And and I make some more dark green, wiping my brush a little, dry it off. I lighten this up. And now I'm just touching up some of the greens. No exact rhyme or reason for any of this. I'm just trying to eyeball it and see where it could use a little green. And then I'm going to my brush again. And I'm going to mix a little bit and I'm a light blue. Just for a couple of highlights. I'm going to do. So really, this is like a little bit more yellow and the green. The pineapple is really just a process of layering everything a couple of times until it looks the way you want it to look. This up here. What I'm going to mostly leave the crown the way it is. I I like the way I come much yellow is popping through. Little more dark green. Okay, almost done. Going to grab my brush again. I think surprisingly the red still a little wet on my palette. I'm just going to do the same process of just layering on top for a little more dimension. I have an awful lot of pink, which I like, but I think I'm going to change. And to try to make it a little more varied. And I got a little more orange and just layering. And I am definitely missing some highlights. So I'm going to go real light. Some weight streaks. I'm liking that a lot. I feel like white highlights are now making it pop. And do the same with a little bit of pink. And I think that's pretty good. Going to add sort of like a little bit of a center to each. Teach little diamond here on the pineapple. So I'm going to take just a small brush and some clean white, pure white. Just a little. And my round brush gets a number two. I'm just going to put a little dot. I think this gives it a little bit of a finished look. I'd love to see your pineapple painting. You can upload a photo of your pineapple to the projects and resources tab, which is located below the video. And I will also have all of the supplies and pink colors and a reference photo below the video as well in the about section. I hope you enjoyed my pineapple painting tutorial.
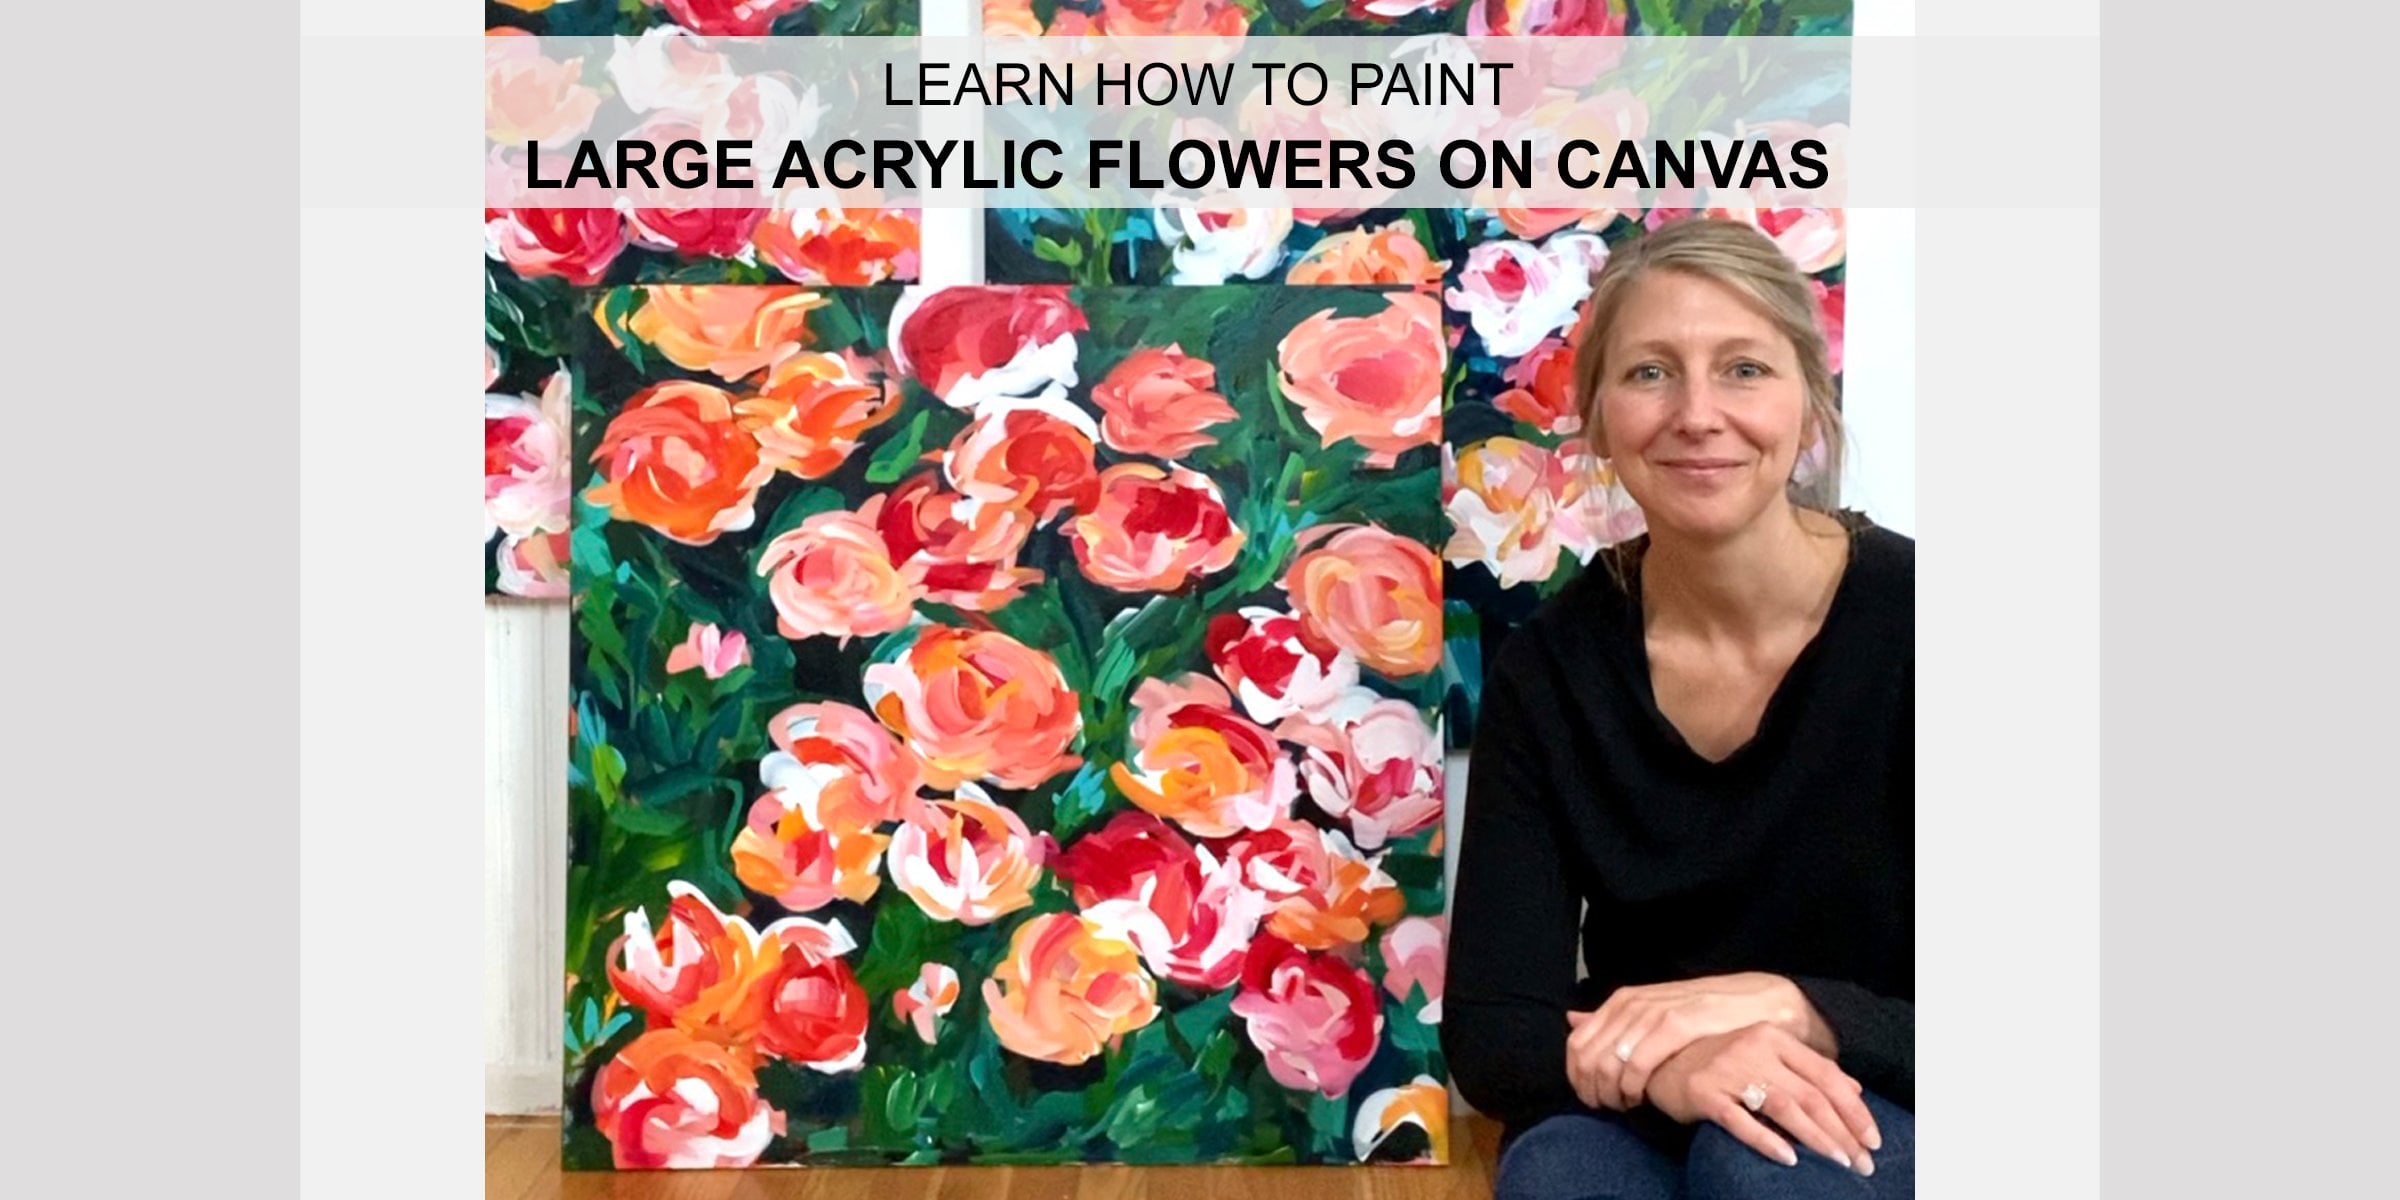
 Elle Byers, Artist and Teacher