Transcripts
1. Project Introduction: Hi, hello, Adi. I'm a, and I have been painting and drawing and on the
art journey for the longest time and for a very, very long time, I've
been a teacher. At least nine years now. I've been working with children, I've been working with adults. And honestly, a
lot of people come into my cars thinking
that they're betted drawing, bedded painting, or that you know only
special people with special talent or has
to be very creative, can paint or draw. And I'm here to tell
you that's not true. Yes, drawing and painting
is not a talent. Some people might find it easier to understand
the concepts, but everything has
to be learned. Okay, whether it's
drawing or painting, they're all learnable skills, like, we can learn them. And I'm here to
help you with that. And I'm pleased to
share with you some of my tutorials on the
skillf platform. I have diluted the
learning down to very small and short classes so that it is not
overwhelming, right? Like if you want to paint
something, you're like, Oh, my God, everything
needs to be three, four, 5 hours now. So all these tutorials are
really short, you know, like the like 15
minutes, 30 minutes, things that you can get
done in a short sitting. Because at the beginning
of our journey, we want to feel successful, we want to feel confident. And I'm here to
hold your hands to encourage you and invite you to start on the
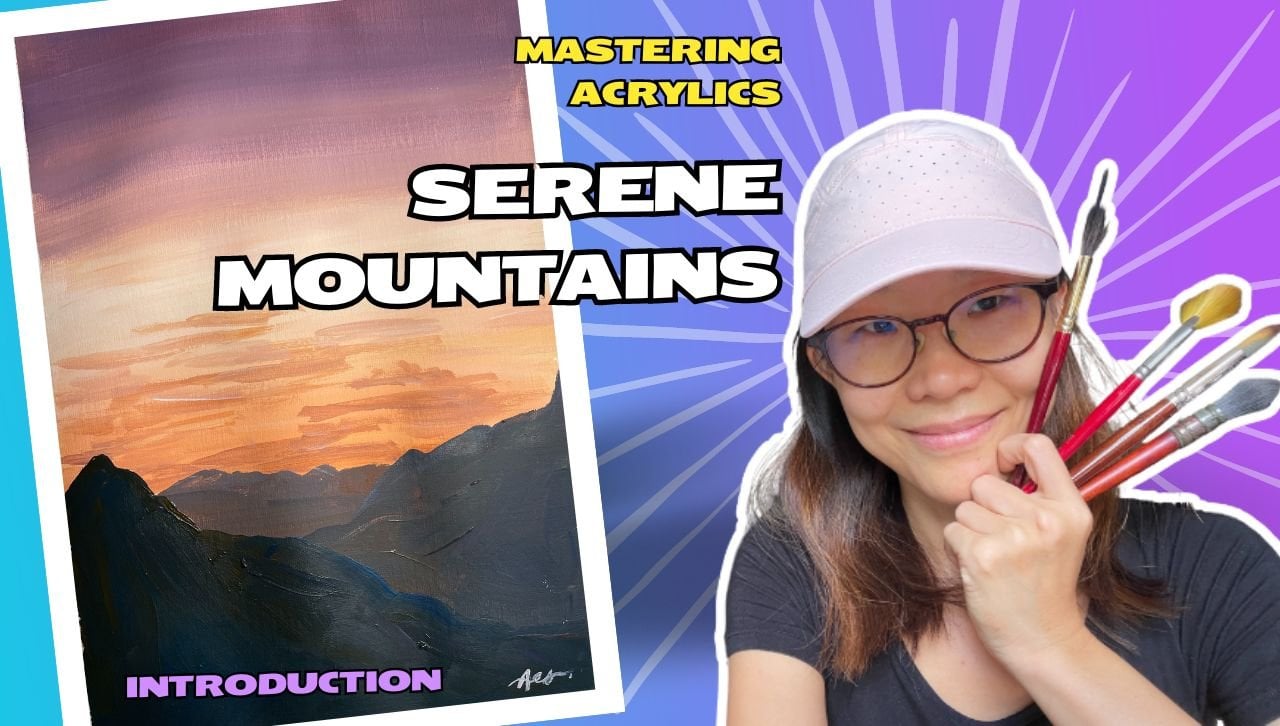
art journey with me. And in this particular project, what we're going to
look at is desert dusk, this painting desert dust. Now, it's actually
looking very simple, right, but let me
tell you secret. We're only going to use
very little colors. And sometimes a lot of
my students will say, uh, you're using
so little colors. How would your
painting look good? But we can Because we got
to learn how to mix colors. So in this particular class, we're only going to use,
three or four colors, and we're going to
learn how to create richness in our painting
using very minimal materials. Okay. So are you ready? If you're ready,
let's get started.
2. Materials: For materials, we are going to use very, very basic materials, and if you find that you do not have the same brand as me or what I'm using
in my tutorial. Don't worry, use
whatever you have. For this particular class, I'm actually using the Hill
Runny brand of acrylic paint, but honestly, you can
use any brand to start. And you might not
have the full set, and that's okay, you do not
have 12 colors. D't worry. You just need a few
colors to start. Um, I'm using yellow, orange, and a dark blue
and a little bit of black. Okay. Now, what happen if you do not have orange in your mix, then you might use red. So you get a yellow and a red and you can mix to
get your orange, okay? So basically, I'm just using
less than five colors, you know. And then
what else do you need? We need the brushes. We need water containers,
you need cloth. You also need, you
know, a ground. We call it brown
for your painting. In this case, I'm using
paper, as you can see, I actually taped up the sides, using masking tape
to hold it down. And I'm using something
that's around 250 GSM. I don't think the brand
matters in this case, as long as it's thick
enough, that, you know, you don't use printer paper because that's
going to buckle and it's going to warp
and it's going to tear because with
accurate paints, we're going to use
some water as well. If you have access
to other kinds of ground that you can use for your painting
like canvas panels, stretch canvas, you can as well. You could also use your
sketch books for this. Again, they're using sketch books because
they're made of paper, just make sure you
the sketch book pages are thicker paper. All right. If you're not sure, try it out. And if it doesn't
work, you know, okay, this paper doesn't
work, and then change your material
the next time round. Okay? And you need a palette. So for palettes, I recommend using anything
that's non porous, as long as you can
put your paint on top of it without the water being
sucked away, that's fine. You could use a plastic plates if you don't have
commercial ones. Commercially, you can
buy disposable palettes. You can also buy, you know, those reusable palettes
like like the megllo ones. If not, you can always
use a plastic plate. Yeah. I look forward to
seeing you in this class.
3. Desert Dusk Part 1: Sky: Okay. Today, the colors
we're going to use is white, adding in a bit
of yellow because the range that I have is
pretty warm and bright. I might want to tone
it down a little bit, so I I got a yellow,
but primarily, I'm working with orange
and blue that are complimentary on the color
wheel, like the opposite. Let's start. What I like to do is kind
of out where things are. Midpoint. I'm going to create
kind of like a landscape. At the top. And then this is
going to be some grass land. I want a quick transition of
the sun setting over here. So let me just grab the color. I'm going to start
getting some Nice orange. Okay over here. So you notice I'm not going up because the sun is
setting down here. The transition happens
at the same level, it doesn't move up
suddenly, right. So it's kind of like more like a radial kind
of design, right? So you can imagine it
something like that. The sun is kind of here. What I'm going to
do is I'm going to pick up the paints
that you have, and I'm going to
grade out a little. If I have too much yellow, this is going to turn Green. Okay. Red. Play with a bland. So you
can see it was pretty dark, but as I move down, I'm able to get it a little bit more
orange as I move it down. Now, even if it goes into
the bottom, doesn't matter. If you want to
keep your strokes, don't worry, clean
over the bottom. It's fine. Actually,
yeah, know what? Maybe I really don't want the look of a
outline here, right? So what I'm going to do, go pick it up and do this. Kind of like a radio. So now I'm going to pick up
this I create a darker toe. So you can see because
this time around, I'm just using orange. The gray up here is
actually Warmer. Okay. It's not a lot of
warm toe up there. Then I'm going to
a lot of the blue. Is it too fast? See. Let's see still. But
4. Desert Dusk Part 2: Trees: So now I have the dark sky. I'm going to create
the ducks below. It's going to be a
generic flat duck first. Then I will put on the texture to suggest what is at the front. So I'm going to mix the
darkest color that I can. If it's far away, then it
wouldn't be so textured. You want to keep the edge sp. Tank. R. Now I'm going to dry this portion. Now that it's dry, I'm going to paint
in the exert three, it's going to be using the
darkest color that I can. It's going to be somewhere here. With the branches, you want to avoid it being the
same all the time. So imagine you're
painting like a K. And usually the stamp, the main branch will be main
trunk will be a bit thicker. So those are some things that
you want to bear in mind. We're going to add in a little
bit of the bushy texture. One way is you get a dry brush, and you tap probably
this might work. We want it dry because when it's wet the brush tip
will all clump together. So we want it to
kind of separate. Can you see all this texture,
you want it separate. Way smaller. You want to make sure that
your paint is opaque, not too transparent, yeah. I smaller street
getting some of the te. Maybe some smaller ones. Just to suggest that
they are far away trees. So it's the same
kind of top right. Okay. Great. Now that we've
gotten that landscape. You can see that the front is completely d not
much to look at. So what I'm going to do is I'm going to get some lighter tone. And I'm going to suggest
there are some rocks here. Maybe I'll bring
this down a little. So when I lighten,
what's behind, the t trunk will come forward. If it really doesn't stand out, it can add a bit
of white to help. So maybe some kind
of rock texture. So I'm just using the
side of my brush. Oh Let's see So maybe some parts of it. Lighter. And then I might bring a bit of the lights into
some of the tree. Then what I'm going to do is some of these mountains
are definitely behind. But what's in front is
is going to be bushes. So I'm going to suggest some. K. I'm just going to use
my brush to soy out. It's kind of a dry M. So those behind are going
to be shorter strokes. You notice I changed the I'm holding my brush
to see which one creates better texture.
I is too bright. So slip it away. I'm going to add a bit of blue into it to see
how it turns out. T. And helps. While, it's wet, a lot of things can change. This is really bright. I'm not sure if I want it so bright, so I'm
going to do this. Let's say let's
creep it up again. To bright. A bit of Hue into it. Un. In the front? Maybe I don't want
it so controlled. I'm going to use my
side of the brush to k of scrub the front
with more texture. Sometimes I take the bag and scrub it out to see if I can add more texture. Picking up. So really dry pins and pings Okay. A be ten.
5. Desert Dusk Part 3: Foreground: Now that we've gotten
that landscape. You can see that the front is completely not much to look at. So what I'm going to do is I'm going to get
some lighter tone. And I'm going to suggest
there are some rocks here. Maybe I'll bring
this down a little. So when I lighten what's behind, the t trunk will come forward. If it really doesn't stand out, it can add a bit
of white to help. So maybe some kind
of rock texture. So I'm just using the
side of my brush. Et's see So maybe some parts of it. Lighter. And then I might bring a bit of the lights into
some of the tree. Then what I'm going to do is some of these mountains
are definitely behind. But what's in front is
is going to be bushes. So I'm going to suggest some. I'm just going to use
my brush to soy out. It's a kind of a dry mode. So those behind are going
to be shorter strokes. You notice I changed
the way I'm holding my brush to see which one
creates better texture. It is too bright, so sit a way. I'm going to add a bit of blue into it to see
how it turns out. Help. While it's wet, a lot of things can change. E. This is really bright. I'm not sure if I want it so bright, so I'm
going to do this. Let's quit bit up again. To bright. A bit
of Hello, into it. In the front? Maybe I don't
want it so controlled. I'm going to use my
side of the brush to kind of scrub the front
with more texture. Sometimes I take the
bag and scrub it out to see if I can
add more texture. Picking up. So
really dry pins and ping Okay. A be ten.
6. Project Debrief: Hi, welcome. You finish of. Artwork. I hope you
enjoyed this one. This is a fairly simple one. On the first glance.
It looks like it's not using much colors. But it's pretty
challenging in how do you make an artwork that has a lot
of dark color interesting. The front portion of our artwork requires a
lot of texture making. I hope you found new ways
to use your brushes and new ways to create texture
with whatever you have. In fact, if you're
not using brushes, you could have used
some other ways of creating the texture
with your fingers. Yeah. And also, learning
how to manage your colors. Because we are only
using like orange, yellow, and some dark blue. Did you have to use black? Because a lot of times
when we use black, our painting becomes
really boring. So I hope through this exercise, you got to learn how to mix your own dark colors by yourself and create many
different shades of brown and finding your colors a lot more interesting than
just using it as it is. If you're using it as it is, you squeeze four colors, you only get four colors. But if you're doing
color mixing, you squeeze four colors, you're going to get eight, ten, 12 shades of different colors. So I hope that's a
useful class for you. See you in my next class,
 Ee Sock Ang, Artist. Teacher. Traveller.