Transcripts
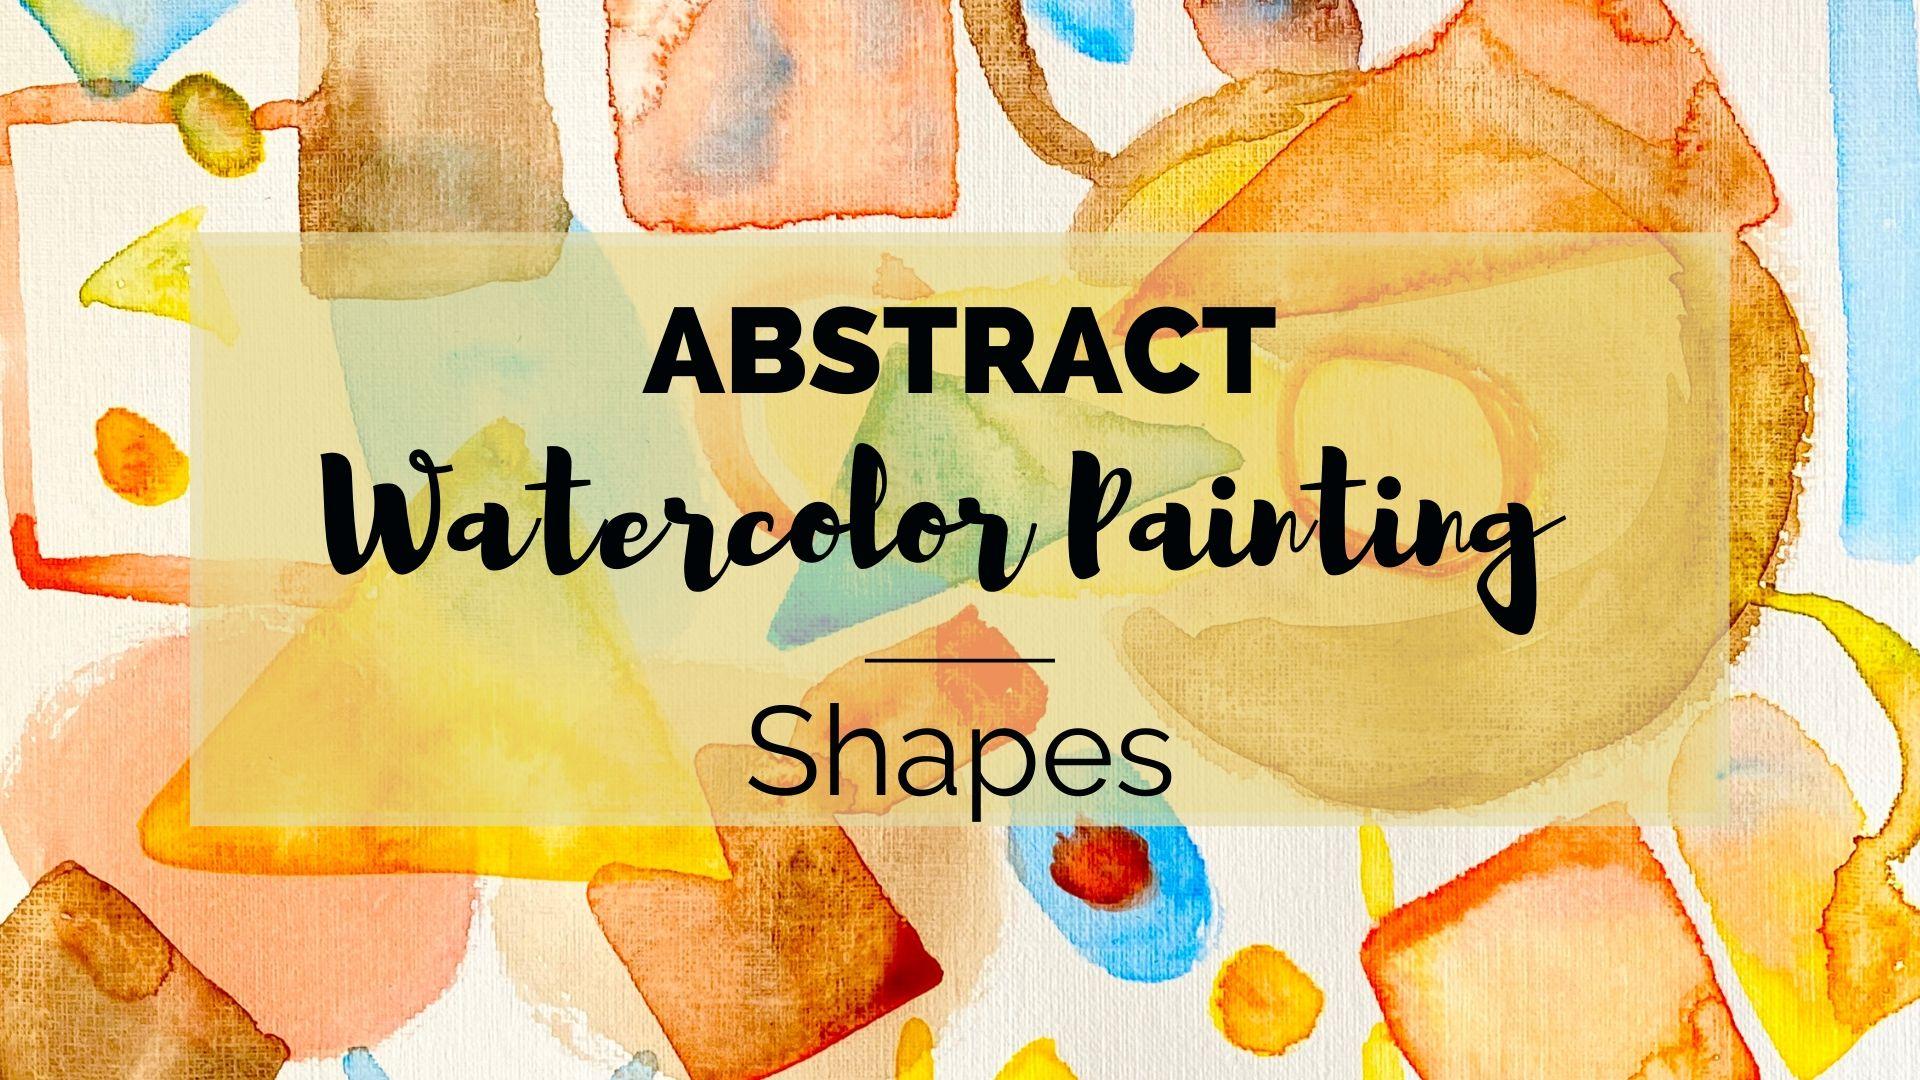
1. About Abstract Watercolor Painting 3- Shapes: Hey, it's crispy and I'm back in the studio once again for another class on watercolor abstract painting, focusing on shapes. I'll show you how I conquered the blank page by just diving in all paint closed and open shapes, transparent shapes, combined shapes. Plus, we'll play a little bit with color. I'll show you the very basic tools that I use you might even have at home. I'm even including a project inspired by my last class abstract watercolor painting backgrounds. Then I'll show you how I layer shapes on top to combine the skills from both classes, showing you a planned composition as well as a random painting. This class is perfect for toe beginners looking for a no pressure learning environment or experience artists needing a fund quick and easy diversion, you can frame your project, make greeting cards, social media posts and many other things. But most of all, I want you to relax and just enjoy the process. Art can be a powerful way to reduce stress, so grab your tools, materials and your sense of adventure. Abstract watercolor painting shapes. I'll see you in the next video to get started
2. Tools & Materials: So I just grabbed a few quick art supplies like a large and flat brush. A large and small round brush. Um, this is very open ended, though you could use so many different things. I've got a ah Windsor Newton watercolor pan set any Windsor Newton watercolor too upset all probably working with the tube, Set most of this class a recycled cup for water and paper towels to step up my brushes with and other things you'll see in the next video and I will see you there.
3. Circles: So I'm going to start off. Let me pick up Rush. I think I'll work with this smaller flat brush and I have a blank page in front of me. I know a lot of us have the blank page syndrome where it gets really scary. But this is a practice page, and I keep telling myself This is a practice, Paige. Don't worry about it. Just throw some paint on and I'm going to start with a circle or a circle like shape. Oh, it's a bit read for me. I think I want to add a little orange to our little yellow sari, making more orange. Yeah, that's that's nice. I'm kind of loving. Orange is right now you're gonna notice I'm not making exact shapes. I'm not making them look accurate. I am literally slapping them on the page. And this part of the fun of this is Just relax, play let go. Maybe you're You know, this is how one finds their signature style is by just allowing your brush to flow on the paper and just be natural with it. Just don't try to be too forced and you'll discover you really like to paint in a certain way or you love certain types of shapes. I really like ovals. So I'm gonna try and over on this next one, and I just find it very natural, especially with the flat brush. The flat brush sort of promotes an oval, and a round brush promotes a circle. More again, just experiment. This is basically for your development. It's and it's mostly for fun and relaxation. But you're going to develop as you do it. There's just no way. There's no other way. So it's a multipurpose activity that is going Teoh make you a better artist. If you're a beginner again, just literally pick a color and throw some paint. Just pick a shape. Right now I'm doing circles. So if you want to do circles with me, um, you can draw ovals you can draw, try to draw an exact circle. I'm gonna do a really crazy oval. Now make it a lot longer and taller. Um, that's a pretty yellow I like that. Make it even more intense. Color is another thing. I'm playing with color in this class a little bit more and making it a bit more random. You're gonna connect to circular shapes. Looks a little bit like a footprint, but I didn't mean to do that. And again, that's the fun part of experimenting is that you're going to discover things. You're gonna discover things about the process. You're going to discover things about your style. You're gonna discover things about yourself as a person, and now you can see I'm dropping another color paint of dropping some orange into this yellow to make a new color. We're gonna be doing more of that as we go. I love experimenting with color. It's just just a lot of fun, very freeing. So I'm gonna add this brown circle. I've kind of picked a color palette. I'm working with orange, brown, yellow and ah, blue. And I love the way they kind of play on each other. The brown kind of grounds, everything. Ah, the orange and the yellow are very vibrant. And the blue is kind of a complimentary color to the orange where the brown in the yellow are lighter and darker tones of it. So it's It's a fun color palette. You don't have to plan this. This is just I just love to work with color and this is just something that just, you know, something I just wanted to dio. So I'm just gonna drop little drips of color into these circles and watch them expand. It's another fun way to and just let it do whatever it wants. Watercolor is very kind of does its own thing. That is a lot of the fun of watercolor. It can be intimidating, but don't let it. Don't let the paint run you just again. Have fun and see what happens. See where the paint goes, how it lands, the textures that it makes Do something a little different on this one, and I'm going to pretend that this circle is behind these other shapes. So in doing that, I'm gonna practice kind of making an outline around this other shape and doing something like that develops your dexterity. It, ah helps build accuracy. But we're doing it in a very playful way. There's no if I screw it up, I don't really care. So it's It's ah, some might. Some of my best work is done when I just don't have a plan, and I don't care how it comes out. Interesting kind of gives this painting a little bit of depth to think that this is behind the other one. It wasn't planning on that, but I like it. I'm gonna add a little bit of yelled was soften this brown and make it a little different than the last one and mix it up a little bit. So that was an interesting exercise. In the next video, I'm gonna take you on a journey with some squares and rectangular shapes. So thanks for watching along or painting along. And I will see you in the next video.
4. Squares: this time I'm working with squares and I'm gonna start with this very rich orange color. I'm just having a little bit different with this shape. I'm gonna fill it up. We're going to make it a little bit more texturally looking like the orange circle on the top left of my page right now, Eyes pretty flat, looking pretty single and tone. But I want to, uh, looks like I'm doing it trapezoid now, sort of making this up as I go. But I want to make these shapes with blobs of more blobs of color in one area than another . And when it dries, you'll see a look more textured and more interesting. It will catch the eye a bit more than the flat looking more even painting. There's nothing wrong with the flat looking even painting. I just want a lot of variety in this, and I want to show you a lot of different ways to do things. Mixing up some yellow in my orange on the trapezoid shape. Who I'm gonna put a little different color in that square. Oops. I need to add more water so it mixes more. The more water you add in your shape. First of all, the color will stay within that area where the water is, and when you drop it, it will just start expanding throughout that area. So go ahead and experiment, putting some water within a shape and then just drop the pain in and watch it just sort of what kind of be fluid and and expand within that area. It's just really magical. Make that trap is a little bit more defined looking a little rough around the edges there, So Well, that's kind of fun. Okay, let's try something else now. And you can see I'm just filling up gaps on this paper where I see empty areas and I'm gonna do the same thing with this blue. I'm gonna make more darker colors in light. I'm adding a little yellow, bring some interest to it. And now I'm gonna kind of draw more of a rectangular shape. I'm gonna keep that again. Textured at drops a more color into it. Leave it darker in some places and lighter than others. And that was fun. I will see you in the next video
5. Triangles : so now moving on to triangles and there's a lot of you know you would think about it. But there is different shapes of triangles. You could make a swell. I'm going to start with a really basic one, though, and I'm gonna make it semi transparent. So now I'm going to start layering shapes on top of shapes just to keep this one interesting. And I like that a lot, like those colors showing through. Let's try an odd shaped triangle. So this one, not all the sides are equal, so and it's kind of sitting on its side. So when you take your shapes and move them in all these different directions, it creates movement in your painting, and it keeps the eye moving around the composition as well and see what else. So now I've made the bottom of the triangle the shorter length. I know there are technical terms for these shapes, but honestly, that was not my best subject in school, so I really don't know them. I just know I like him. This was also semi transparent. All of these air kind of gonna have colors showing through. There's some little biddy that a little more defined. That's a little tiny, tiny one there and join me in the next video to move on to the next shape. See there.
6. Odd Shapes: in this video I'm gonna do a lot of I'm gonna kind of combine shapes and add odd characteristics to them just for a little play and fun. So let's start with a, uh, 1/2 of the circle. So we've basically taken a circle and just split it in half, and that makes an entirely different shape. Let's try a C a sort of a rectangle with the circular shape on the end. So that's a combination of a shape where the other shape was kind of 1/2 of a shape. There's lots of fun things you can do with ease. Let's drop a little color in there. Watch that glide around. Oh, that's fun. Next, let's see. What shall we do next? It's really fun when you don't know what you're gonna do next, because you have no idea how this is gonna turn out, and it's really quite an adventure. If you don't like it, you can always throw it away. But if you dio, it's pretty golden. So that's a very long, skinny rectangle, or it's a very thick line, so you could kind of look at it a couple different ways on this one that sort of fills up that area on the bottom, and there's not much blue down there so that when you kind of you don't have to always evenly spaced your shapes and colors. But when you do, ah, do something very similar to that. It creates balance in your composition so you can look around the page and see there's blue , sort of at the top, then in the middle and then a little further down. And now we have some of the bottom, and it keeps the I a bit satisfied. You don't have to do this, but I like to create a little balance with my colors with my shapes. So if I don't have a circular shape in one part of the composition, I might add it. So this one, I'm adding a triangle onto a rectangle. It's not my cleanest shape, but that's not the point is that it's just a fun. I mean, maybe you wouldn't even know what this waas so that creates interest in itself, trying out a little bit more definition, and I'm just going to continue playing with this and I will see you in the next video to do an entirely different project, which I will explain. I'll see there
7. Open Shapes: so far, we've exports. Um, really fun shapes and very basic, really, to be honest, but I think you can see how beautiful just basic shapes can be in a painting. In this video, I want explore open shapes. So just like that, a shape that is basically an outline form. Um, this is also equally attractive and very easy to paint. Um, I'm gonna pretend that one is kind of behind. Those two circles have to be like a square turned sideways or a triangle. This one is another one. So since I've filled a lot of the page, I'm going to kind of create thes open shapes mainly to kind of fill in and Teoh kind of accent. What I've already painted so, you know, shapes air such engaging subject matter as simply asses they are. That means simple can be sometimes the best form of art. You can go back to Picasso or Marc Chagall, and both of them use shapes actively in their paintings. And, uh, those pains became quite famous. And so it's It's not to be understated. Put one down here somewhere. You can see I'm just kind of going working with my empty spaces and just sort of filling in where I can do a little color mixing on that one. That's a fun color when I don't have in the painting anywhere yet have a little bit more definition to that one. And then as I go, I'm just scanning around my painting to see what else I can add. Oh, kind of turned that into an outline. That's different. I wasn't planning to go right through that triangle, but I like it. It adds a little something. I hope you've enjoyed this aspect to the shapes, and I hope you explore with open shapes and I will see you in the next video.
8. Abstract Shapes with Backgroud: So on this project, I'm going to do something really different. And I'm going to start by, ah, doing a project from my last class abstract watercolor backgrounds. And in that class, it was just simply painting random paint strokes of all kinds and creating some texture with colors you could use more than one color. I pretty much stayed with single colors just to simplify the project. Um, and I'm gonna show you how you can combine that project with the project in this class by, uh, painting shapes on top of this paper after this first layer of paint is dry. So now that destroy, you can see I've done some pencil sketches of some basic shapes a circle which I was starting with here, and I've kept my pencil lines very light because once the pain goes over it, you won't be able to really see them. But all BC apples to see them enough to follow my, uh, my shape. Ah, so I just randomly drew a circle. But you can take a jar or a cup or a protractor even and make a perfect circle if you really want to. I'd like my shapes looking very natural. The next one's going to be Ah, this square, but the top right. And with my flat brush, uh, straight edges air much simpler with with a flat brush because the blush brush stays on a street line on the edge. But I'm kind of enjoying this flat brush. In general. It's paints a larger area than my round brush does, which is nice in this case, and I don't think I love that square going behind the circle. I think I'm going to go ahead and put it in front. It just doesn't make me happy. You know, artistic license is a funny thing. You you can really be very, you know, very emotional with your decisions regarding art, and your emotions will come through in the painting. It sounds kind of kind of crazy and bizarre, but once you start painting, you get what I mean. You get a feeling about how you want your piece toe look or or your painting or what not and you can change your mind. So that's definitely okay when you're an artist. Now I'm gonna go ahead and leave my triangle unfilled, so it'll be one of those open shapes. And I've chosen to do that with the darkest color. Because since it's not going to take his much visual area, an outline is doesn't take a much attention on the page. I'm going to use the darkest color so it pops as much as possible. And my diamond shape here is brown, but looks a little small. I don't feel like my papers filled up enough, so I'm gonna go ahead and make it a little longer again. I've changed my mind on something, and then that's totally fine. And I kind of really like those rough edges on the right hand side of that diamond shape. I think that's kind of funky and cool and and different from the other shapes. The other shapes air sort of a little more refined and exact, and the diamond shape is the brown diamond shape is kind of rough and loose. I really want some more texture and color in this square. I could have left it alone the way it is, but I want to add a lot of visual interest, and visual interest is created when you give the I a lot of things to look at now, if I have a very flat color that doesn't change much throughout the shape, there's not much to look out there and you're I quickly moves to the next thing. But when you have light orange is dark oranges, paint strokes. Your eye lingers longer on that object. Uhm, I'm going to do the same thing with my circle by, uh, painting some really rough strokes in there and you can see I've gone what, Right over my my, um, square shape a little bit to create a transparency. I'm going to make my circle a lot more textured, and it's gonna pull the I in there. So the longer someone lingers on your piece, the more successful you are in making it interesting, Um, and unsellable. Even if you sell your art, go ahead and add a little bit more. You could see my circles gotten bigger is I've added paint, but that's OK. It's yellow. It's a light color. I don't mind it being the largest shape on the page because the lightest color will will need a little extra help in getting noticed anyway. And I've gotten a little bit of brown mixed in with that yellow but I kind of like it really made it more textured than I expected. And now this triangles looking a little sad and very light. So I'm gonna add a lot more thickness to it and a little more color. Perhaps, just so it's more noticeable, especially on these edges, because it will define the shape a lot more if you leave the inside a little less saturated . Oh, that's interesting again. The fact that it's not even in perfect makes the I sort of linger like What is that really what's going on with this triangle? It's a little different is a little unique. I really hope you've enjoyed this project, and I'll see you in the next video.
9. My Project: learning by doing is so effective. That's why I encourage you to create a project. Whether you share it or not. In this class, your project will be simple. Gather your paints, paper and brushes, and either start to paint random shapes on your paper in the colors of your choice, filling the page or do a more planned composition by sketching your shapes on the paper before you paint them. You can also do both projects. If you would like to practice with different techniques, the more practice, the better. You're not required to share your project, but I hope that you do. I grew so much more in my skill level when I started sharing and getting feedback from my fellow artists. You might even be better than you think you are. It's a bit scary at first, but when you get comfortable with it, it's much easier to call yourself an artist. You can upload your work by going to the projects, and resource is tab under the class videos and clicking the green create project button. You can make your project public or private by clicking the box of the top. From there, you can upload a cover image by clicking the upload image button. Then select an image from your browser below. That is a slider that could make your image larger or smaller. Just slide it back and forth until you're happy with the way your image looks and click Submit, then you a title for your project. It can be something descriptive or clever below. In the larger field, you can start writing about your project. You can write about your experiences, your process, how you enjoyed the class, etcetera at the very body will see buttons to add additional images. You can add as many as you like a video button to add a link to a video. For example, on YouTube or vimeo, just paste your link into the field just above the button. The other button will allow you to post a link to another Web page like your social media accounts. For example, when you're all finished, don't forget to click the green publish button, which will complete your upload, and that's it. Congrats. Now you've shared your work with the class and can begin to get feedback. I mean, lots of skill share, friends and connections this way so there are lots of benefits to sharing. Whether you choose the Random Shapes project or the plan to composition project, I'll meet you in the next video to wrap up.
10. Wrapping Up: I want to thank you so much for joining me in my studio. I feel honored that you spent some time with me on your creative journey. And I hope you saw some self discovery with the work we did today. But most of all, I hope that you came away relaxed and inspired. Learning by doing is the most effective. So I can't wait to see your work. If you use your painting as a wall print, greeting card or something else, please include that with your project in the Project gallery. Refer to the my project video to learn how to upload it. If you share it on social media, please tag me. I'd love to see that too. I would so appreciate your review of this class and please follow me to get notified for the next class. I'd love to have you along for that journey as well. But now it's your turn to gather your paints, brushes and get inspired to create your own painting. Abstract watercolor painting shapes. You got this
 Chris V, Artist, Designer, Maker