Transcripts
1. Introduction: Have you ever been watching a TV show, gone to an event, or even just been
scrolling on social media and come across an ad
and think to yourself, wow, I am the target
demographic for this. Well, that's what this
class is all about. Hi, my name is Alison Kailer and I've been working
professionally as a graphic designer for
over seven years on branding, web, and other design projects. I've created countless
user personas for these projects to help me communicate with my
clients more effectively. Throughout this class,
you'll learn how to create an effective user persona
for any design project. How to use it as a tool
on client projects, how do you pick imagery for your user persona
that feels appropriate, and how to vary the user
persona for different projects. Honing these skills is
extremely important as it will allow you
to create better work as you have an objective goal. It will be easier to
communicate with clients as you have this objective
goal already defined. This class is for you if you are a designer
who works with clients, or if you are an
artist or creative who is trying to
hone their craft. As we go through the lessons, I will be creating
a design project for the secret society, Society of Shepherds, which is a group of Australian
shepherd enthusiasts. For your class project, you're going to be creating
a user persona for one of the props that I
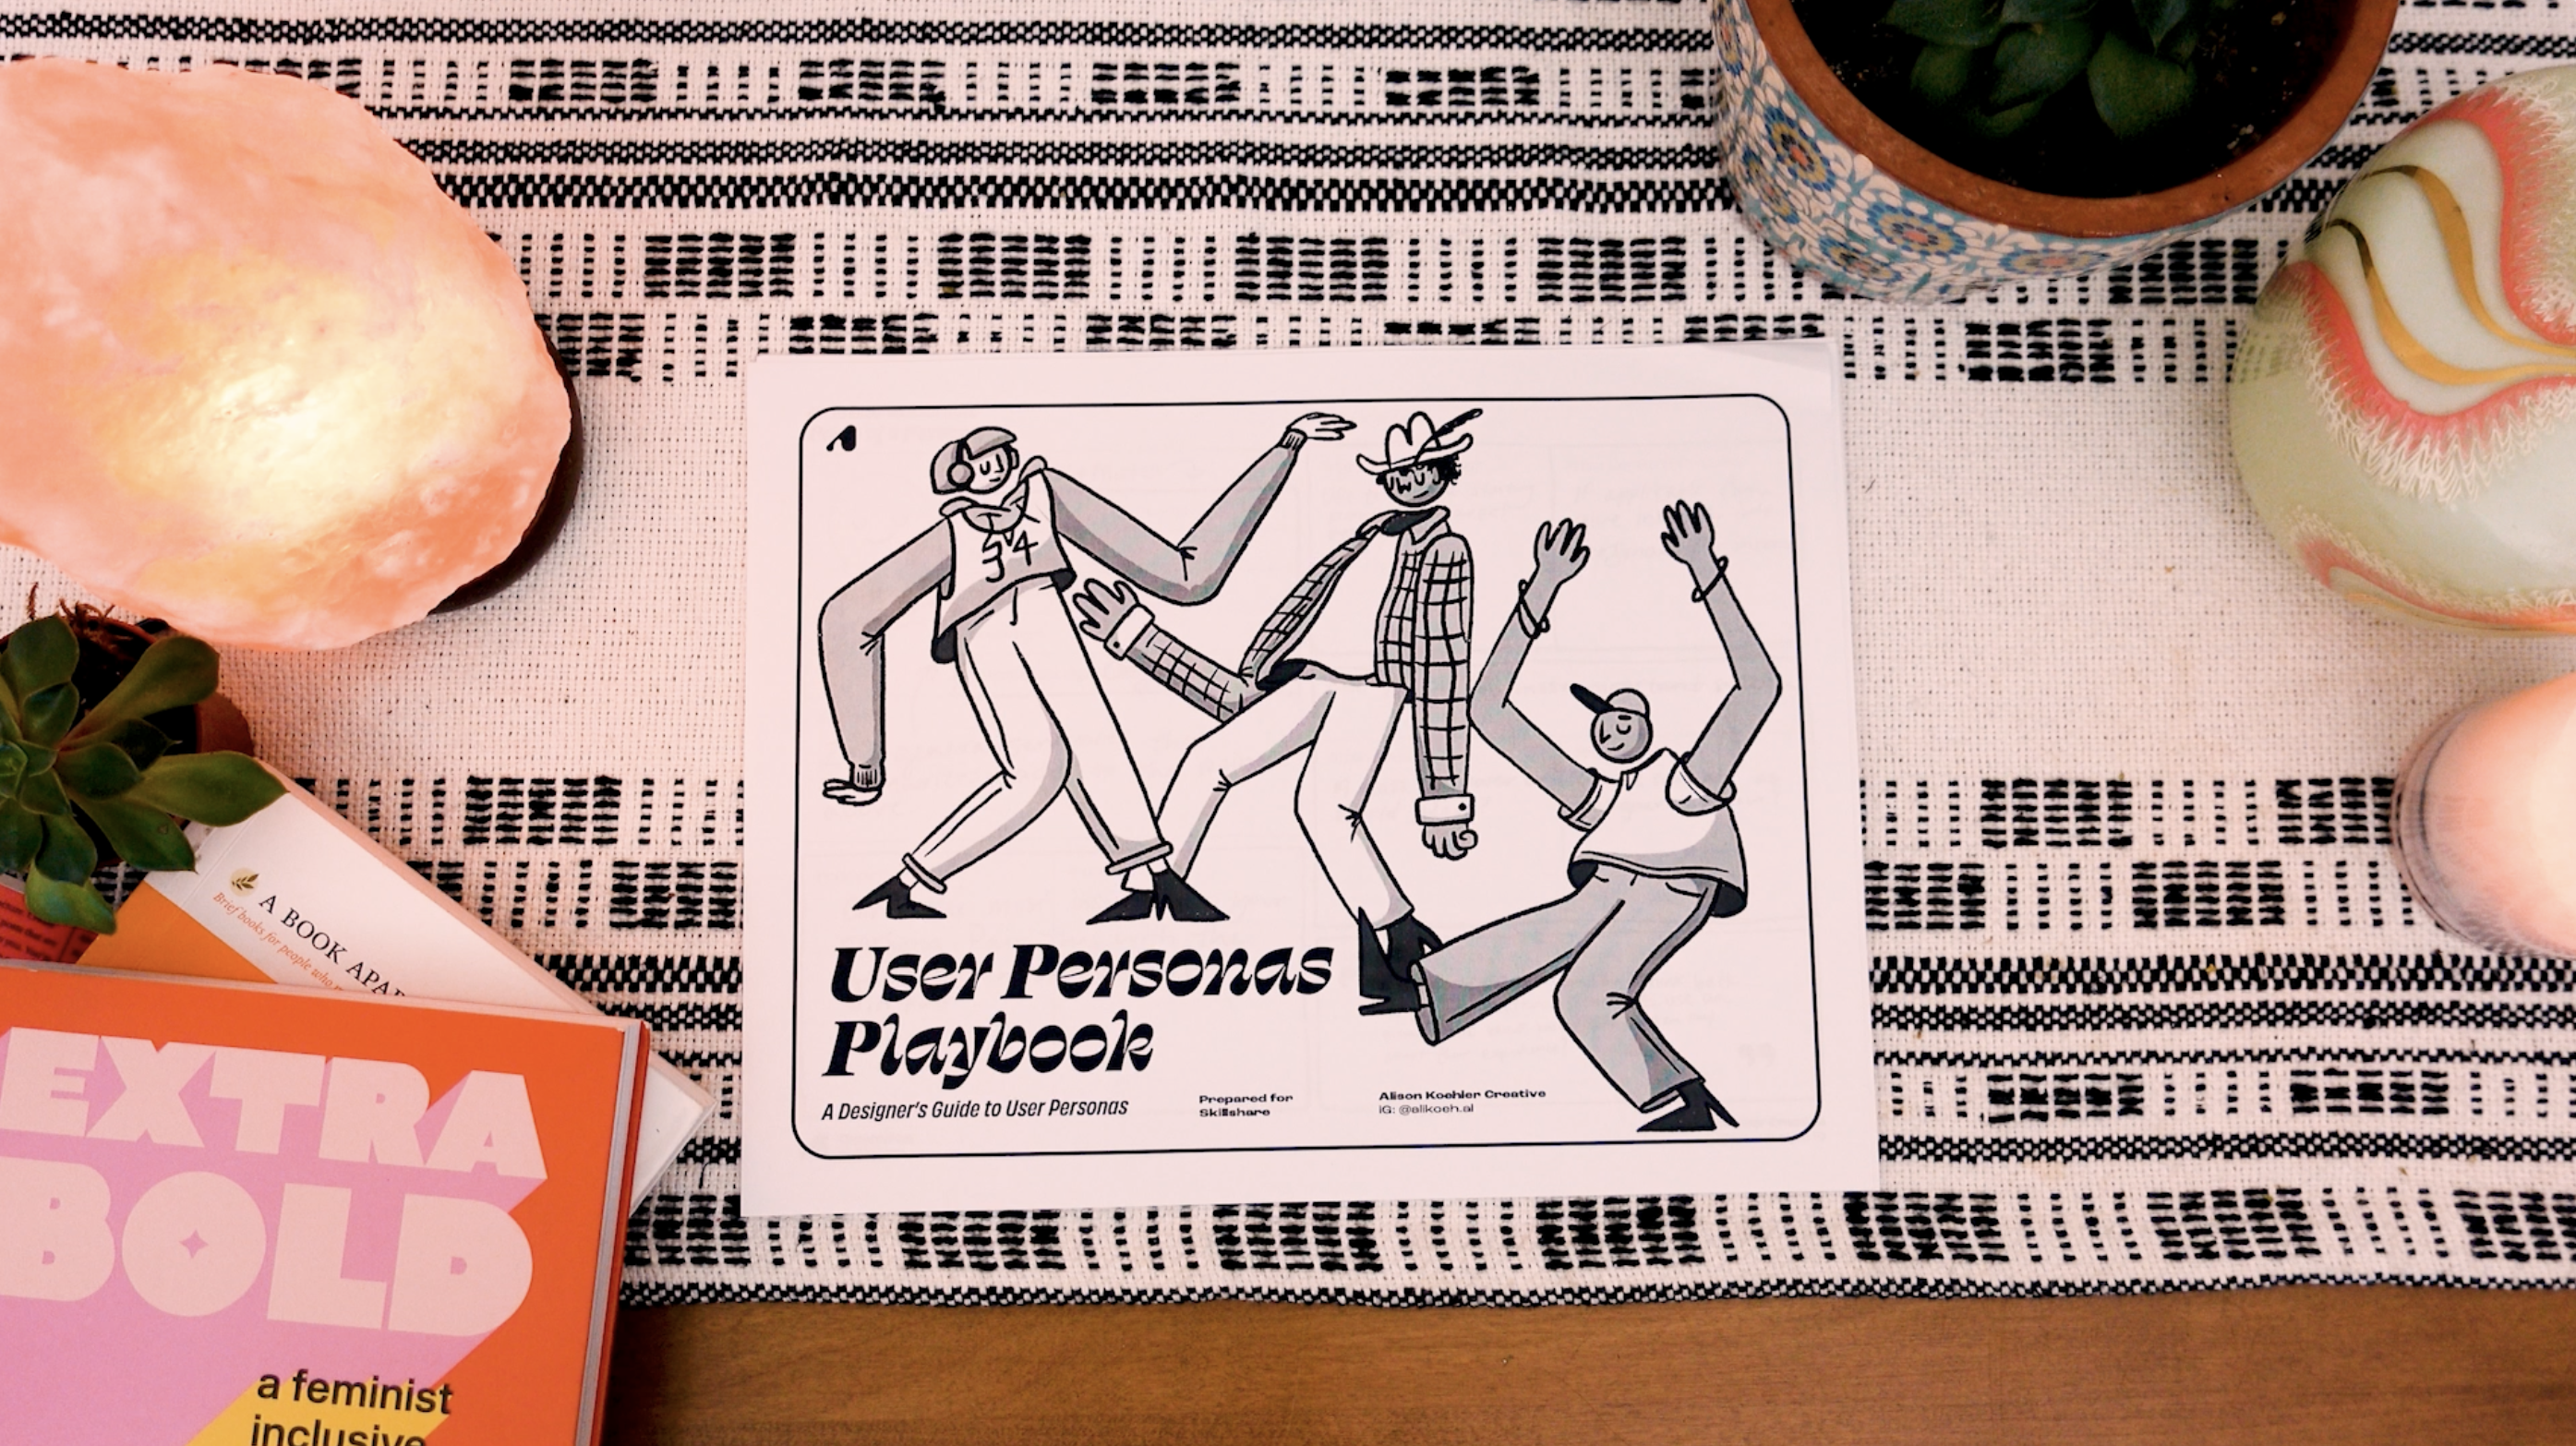
provided for you or one of your own projects. To make this a little easier, I have created a user
persona playbook that you will use throughout the class to help you along, so let's get started.
2. Your Class Project: Your class project is to
create a user persona for one of your projects
or one of the example prompts that has been
provided for you. There's also an
optional challenge to create an application
for that project that speaks to that
user and explain why it effectively
reaches that user. As you move through the class, make sure you have the
resources in front of you. I'm going to refer
to them often. The materials that you will need are:
The resource book, this will guide you
through the exercises, a pencil and paper to fill
out the resource book, a computer for research and
to complete the project. If you'd like to do
the optional challenge or present your user persona
and design forward way, you might need some
design software. Before the main lessons, make sure that you download
the resource book. In each lesson, I'm going to
go over a personal example. For this class, I'm
going to be going over a user persona for a secret society of Australian
Shepherd enthusiasts. When I work on it,
you'll see this symbol. See you in the next video, where I'll explain the resources I have provided for you.
3. Class Resources: In this lesson, I
will be going over the resources that
I provided for you. Make sure you have those
out as we go through them. First up is the workbook that
we will be working through in this class called the
User Persona Playbook. Inside, you'll find
parts of a persona, identifying needs,
research, deliverables, and touchpoints, parts
of a user journey, a blank user persona template, visuals, client communication, also provided is a prompt list. There are different
categories depending on what you personally
are interested in. You can either use this or
come up with your own project. Also included is a short
client discovery deck. This is a free digital
template for you to use in this class or on your other projects. There is a PDF version
and an InDesign version. It includes an overview
of the project, goal, user persona introduction,
user journey, and moodboard, conclusions,
and direction chosen. I have also uploaded my own example discovery deck so that you can see
how I filled it out. Also included is a slide
deck of tips and tricks, which is a handy guide to
all of the tips and tricks that I went over in class, curated into a handy reference. Make sure you download
these or print them out so that you have them as
you go through the class. You will need the resource
book at the very least because I will ask you to
complete activities within it. In this video, I went
over the resources that I've provided for you, so make sure that you
have those downloaded before we move on to
the main lessons. See you there.
4. What is a User Persona?: In this lesson, I will be going over
what a user persona is, why they are important, where you use them, and what parts make it up. For this lesson, you'll need
your user persona playbook, so make sure that
you have that out. What is a user persona? A persona is a fictional
character created to represent a user type
that might use a website, brand, or product
in a similar way. Why are they important? They are important
for two reasons. One, they allow you to
center your design process and solutions to appeal and solve the problems of that
user that you identified. An example would be that
you're creating a website for a restaurant that has
an order online function. Your design should
allow the user to find what they want
to order, order, pay, and check on their order in
a simple and intuitive way. Two, they allow you to
communicate with the client and explain why you
made certain decisions. An example would be that you're designing a brand for
a sports company. You use a font that is bold and italicized in
bright colors to represent speed and athleticism which then you're able to
explain to your client that, that meets your goal. Where do you use them? Personas are usually
created as a tool during the discovery
phase of your project. Then they're used throughout the production and
revision process. They're used in many industries, but mostly product design, UX and UI, and branding. A user persona can be as simple or as complex as
you want it to be. But here are some basic parts. Name, occupation or income,
age, a short bio, location, a photo, their interests
and archetype, astrological sign, goals
and needs, motivations, frustrations, places
where they shop, the car that they drive, and a quote from them. They're also sometimes accompanied
by a user journey map, which is made up of
these parts, goal, phases, which can vary,
actions, thoughts, pain points, and opportunities. Personally, I use these
tools as guidelines and I frequently switch
them up as I'm working. I'll share some examples as
we go through the class. There are slight differences between personas
that are used for branding versus UX
versus product design. All are concerned with
how their audience is going to interact
with the design, aka, what is the
brand experience, or how do users accomplish
their goals online? Or how does your user hold the object that
you're designing? Branding may be
more concerned with how they're going to navigate through the brand aesthetically, way-finding, shareable graphics, and consistency
across platforms. UX is concerned with SEO, the ability of their
users to navigate websites where they
get lost, etc. Product design, what
is the strength and ability of your users
to use the product? One example that I love is Nelson
Treehouse by Farm Design. They don't actively
show you the persona itself as you go
through the project, but you can start to
piece it together who they're targeting
as you go along. As you move through the project, there are so many
pictures of people talking about the
history of the brand and who the owner is, really gives you a sense of
who they're trying to target, which is the DIY
Treehouse builder who doesn't know how to start and the Future of Cooking by Patricia Reiner's is
also a great example. She shows the relationship
between a question the user is asking and how she
answered it with her design. Before moving forward,
do some research and find some examples of user
personas that speak to you. As you look for
your own examples, think critically about how
the person's design met the goals of the user or didn't. In this lesson, I went over
what a user persona is, why they are important, where you use them, and the parts that make them up. In the next lesson, I will be going over
how you identify what you need to start
creating your user persona.
5. Identifying Needs: In this lesson, I will
be going over how to identify what you need to
start with your user persona. For this lesson, you'll need
your user persona playbook, so make sure that
you have that out. Let's start with
some basics before we start on our user persona. You can use one of the
prompts I provided for you, or you can use your own. Give a short synopsis
of your project. What industry is it in? What kind of project is it? What is the overall
goal of your project? What is the problem that
you're trying to solve? Next, focus on the
persona itself. Is the audience for
the project known? Can you get any
demographic data? Or will you need to
do some research? What is your first gut feeling or hunch about that audience? A very simple example is that
you're making a website for an audience that's older and maybe not used
to technology. Use your empathy. Make
the navigation simple. Don't use a ton of fancy
animations and layouts. Use larger type, et cetera. Are there any gaps in your knowledge about the
industry or audience? Note these down so that you
can research them later. Let's try it for my own project. Society at the
Shepherds is the name. For industry, I am just noting down that it's a meetup group, and this is a branding
and social media project. The overall goal of
my project is to help the society of Shepherds
to gain new members. The only information that I know about my demographic
is that we're looking for people who own or appreciate
Australian Shepherds. For your projects, if it's real, you should try and at least find some demographic information
to start off with. For society and the Shepherds, we can probably infer that their audience is
going to be active, compassionate, and kind, maybe outdoorsy, and
definitely social. It's okay to not know
everything about your audience or the industry at the beginning of the project. It's your job moving
forward to learn about that project
and do some research. For example, at my day job, one of our clients is a
hair and beauty brand. I have straight two wavy
hair and didn't know much about the whole spectrum
of textured hair. I had to learn a lot about it
and I was really shocked to learn how much information
is out there about hair. It's okay to let your
client be the expert in their field because
they're coming to you to be an expert in yours. My biggest piece of
advice that I can give here is to be humble, do research and ask questions, or engage with those
who know more. You don't have to have a PhD in this subject to do good work. But you do need
to do research as a designer to fully
understand what you're doing. That is one of the responsibilities
of a good designer. Go through your playbook and answer the questions
that are listed. Spend some time
figuring out where you made need to do some
additional research. In this lesson, I went
over how to identify the main points of your
project and how to figure out where your
own gaps and knowledge are so that you can
do informed research. In the next lesson,
I will be going over how to do research.
6. Research: In this lesson, I will
be going over how to do research for
your user personas. For this lesson, you'll
need your user persona playbook and something that
can access the Internet. Research for projects
can be overwhelming, but I'm going to break it down to its simplest components. How do you start research? I like to start
with asking myself, what is the most important
information about my user? What is the crux
of their journey? What is their motivation
and end goal? What are they trying to achieve? I tried to look at some
similar projects to start off and see how other designers define
the goal or problem. I look at their key
audience or I infer it. I look at their solution and I tried to think
critically about it. Did it solve the problem? How is this designer
solving that problem? How can you apply their
learning to your own project? Then I do the same for an
industry or project that is not the same as my own and I answer the same questions. Then finally, I asked
myself if there's anything specific to my industry that
I need to learn more about. There are several different
kinds of research. Interviews, straight up, talk to your audience. This is the most effective, but sometimes the
hardest to pull off. Usability testing,
this is for web work. How are people navigating
through your website? What are their goals
and where are they getting stuck or frustrated? Competitive analysis,
also called market research or
a competitor audit. For branding, you can use this to see where you can stand out. Or for web, you can see established patterns
to either stand out or model yourself based on the patterns that users
are already familiar with. Heuristic analysis,
this is a system of 10 points of analysis that rank a website
based on each one. The points are visibility
of system status, match between the system
and the real world, user control and freedom, consistency and standards,
error prevention, recognition rather than recall, flexibility and
efficiency of use, aesthetic and minimalist design, helping users
recognize, diagnose, and recover from errors, and help and documentation. As you can see, there is
a lot to this one and a lot to learn in this
specific kind of research. Finally, a brand audit. What are the tangible and
abstract key uses of the brand? What is the brand's
mission statement, values, goals, how
they treat employees, how they treat customers, what the company culture is, etc, as well as very tangible uses of their
brand such as a logo suite, social media, packaging,
website, etc. Then putting it altogether, what is the overall goal and making sure that you
have the right goal. Write down your
findings and write down quotes from what
you found for people. Analysis. Are there any patterns present that you discovered
from your research, and what are the implications
for your project? Finally, create a solution. How will you proceed? Back to my example
about hair products. I had no idea how expansive the hair
industry actually is. The first thing that
I asked myself was, what are the main differences
between different textures? This client breaks it
down into straight, wavy, curly, and kinky, so I started to define what those words actually were
and what they meant. Then I could start asking more granular questions as
I started to learn things. How often should
you wash your hair if you have curly
or textured hair? What kinds of
products do you use? What does the hair care
process look like on a daily, weekly, monthly,
and yearly basis? With my team, I would ask questions when I really
didn't know because hair is so nuanced that sometimes even the
slightest difference in photography can make
a really big difference. For Society of the Shepherds, I'm going to do a
competitor analysis. A competitor analysis, again, is essentially a brand
audit of a bunch of different brands
that are operating in and around where
your client is. Obviously, Society of the
Shepherds has no competitors. But for the sake of this class, let's say that there's
a rival secret society called the Good Boys. They have really strong
guerrilla marketing, but no social media presence. Maybe part of what I can
do for my client is to put together a social campaign
to gain new members. My biggest tip here is to revert back to little kid brain. Why is it like that? No, but really why? When, how, what, all those kinds of questions make sure that
you're asking them because no question is
a silly question here. Or if you're lucky
to talk to someone who's in that actual
audience, do it. Or if you're doing a website or something that
requires a process, try and put yourself in
that person's shoes and what steps in that process
that they might encounter. Before moving on, I'd
like you to answer the questions that you wrote down from the previous lesson. This is the minimum that
I'd like you to research. But if you'd like to
spend more time here, it will only make
your work stronger. In this lesson, I went over
how to start with research, how I approach research, some basic questions that you
should be asking yourself, and how to apply learnings
from other case studies. In the next lesson, I will be
going over how to identify deliverables for
your user persona. See you there.
7. Brand Touchpoints: In this lesson, I will be going over how
to identify deliverables, the touch points of your
brand, and best practices. You will need your user persona
playbook for this lesson, as well as something
to write with. What are touchpoints? Customer touchpoints
are your brand's points of customer contact
from start to finish. I've broken these down into four different
categories: introduction, consideration, participation,
and connection. These are very broad, so you can apply them to
almost any kind of project. Introduction is
when someone first interacts with you or
finds out about you, consideration is that they are considering
further engagement, whether that's using your
product or buying something, participation is their first
full interaction with you, and connection is
when they bought into your brand or product. Why are they important? Customer touchpoints
will serve as a guide for improved customer
satisfaction across the entire customer journey. Now that you've
done some research, I'm sure that you have
at least some idea of where you're going to be
interacting with your user. Are there any best practices for talking to your
client in that media? Take social media
platforms, for example. How you would talk to
somebody on LinkedIn is very different
from how you would talk to somebody on TikTok. For example, LinkedIn is a professional
networking platform and TikTok is much more casual. Social media is
even different from how you might talk to
somebody in an audio ad on Spotify or how
you would talk in an infographic on how to brew French press on the
back of a coffee bag. Make sure that you're
doing some extra research on how you should be
talking to your users. Also, think about
your user yourself. Think about that person who may not be familiar
with technology. You might have to be more
granular in your explanation and not assume that somebody has prior knowledge
about an industry. Now let's break down
apples touchpoints. For introduction you
probably have heard about Apple computers
through word of mouth, or maybe you saw their
logo or one of their ads. Consideration, you might be
comparing products online, a PC versus a Mac. For example, talking with an
Apple store employee about which computer or
product you should buy and using the test or
products in a physical store. Participation, you might be
in their physical location. You might be looking at their
furniture and lighting, the way that the store smells, the uniforms of the employees, as well as the iconic
glass windows and doors. Connection would be the bags that have your items in them, the Apple stickers
that they provide in every product onboarding once
you turn your product on, ongoing marketing emails and
their annual conferences where they unveil new
software and products. Now let's try a fixed scenario with Society of the Shepherds. For introduction, you might
see a sticker on the street or hear about it from
an existing member, for consideration, maybe you
receive an invitation in the mail to join them,
for participation, Maybe you've gone to their
physical location at this point and you're being
initiated into the group, and connection
would be continuing to meet up with this
group and go on hikes and generally participate
in events moving forward, as well as maybe subscription boxes in the mail with
toys for your dog. As you try to think
of these touchpoints, go through how you
interact with brands. What are the steps
that you take? It's easy to miss steps here, so go slowly and
be very granular. Before moving on, list
out some examples, at least 1-2 in each category. In this lesson, I went over
identifying deliverables, the touchpoints of your brand, and best practices for
interacting with your users. In the next lesson, I'm
going to be going over how to create a user journey. See you there.
8. Take Them on a Journey: In this lesson, I
will be going over what a user journey is and the steps that make it up. For this lesson, you'll need
your user persona playbook. Let's take a quick audit
of what we know so far. We have identified the
basics of our project, some generalizations
about our user. We have done some research. We maybe know what
their motivations are. We know the steps that
they're going to be taking and what those
interaction points are. What is a user journey anyways? A user journey is a
visualization of the process that a person goes through in
order to accomplish a goal. This can be any goal. It can be as simple as
getting a glass of water, or as grandiose as
saving the world. Let's recap the steps
of the user journey and go into more detail. The end goal that your
user is trying to reach, phases which can vary. This is usually a marketing
funnel or feelings. On ours, I put introduction, consideration, participation,
and connection. Actions. What physical steps
are they taking? Comparing products,
walking into a store, or talking to a salesperson? Thoughts. What are they thinking about while they're doing
these things? Pinpoints. Where are the hiccups
in the journey? Finally, opportunities. Where are there opportunities for ease, surprise, and delight? You are going to take
these main touchpoints that you identified in
the previous lesson and we're going to use those as steps in
our user journey. Let's do an example together, ordering food for delivery. What are the main touchpoints? Our first, the
person is probably going to open the
app or website. They're going to
browse the menu. They're going to
choose a food item, but maybe this person
has a food allergy so how do they modify
the food item? Checkout, choosing a
time to be delivered, adding their payment
information, paying, order confirmation, checking up on their order
status, and delivery. Maybe the delivery person forgot to give them their drink. How does a person quickly get in contact with the delivery driver to make sure that
they get their drink? For Society of the Shepherds, the goal is to find a group
of like-minded individuals who love Australian shepherds. The phases are maybe they saw a sticker on
the street or heard about it from a current member then they received an
invitation in the mail. Then they went to a
physical location where they were initiated. Then for connection,
they continued to go to different meetups and
events with this group. Maybe they received
subscription boxes in the mail. The actual actions are
seeing the sticker, receiving an invitation, going to a physical
location, being initiated, and continued participation. The thoughts are,
this is interesting. What is this? I'll just go and check it out. I love Australian shepherds. This is mysterious. Do I really want to do this? I guess this is cool. I did say to my partner
that I wanted to make some new
friends and finally, wow, this is really cool. It's just an over-the-top
meetup group. The pain points are
how do I contact them and how do I participate? I'm seeing an opportunity here to be playful
with the branding without making the
potential new members feel like they're in danger. My biggest tip here
would be to try and actually observe this
process that you have laid out. If that's not an option, try and use your teammates, or the client to help
inform these steps. Before moving on, make
sure that you fill out your user journey
for your project. In this lesson, I went over
what a user journey is and what the steps
are that make it up. In the next lesson, we're going to be creating
our user persona.
9. Flesh Them Out: In this lesson, I'm going to
be going over a user persona and the different
parts that make it up. For this lesson, you will need your user persona playbook. I have provided a user
persona template for you. You will only need to fill
out the sections that are important and relate
to your project. Let's recap all of the sections and go into some more detail. Name, this is pretty
straightforward. Just name your user persona. This can be any name that feels appropriate for the demographic, or any name that you want. I like to use random
name generators, and sometimes even
baby name lists. If you're looking for
a specific generation, you can sort them by
popularity, by year, this shakes me out
of my own biases and favoritism that I have
personally with names, and keeps it a little
bit more neutral. Occupation or income,
age, a short bio, which is basically a
short description, and you can keep this
related to the project. Where they're located,
a photo of them, which I will be going into
further detail later on, what their interests are. Archetypes, you
can look these up online to find different ones, but using archetypes is just a tool to have a place
to jump off from. Same with astrological sign. What their goals or needs are, what their motivations are, what their frustrations are. If you fill out anything on
this user persona template, I would fill out this. This is the most important
part of the user persona. What shops that they frequent, what car they drive, and a quote from them. Let's try doing an example
for Society of the Shepherds. For my user persona, I named him Marc Seymour. He's an arborist who
works with trees all day. He is 29 years old. For my bio, I wrote that mark
is an arborist in Tucson. He loves nothing more
than to be outside, looking at and enjoying
the piece of nature. He is located in Tucson, Arizona, which is
where I'm from. His interests are hacky sacks, hanging out with his dog, Hank, cooking his favorite
soup, leek and potato. This information does
nothing but flesh out this persona more so that
you can imagine him fully. I like to add in these
almost Easter eggs, especially when I'm
communicating with clients, it helps break the
ice and helps make your client feel at ease as
you go through the project. His archetype is explorer, which means that he enjoys exploring and
finding new things. His astrological
sign, is Scorpio. His goal is that he wants to make some new friends
with similar interests. His motivation is community. His frustration
is not being able to find people with
similar interests. He shops at REI in Patagonia. He drives a 2022 Ford Ranger. A quote from Marc is, I love going on adventures, I just wish I had
someone to go with. If you can actually
observe this process and interview people, that would be ideal
for this project. Otherwise, use your teammates or clients to
solidify these steps. Before moving onto
the next lesson, make sure that you fill
out your user persona. In this lesson, I went over what the main parts of
a user persona are, and how to fill one out. In the next lesson, I'm going to be going over how to find the right
photo for your persona.
10. Visualize Your Persona: In this lesson, I
will be going over some resources for
finding stock imagery, including some that
are really awesome for diversity and inclusion. Why finding the right photo
for your user persona is important and how to identify
that it is the right image. For this lesson, you will
need your user persona playbook and something that
has access to the Internet. So my favorite resources for finding stock imagery
are Unsplash, Pexels and Adobe Stock. Unsplash and Pexels
have free options, and Adobe Stock is based
on a subscription. However, here are some
really cool options for finding diverse
stock imagery. Nappy.co, I believe that
they have free options. TONL, T-O-N-L has
culturally diverse options, and this is a paid subscription. CreateHER Stock has
photos of women of color, and this is also a
paid subscription. The women of color in tech
collection on Flickr, Haute Stock has been culturally
diverse images as well, and the Gender
Spectrum collection by Rice has free LGBTQ
plus stock imagery that features images
of trans, non-binary, and gender non-conforming models that go beyond
the stereotypes. When finding imagery, it's not just about diversity, it's about feeling appropriate
for the actual audience who will be looking
at your project. It's about being
thoughtful and showing empathy and being critical about what you're highlighting
and your own biases when you're looking
for stock imagery. I know throughout this
class I have referred to our audience as users, but at the end of the day, they are humans and not metrics. Here are some best practices for finding good stock imagery. I like to look for images
of people that are doing activities where they're
not looking at the camera. I like to look for
specific moods that go beyond just being happy, I like to look at how
the photo is edited and see if it fits
in with the brand that I'm working with, I like to ask myself if there is a relationship being
illustrated in the image, and I like to ask
myself what I can infer about the person
from the image, from their body
language or otherwise, that communicates
what I'm trying to communicate with my
client, but subtly. For example, a photo of
a person doing yoga, you can probably assume that
the person is probably fit. They probably care
about their health, maybe they have a busy life and doing yoga helps them
slow down a little bit. Having the ability to answer why with your own work is
extremely important. It is our job as
designers, artists, and creatives to make sure that we're thinking critically
about what images and messages that we're
putting out there. Even if you're not sure
why you chose an image, I'm sure that you
have some idea. Look critically at the image and start to ask yourself
questions of what is actually in the image itself
and that will give you some clues as to why
you chose the image. So let's try and find a good
image for Marc together. As I tried to look for
images of my user persona, Marc Seymour, I'm thinking about those things that I
established about my user. I'm looking for photos
of somebody that seems active,
compassionate, and kind. Maybe somebody who's
outdoorsy and social. I'm going to look for photos
of people with their dog. I'm going to look for
people who are hiking. Already I have a couple of
different search options. The only difficult part about my project is that I'm looking specifically for Australian
Shepherd photos. The one that I chose that I felt represented Marc Seymour
is of an individual who is sitting outside
with their dog, they're in the outdoors, and the model is not
looking at the camera. The dog is in the foreground, so it shows a relationship
that goes beyond just, I love my dog, but I love going on
adventures with my dog and I love appreciating nature. When I look at this person, I buy it that they
are in arborist. When you're trying to figure out why an image feels
correct for a situation, try breaking down the
qualities of the image. So you can look at a
photo and say, well, there's two models in this image who are cooking together. They look happy, the
lighting is warm. One of them is older, maybe their relationship
is mother and daughter. So even if you're not
sure where to start, you can just break down
the qualities of the image just based on what you can see and start there
before moving on, try and find an image
for your persona. In this lesson, I went over some resources for
finding stock imagery, including some amazing
ones for diversity and inclusion and why answering, why is extremely important
as an artist and creative. In the next lesson, I
will be going over how to communicate this information
with your clients.
11. Client Communication: In this lesson, I will
be going over how to communicate your user
persona with your client, as well as some of
the things that accompany your user
persona in a deck. The activities in this lesson
are absolutely optional. If you'd like to succinctly
write notes about your user persona and user
journey, that's totally okay. But if you want to make a more
designed forward approach, then you will need some design software or you can use something
like Google Slides. The structure of
this deck consists of an overview of the
project, the project goal, your user persona, user journey, and a Mood-board,
conclusions or direction. Always re-centering
your client with an overview of the
project and goal is nice, especially as you move forward
in your creative projects, your client may have
forgotten why you're here. Just giving a quick synopsis of what you've
already covered is a great way to re-center
yourself as you continue your conversation
throughout your meetings. Then a condensed version
of your user persona, user journey and what you
inferred from your research. This is where your
Moodboard comes in, your conclusions
that you drew from your research and where you're
headed from this point. As you're designing
this document, try and use visuals whenever
possible to liven it up. Background colors, borders, and type hierarchy are
extremely important. You want your client to get the gist of what you're trying
to say on any given page within a few seconds
and what feels like it belongs to this
persona in this brand. Some examples that I
really like are from farm. Their Moodboards are
only combined imagery but materials and illustrations. They are more akin
to a style scape, and they really show you where they're going to
take the brands. For Society of the Shepherds, this is my project
overview and goal. This is my user persona of Marc. I've just essentially rearranged
things for this deck. Here's a Moodboard
that I created to show the direction
that I'm going in. The direction that in
going in is very nostalgic and it feels a little
mysterious and campy, but also very friendly. In each of the lessons, I asked you to answer
the question why. That's so that when
you get to this point, you can succinctly
write notes on each of these slides so that you can explain what you're
thinking to your client. Before moving on,
I'd like you to try and put together
a short deck. If you don't have access
to design software, try using Google Slides
or an equivalent. Anyone who's just focused on
the persona can stop here, but if you'd like to
go a step further and apply this knowledge
to a design project, go ahead and create an application for the
project that speaks to that user and then explain why it effectively
reaches that user. In this lesson, I
went over how to prepare your user
persona for a deck. In the next lesson, I'm going to be
talking about how to expand upon these
tools. See you there.
12. Make it Your Own: In this lesson, I
will be going over how to make these
tools your own. The tools that we've
used throughout this class besides research, are the user persona
and the user journey. These tools that
I've shown you are very traditional ways
of doing things, but I've used these tools
in a lot of different ways. For example, I did a website project for a
community health center. The center served the
entire community, so the main goal was that it was easy to get where
you need it to go. I created three very
pared-down personas; new patients, returning
patients, and donors. Then I created a very pared-down
user journey that map their steps first reaching the website to
reaching their goal. My main concern was
getting them to their destination in
three clicks or less. That's what I wanted to map
and show to the client to illustrate that I was solving
their design problems. Here are a couple of different
versions of a persona. The first is for this
project called WD-40 Bike. The actual persona itself
is very pared-down, but it shows the behaviors, the user journey map, and then immediately after it shows their proposed solutions. Essence by Maddy Beard is
a really great example, where she did actual interviews and talk to who her user was. Then she maps out
what she learned from those interviews and how she's turning that into a solution. These tools that
I've shown you are very traditional ways
of doing things. But at the end of the day, they're just tools and you can use them however it
would benefit you most. In this lesson, I
went over how to make a user persona your own. This was the last lesson, I'll see you in the wrap-up
for final thoughts.
13. Wrap Up: Thank you so much for
taking this class. I'm so happy that you
made it to the end and I would absolutely love
to see what you created as you move through the lessons. Please post those
in the project tab so I can give you feedback or you can post a question or progress in the
discussion tab. In this class, you learned
what a User Persona is and the different
parts that make it up. How to identify the main
components of your project, and how to start doing research. How to identify the
touch points of your project to create
a user journey, how to create a user persona, and how to find
the right imagery, and how you communicate
that with the client. If you take away one
lesson from this class, I would love for it to be
answering the question why. Why are you doing something? Why is this individual
the best user? Why did you pick this
imagery over that imagery? You need to be able to answer all of these questions
for your client. Make sure that you're
thinking about this as you go through your own
projects moving forward. Thank you so much again
for taking this class and I'll see you next time.
 Alison Koehler, Creative | Graphic Designer