Transcripts
1. Class Introduction: Hello, my name is
Kimberly Crawford and I'm a surface pattern designer
and online educator. I love using technology to
help my creativity sore, to speed up my
workflow and to make my artwork shine with
my own personal style. If you would love
to add these things to your design work, wait until you see what
Adobe Capture can do. First, we will gather
texture images from the indoors and outdoors. No more need to purchase
textures online, wondering if they're safe
to use for licensing work. Create your own textures for backgrounds with
your very own style. Not only can textures
be captured, but also images of real natural elements
such as dried flowers. Even learn how to
capture images from real life or photos
on your camera roll, these images can become incredible motifs for
your design work. Do you struggle with converting
your drawing sketches or digitally drawn images from
raster to a vector format. Adobe Capture makes it a snap
and speeds up your workflow exponentially with tons of
controls on adjustments. It allows you to get the best
image for your own style. Create unique color palettes from the world
immediately around you, or from photos of
your adventures. Adjust and fine tune the colors or let the app suggest
new colors for you, get RGB and CMYK codes as well. And finally, we will take a look at creating brushes
with captures, raster brushes and
vector brushes. Yet another way to add your own custom touch
to your design work, Adobe Capture does all of this, and so much more from a
smartphone or a tablet. But the absolute greatest part about this app is
how it connects to your Adobe Creative
Cloud products like Adobe Illustrator
and Adobe Photoshop. The things you will learn
in this class will blow your mind and fling open the
doors of your creativity. Go download the app, and let's have fun creating.
2. Class Supplies and Project: Class supplies for this
class are pretty simple. You need a smartphone or tablet. The Adobe Capture app, in a ton of items that will
be in your house, easy-peasy. For your class project, simply capture a texture, botanical drawing, painting or anything you're
currently working on or with. This may possibly be the easiest class project in the history of
class projects. To share your class project, click the project and resources tab under the
video of the class lessons. You'll need to do this
from your desktop. On the right side you will
see a bright green button. Click the button to launch
the window for uploading. Click the button
that says Upload image, title your project, and leave any process
or ideas you want to share with the rest of
the students in class. If you'd like to add
more than one image, you can click the photo
image on the bottom left. I know I cannot wait to
see what you capture. Inspire everyone with
your unique images. Share with us your
view of the world.
3. Adobe Capture App: Welcome to Adobe Capture. This app is available
for iOS and Android and for either
tablet or smartphone. The first thing you
see when you launch the app on an iPad
is the library. The library organizes
all your Captures. You choose how to name
them and sort them. That captures can
be organized by image type or even
grouped by project. The second menu
option is create. You can also choose
the creation tools from the bottom left as well. Camera, audio and import
are the options there. These are the most
often used tools. Let's click on the Create
option at the top and see the different Capture
Tool Options in the app will start
with pattern building, which does not create a repeating pattern in
a traditional sense. The pattern is confined to a specific size
and a PNG format. The other tools included
our audio, graphics, shapes, colors, fonts,
materials, brushes and looks. The options we will be focusing on for surface pattern design will be shapes,
colors, and brushes. Under Shapes. Let's click Create and see how
the camera will open. When we actually capture images, we'll stop and
take a closer look at how each of the
settings work. I did want to point
out that once you are in camera mode
on the right side, the other creation tools can be accessed if you
change your mind. The other tool to
highlight at this point is the threshold slider
for my own work. This slider is what
I use the most. Stay tuned for the next
lesson to see it in action.
4. Launching from Adobe Capture to Adobe Creative Cloud Programs: One of my favorite features of this app when combined with your Adobe Creative Cloud
subscription is the ability to open your captures and other Adobe Creative
Suite applications. I love being able to
immediately use it for my file. Creating this
feature is so cool. I know it will hook you
instantly on the app. Let's open a previously saved
captured image in the app. At the bottom, choose
the option open in. Choose from Adobe
Illustrator or Photoshop, because I typically use
Illustrator, let's launch that. After a moment or two, the file will be up on my desktop open in
Adobe Illustrator. The file name will be
whatever you have chosen in the saving process within
the Adobe Capture app. The file is in vector format. Each part of the image
can be adjusted, leaving you with endless
creative possibilities which we all love to have. These files, especially
the textures, are massive. Keep that in mind as you work
with them on your computer. Because each of these pieces
is a separate vector, I find it helpful to group them all as one when
working with textures. Select all the groups with
the selection tool by dragging from outside and
surrounding them with a box. Choose object, group, or use the keyboard shortcut
Control Shift G on a PC, or Command Shift G on a Mac. The object can be
ungrouped easily if you want to use
a specific portion. Let's take a quick look
at our capture in action. I'll create a rectangle using the keyboard shortcut M and
dragging it to a size I want. Add color to the rectangle, and let's add color
to the texture. The coolest part of using this texture is the
ability to rotate, move, or even scale
our creation. How beautiful is this? This is a texture we captured
outside and now it's a custom personalized vector we can use and all
our design work. Let's look at another capture. Here's a look at our tree
bark capture in color. How incredible is this? Inside Adobe
Illustrator, there is a place to save your
textures for easy access. You can store them
in your libraries. Libraries can be accessed in any Adobe Creative
Cloud program or app. To find your libraries. You can open them
at Window Libraries to learn more about
the process of saving these textures
in libraries, I highly recommend
taking lyse t, whose class finding textures
in Adobe Illustrator. Now that you've
seen another view of what Adobe Capture can do, Let's get back to the good part and create some more captures. I'll see you in the next lesson.
5. Gathering Indoor texture + Adjustments & Effects: Well, let's start with
capturing and texture. The function that
caught my attention and my adoration
from the beginning, allow your imagination
to run free and think of all the objects inside your
house that have texture. Spend a delightful afternoon wandering your home
and collecting images. I started in my office with my desk opening the
Adobe Capture app. I immediately launched
the camera feature, holding the iPad over
my wooden desk surface, you can see the texture
showing immediately. But we can manipulate that texture with the
threshold slider. Push and hold the circle, slide it up or down to
add more details or less. This look is all
personal preference. Move your tablet around and
find the image you like best. Once you're happy, press
the white shutter button. If you like what you see, press the blue Save
button on the top right. Wait a moment or two. And a Save To Library window will pop up. Depending on the detail
of your capture. It could take a little bit. Once the window opens, you can change the name of your capture by
typing in a name. You can assign it to a folder
in your library as well. Make a basic folder
for textures. Or if you're working
on a certain project, create a folder for it. Press Save when everything
is as you desire. You may have noticed
that there were other file types to save. If you like the
PNG color palette or even the pattern
that's shown, it can be saved from
that menu as well. By clicking the box next
to the other file types, they will automatically
be saved. But because I'm wanting
a texture pattern in vector format for using
an Adobe Illustrator, I'm choosing the SVG image. Let's do the process again, this time with a piece
of canvas fabric. Once again, I'm moving my iPad around to find the
image I like best, along with playing with the
threshold slider on the side. One thing I should have
mentioned is that you can also pinch to zoom
in on the app. That was a little complicated to do while I was
trying to film. But keep it in mind
when you're trying to isolate something really groovy. And for fun, let's do one more indoor capture
with bubble wrap. Lighting can really
impact the capture. So move your objects around and take pictures
in different light. You may find a unique image
perfect for your next design. These are basic
and easy captures, but very cool and very, very useful for our design work. But I wanted to show you
some more options within the app that will open up
even more creative ideas. The adjustments
and effects tools, plus a few others. So let's take a
look at those now. On my desk I have a few
buttons on a solid background, so the background
doesn't distract. I've slid them onto my iPad
and tilted it up so that I can close the show you some
more creative tool options. Please note that not
all Android devices support some of these tools. In the camera mode, on the left side is a
half-filled circle. Touch it, then two
options will appear, a circle and an
artist's palette. When you touch the
artist's palette, the image will be
captured in color. Touch the circle again, and it will return
to black and white. The next option down is invert. You can see it literally changes the black and white
to the opposite. Then we have the
auto clean function. Honestly, I never really see the difference in these
texture captures. But what I like is the
fact that it freezes the current capture
and allows you to get to the next set
of adjustments, the adjustments and effects, or the very bottom tool, touching that button
opens a film strip of options for tuning your image. The first tool is exposure. Please note that each
of these functions can be controlled with a slider at the bottom
up next highlight. But I did want to mention that all of these functions stack. Meaning if you use one
and keep it selected, it will be working with the
next adjustment as well. Which is not a problem, but it will impact your results. Experimental way with looks, but always do it with knowledge. If you also want to return
to the original capture, you can tap the
image at the top. There are a few more
adjustments that you can try, but let's go look
at the effects. These effects are kinda crazy, but also very cool. Pixelate is first
followed by comic. Comic does not have
an adjustment slider due to the stylization
of the effect. Up annexes crystal which
is similar to Pixelate, and then point, followed by
line, edge and posterize. Alright, it's time to get more
captures and I'll look at even more editing features bundle up because
we're headed outside.
6. Gathering Textures: Outdoors + Editing Captures Tools: It is Wendy freezing and
still winter outside. But there is still magic
to be found outside. Inspiration that will feed our creativity while
nature sleeps. Please forgive the
wiggles, screen glare, reflections and
the hilarious bit with my hair blowing sideways. To truly grab these textures
using Adobe Capture, I had to endure the elements and film and less than
ideal conditions. Once you see the possibilities, I know you won't mind the
mass because the mass always comes before the
beauty. I know you get it. Capture number one, tree bark with the Adobe Capture
app open on my iPad. And the tool option of
shapes already chosen, checkout, the immediate
capture, that's insane, right? Let's get a few more
interesting captures. While these might not all be usable for some of
our design work, that capturing gets our
imagination working. It is freezing out here. Let's coincide and get
some hot chocolate. Then we can look at
our captures and a few more editing options
available in the app. Warmer, much better. When the Adobe Capture
app is open on the iPad, you'll see your library and the textures folder or the
Captures we created outside. Tapping an image will open it and with it some
editing controls. At the bottom is open
in reuse and edit. Let's choose Edit. The edit window will launch. At the top. Choose the refine
section by touching it. And down at the
bottom, we'll get a few tools for editing. The first tool is erase. And take note of the blue bar
at the top that says erase. It's really helpful to know
which mode you're working in. You can erase any portion of your capture by simply
touching it with your finger or swiping
to remove a larger area. The size of the eraser could
be controlled at the bottom. There's also an Undo arrow, which I know I always need. When finished with the eraser, you can choose cancel or save, because I don't need to save
this, I'm going to cancel. The next tool under
Refine is the draw tool. This is literally a
solid black brush, a mono line brush. You can adjust the
size of the brush. I personally have
not found a use for it in any of
my own captures, but you might find one in yours back under the editing part. Now choose crop, which is the
center option at the top. Cropping works
like you'd expect. Move the signs or
the corner handles. With textures. This is incredibly helpful. Simply grabbed the best part
of your image and use it. The angle of the
image can also be adjusted using the
compass at the bottom, touch and slide to
change the image. The final editing option
at the top is smooth. This setting can be
turned on or off. It is truly a personal
look preference tool. When you're editing is complete. To save, keep in mind, this will change your
original capture and it does not
save a duplicate. One last thing using
these amazing captures, when you see a file
in your library, touch the three dots underneath. This launch, a small flyout menu with two options,
edit and share. Edit is for features
inside the library, like its name, where
it's located, et cetera. Share is just for that sharing. Share to Export As save to
camera roll and open in. You'll want to use all of these. Oh, and that save to
camera roll creates a JPEG image perfect for some social media sharing
or perhaps sharing with the rest of the class in
the class projects section, hint, hint, wink, wink. In the next lesson, let's look at capturing
images of real botanicals.
7. Creating Color Palettes: Color, another powerful
tool for designers. Once again, I love how we
can create color palettes of our own inspired by
the world around us. To start with, let's open a
photo on the camera roll. I have a fantastic flower
image to get colors from. Touch the import tool at the bottom-left, choose
import image. You can see a few options for places you can
gather images from. But let's choose Camera Roll, scroll through your photos and
select the image you want. Inside the camera. On the
bottom-right, choose colors. The app automatically chooses
five colors from the image. You can change from
five individual colors to a gradient by touching
the tool at the top. The adjustments
and effects tools are available here as well. If you are not enamored
with the colors chosen, you can select other
colors by touching one of the colored circles
and moving it around the image until you
find a color you like. Once the colors are
all to your liking, push the shutter button. This will bring up
the next window, the color wheel
for those who get nervous about adjusting
a little too far, there is an Undo
arrow at the bottom, which is a big view
to adjust each color, touch it, causing it
to be highlighted. Then the sliders can be used to fine tune at the top,
choose harmonies. While you can adjust
each color here as well. If you touch the artist's
palette down at the bottom, you'll get a menu of options. I'm going to touch each of the options to show you
the color palettes. If you like one, save it. When the Save To
Library window opens, it will suggest the original
palette for saving, as well as the new
one you created. Simply click the box next to the original palette if
you desire to keep it. Note that these new
palettes are being based on the selected
color at the top, which is defaulted
to the center color. Touch the color you wish to use, and to apply these changes too. For another option, select
the image choice at the top. This will bring up
the original photo. Down on the bottom row
is now a Smiley face. Touch that and get
different coloring options. I'll show you each of the
results for those as well. If you are looking
for the color codes, as we all always are, those can be found with the
original color wheel window. The mode can be changed with
the menu on the bottom left. If you've already changed
and saved your palette, simply open your palette
from the library. Touch the color and all the information will
appear on your screen. When you're happy with
your color palette, you can go ahead and save it. It may ask you if you wish to share it to the
Adobe Color site. You can choose whatever
makes you happy. The process for
saving colors is the same as all our other captures. Back in Adobe Illustrator, we can now access our newly created a color
palette via our libraries. Open libraries. Find this section
labeled colors, and you'll see what
you just created. To add the palette
to your workspace. Right-click on the palette
and choose Add swatch. You'll find that if you click on an individual color
in the palette, that will become the color
that you are currently using. Oh man, look at that cool brush. I can use that with
my new color palette. Wink, wink. I'll see you in the next lesson where
we will create brushes.
8. Capturing Real Botanicals: Before we start capturing flower images from
real botanicals, one thing that helps me get
more successful images is a good background plane
and without texture. To create this lightweight
and portable background, I purchased a frame
kit online meant for Canvas from a craft store. I picked up blackout fabric. Blackout fabric is used to
align curtains to block light exactly what we want
for a background for this, using a strong tape
style adhesive, I wrapped the fabric
around the wood. A quick and easy project, and I use it all the time. A dried see them stem will be a perfect place to start capturing flowers
and botanicals. I've already chosen the camera down at the bottom
of the front menu. And now I've made sure that the shapes option is
highlighted on the right. Move stem around until you
capture the look you desire. I would even save
several angles as having more motif
choices is usually best. In my examples here, you will see dried
florals for two reasons. First one, it's winter, so it's hard to find anything
growing in the yard. And secondly, very
often dried flowers are captured with more
detail than fresh. But by all means, experiment with all
the botanicals. One more thought
I want to share, when you're capturing
botanicals, if you set them down or lay
them down on your background, you can often get a shadow
in places under the image. If you adjust the
threshold, it can go away. But often you lose some of the awesome details you are attempting to capture
in the first place. Lift the botanical
off the background. Now, you might need
a second hand. Say hi to my son here, or prop your
smartphone or tablet up to give yourself
a secondhand to use. When I saved this
acacia stem capture, I chose the PNG
option to show you what that can look
like most of the time. Because our goal here is Surface Pattern Design
and other design work. We want a black and
white SVG file. But the PNG files can be interesting and
might work for you. Or I could see some
great social media posts being created with them as well. The stem is quite complex. Seeing a lot of extra background behind the image
isn't too surprising. However, with a simpler stem, the results can be impressive. Here's a final look
at that stem in an incredible black
and white SVG capture. Can you even? Now, let's take a quick look at using a photo for a capture. This floral stem
is pretty simple. It will capture well, because I took the photo on my white background that I made. After loading the photo within the shapes
option of the tool, I played with the
threshold to see how much detail I
could possibly get. You can see that
as I increased it, the shadow behind
it gets strong. Also indicating that I had laid the stem on the background
when I took the photo. Here's the final image I chose. Don't forget to use
your editing tools to clean up your image
so it's ready to be used up next, vectorizing
raster images. It is so fantastic.
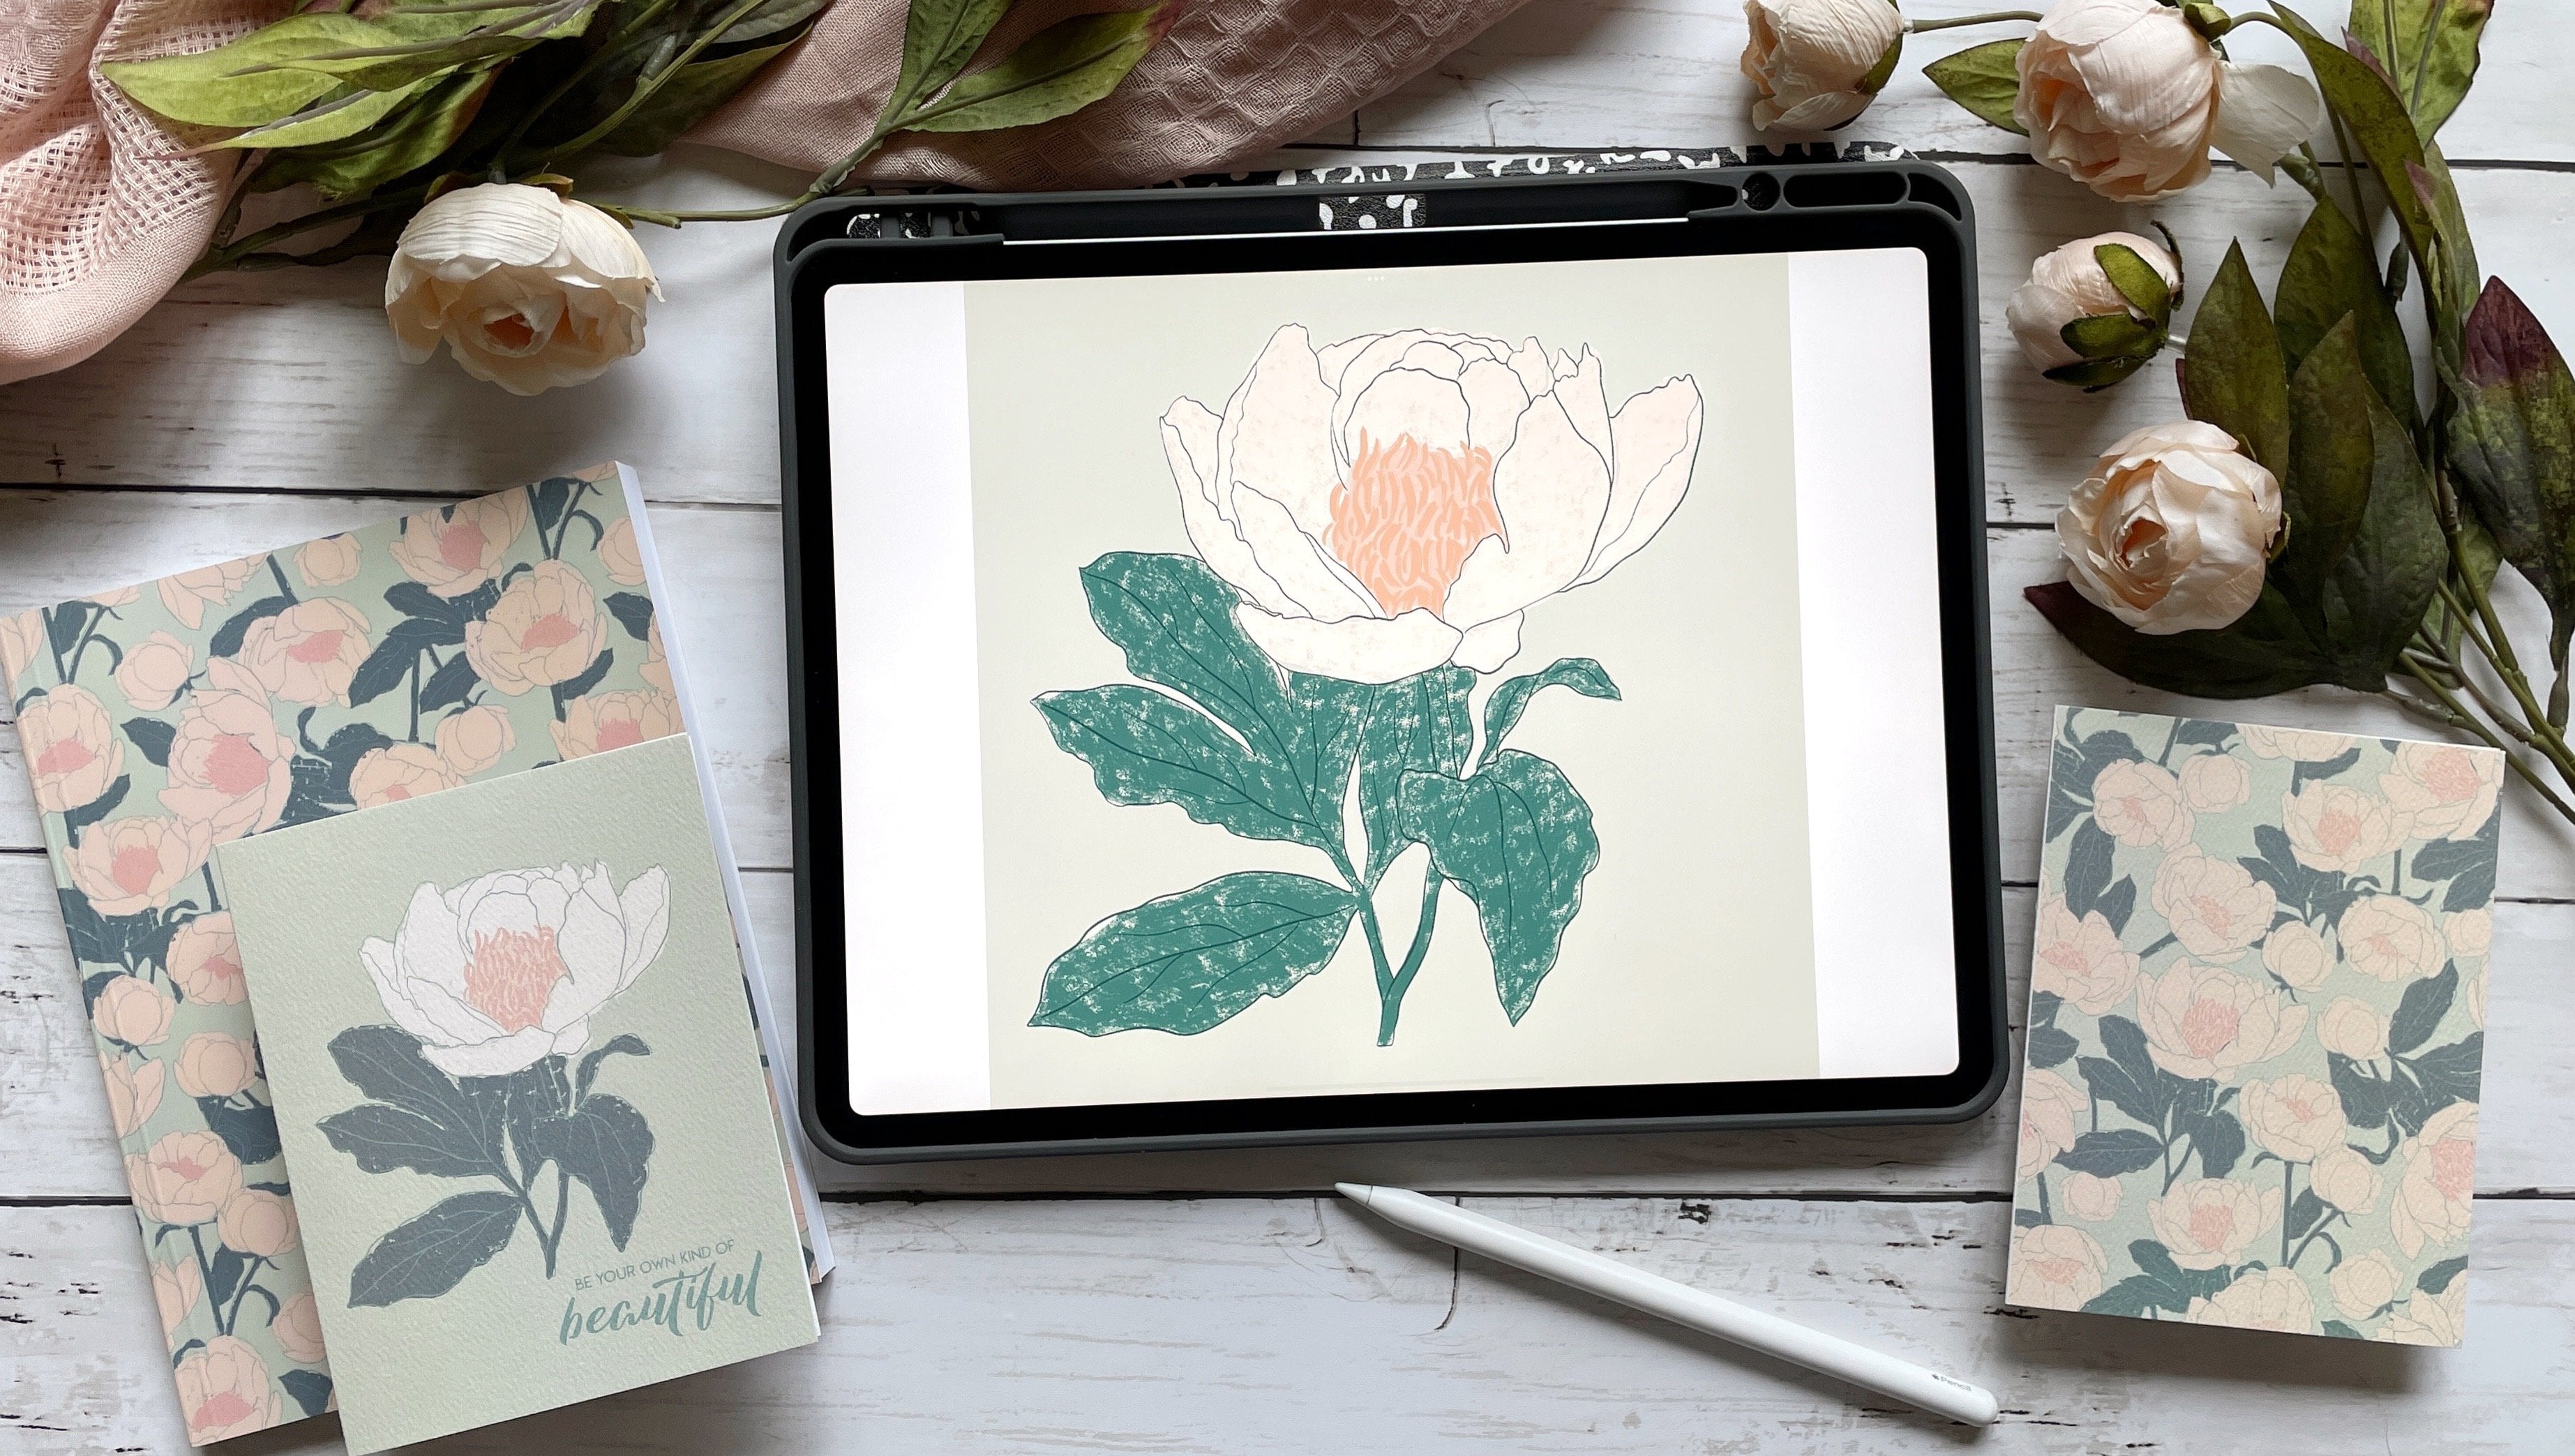
9. Vectorizing Digital Drawings, Sketches, and More: If you use Adobe Capture for nothing else but the following, you will still be singing the praises of this
app to everyone. You know. I use Procreate, a raster based program to draw literally every
motif for my work. But I create my final
designs and patterns in Adobe Illustrator
vector-based program. I've learned how to
use tools within Adobe Illustrator to
convert my raster files, but the entire process is
clunky and time-consuming. Enter Adobe Capture. As soon as an image is
captured within the app, we can save it as a vector
format file and SVG. I can do this with
images drawn in Procreate or with a
drawing on paper, a sketch, even a painted image. It is insanely simple to do. And because of the
Creative Cloud feature, my images pop up on my desktop, ready to be used,
workflow optimized. In Procreate, I've drawn an image to export
it to Adobe Capture. Go to the wrench at the
top and choose Share. Share this file as a JPEG with
the Export window pops up, slide through your apps
and choose Adobe Capture. It will pop up in the
Adobe Capture app. With the app set to
the shapes option, you can now adjust the image to your own visual preference. Save it as an SVG file and you now have a vectorized image. I wish you could see all
the exclamation points I have used after that sentence. Capturing a drawing or sketch
or painting will work the exact same way as the Captures we have
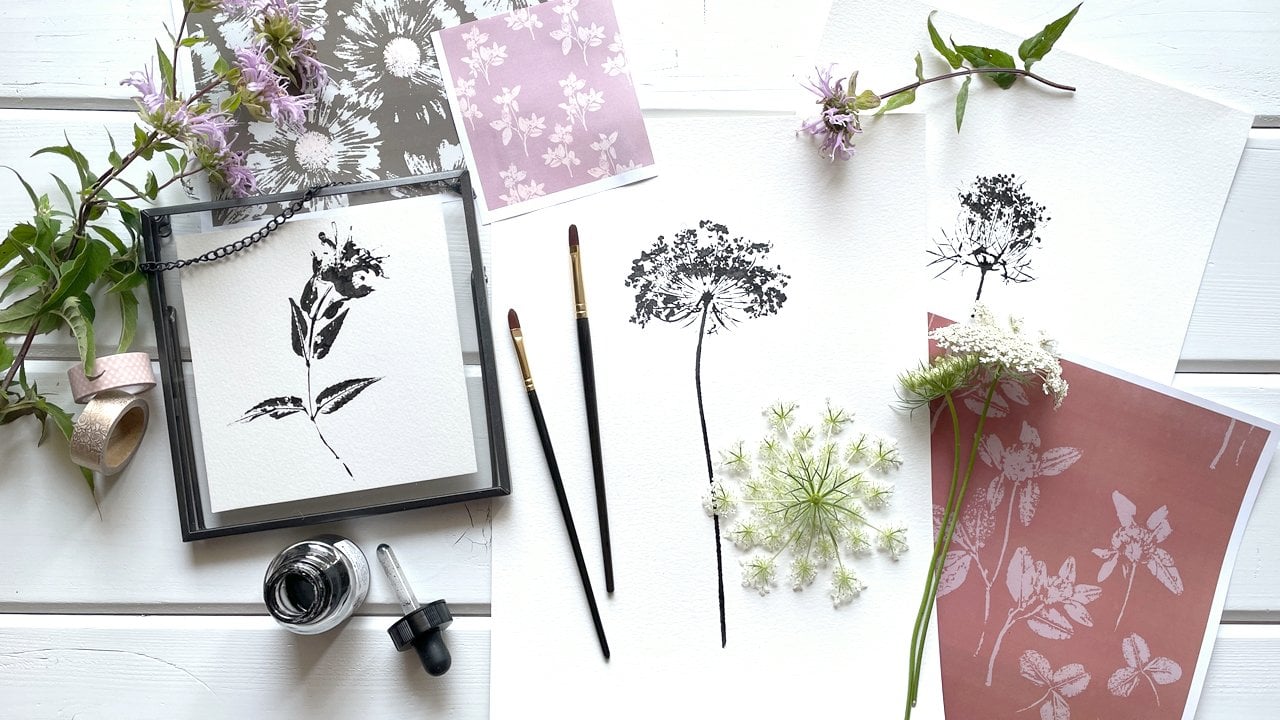
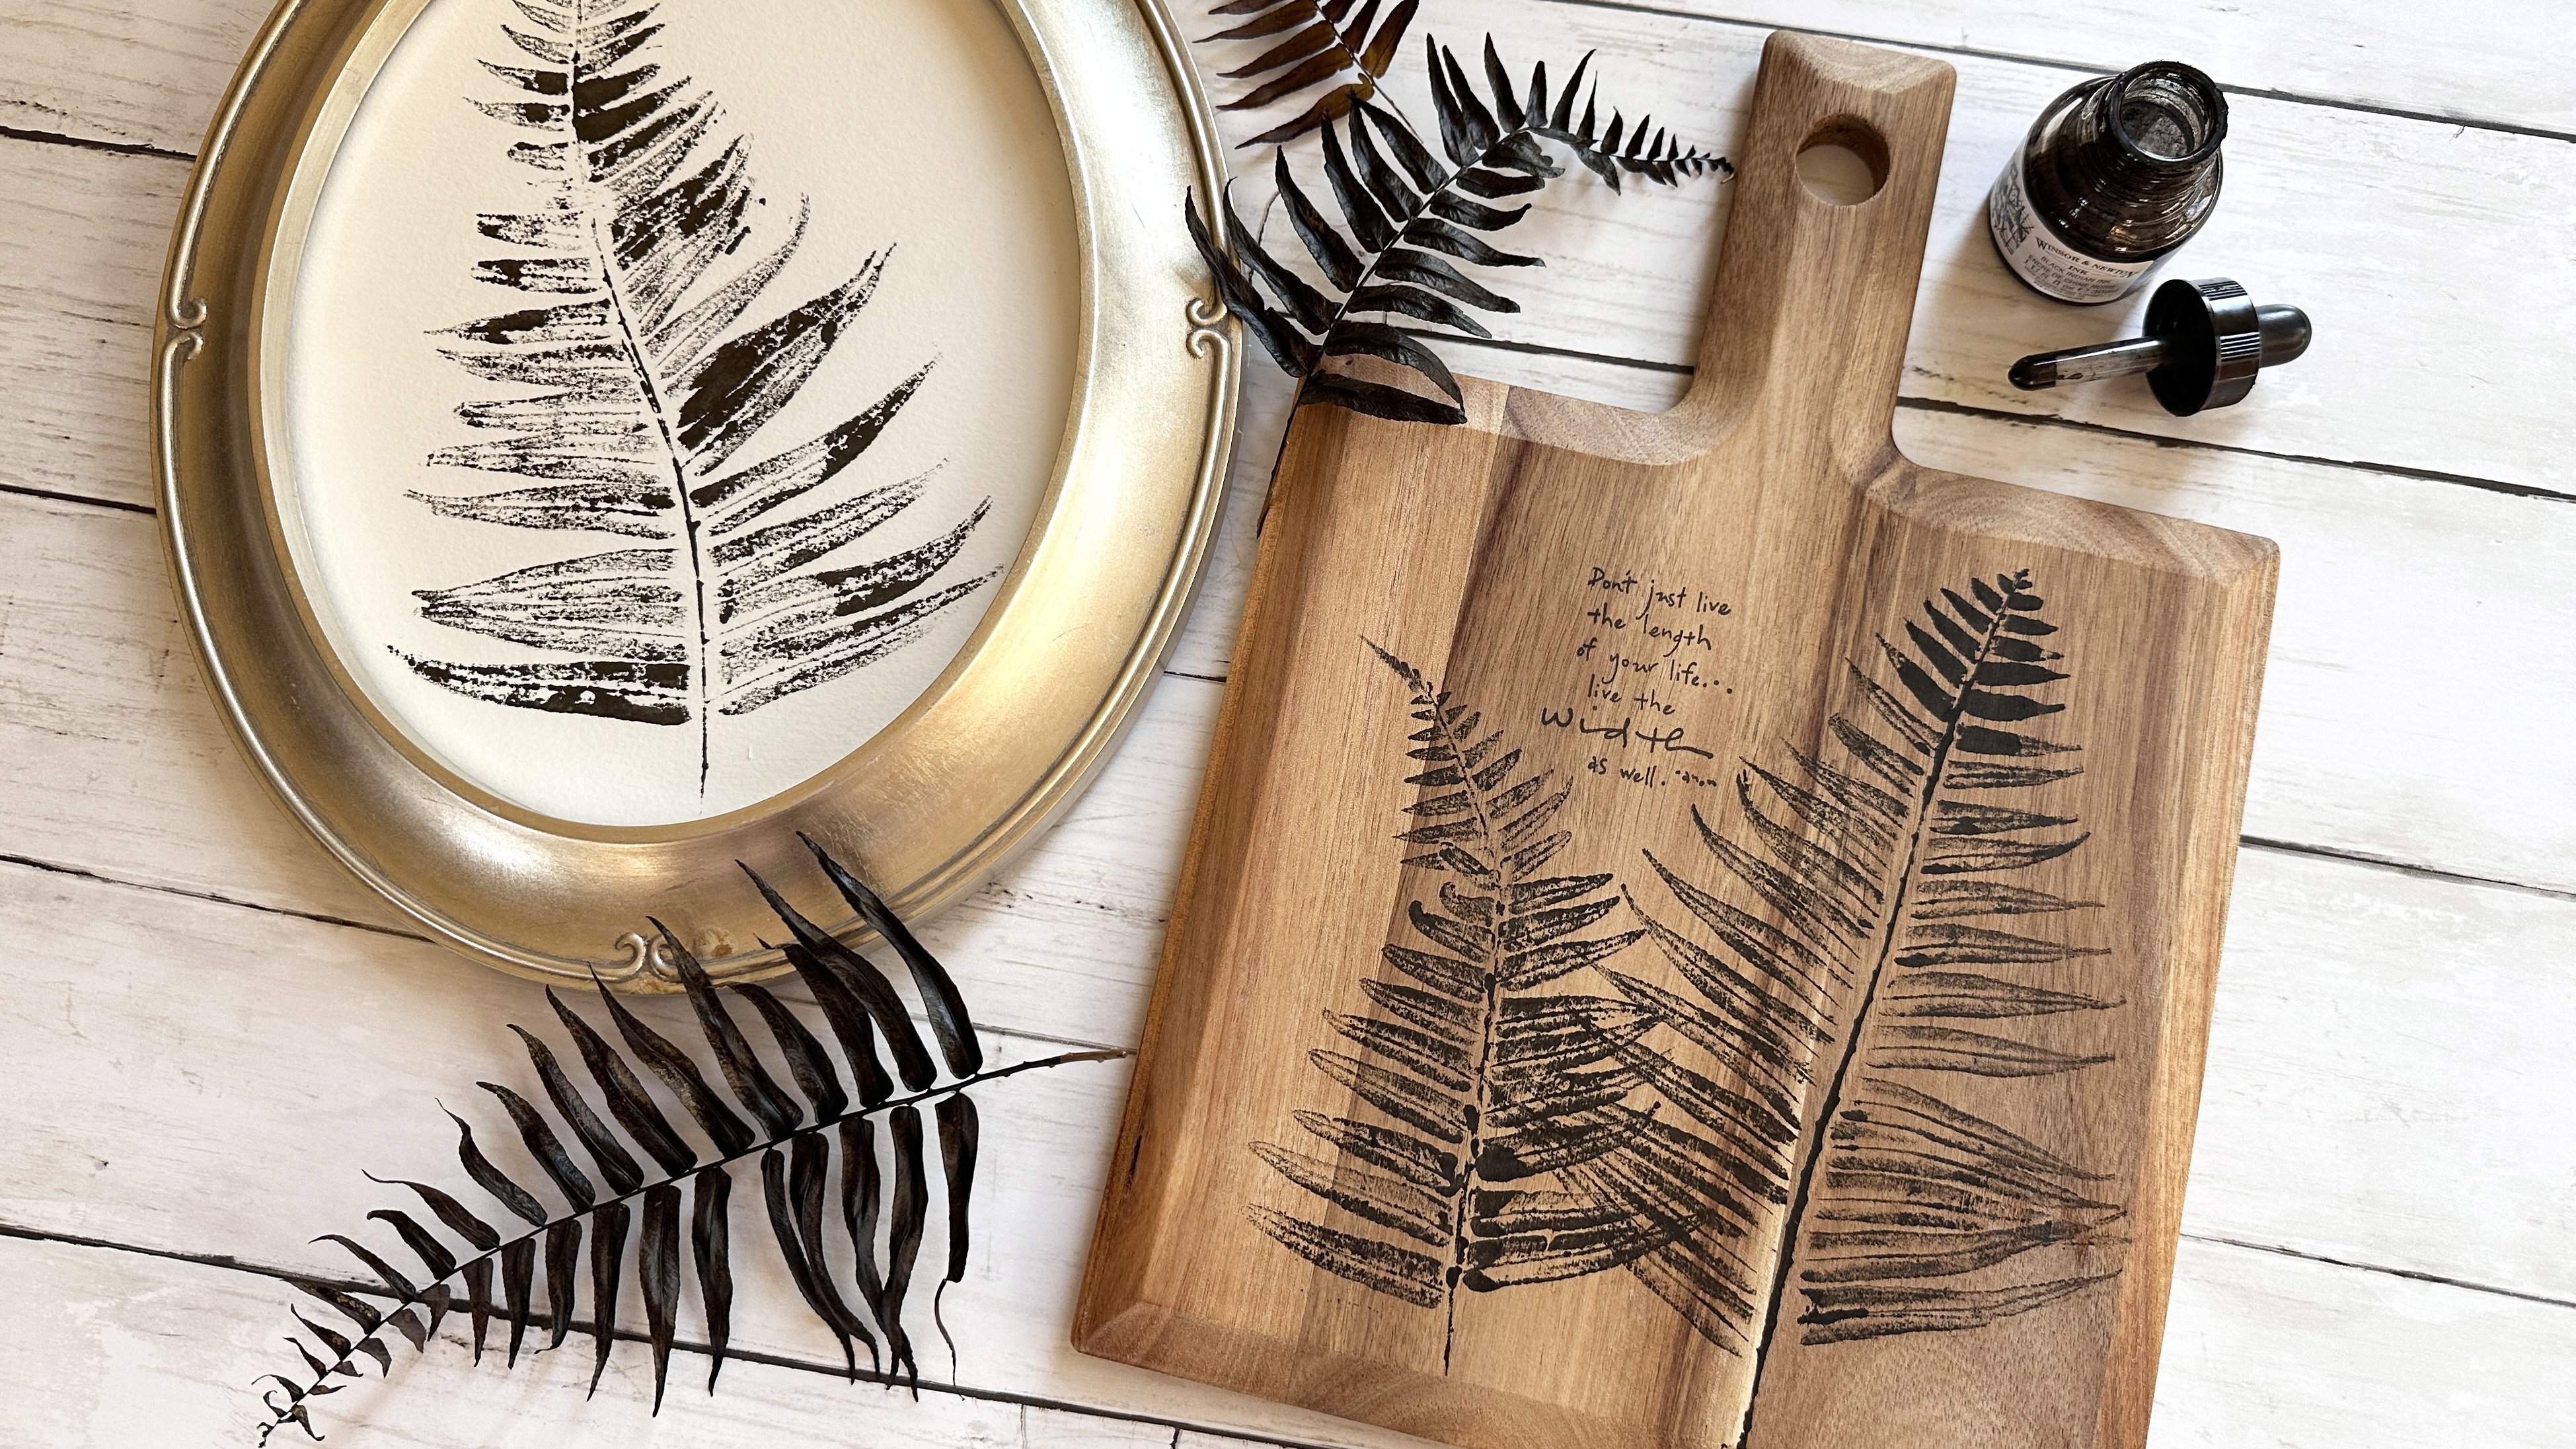
already been doing. I use botanicals and ink to create an impression on
paper in my own artwork. The results are stunning, but it requires me to scan
and image trace the image, which is a big hassle. Now, I can use the app and immediately get to the
good part designing. I know you want to
drop everything and run to vectorize
all your artwork. But hang on and learn about the amazing things you
can do with color. Next.
10. Creating Raster and Vector Brushes: In our last lesson, we learned about turning our raster based
artwork into a vector. Like with these fun
brush marks I made. Let's take those unique
marks and create brushes. Brushes that we can use in Adobe Illustrator and Photoshop. We will start by
capturing this fun squiggly line using the brush
option on the right side. Remember to scroll through the tools to find the one
you want to work with. Once the image is captured, the brush window will launch. The brush window shows all
the different brush styles that can be created using
the image you captured. There are some
great brushes here. As you scroll
through the options, each group of brushes has a different heading based
upon where they will work. At the top is Photoshop
in Fresco brushes. Then fresco ribbon brushes. Meaning of that particular
set of brushes, is made for the
Adobe Fresco app. At the bottom, you
could choose Pixel or raster based brushes
or vector brushes. The brushes can be
tested by touching the brush and then the
open screen space. On the top menu is
the crop option. You can use that to crop
and adjust your image. You can also pinch and zoom on your image inside
that small box. Up next, settings,
use the sliders on size and pressure to make more
adjustments to the brush. Get that brush saved, and send it to your
desktop so we can go play. How about a little design
fund with our new brush? I have a solid oval
on my art board. With it selected,
I'm going to open my brush folder in my libraries. When I click on the brush, I want the edges of my oval automatically turn
fancy like my brush. It is very easy and
cool way to step up what could be a very
basic and block element. To add to my beautiful new oval. I used one of my acacia
captures and added color to it. Now I have a beautiful
motif to go with my oval. Don't be afraid to use that fabulous brush as
a standalone motif. Look at this background. The creative ideas just keep
flowing with Adobe Capture.
11. Class Wrap Up: We have learned how to use Adobe Capture together
textures from both inside and outside to get gorgeous captures
a real botanicals. How to vectorize our
raster based artwork quickly to create gorgeous
and unique color palettes. How to use our captures
and to make brushes. We can use an Adobe
Photoshop and Illustrator. All all knowing that
our work can be found in our Adobe Creative
Cloud Libraries, giving us access to our artwork
across a ton of programs. Smart working in design
and oodles of creativity. It is a winning combination. Thank you for joining
me in this class. If you have any questions, please feel free to reach out
through here or by email. If you enjoyed the class, I would truly
appreciate a positive review sharing what
you like the most. Reviews are like a huge spot of bright yellow
sunshine in my day. I have several other
classes here at Skillshare, so give me a follow and join
along and my art adventures.
 Kimberly Crawford, flower obsessed, surface designer