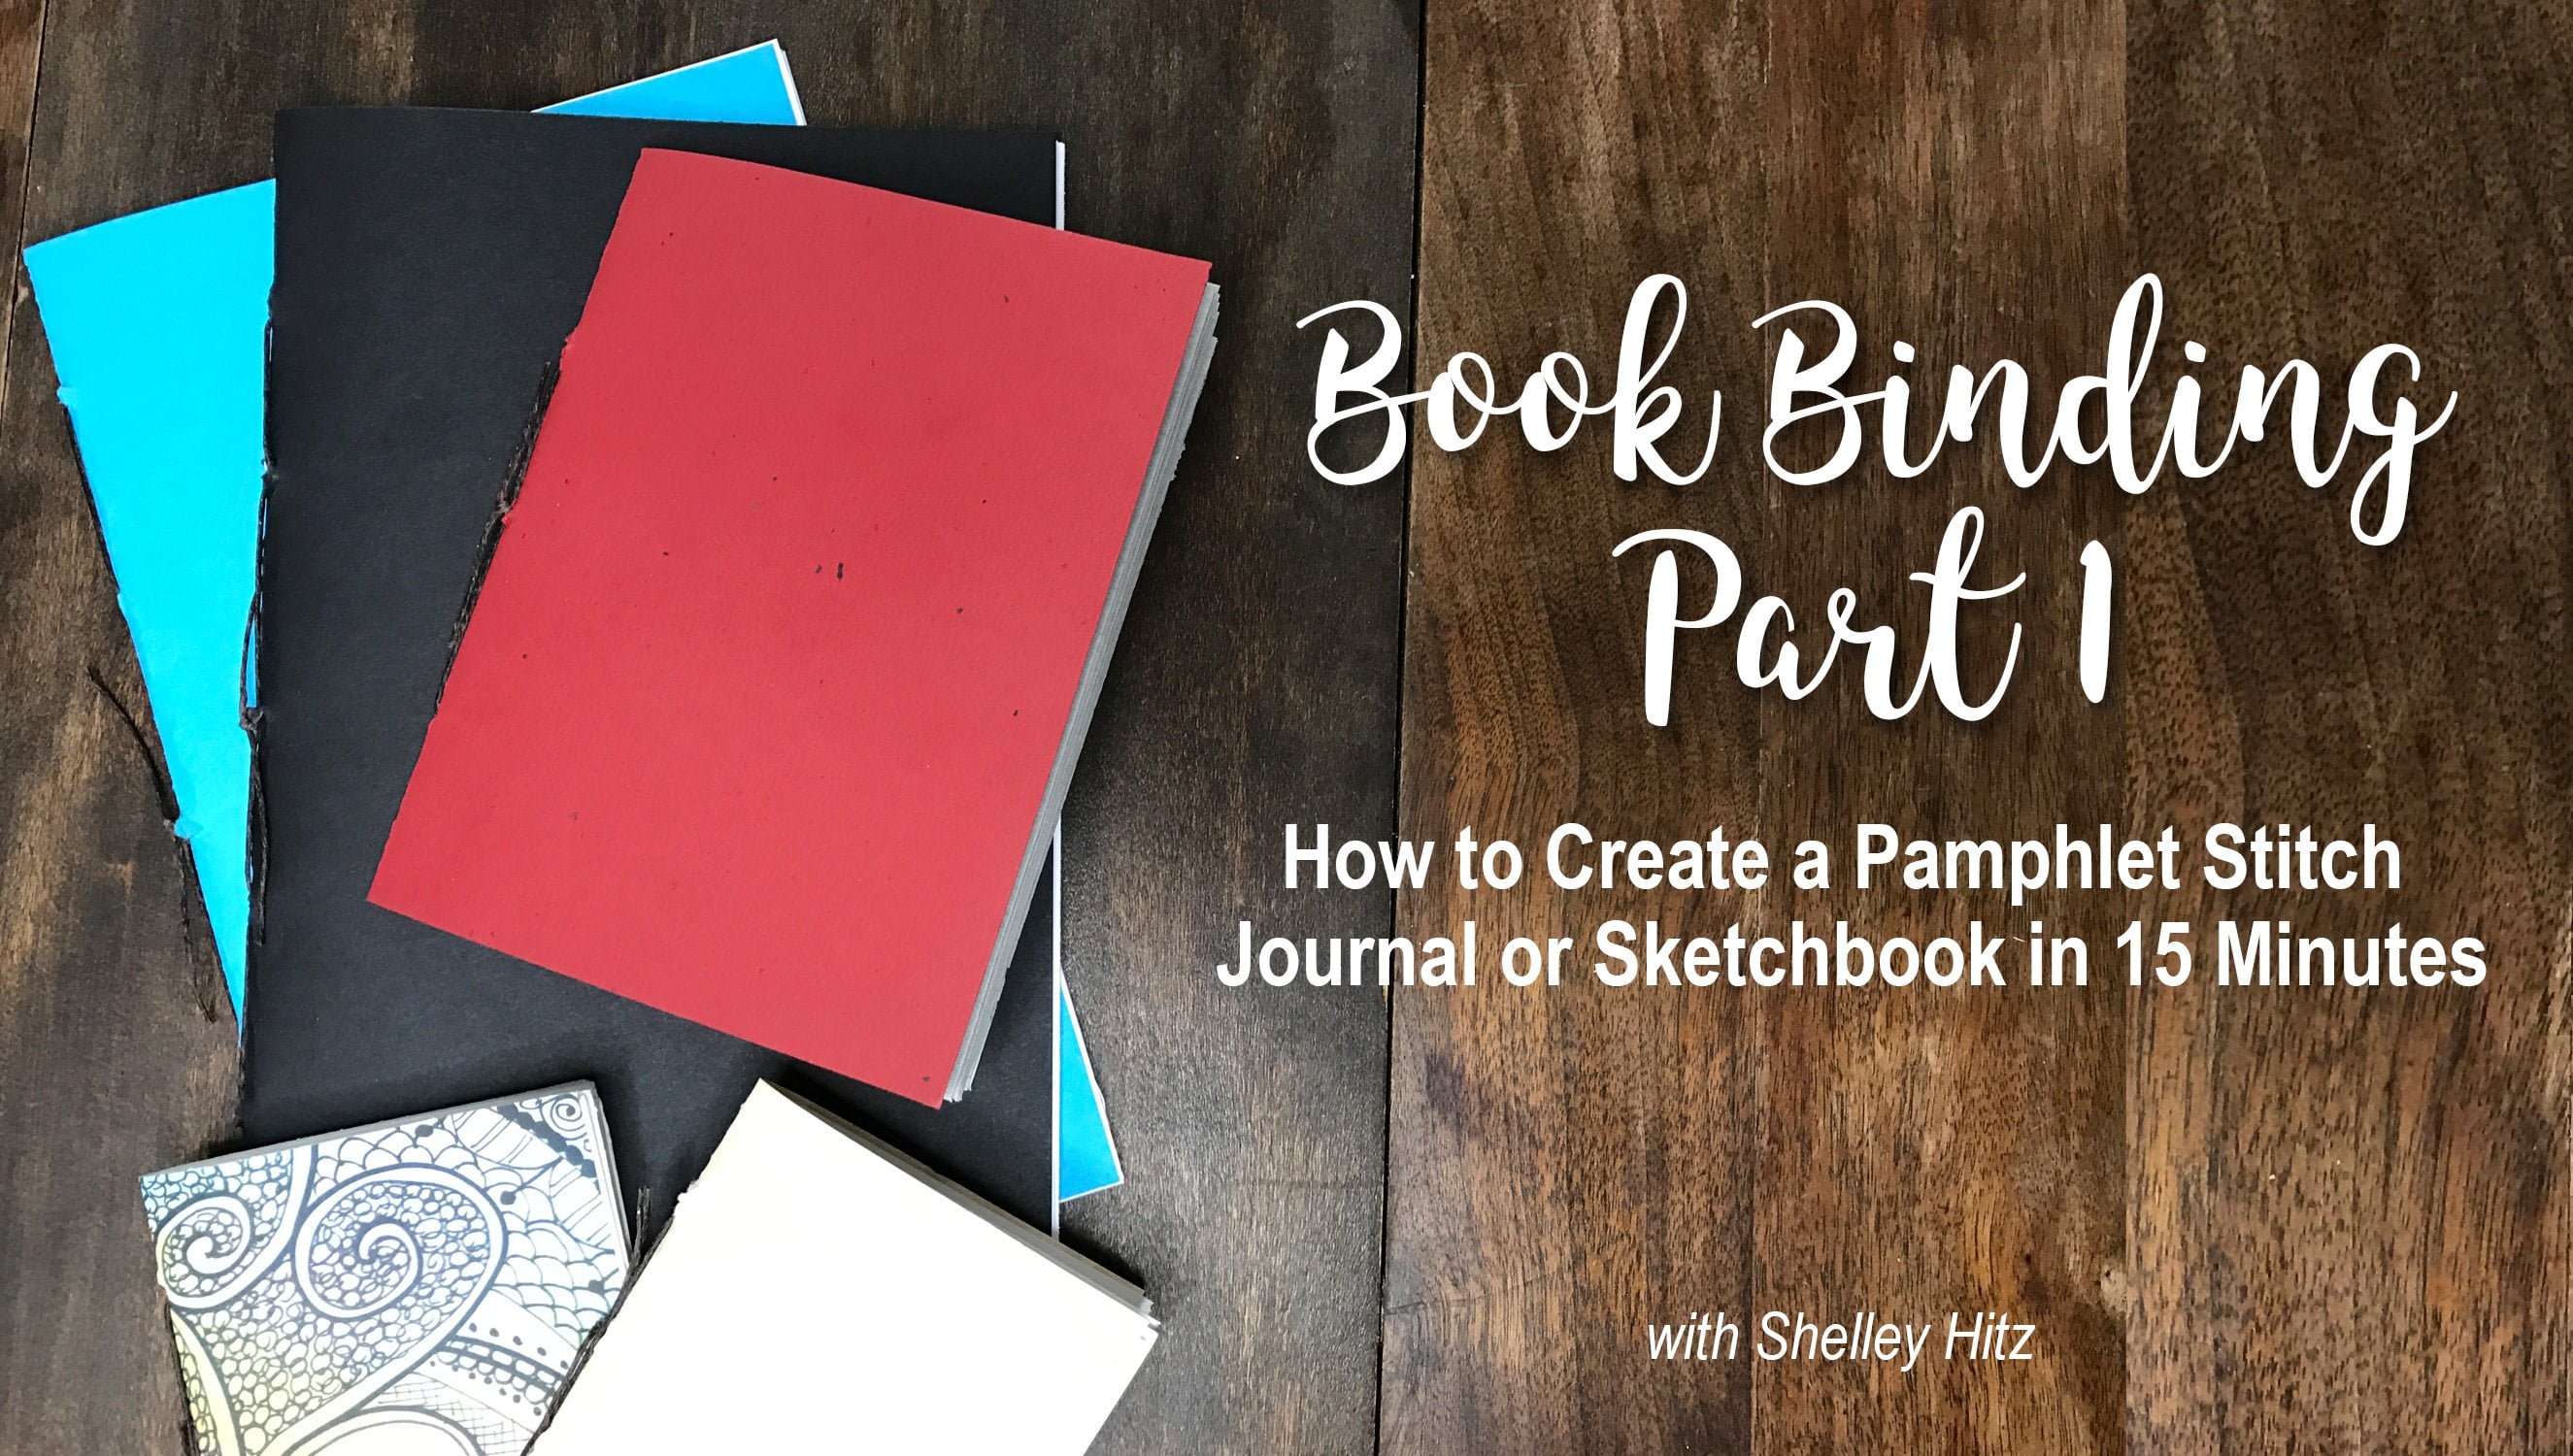
Transcripts
1. Introduction: art and creativity is a muscle that can be built and just like daily exercise will build our physical muscles daily sketchbook practice will build the skills and the creativity that you want in your art. Hi, my name is Shelly Hits. I'm an author and illustrator, an artist. And I'm on a mission to help you find the creativity within you. One of the things I have become obsessed with lately is creating my own sketchbooks. I've already created two different bookbinding classes for you on simple ways to create your own sketchbooks. But in this class, I wanted to show you how you can create your own sketchbooks without any sewing. I'm gonna go step by step through several different types of sketchbooks, and by the end of this class, you will have many different skills you can use. You can use these yourself to create your own skill of art and developing that sketchbook habit. You can use these with Children and classes in vacation Bible school. There are endless amounts of ways you can use thes sketchbooks. Some of my favorite are just the quick and easy one minute. No so sketchbook. This is one of them. It's a tiny sketchbook. It's small. It's not meant to be big. But what it does is it creates space to create a daily sketchbook habit. So as you can see here, I filled the pages with different things, and it's just something I put in my purse. I had a couple brush pens with me, and then I could let her and create our on the go in just a few minutes of time. So click and roll and let's get started.
2. Supplies: Let's go over a few of the supplies you'll need for this class. You can literally use whatever paper you have. You can use copy paper, notebook, paper card, stock paper, watercolor paper. You can use little gift tags that you have laying around or that you purchased or create your own. I do recommend for lettering. I recommend this HP Premium Choice laser jet. It's £32 you get 500 pieces of paper in this, and it's smooth for your lettering markers so it won't fray the tips if you're doing lettering, and you may also want to get or have around a single hole punch and a You know these little these little loops, you can also use string or something like that. And you can also on what's going to show you one option with the stapler. So if you have a stable around, want to try that option? I'm going to show you with a stapler and an eraser. How to do that? So this class is very, very low, like low maintenance on supplies. Just use whatever you have around. If you don't have these things, don't worry about it. Just use your regular paper. I have plenty of options for you and I can't wait toe jump in, so let's get started.
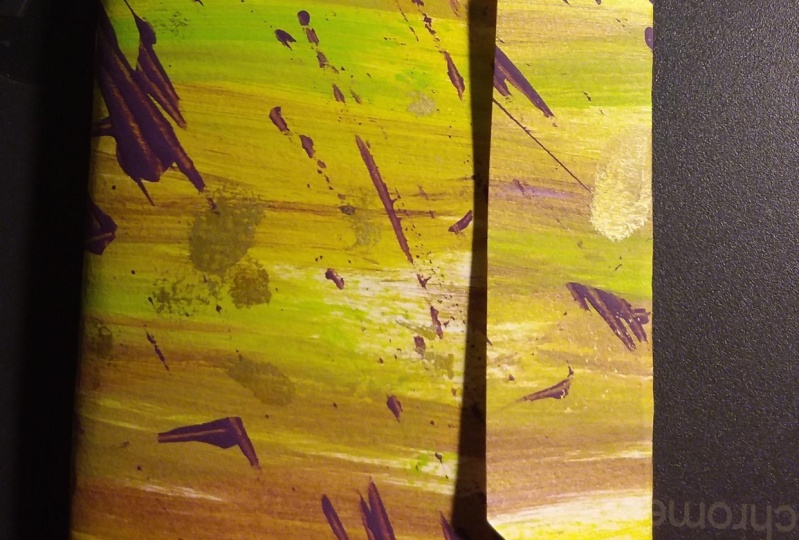
3. Fold and Cut Option One: So in this video, I'm gonna show you how you can create your own little journal. Basically, just take a piece of paper. I have already folded the edges just so I could get them really nice. And, Chris, you want to make sure you line up the edges as much as possible, fold it in half, three times so it looks like this. And then you're gonna open it back up again, and you're gonna cut this side right here just halfway. Just gonna cut a halfway. Then you'll open up the paper and you'll come to these center marks and it's a little bit tricky. Gotta fold it out like this, and then you will fold it again in half. And then now you have a little journal, a little sketch note pad that you can write in and doodle in and just explore something new . I'm gonna show you two different sketchbooks I created using the first technique that I just showed you. So you really can use any paper and just fold it, make one cut, and then you have a sketchbook. So I filled. This was just regular copy paper. This was watercolor and I didn't put too much on there so that it would curl the paper too much. But it was just fun to do a little bit of water, color and ink on here and some lettering. I made this a two page spread, and you can see I did some lettering and a little bit of doodling. I did this one with Crayola markers and did some lettering, and here I just did some lettering again. Just had a pen in my purse. So this was something I just stuck in my purse with a few supplies, and you could just easily create on the go. Now, I also have a bunch of Trader Joe's grocery bags. Now some of you may have another store that you shop up. You may have these types of shopping bags when you can use them to create sketchbooks in this same method, and it looks like the craft paper. And so it's a kind of a fun way to do something a little different. So this was just my little Trader Joe's sketchbook, and I got so inspired that I filled the entire thing and one night, so I made this kind of like a two page spread, and this is watercolor and ink. And then I just wrote the word thrive in a few different styles. This here is the doctor. PH Martin's bleed proof white and white looks really pretty on craft. People are. So this looked this a really good look for this type of paper. Creativity does take courage, doesn't it? If you haven't taken my embrace, the artist in new class, it's completely free here on skill share. I encourage you to take it talks about that. So this here I did a Crayola watercolor background. You can learn how to do that in my Crayola art class, and then I did some lettering over it. Now you can see the water color did curl the paper a little bit, but it was just fun to try something different. And I was just trying a bunch of different techniques with this paper and then on the back . I actually did in bossing You probably see that this is black and then this is silver and this is a really great type of paper to do em bossing, and I will probably be teaching in a Boston class in the future, but this is just a fun thing to do. So this is another great way. And here, just two examples. I also highly recommend the HP Premium Choice laser jet paper, and it's £32 so it's thicker than regular copy paper, and that's what I'm now making my little sketchbooks out of. But these are just two examples of ways you can make this one minute sketchbook and then fill it up with art and easily just stick in your pocket, stick it in your purse, grab a lettering pen. You literally just need one pen. You can have just like a Tom Bo Harden soft pen or something else, like this pen tell touch marker. It's a lettering marker, but you could just grab a pen and go. So I hope that you will try this sketchbook, and I cannot wait to see what you create as you upload them to the project section.
4. Fold and Cut Option Two: in this video, I'm going to show you how to make this little tiny accordion style sketchbook. It's so cute, and you can make it bigger if you get a bigger piece of paper. But I'm just gonna show you on this 8.5 by 11 Piece of paper. This is the premium choice laser jet paper that I showed you in the supplies video. And what we're gonna do is your just gonna take your paper and you're gonna fold it in half . If you have a bone folder from bookbinding, you can use that. But you can also just use the edge of your fingernail if you want, you're gonna open this up and then you're gonna fold each side inward. It's the fun thing you could do with kids. And you can, you know, use for yourself as well. Okay, so now we have four stripes. Now we're gonna fold the paper in half vertically. This is gonna leave us with eight squares trying to make sure I'm lining it up. Well, now we're going to take each vertical side and fold each one backwards. So you're gonna end up with 16 squares? Yeah. So There's four on the longest side, so you will need a pair of scissors or his Exacto knife or something. However, you want to cut your paper and what you'll do is on the outer edges. You're going to cut into the three squares. You're gonna leave one square intact. So if you want this to be more exact, you can use like a paper cutter, an Exacto knife and metal ruler just to show the simplicity of it. I'm just using scissors because I know all of you pry have scissors that you can use. You may not all have paper cutters or Exacto knives. I do have the option to do both of those. But again, I just want to show you how easy this is and that anyone could do it. Okay, so now we have those two edges cut left to the final square intact. I'm gonna turn it around and in the middle, I'm gonna do the same thing. I'm gonna cut up three squares and leave one square intact. This is gonna set us up for the accordion fold. So now what you're gonna do is you're gonna start on one end and you're just going to start folding this. And so what you're doing is you're folding it back and forth, you know, different sides, and then I'm gonna fold it under over. You're going to kind of go back and forth, making sure your doing this accordion ford and in a very short time, you know, have a little mini sketchbook that you can fill with all sorts of creations. And it's good to go now. One thing you could do is you could take a little binder clip and, you know, have it to be closed when you're not using it. We grab my liner clip here so you could just grab a binder clip or a paper clip or something. And then that way it doesn't, you know, stay opens. There's nothing really binding the edge, you know, and it could just kind of flap open. So if you're carrying this with you, maybe grab a paper clip or a binder club and just put that around there, these air really inexpensive. Teoh. Grab a couple. You can get all different colors, they're fun, and then you can just tuck this away in your pocket or your purse, and it's a great way to have a tiny sketchbook to practice and to really express your creativity, you can use the same technique with watercolor paper. So here I have a 12 inch by 18 inch piece of watercolor paper, and so I can do the same thing. It's a little bit easier with watercolor paper to use a bone folder, because it's thick paper to fold edges. But basically it's the exact same process. And then you can have a portable watercolor sketch book. Really super fast, really super easy. And it's really fun because you can you can fill it up and then you can spread it out later and see what what it you know, the image it created from all the different little pieces that you made. You can also use the other side. You can flip over the sketchbook and paint on the other side. There's so many options, but I just want to show you really quickly that you can do this same style with watercolor paper
5. Fold and Cut Option Three: in this video, I'm going to show you how to make a sketchbook by simply folding and cutting. So this is another option that you can use. What I recommend doing is getting 12 pieces of paper, and then what you're gonna do is you're going to take two pieces of paper at a time, and you're gonna fold them in half. I'm gonna take this paper and I have two sheets here. Gonna make sure the line it up. I am using a bone folder. Since I have one. You can also just choose the edge of a spoon. Can use the edge of scissors to do that or just your fingernail, and then set that aside so you'll do this six times for the 12 sheets. 12 sheets divided two sheets each and folding each stack and half. Okay, so now you should have six different folded pieces of paper. And now what you're gonna do is divide them into two stocks of three. It could be helpful to have a ruler, and you can use a pencil if you want. That's what I'm gonna do is I'm just gonna do one from three inches from the top and then three inches from the bottom. And I'm going to draw a line. You can make this line whatever size you want. This is just what I'm going to do for this particular sketchbook. Let's go ahead and do that for two more sheets of paper and then for the other three sheets of paper were gonna draw lines at the end. So I'm going to draw a line from three inches up and from three inches down. So we're doing three and three. Okay, so now it comes to the point of cutting. Now we're going to cut these edges that we've the lines we've drawn. Okay, so now we're going to cut the line in the middle here. And an easy way to do this is just to fold it and hot, like, just not hard. Fold it, but just fold it and hold it at the bottom there and then just cut in the middle here. Okay? So now you have two different stocks. One where the edges are cut and one word the medalist cup. And so now we're going to combine these two gonna take one from each stack and you're gonna take the one where the ends are cut and you're just gonna kind of fold over the edges to form a tab, Then coming from the outside of this one come and through this cuts and then these two books will be connected like that. So you going to do that for each of the books that you have created? Take the one where the ends for cuts. You're going to create a tab. I'm gonna bring this in through the middle. Well, say, do prefer the pamphlets such binding to this method. But this is an option if you don't have the tools or you don't want to get the tools to do the pamphlets. Such binding. Okay, so now you have three separate books that have been combined. Okay, So what you're gonna do is you're gonna take the two books and you're gonna open this toe where there is a hole. So I have this opened the back, and then I found the whole here where I can bring it through. Then we'll take this sketchbook. I'm gonna find the side that the tab is on the outside of the sketchbook, and I'm going to We've this through if you want to make it a little bit easier. Could probably make the middle hole a little bit bigger, but this works. Okay, so now I have just the last one left. We're almost there. All right, so now I'm going to find Here's the tabs again on this last one. And then on this book, I'm gonna find Ah, hole. There's just one right here on the outside. So I'm just going to create a tab and I'm going to We've it through. Okay, so now you'll just get all the pages lined up and you have a book. Could now take a bone folder or something else and really get the edges straight, gets the lay flat, and we're done. Now you have a 48 page sketchbook, and you can use this for anything. This is a great way to create something just to take with you or to jot little notes in. This'd isn't as professionally done as the saddle stitch journals. I still prefer those better, but it is an option. So these were the sad saddle stitch journals here. They just look very a lot, much more professional, A little bit nicer, more finished. but this is definitely a great option. If you just need a notebook to write in to practice in tow, letter in and you just want to do it through cutting and folding. Now one tip I do have for you is to possibly consider making this center strip a little bit bigger, then the end lines. I think that's one thing that caused me a little bit of issues in this particular one, and it wouldn't have required me to fold the pages as much, which now they kind of look folded. So that's one little tip. But it's fun. It was a fun little sketchbook, and it's just another option for you to try. If you try this option, show me your sketchbook in the class project area of this class.
6. Hole Punch with Book Rings: in this video, I'm going to show you how to make an easy watercolor sketch book that requires no sewing, no binding. And I have taught how to create a Coptic Stitch watercolor sketch book in another class. But I'm gonna show you how to create a sketchbook without any sewing in this one. So this is the watercolor paper. I have it. Skansen watercolor paper. It's 12 inches by 18 inches, £140. And because I have this size, I just decided to create a sketchbook that's nine by six. So basically each of these pieces of paper, I can cut them down into four nine by six pieces of paper. So I have 12 pieces of paper here. I can cut a lot more, and it would be a lot sicker, but I'm just going to start with these 12 pieces just to show you how it works. The nice thing about this type of a sketchbook is you can add pages. You can take pages out. If you don't like something, it's not bound into it. You can also do this particular technique with just regular paper and maybe card stock for thedc cover. So don't feel like you have to do this with watercolor, but I just want to show you with watercolor cause I love watercolor. So I have these really inexpensive chip boards. I just cut them into nine by six sizes. You can use card stock, anything that you might want to use for a cover. And I'm not going to do anything fancy with ease. I could put washing tape around the edges. I could add paper and glue paper around it, but I'm just gonna keep it nice and simple because that's how I rolled. But you can decorate and do as much as you want to your sketchbook. So because I have watercolor paper and the thicker shipboard, I am going to use my sewing all. However, with this technique, you don't necessarily need the sewing hall. You can also just use a hole punch and you can get a whole bunch of very inexpensively and actually fourth e watercolor paper. I could just punch holes in it, I think for the chipboard I am, I tried it previously, and it wouldn't quite cut through the chipboard. So for that I will need the sewing all That's what you're going to need to do is just figure out where you want your holes. So what we're gonna do is we're gonna punch like, two holes on this lefty inside, and then we're gonna put rings in their toe, hold it together so you don't want it right on the edge of the paper. You wanted a little bit out, and then you want to just see where you want to have your rings. You can just eyeball it or you can use a ruler. However you want to do is fine. You take like a pencil. That's about an inch and 1/2 from the top. Let's do an inch and 1/2 from the bottom, so that looks pretty good. I just tend to eyeball. So that's the way I roll So you can take your sewing all if you have one and you can punch the holes in to the pages. I show you how to do that in my bookbinding classes, and I have a pamphlet such class and a Coptic six class. But for this class, I'm just gonna show you you can just take ah hole punch and just punch a hole in there. Then you could just line up the pages just to make sure that they're going toe line up. And sometimes, depending on how thick your paper is, you could doom or than one hole at a time. The watercolor paper. It is a little thicker, so I'll probably just do one at a time. That's what I'm doing is I'm just keeping one piece of paper as a guideline, and then I'm just punching my holes that line up with that so that that way, all the paper will line up. You can also trace if you want to take this and do an extra stop. You could also just trace the holes on here, and then you would know exactly where to punch the holes as well. So that's also another option. If you are just using regular copy paper, you're probably going toe. Want to create the holes along the lot the longer side, where you might create like three holes because that will hold it in place better with thicker paper, you can get away with having the tools, but just experiment and try it and see which options you like the best for my regular paper . I like the other techniques. I've shown you the quick folding techniques or I really like the saddle stitch bookbinding . It's really super easy less than 15 minutes, and it's a really great way to create a quick and easy sketchbook. But again, this is another option. If you're not wanting to get the supplies, or if you're just wanting to use what you have at home right now and you have a whole bunch , then this is a great option. So I have all the holes punched in the watercolor paper. Now I just need to punch the holes in the chipboard. That's gonna be the cover. So you just want to make sure whatever you want tohave on the outside is facing this way. And then, um, you'll take if you're using. This is if you're using this sewing all. Not like I said, you could just choose card stock or something that doesn't require this suing. All I was gonna trace on here and then this is the side. I want to be the outside trace on here and then with the sewing all. It's just pretty simple just to make a hole. I just want to put it right in the center of where you had put that. And then this type of shipboard I noticed does tend toe break a little bit. So I want to make sure that it's gonna be big enough for the ring to get through. But I just I'm gonna take a little bit more time just for this particular material, some material, you know, all the all your materials are gonna work a little bit different, and it's all a fun experiment. But I love this option, such as quick and easy way to make a sketchbook. So now I have all my pieces. So I'm going to put the, you know, the binding how I want whatever side. I went on the outside, have all the pages on the inside. Okay, so now what you're gonna do is make sure that your covers, or how you want them on the outside, gonna line up everything with the holes, and then you're just gonna get to metal rings. You can also use string, So if you don't have metal rings right now, you string or rope or yarn. I've seen people using yarn for these types of sketchbooks and then what you're gonna do, you're just gonna thread this ring through the sketchbook. But a really short period of time, you know, have a watercolor sketch book that lays flat. That is, the size you want is the type of paper you want. And it's the type of sketchbook that you can take with you anywhere you can travel with this, so this is a bigger size. A lot of sketchbooks are 8.5 by five or eight by five, but this is a little bit bigger size, but this is nice for bigger paintings I want to do. And then I also can create a smaller one. I love having four by six inch pages there, small pages to paint on so I could create a smaller one. That's that size you can really. The sky's the limit. Do what inspires you, do what you want to do and enjoy making this quick and easy watercolor sketch book. I'm just going to show you really quick and easy way to create a little sketch book that you can take on the go or that's just fun to create. So I purchase thes actually got them at a art thrift store. They have all sorts of supplies. These are brand new, but I got them for very inexpensive. But you can also make your own. You can cut out a piece of paper in this shape, and then you could with a hole punch. I got this. You get these at your dollar store, your office supply store. You can just, you know, punch a hole in this. And then what you can do is however many you want in your little sketchbook, just put them together and then grab one of these little hooks. You can see I got a package of these from Staples, but you can also buy these. I found some at my dollar stores so you can find these just about anywhere. They're very inexpensive for a package. And then just stick that through. Look it. And how fun is this? This would be great. If you're wanting to memorize Scripture. It would be great for lists like you can put out different lists on here. You can try painting. It's almost like card stock paper. So you could try painting lettering. You know, just try different things. And I'm excited to see what you create
7. Staple Your Sketchbook: in this video, I'm gonna show you how to create a sketchbook with a simple stapler that you have a home that might not be able to reach around the pages. So I just have eight pages here. I had four sheets of my premium choice laser debt paper cut in half. And then I'm just going to before these in half again. I'm using my boon folder, but you can use whatever you have. So let's say you wanted to staple this together. You know, the typical stapler is not going to reach. And so, ah, little tip that I learned one thing you can do, you just put a a racer behind the paper, so it's kind of like right behind it. Then you open up your stapler, and then wherever you want the staple to be, go ahead and put that staple there gonna pull it out of the eraser and then what you're gonna do is just fold these edges over again. I'm using my bone folder, but you can use whatever you can even use your fingers for this to just fold it and get it in place. Actually, thumbnails might work better, and there we have it. So this is just a little tub for stapling something, but you can't reach with your stapler normally. And just another option for a no. So sketchbook. Great. There you have it can get the pages down. You can even put card stock on the outside of this and staple the card stock on there. But now it looks real nice on the outside, and you have a quick and easy sketchbook just using your regular stapler that you'll have that that you have at home.
8. Next Steps: Congratulations. You have now finished this class. Your project for this class is to take a picture of the sketchbook you created and posted in the project area. You'll be able to do this from your computer or a browser. I can't wait to see what you create in these little sketchbooks. These are fun and fast ways to create lettering on the go to create a daily sketchbook habit without spending a ton of money and without spending a ton of time, these air small spaces to practice your are and lettering and to develop your muscle of creativity. If you enjoy this class, I would really appreciate you simply taking a moment to post your review here on skill share. There should be a pop up at the top of your screen that says, Would you recommend this class to other students? Simply click yes and post a sentence or two about what you learned, what you appreciated or what you've gained from this class, and it would mean the world to me. It also helps to reach more people with his training. And so I appreciate you taking a moment to do that. Thank you again for joining me in this class. I hope you will also take my other classes here on skill share and learn other skills that you can apply to your sketchbook practice. I'd recommend taking my brush lettering for beginners class, my folk Allegra fee class and my block lettering class. All of those classes teach you the fundamentals of lettering. I also recommend my Crayola art class. It's a fun way to create art with simple and inexpensive markers, your Crayola markers. And so I recommend that you check out those classes. And if you would like to be notified when I create a new class, make sure you're following me. Click the follow button here on skill share, and I will see you in the next class again. My name is Shelly Hits. Thank you so much for being here. Can't wait to see what you create
 Shelley Hitz, Watercolor and Lettering Artist