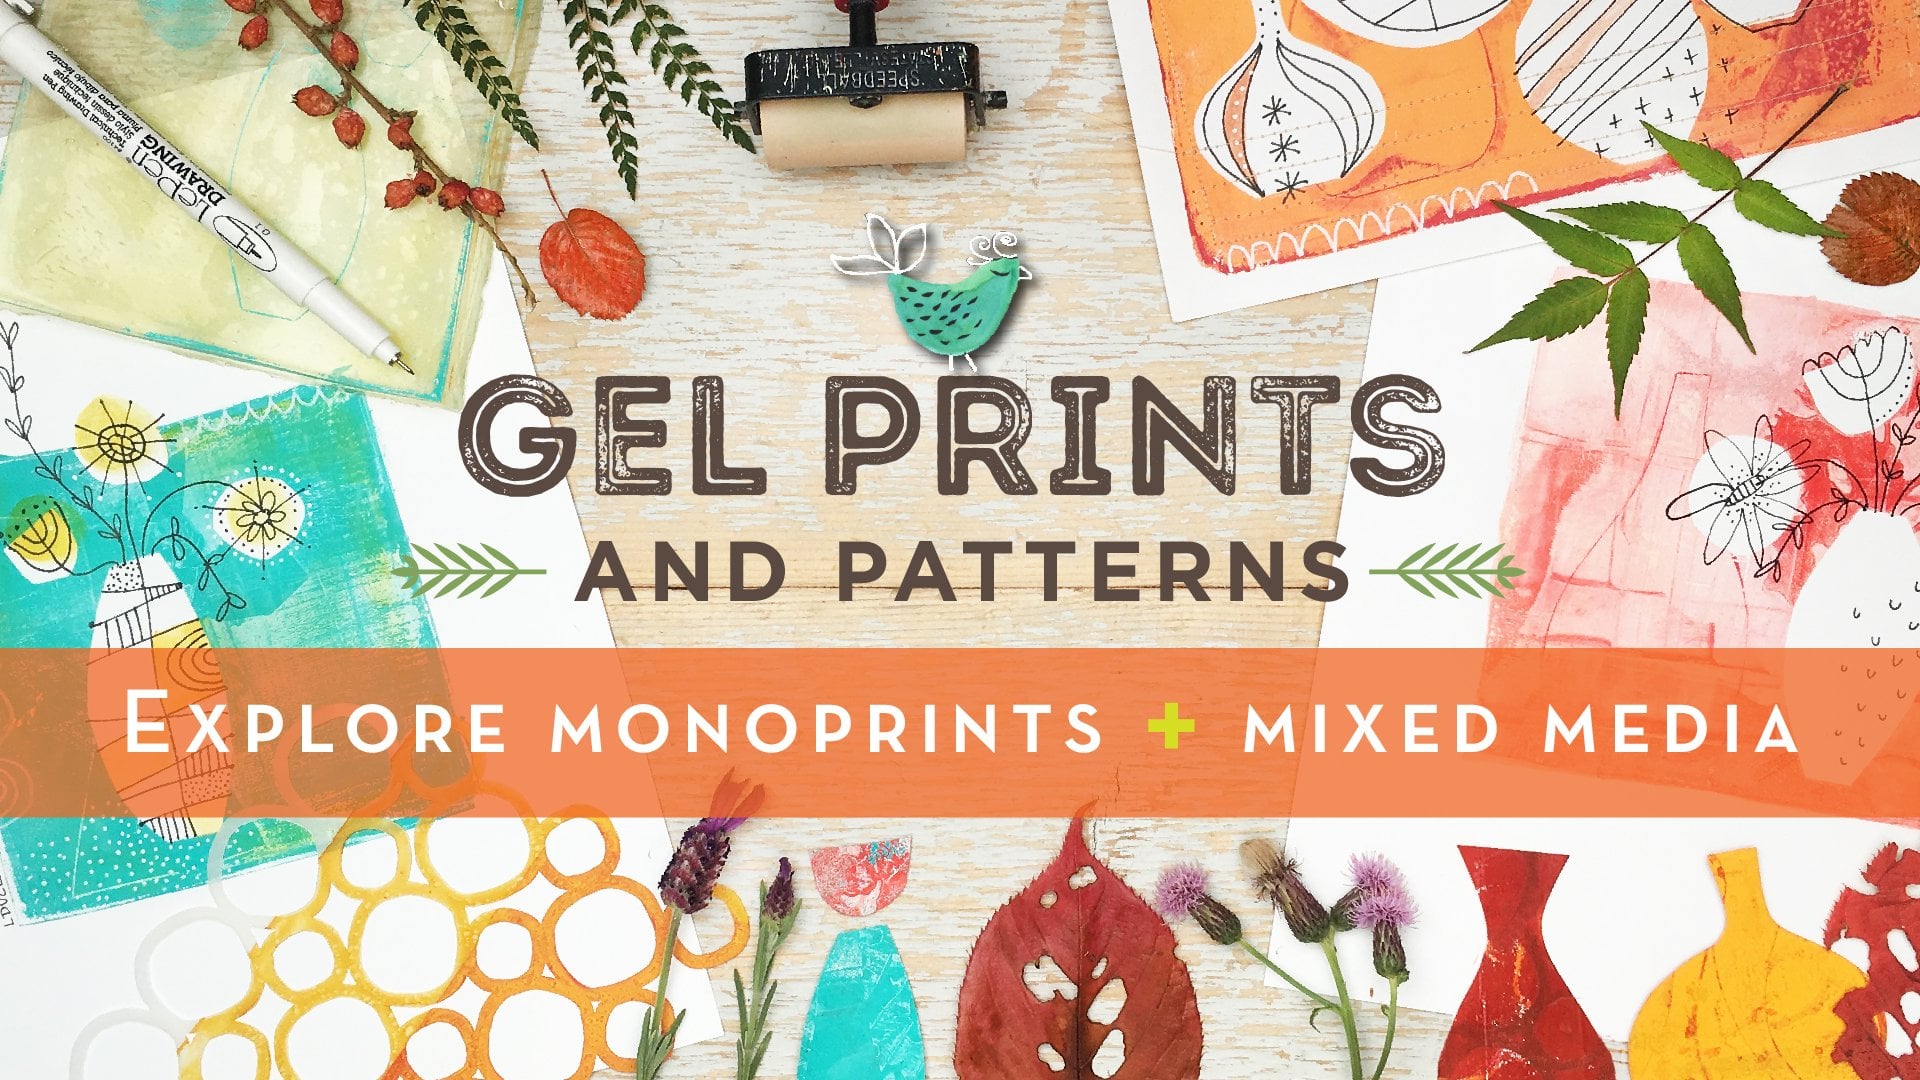
Transcripts
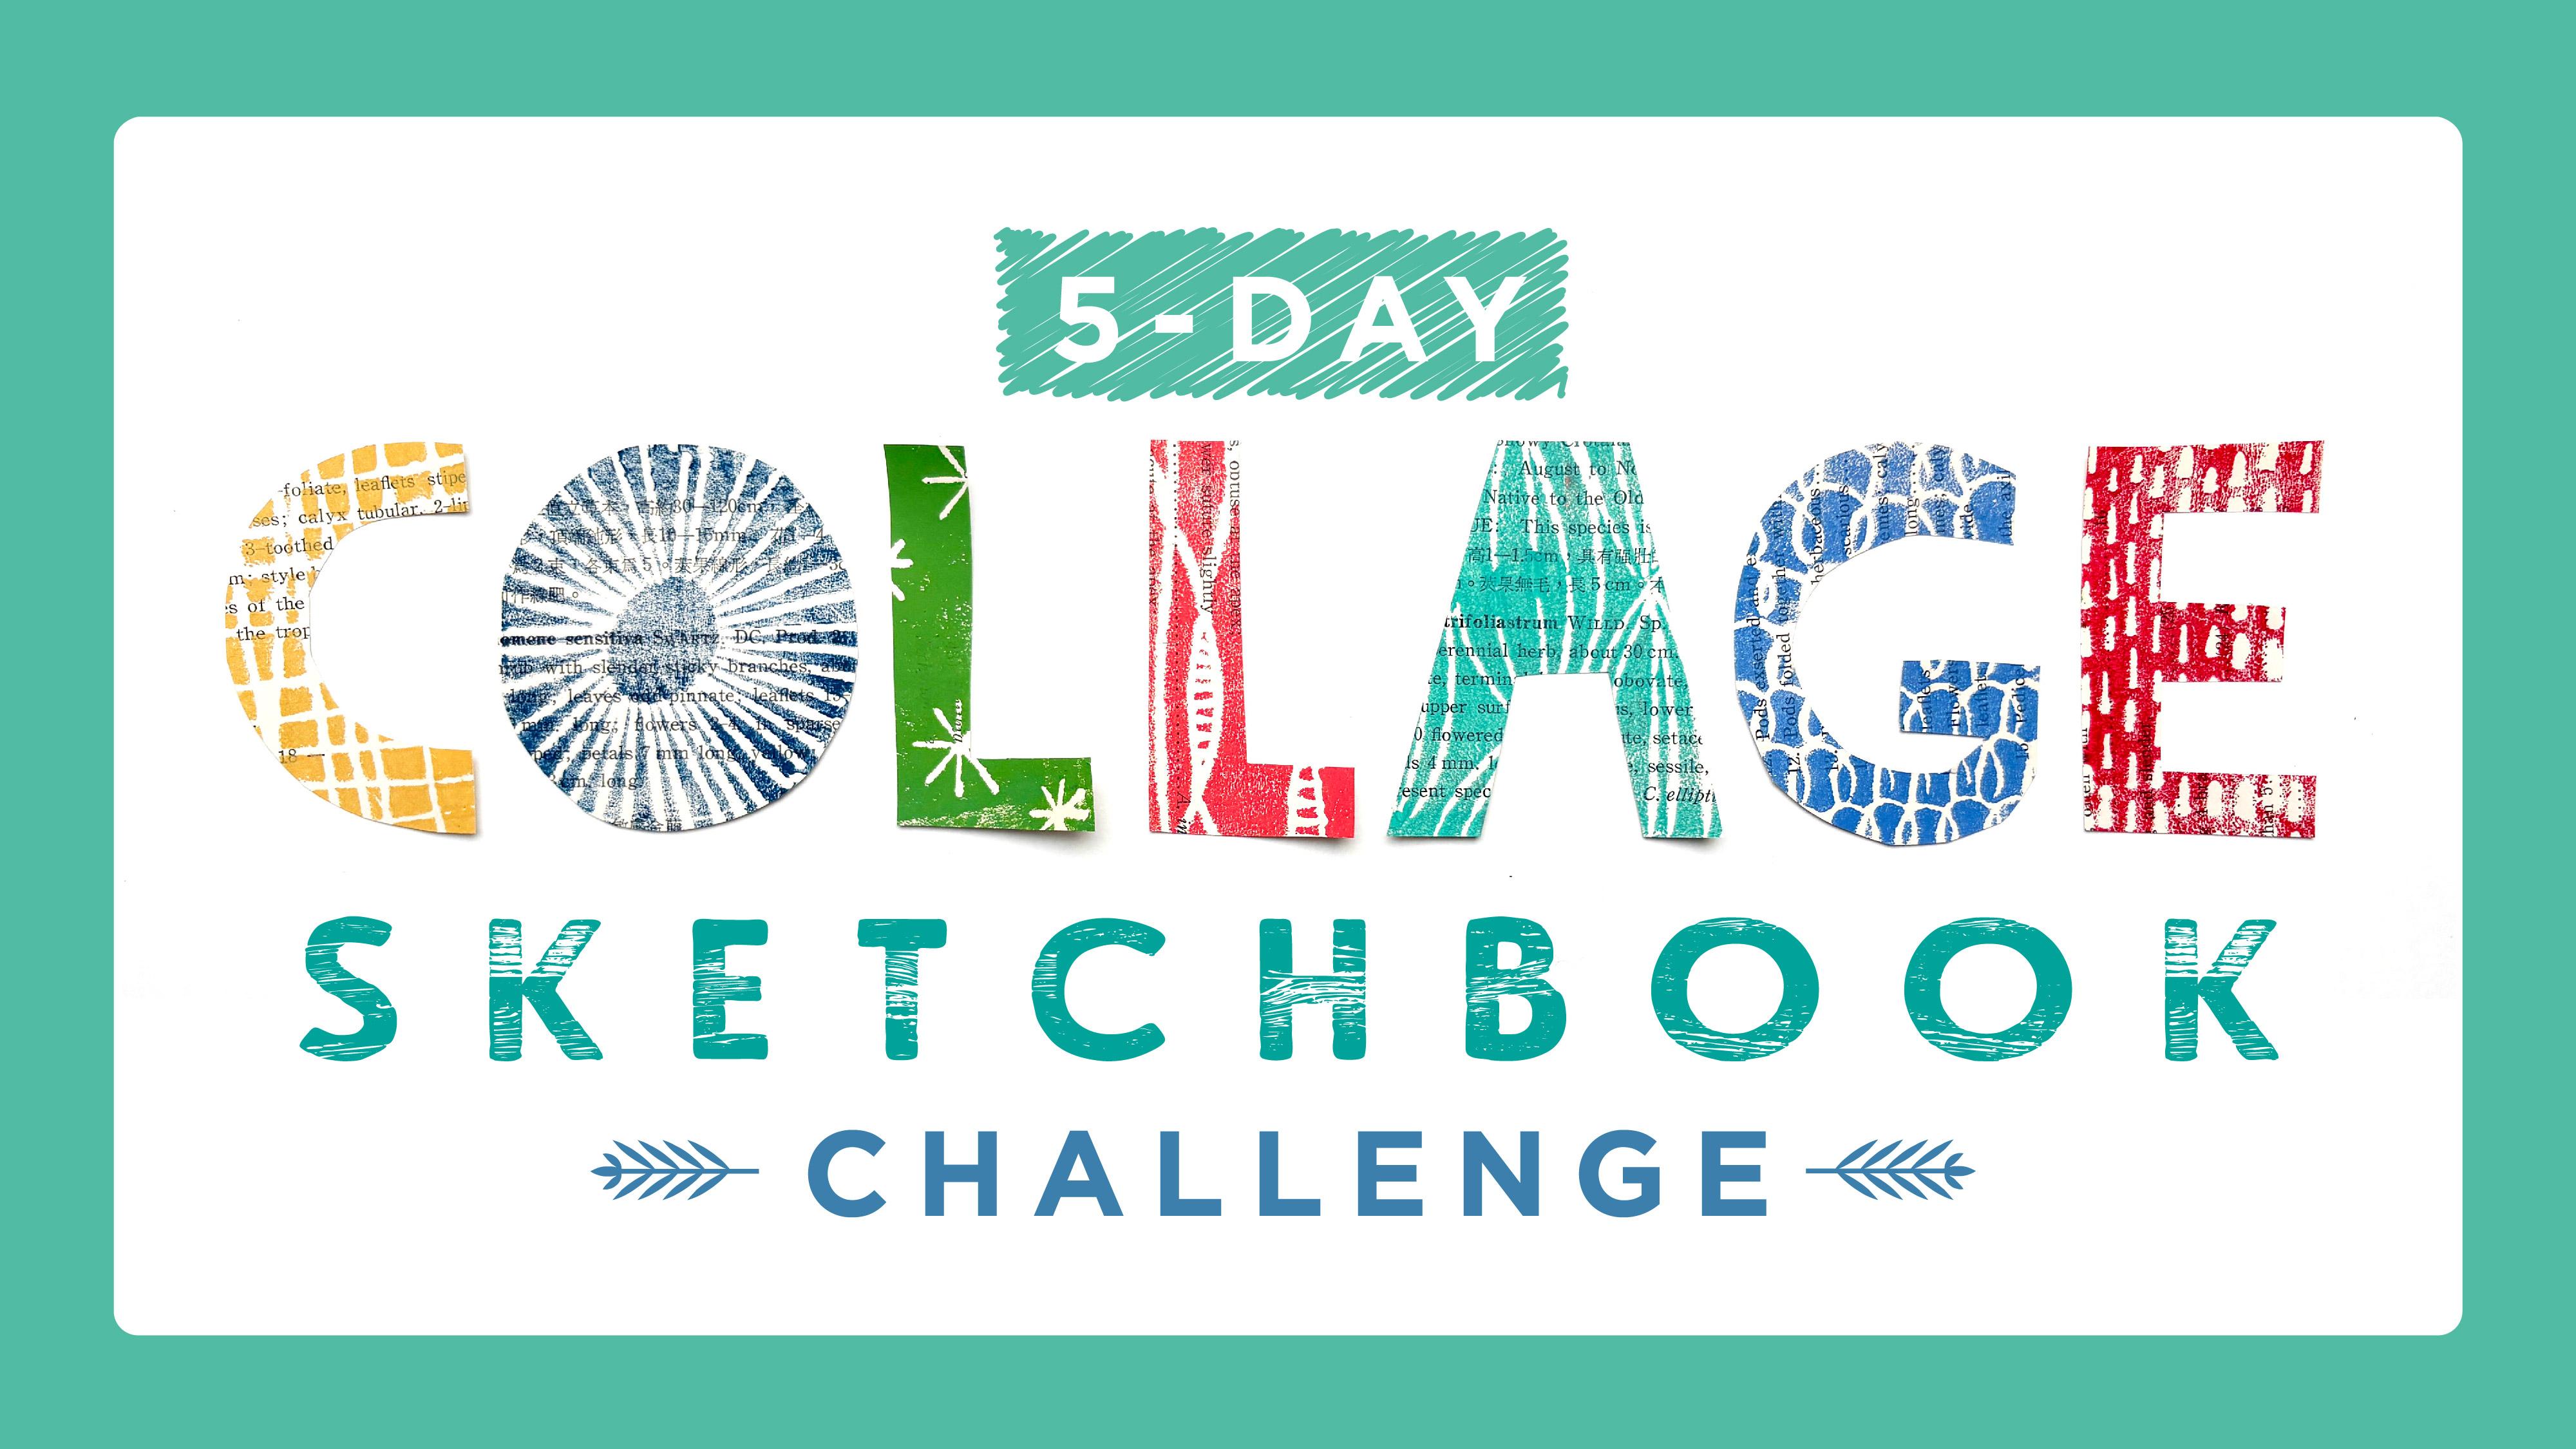
1. Introduction: Bozo, my name is
Lucy Duclos and I'm a graphic designer and mixed media artist from
Victoria, British Columbia. I would like to welcome you to my five day collage
sketchbook challenge class. In this class, I'm going
to walk you through five different
layouts that you can use in your sketchbook, using collage and using paper that we did in the
printStapE enroll class. Here on Skillshare and
we'll start through a very simple grid layout and then we'll work
with negative space, and then we'll also
explore geometric shapes versus organic shapes and then working inside
and outside the box. The idea behind this
challenge is to make it easy to
create art every day. And to be using the paper you already have that you've
already have created. So using your stash and using
recycled papers and just using really simple technique to get you to be more
creative every day. So this is a five day challenge, but you can turn it into
a ten day challenge. You can do it 15 days. You can do it 30
days. You can do it every day for the rest of
your life if you want. As a bonus project, I'm gonna walk you through how to collage the cover
of your sketchbook. And also, if you're going
on a trip, no problem. Your sketchbook is your
traveling studio, really. So fill it go back with collage papers and collect
other papers along the way. You can just turn this into a
travel journal if you want. It's always fun to make
corporate ticket stubs or maps or all kinds of things that you
find on your trip. So I hope you'll join me on this five day
collage sketchbook. Challenge. It's a challenge,
just to say that. And and start making art every day because
making art is good for you, and it's good for the world. It's good for everybody. So I hope to see
you in class abetto
2. Materials: I so the material for this five day challenge
are pretty basic. All you need really is a sketchbook and any size
you prefer to work with, I like to work with this
size sketchbook here, which is I think it's
about 11 by eight, it's a very cheap
one that I buy at the dollar store for $4
because when you do collage, it's paper is not
that important. Because you're just using it. It's not like wet media
or anything like that. You can buy a super
cheap sketchbook. That works really well
for that. You can also go square if you want. If you want to do
a square format, you can totally go with that. You'll just change your border, the size of your template. The other thing you'll need is a piece of recycled
cardboard for the template that we're going
to use to draw or frame. Depending on the size
of your sketchbook, you'll decide what size you want to do, your little template. And if you go in
a square format, then you want to do a square
template for your border. Then you'll need a fine liner, waterproof fine
liner, I use 0.3, but you can use a 0.5. 0.6, it's up to you, a pencil, a gluticks, some
scissors, and that's it. All you need now is
some collage paper, and we're going to talk about
this in the next video.
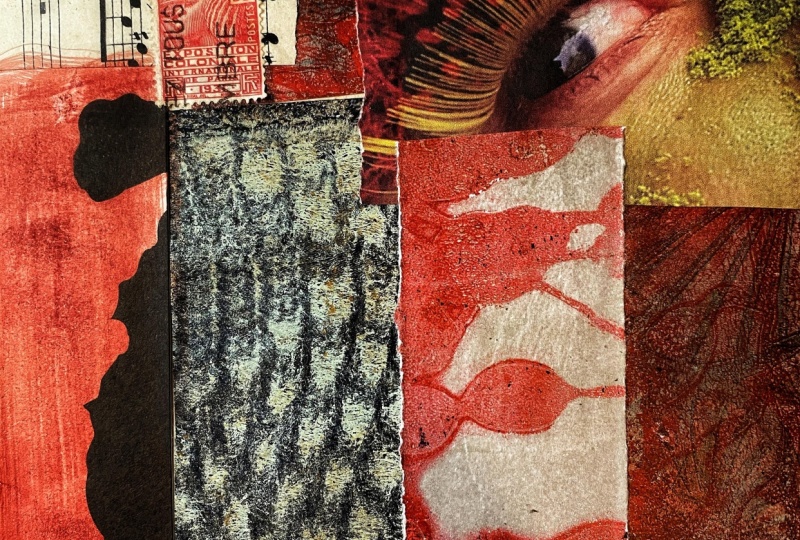
3. Collage Papers: To make great collages, it's helpful to have really
great collage paper. You need some simple paper, but you need some pattern paper, and this is where you
can use all the paper you created in my print stamp and roll class
here on Skillshare. These are all created
in that class. These rollers, this one
is just leaves and dots. And this one just really, you know, round
shapes, random shapes. These were just rubber bands. But you can learn how
to make all of these in my print stamp
and roll class, and I would recommend that
you go there and make yourself a little stash
of collage paper. I print those on coffee
filters and I like to have a nice big stash of little grids like that because they're
really great to use. And also will print
on book pages, music sheets, stuff like that. The other great thing to
have is also in my print damp and roll class is these little patterns that I created with printing plates. These are foam plates. Again, all the technique
is in my print damp and roll class and I just made a whole
bunch of these. They're so fast to make. You just can make a whole bunch. Then print them in
different colors. On any kind of paper, really. But I just made
myself a little stash as that I can use in
my collage later. I mean, you can bring a few
sheets like that on a trip and just use it in your sketchbook and it would
be really all you need, mix that with some
other paper and you would be set to go. So in addition to all the fabulous paper that
you created in that class, you're also going to need
to balance it out with more simple toned down papers. You want a selection
of just solid colors. It could be any painted paper, construction paper, a little
bit of texture is fine. These are failed gel prints, it could be just black
paper, stuff like that. Um and I love to use
stamps in my art. So if you have any old stamps, these are great to use. Also, I like to use numbers from old calendars and sometimes just headlines from magazines, just large type fonts and they're really great to use as graphic elements
in your collage. Cut that up and also always love using
security envelopes. There's so many cool
patterns you can find in these and it's all
recycling paper. I also like to use book pages, dictionary pages, any kind of recycled paper,
music sheets if you want. And lastly, I love to
make myself some stripes, some bold stripes to use. I think it really has a really bold effect when you use those in your
collage because you can just cut a little bit a little just a little
bit like that and add that and it's going to have a really great impact
as a bold element. So, take a book and
just paint some lines with ink or black ink or black paint and make yourself a little stash of these
to use in your collage. Now we're ready to go.
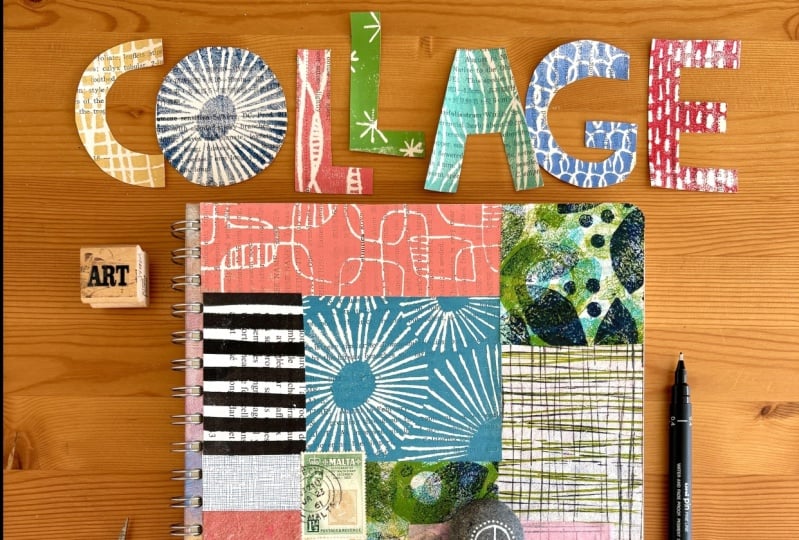
4. Your Class Project: You class projects is to
make five collages using the five layouts prompts that I'm going to
give you every day, and you can do it
in your sketchbook. But if you prefer to
do it on loose sheets, you can download this PDF in the project and resources
sections and then you can do the postcard
format that I call, I call that a postcard format and it's about four
and a quarter by six, or you can use the square format and do it on that if you want. The other thing that's
great is that I think it's a perfect project to
take on the road. You can grab your sketchbook or these sheets and then
when you're traveling, you can just collect
some stuff like little ticket stubs
and stamps and stuff and that you can incorporate
in your collage. To get you started,
you can just throw a bunch of collage
paper in a bag. If you took my
collage and go class, you'll see that I
have a grab and go section where you can
actually put a bunch of different papers in a bag
and take it with you on the road so you can
collage on the go. The way to do this is to upload your first collage in
the project section, and then every day you
upload the new projects. But you can just add and update your
projects until you have all five projects in there and then you've completed the
sketchbook challenge.
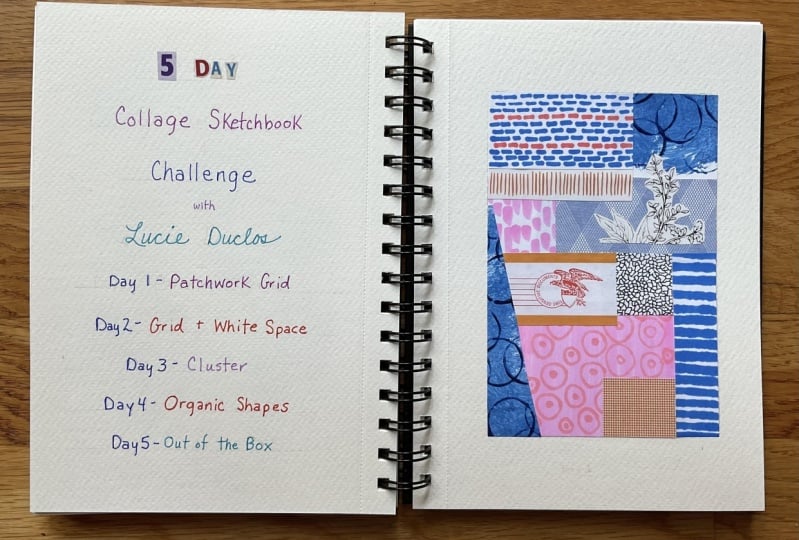
5. Day 1 - Patchwork Grid: The first thing you want to
do before we start is create a little template in
recycled cardboard. This one I did about four
and a quarter by six. I just like to have
something to get started. I like to work inside a frame, inside a box because it helps me and you can do whatever size that works
with your sketchbook. You can do it
bigger if you want. I like this size and just the action of just
drawing something already. You're already
started on your page. It's not a blank page anymore. Just make yourself
a little template out of recycle cardboard, any size that you want that
you're comfortable with, let's get started
on our first page. First exercise, we're just
going to build up a grid like a little patchwork on
this inside or box here. I'm just going to you
know, cut some shapes. I usually don't use anything like rulers
to measure everything. But you can if you want, if you're more
comfortable with that, but I like to be able to collect some
little things on my trips. Okay? So that's how you start. It's pretty easy. And I don't actually
plan the whole thing. I just, like, put the stuff
down and kind of keep going, like quilt as you go
if it's a patchwork. Okay, so at this point, I still need to fill in and kind of balance
this out a little bit. I feel like this
is overpowering, so I'm going to go in and
maybe block this area here and I'm just going to fold it like this to know
where I need to cut it. This is where you decide you get your brain
involved a little more. Because at first
you're just pasting along and just filling
up this space. Then you'll get to a point
where you need to start using your head a little bit more to
balance everything out. I like that. I feel like I need a little bit
different color here, and I think I'm
going to use that. I like that. Like this. Same thing. I'm
going to fold it. A lot of time I just tear
it does need to be perfect. Here I have this little
spot and this is perfect usually to put a stamp. I really love to use. I have all these stamps
that somebody gave me, so I need to use them somehow. I'm going to use a stamp to fill this
area. That's perfect. I'm just going to put this on and we're going to
call this one done. And you did a collage on your first page for your
sketchbook, project. Voila
6. Day 2 - Grid + White Space: Welcome today too, today, what we're going to do is do another little
grid or patchwork, whichever way you
want to call it. This time, instead of filling
it completely with paper, we're going to leave
some white space. Here, I've already
did something. This time, I'm just going to start pasting some paper. Like that. You know, you can do a mix of, um, torn edges and
straight edges. Can do some type
kinda like that. I'm just going to stop
there for this one. What I'm going to do is maybe and you don't
have to do that, but I like to add some because
now I have white space, so I can add some little
details if I want to. Just add some line details or you can just leave it white. Maybe I'll just go
outside a little bit. Outside the box,
just a tiny bit. We're going to get there. Okay. And maybe some
little scallop here, you know, just a few lines. And I'm going to call this done.
7. Day 3 - Cluster: Welcome to day three of our challenge
sketchbook challenge. Today, what we're going
to do is we are going to start with a cluster
instead of a grid. We're starting from the inside out and we're just going to be piling some tissue and tissue, but some of these coffee filters
and all kinds of things. Usually I start with
I'm just going to start with just a piece of a piece of book page because that's
an easy way to start. For this, I'm just
going to use I'm just going to use my glue
stick right on top here. I like that. Then I'm going
to be adding some of this. I'm just going to do a little
cluster of paper here. You can do some
straight one too if you want, linear ones. This is really a
little more free form. You can use tissue paper
that works pretty well too. I'm going to be using I
don't like this color, I'm going to do something else. I'm going to use some
of this like that. This is Yeah. Security envelope. Couldn't find the word for it. Using tissue paper for this. Because you can see through. Maybe a little bit of that. I'm just walking
from the inside out. I'm just using scraps that
I have around me right now. I'm just looking for anything
that might look good. Mixing the torn edges and the straight edges without
overthinking it too much. I might be like, I might
be done, honestly. You know, I don't
know that I need. Maybe I need a little
pop of yellow. Yes. Let's do that. This little yellow, and
then we're going to stop because we can
add some stuff. Show you how. I'm going to stop here. You can leave your little
cluster just like that. Or what you could
do is add, again, some details with your
markers, your fine liners. You can add some little stars. You can add some scallops, can add some lines. You can add some flowers. You can add some arches and little dots, and that's it. I'm just going to stop
here. So you have your little cluster page.
8. Day 4 - Organic Shapes: Welcome to day four of our
challenge, and this time, what we're going
to do is work with negative space and
organic shapes. Instead of working with mostly the rectangles
and stuff like that. This time we're going to cut some organic shapes.
Look at that. Do you see what it creates, how it creates a
negative space here? All the white space
is going to become the emphasis of our design
on this one of our layout. I'm going to do that
and then I'm going to cut I don't know, some rounds. And shapes that you want to do that's not
a square, really. I want curves on this
one. Not curves. You know, stuff that you
can put in the corners. See it starting to create
this really cool space. Straight lines for
your edges here and then curved over here, right? So What I can do is you
can mark it like that, and then you can just cut it so that you go all the way to the edge of your
square your border. I'm going to put this like this. So you can see when I
control what's going to be the white space on this. Let's see. Do I want to do I think I might want to do a
little stash here. I'm going to have this here and it's like I'm going
to stack some rocks. You know, this reminds me of
these flowerstone that you can find here on the beaches in Victoria. They're
really cool. I'm going to do this
little off stack here. See that Yeah. That works. But I feel like I want
more something else here. So maybe See, I'm creating these lines here by doing that, I'm
going to put that here. I feel like maybe I need
something here too, just to make it
flow differently. Let's see. What
color should we do? Should we do this color? No. I found this really
cool piece of yellow, orange yellow here, maybe
I'm going to try to too big. Or I can do this. I can use a Leftover piece instead of the ones I was trying to cut.
Let's just do that. Just use the leftover
piece that I was trying to cut often is more interesting than what you're actually
trying to do. I have my little
negative space design. Then what I'm going to do
now is I'm going to add some details and you can add some lines I like to add
stitching lines like this. And Oh, let's see. What can I do? Can we add a
little star here? Why not? We can do whatever we want. Once you have your pieces down, you just go ahead and doodle. Doodle away. I'm gonna do another stitch here
because I can. And then I'm going to do a little I'm gonna
gonna stop there. That's it.
9. Day 5 - Out of the box: Welcome to day five, which is the last day of
our challenge this time, we are going to break
out of the box. Yes, we're still going to draw our little box here because we have a
place to start. But what we're going to
do is go outside the box. I'm going to start by cutting some shapes
with a flat edge, obviously, I'm just going
to start on the outside. Like that and see. This looks really busy. I'm going to try with this here. I love this plate. It's really easy to use. It's
really easy to make. Um Okay. Here, maybe? I really try not to
overthink anything. It's just a sketchbook. It's not like you have
to show it to anybody. You're just putting paper down, but you're starting
with something, some structure, but doesn't mean you have to stick
to that structure. You can think outside the
box and inside the box, too. You can do whichever
way you want. You can break outside the box. But you can also work inside the box. I kind of like that. So you can use the frame
your border as guideline, but you can break in or
out of it as you wish. You're free. I'm going to mix organic shapes
with straight shapes. I need to calm this
down a little bit. It feels very disorganized. That's what happens when you
break out of the box, right? But that's okay. It's okay. We can calm it down
with calmer paper. And I'm going to do some So square or maybe
just a piece of um, piece of a book page. Mm. I like that. Okay. So on this one, you're really mixing everything
that we've worked on. We're doing straight line, we're doing clusters,
we're overlapping, we're breaking in
and out of the box. This is like freestyle,
total freestyle. Some of this. I want that? Do I like that? Mm. I like that. I just audition pieces,
see if I like it. Okay. And what else did we do? We did maybe we need more
straight pieces or maybe some type typography is always a fun thing to do. Really, when I collage, I just grab what's there, what's around my desk. I don't overthink it. If you're going to do
something like that on a trip, you know, you're just going
to have your sketchbook. You're just going to use
whatever's there, right? And then let's see. Am I almost done
here? I think I am. I think I might just leave it
like that and just add some little I'm just going
to add some lines. And I think I'm
going to stop there. Go, congratulations. You did your five
days challenge. And congratulations.
10. Bonus Lesson: Sketchbook Cover: As a bonus video, I'm going to show you how I
usually collage the top of my sketchbook because I just buy these really cheap sketchbook
at the dollar store, here Dolor Rama in Canada
for $4 or whatever. So you can buy any kind of cheap sketchbook because it's
just for collage, really. Then I just kind of just collage
the top exactly like you would do for the five
exercise that we did today. So you can start in the
middle if you want. You know, you can
start on the corner. I usually let it go bigger than the edges and
then I can cut it later. But it's really pretty much the same technique. I'm
just going to do this. Because after, I'm
just going to cut it. I'm just going to trim
it with exacto knife. So I'm just going to go ahead and um and collage. So now that I'm
done with my cover, I'm just going to
trim the edges, okay? I'll just go with my exacto
knife and just trim my cover. Mm. There's my cover. Good on.
11. Bravo: You Did It!: Congratulations. You have now completed the five day collage
sketbook challenge. That's very hard to say. It's
easier to do than to say. And now you can keep
going if you want. You can go another five days. You can repeat these
prompts and do five more. You can do five more
grids if you want. You can break out of the box. You can use these layouts
and expand on them and do your own thing and just make it to a 30 day
challenge if you want. But the important thing is to just make a little
something every day. That's what I would hope
that you would keep going and create art
and make art every day. So I want to share this
sketchbook with you, one of my collage
sketchbook that I did that started with some
basic grid design, especially on a cover here, you can see, and
I expanded on it. You can see this is a
basic grid patchwork here I added I add
some white space. Again, basic grid patchwork
with white space. Then I expanded here with
different shapes and I start to get out to break out of the
frame a little bit. Then I went to different
whatever I felt like doing. This is also a variation on a grid because it's
just a linear design. Again, just repetitive shapes. This is a horizontal
grid design. This is a mix of
different things. Here I went to watercolors. You can do whatever you want. This is a cluster
and another grid, organic shapes, organic
shapes and square shapes. And everything mixed up, and it's basically just a
mix of different layouts. And when I don't
know what to do, and I'm stuck some
days I don't feel really creative or something,
I go back to the grid. I do that a lot.
I just go back to simple grid, and I feel safe. There I went crazy again. Again, very basic linear
grid like, very basic again. This I went completely out of the grid, I did
whatever I wanted. Another one with
a combination of grid like and organic shapes. Basically, you can do
whatever you want. Sometimes it's just
a place to start. That gives you this
is the organic shape, the white space,
negative shapes, au revoir and that's it. 30 days can go fast.
12. Final Thoughts: So thank you so much
for taking my class. I hope you'll keep
filling sketchbooks after sketchbook with collage
or other mixed media. Technique that you like. If you need more
collage inspiration, you can always refer to
my collage de jour book, where I share a lot of different prompts and layout different layouts and
ways that you can do some simple collage and also some techniques on painting papers and all
kinds of good stuff. So that's a good option
for inspiration. I have also created a Pitrospd with some
inspiration on there, and then you can see what I'm working on on my
sketchbook at the moment. And finally, I want
to leave you with three tips for keeping
a healthy art practice. First, keep it simple. You can always add more later. Two, be easy on yourself. It's only collage. And three, do a little something every day. You know, it could
be just making a piece of collage paper. It could be putting one
piece of collage paper down. It could be adding little
doodles on an existing collage. You don't have to make
it a big production, but I think it's important to do a little bit of something
every single day. And then share in the
project section below. Share with me so I can
see what you're doing. And reach out if you
have any questions. And I wish you a great
creative journey, and I'm saying Merci eh abetto. That's my art
director. Mr. Wiley.
 Lucie Duclos, Design + Mixed Media