Transcripts
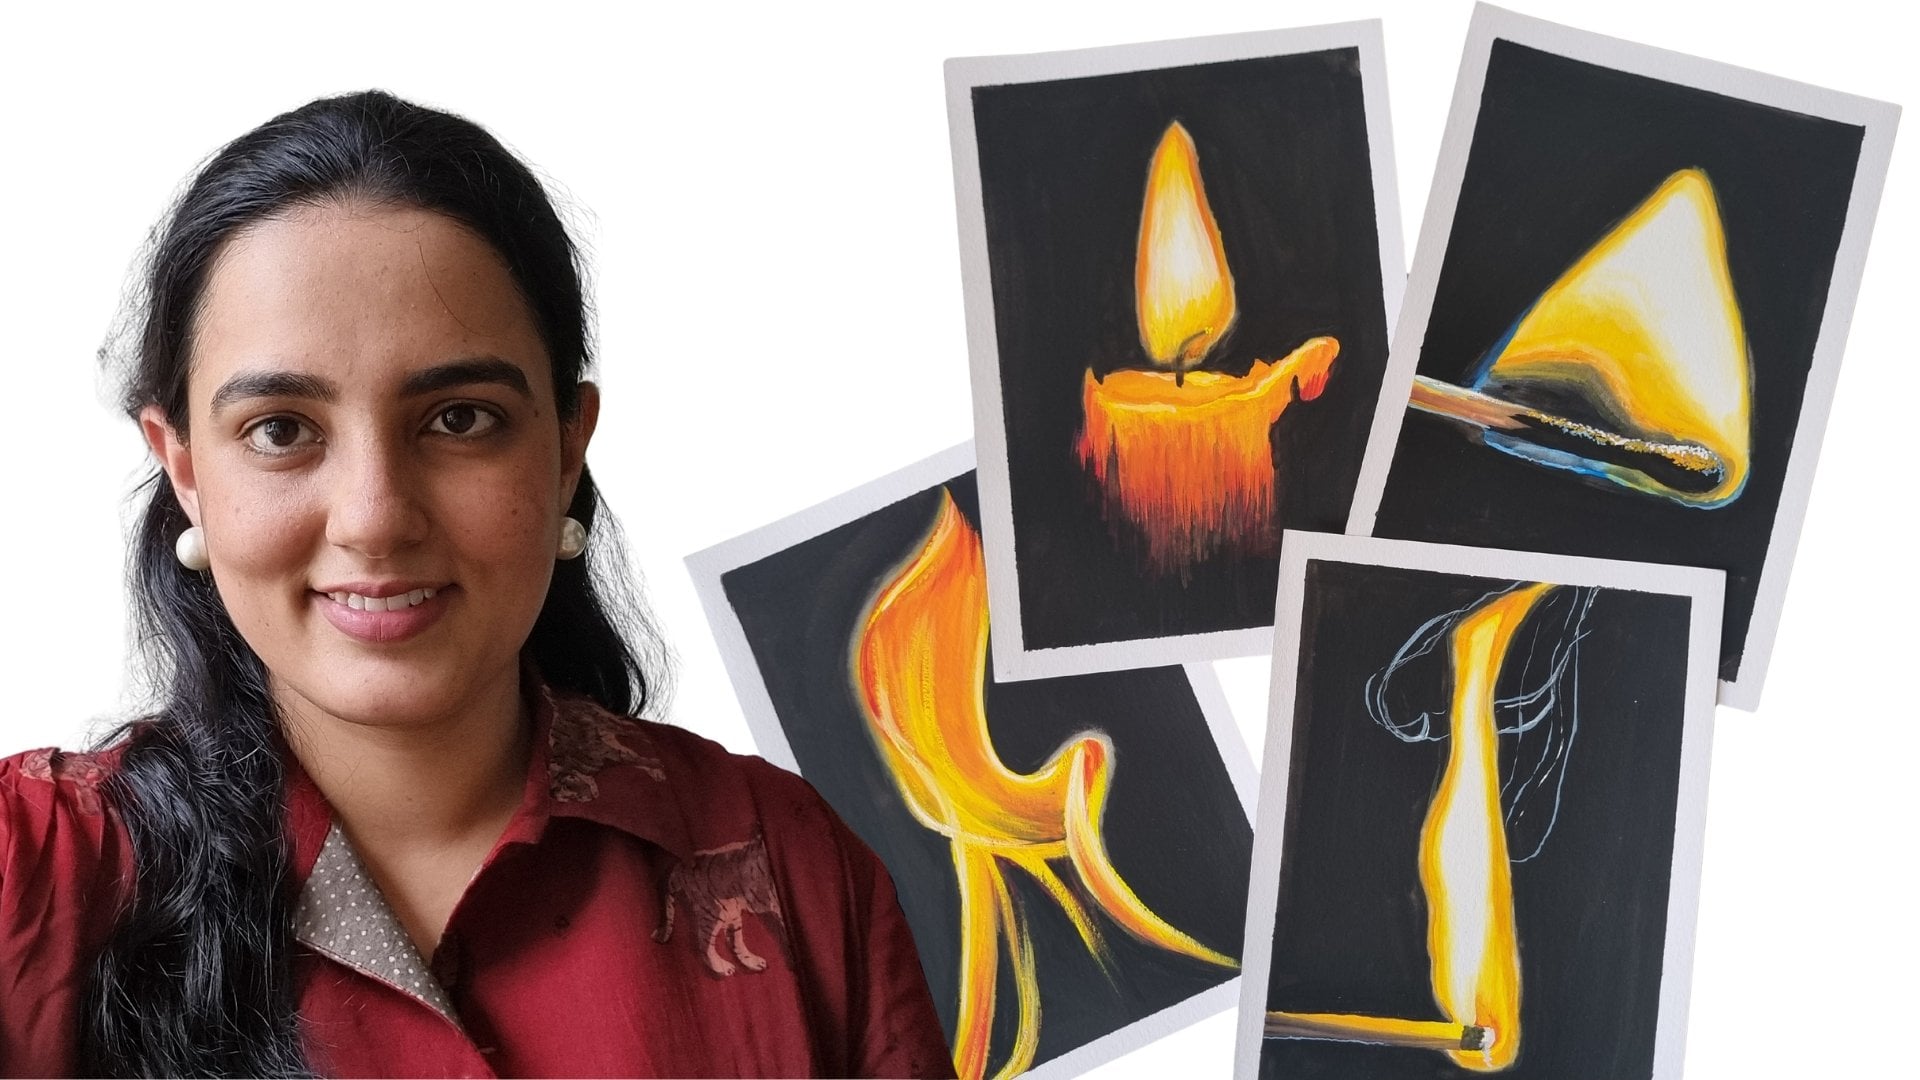
1. Introduction: Hi, I'm Shivani if you're someone who loves to paint but never seems
to find the time, then you're in the right place. Between work, family, and everything that
life throws at us, creativity often gets
pushed aside and a lot of times we end up scrolling rather than
creating something. This class is my way
of changing that. I've designed four very simple gauche paintings
that are simple, beginner friendly, and honestly
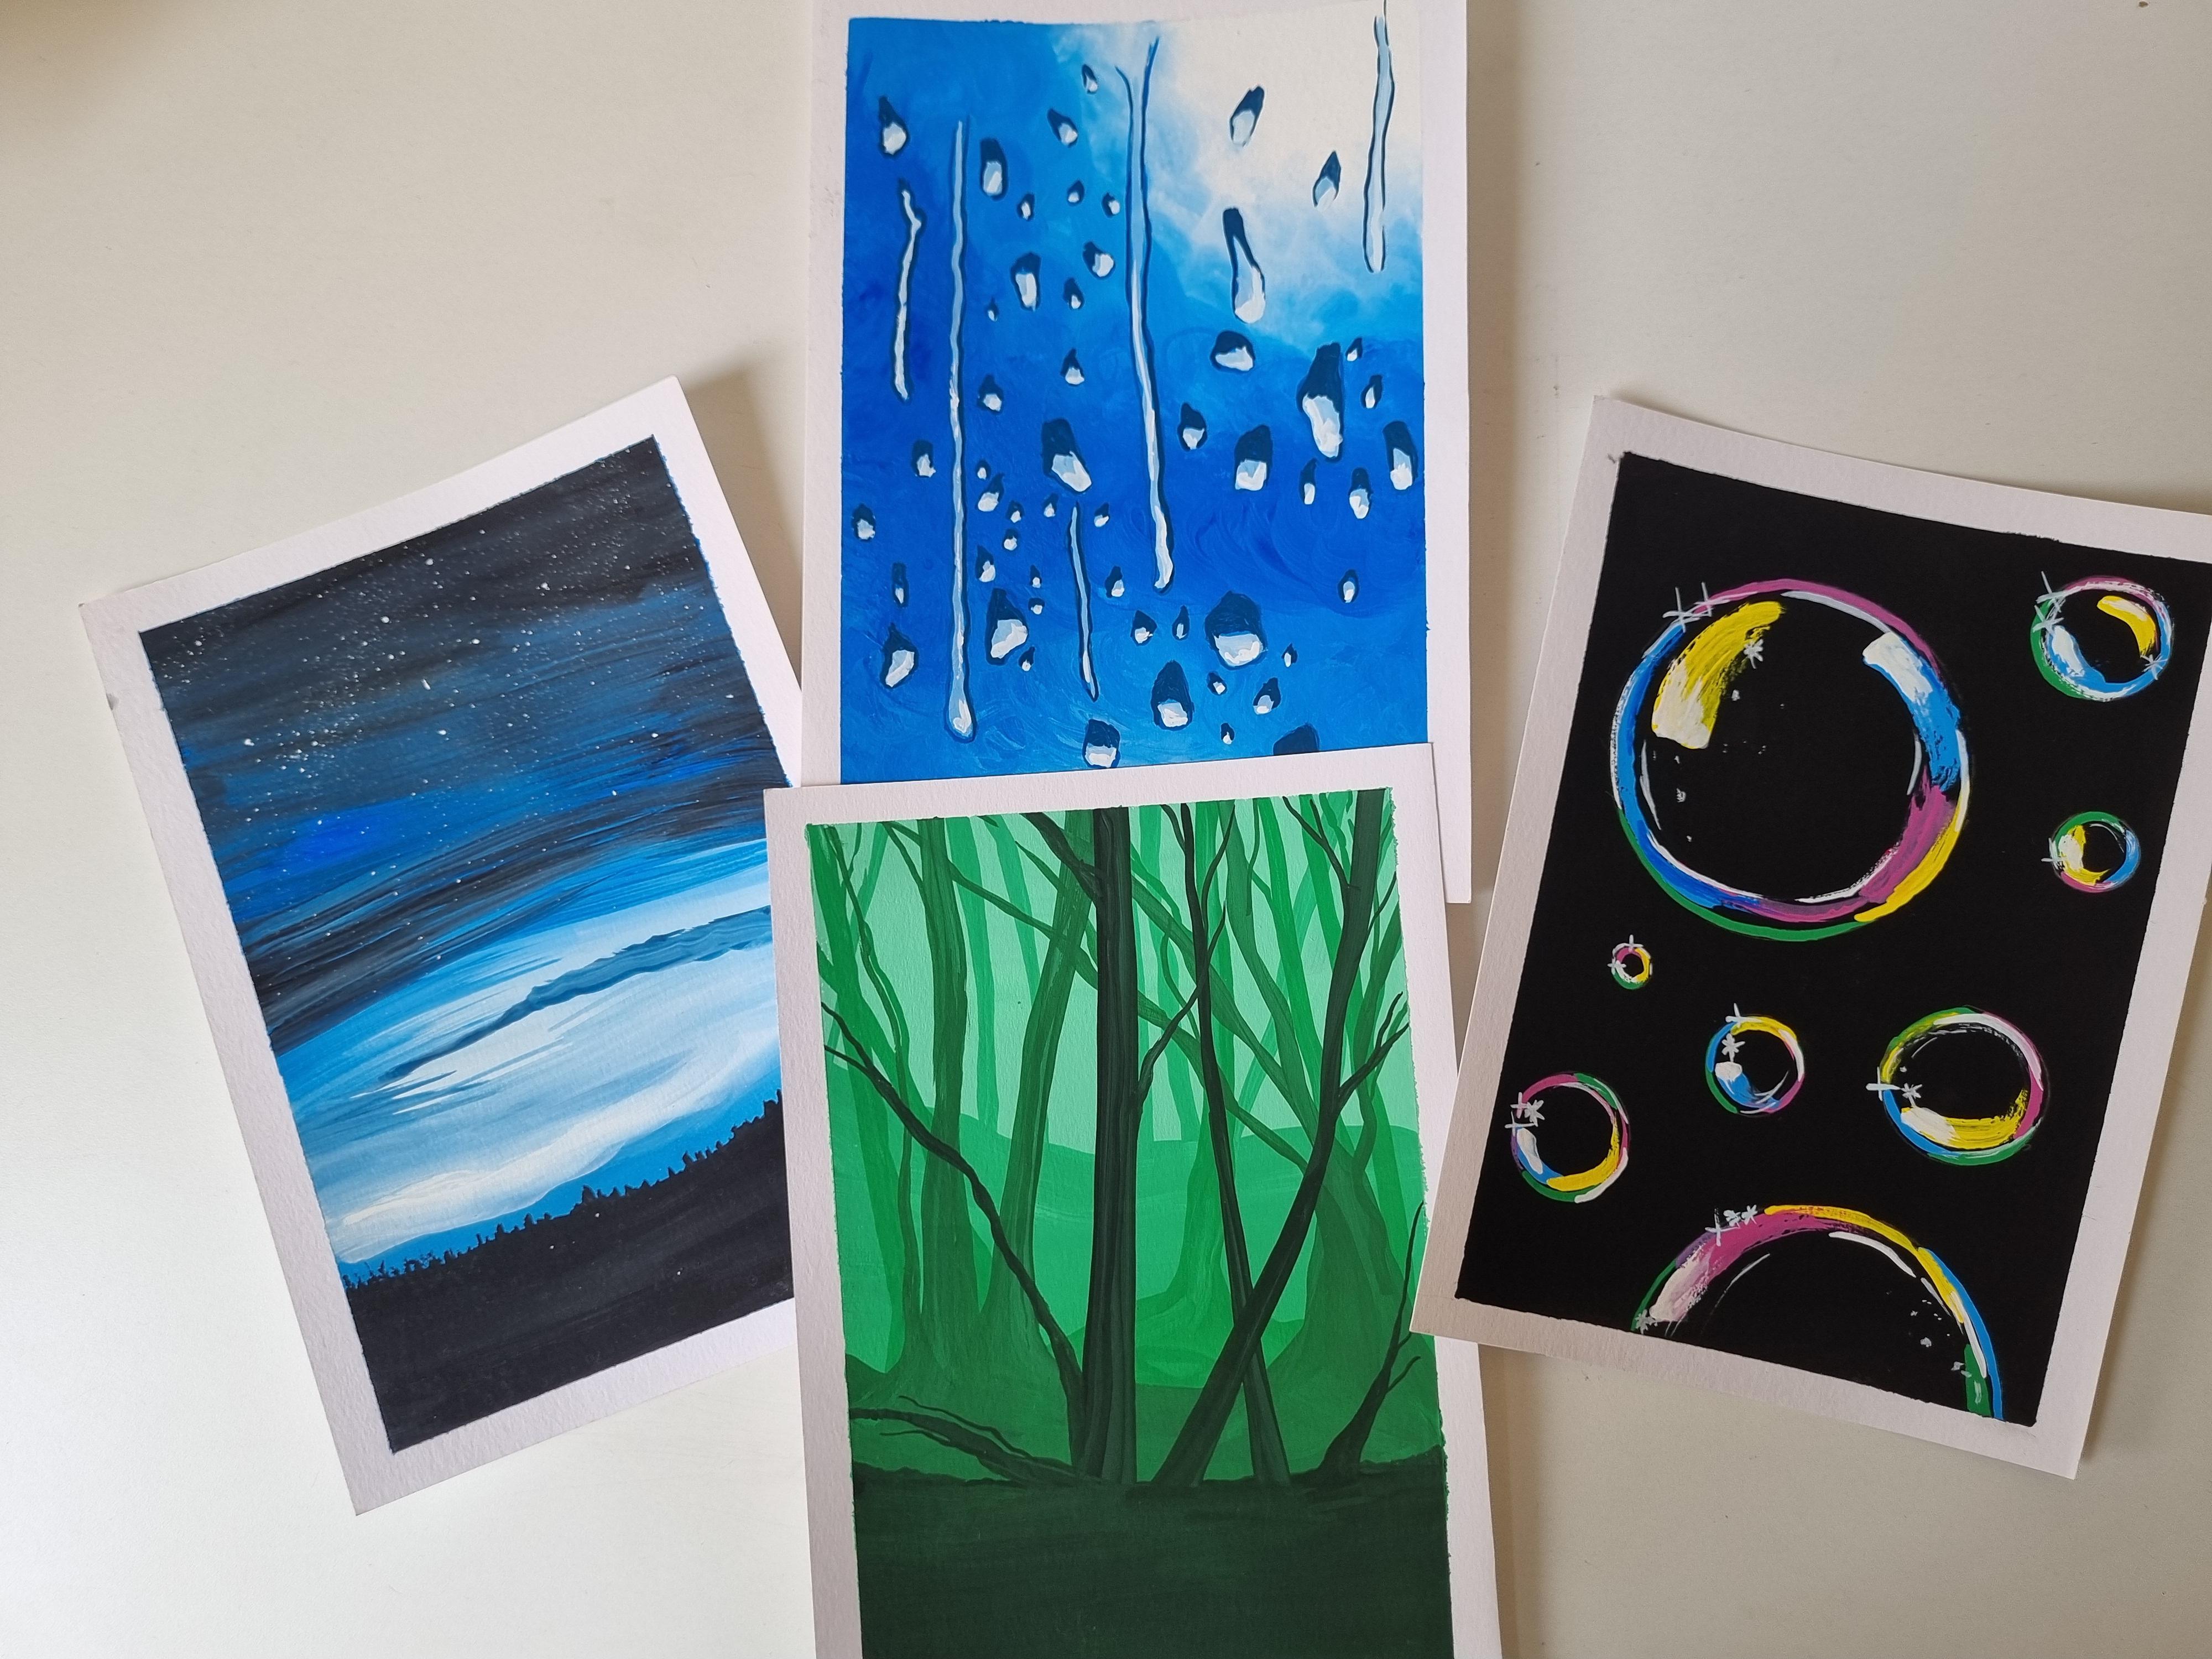
very relaxing to paint. We'll be painting bubbles
or soft forest landscape, the night sky and raindrops all broken
down into easy steps. You don't need any
prior experience, just a few basic materials
and a little bit of time. If you've been waiting
to start painting, this is the right
time. Let's begin.
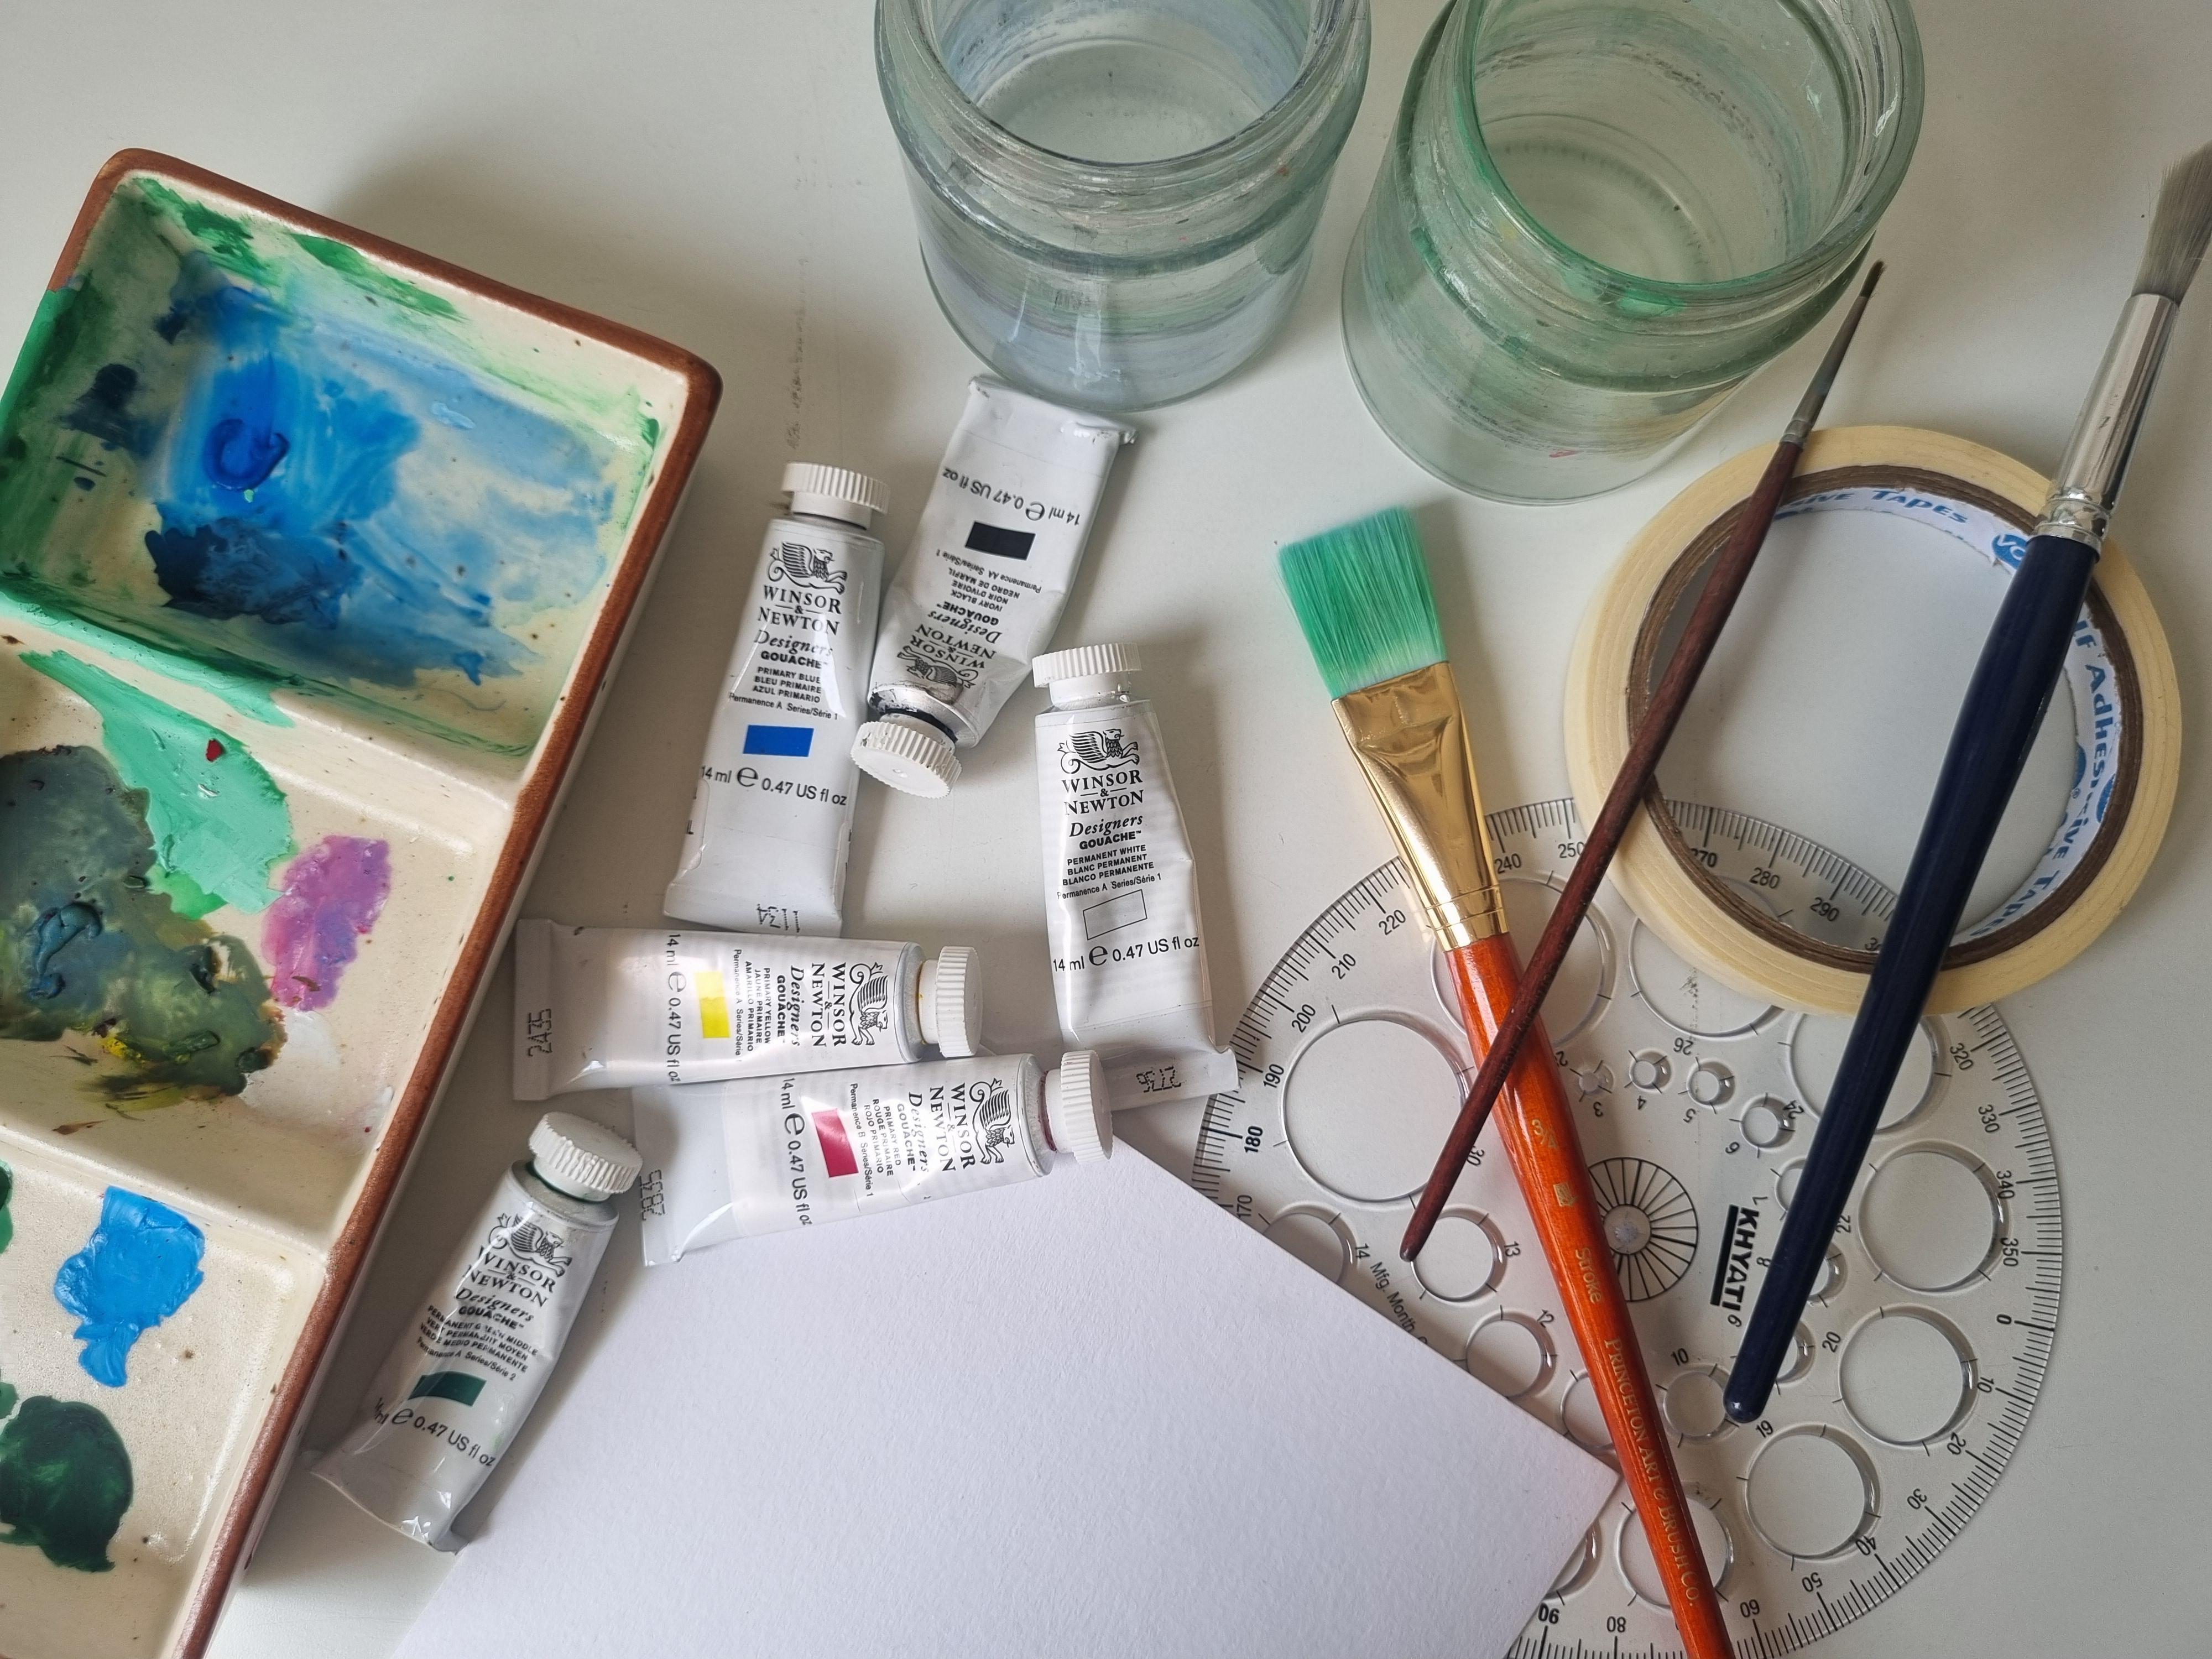
2. Materials required: Here are all the materials
you require for this class, starting with the Gauche colors, you'll require a
pencil, a masking tape. I'm using 100% cotton, cold pressed watercolor paper, two jars of water,
a paper tissue, a cotton rag, a color palette. You will also require
a circular stencil. If you don't have a stencil, feel free to use caps or lids, a flat brush, a
large round brush, a smaller round brush, and a detailing brush. And we will also
require an old tooth
3. Gradient forest: Start with creating this
beautiful gradient forest. I'm going to secure my paper to the table
with a masking tape. Now I'm going to take the
permanent white color and add a little bit of
permanent green to it. Make sure it's a really, really light green shade. I'm going to take
a flat brush and cover the top half of the
paper with this color. So this is one of
those easy paintings where you do not need
to sketch anything, and it still turns out
really pretty and detailed. After I've done this,
I'll let it dry. Then I'm going to
add a little bit of permanent green to
my light green shade that I had created earlier. Now I'm going to add the second
layer, first, the bottom. And then I'm going to just take my flat brush and create
these trees vertically. Feel free to do this free hand. Don't worry about
making any mistakes. Now I'm going to add
a little bit more of permanent green shade
and make it more dark. Once the lower layer
is already dry, I'm going to add
this third layer taking a thick round brush
and creating these trees. Don't worry about
making any mistakes. Don't focus on making sure that the trees are thin and
just enjoy the process. Only thing that you need to
remember is to make sure that the previous layer is dried before you
start the new layer. Now I'm going to add
a little bit of black to this shade of dark
green that I had created, and I'm going to get
this darker green color. Again, the fourth layer I'm going to add with this
darker green shade. We can already see the depth in the forest that these
layers have created. M I am using the
flat brush here, but feel free to use
a detailing brush add as many or as few
branches to each tree. For the branches I've here, taken a detailing brush. Now, the last layer is going
to be even more darker, so adding more black
to that green layer, and it's going to give this
really dark green shade. After covering the bottom part with this dark green shade, I'm going to add the trees. You can see how deep and
pretty it's looking. Even though these steps
have been very easy, it looks like we have put in a lot more effort than
we actually have, which is what I really
love about this painting. I'm taking a detailing
brush here to add a few branches and some that are coming
out of the ground, some that are across the trees. Sure that pigment that you
take on your brush for every layer is thick
and lot pigmented. Yet it should flow on the
paper pretty easily through your brush. These
are all free hand. I had not sketched anything, but look at how realistic
and pretty this looks. I've removed the
masking tape now. And here we have it such a
beautiful forest landscape. No.
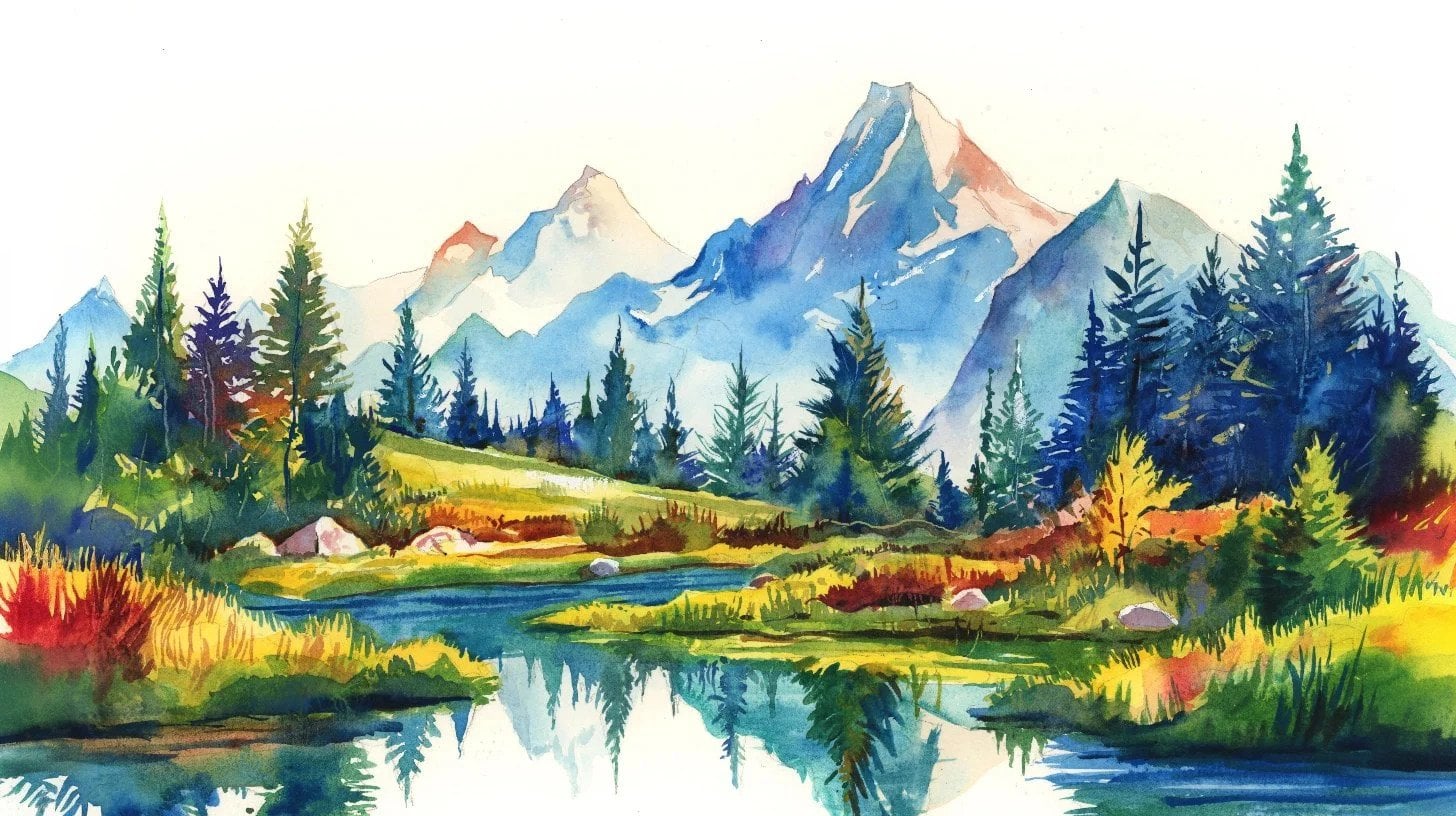
4. Starry night sky: Painting this
beautiful night sky. I'm starting with
securing my paper to the table with a masking
tape on all four sides. This is one of those
paintings that a lot of people love painting, and it's really easy to create, but it looks so
pretty, so realistic. I'm sure this is one
of those paintings that a lot of
beginners love to try. I've started with this
primary blue color, and I'm going to just give a light wash with this color at the top
part of the paper. Then I'm going to take a lot
more pigment on my brush and I'm going to add another layer of primary
blue at the top. I'm using a flat brush. Then I'm going to blend it with a little bit of ivory black at the top and create this
really dark blue shade. Look at how pretty it looks. Now taking a clean brush and just going to blend
both of this together. Now taking permanent white
and adding it with the bottom oh and with a clean brush, now I'm going to
blend these two. Make sure that you do
these steps a little fast so that the color doesn't get chance
to dry completely, and the blending
is pretty smooth. Now I'm going to add these
few details for the clouds. At the bottom, again, I'm
going to give this wash of the blue shade adding white
again to give this highlight. Now I'm going to take the
black color at the bottom and discover the silhouette
for the mountains. Once that layer is dry, I'm going to take a
round brush and add these tree like details at
the edge of the mountain. I Now I'm going to take an old toothbrush, add white pigment to it. Make sure that the
toothbrush is wet before you use it like this to create the
stars in the sky. Then I'm going to take
a detailing brush and just make a few of the
stars a lot more brighter. As you can see,
it's so realistic. Another way to
create these stars is with these two
brushes like this. And here we have this, a very easy and beautiful night
sky. One of my favorites.
5. Bubbles on black: Start with creating
these beautiful bubbles. Here I'm taping my
paper to the table. I've taken the
ivory black color, and I'm taking this flat
brush so that it's easier to cover the paper and going to paint the whole paper
with this black color. Make sure that your pigment
is dark and very opaque. Oh after I've covered it
with the black color, I'm going to let it dry now. Now, taking these stencils or these circular shaped objects. I'm taking this plastic cap and creating the circle
here with a pencil, then another smaller circle. I've tried to create bubbles
of all sizes small and big. You can make as many or as
little circles as you like. Now I'm going to put all the colors that we'll
be using onto my palette, starting with the
primary red color, primary blue, yellow, and
the permanent green color. Also taking the
permanent bite color to create different
hues of these colors. So starting with green, I've added a little
bit of white to it, and we'll start with
this light green shade. I'm taking a detailing brush, so just going to create these circular lines
at the edge of the circles or in some
cases on the circular edge. Try to replicate these lines
just the way I am doing. Now, taking the primary
blue colour and adding a little bit of white to it for this lighter blue shade. Again, creating these lines
with the light blue shade. Some thicker lines at the edges with the
same detailing brush. Please trust the process. I know it's a little
confusing right now, but it's all going
to come together. Make sure that you have a lot
of pigment on your brush, and you don't use a lot of water so that the black color at the bottom does
not get mixed with the pigment that we're
adding on the paper. Now, again, taking
this pink shade by mixing white and a
little bit of primary red. Now taking primary
yellow and again, going to add a few
of these strokes. Make sure that these
bigger strokes are parallel to the
circular lines. Now I'm going to
take the white color and going to add
these highlights. Make sure that you have a lot
of pigment on your brush. That's super important so that it doesn't
start looking messy. You can add as many
or as little details in every bubble as
you feel, right? Now, I'm just going to add
these stars here at the edges. This basically
captures the light on the bubbles and makes them
look a lot more realistic. Now, adding these few dots
again for the same reason. Now to add few more
other details, I'm just going to remove the
masking tape from the paper. As you can see, I'm just
going to add a few more of these sparkles in the shape
of X's here at the edges. And here we have it,
these beautiful bubbles.
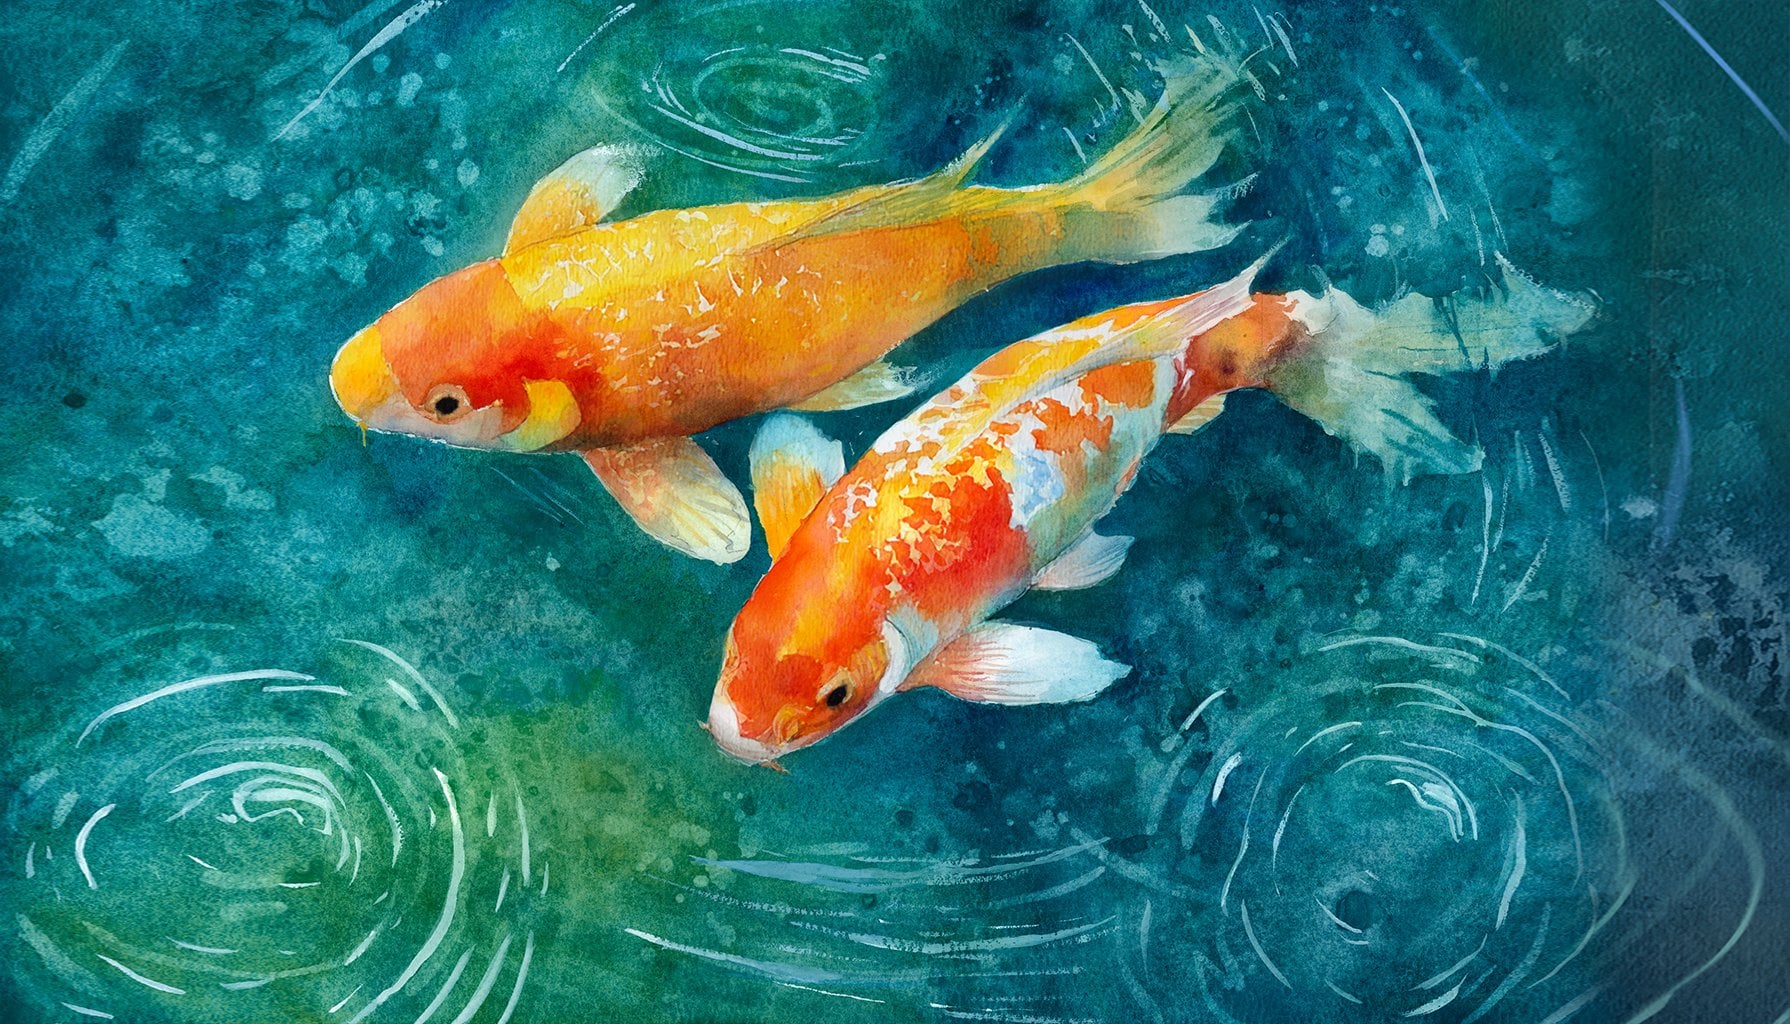
6. Raindrops on a window: Start with painting
these beautiful raindrops on a window. I'm starting with
making sure my paper is secured to the table
with my masking tape. I'm going to start with
my permanent white color, add it to the top
right corner and with my primary blue color and going to add it
here in the middle. I'm taking a large round
brush and going to use it in this circular way to cover the paper
with the color. For now I've left some gap between the blue and
the white color. Now I'm going to
just dry my brush on a cloth and clean it so that the blending
is a lot more cleaner. As you can see, I'm blending it in this circular
manner because I want a very blurred
effect in the background. I'm going to add a little bit of white at the bottom
here as well, while my blue color
is still wet. I have cleaned my
brush, and again, I'm trying to blend it
with a clean brush. Now I'm going to
add a little bit of darker blue here
in the center. Now taking a pencil, I'm going to start
sketching the raindrops. I'm going to add a few
circular shaped drops and a few linear drops that are
traveling down the window. Now I'm going to take
a detailing brush, and with my primary blue color, I'm going to outline
all these raindrops. Make sure that you
have enough pigment in your brush so that your brush
doesn't drag on the paper. Now I'm going to
add a little bit of white at the bottom
of these raindrops. I have basically
mixed a little bit of primary blue to the
white so that it has a very light shade of light so that it's
a very light blue. I'm only adding this shade at the bottom of
these raindrops. Again, making sure
that the outlines are not getting covered up in case some of the
raindrops do get covered up. Some of the outlines
do get covered up. You can redo that
step after this one. Now I'm going to mix
a little bit of black to my primary blue color and
get this dark blue shade. And that I'm going to add as a shadow at the top
of the raindrops. I'm also creating
a slight border with this color, as you can see. I've only been using the
detailing brush for this step. These steps require a
little bit of patience, but trust the process, you are going to
love the result. Now I'm going to
add highlights with the white color at the
bottom of these raindrops. You can see how vibrant it
has already started looking. It's looking pretty realistic. I'm just going to add a
slight white opaque drop at the bottom of every raindrop. And here is the close up.
7. Final thoughts: I hope this class help you reconnect with your
creative site, even if just for a weekend. If you did create with
me, I hope you upload it. I love seeing your projects, and if this felt
calming or helpful, I hope you do drop a review. It really helps me connect
with more people like you. See you in the next class.
 Shivani Jadon, Gouache & watercolor artist