10 Minute Woodland Leaves - Beginner Watercolor
 Holly Tomas Art, Watercolour | Gouache | Mixed Media
Watch this class and thousands more
Watch this class and thousands more
Lessons in This Class
-
-
1.
welcome!
1:30
-
2.
Our Class Project - Woodland Leaves
8:19
-
3.
Thank You!
0:21
-
-
- --
- Beginner level
- Intermediate level
- Advanced level
- All levels
Community Generated
The level is determined by a majority opinion of students who have reviewed this class. The teacher's recommendation is shown until at least 5 student responses are collected.
80
Students
8
Projects
About This Class

Accessibility: for my deaf or hard of hearing students, subtitles are available underneath each class, next to the volume button. Subtitles are available in Spanish, French, Portuguese & Dutch. You can also find a full transcript of the class in the menu bar, underneath the class video.
Hi there!
One Paint
Two Brushes
Four Leaves!
In this beginner level class we'll be painting gorgeous woodland leaves... leaf shapes which you may be very familiar with, depending on where you are in the world :O)
We're going to be creating easy stems out of just one pencil line, and adding blooms by dropping water and slightly thicker pigment into our leaves. I'll be demoing 3 brush stokes:
- Side sweep
- Blunt interrupted round brush stroke
- Tip-belly-tip technique
I've chosen a size 4 and a size 10 round brush.
I'm hoping that you'll feel you can adopt these 4 leaves into your art practise, and allow them to become part of your unique style of watercolour painting.\
Techniques we'll be covering:
- How to create gentle blooms and make the most of any granulating paint you may have chosen
- How to add depth by dropping in slightly more pigmented paint into the base and tip of your leaves
- How to add simple but effective pencil details
This class is designed for those of you who are:
- New-to-painting
- Wanting to refresh your basic watercolour skills
- Wanting to create an on-going glossary of go-to leaf shapes
- Fancy a short calming painting session to ease daily woes!
I have a little mission statement, where I aim to make my classes:
- Informative
- Relaxing
- Fun
I hope I've achieved that in this class! Shall we get started?!.... Let's go...
What you are saying about my classes! Thank You!

Meet Your Teacher

Hello, I'm Holly :O) I am so happy to have you here!
I'm a Skillshare Teacher, recently selected for the Skillshare Rising Teacher's Programme. I paint flowers and leaves for the most part, particularly wildflowers, as I am surrounded by so much inspiration, living, as I do, in rural Scotland.
I love exploring new techniques, and I'm very keen on finding brush strokes and media which make painting just that little bit less challenging for us, whilst gently broadening our knowledge.... I always say 'easy but effective' is the way forward! My classes are mostly watercolour and gouache, but I also delve into mixed media & leaf printing.
I have a humble little mission statement :0) .... 3 facets which are really important to me, when I am considering cla... See full profile
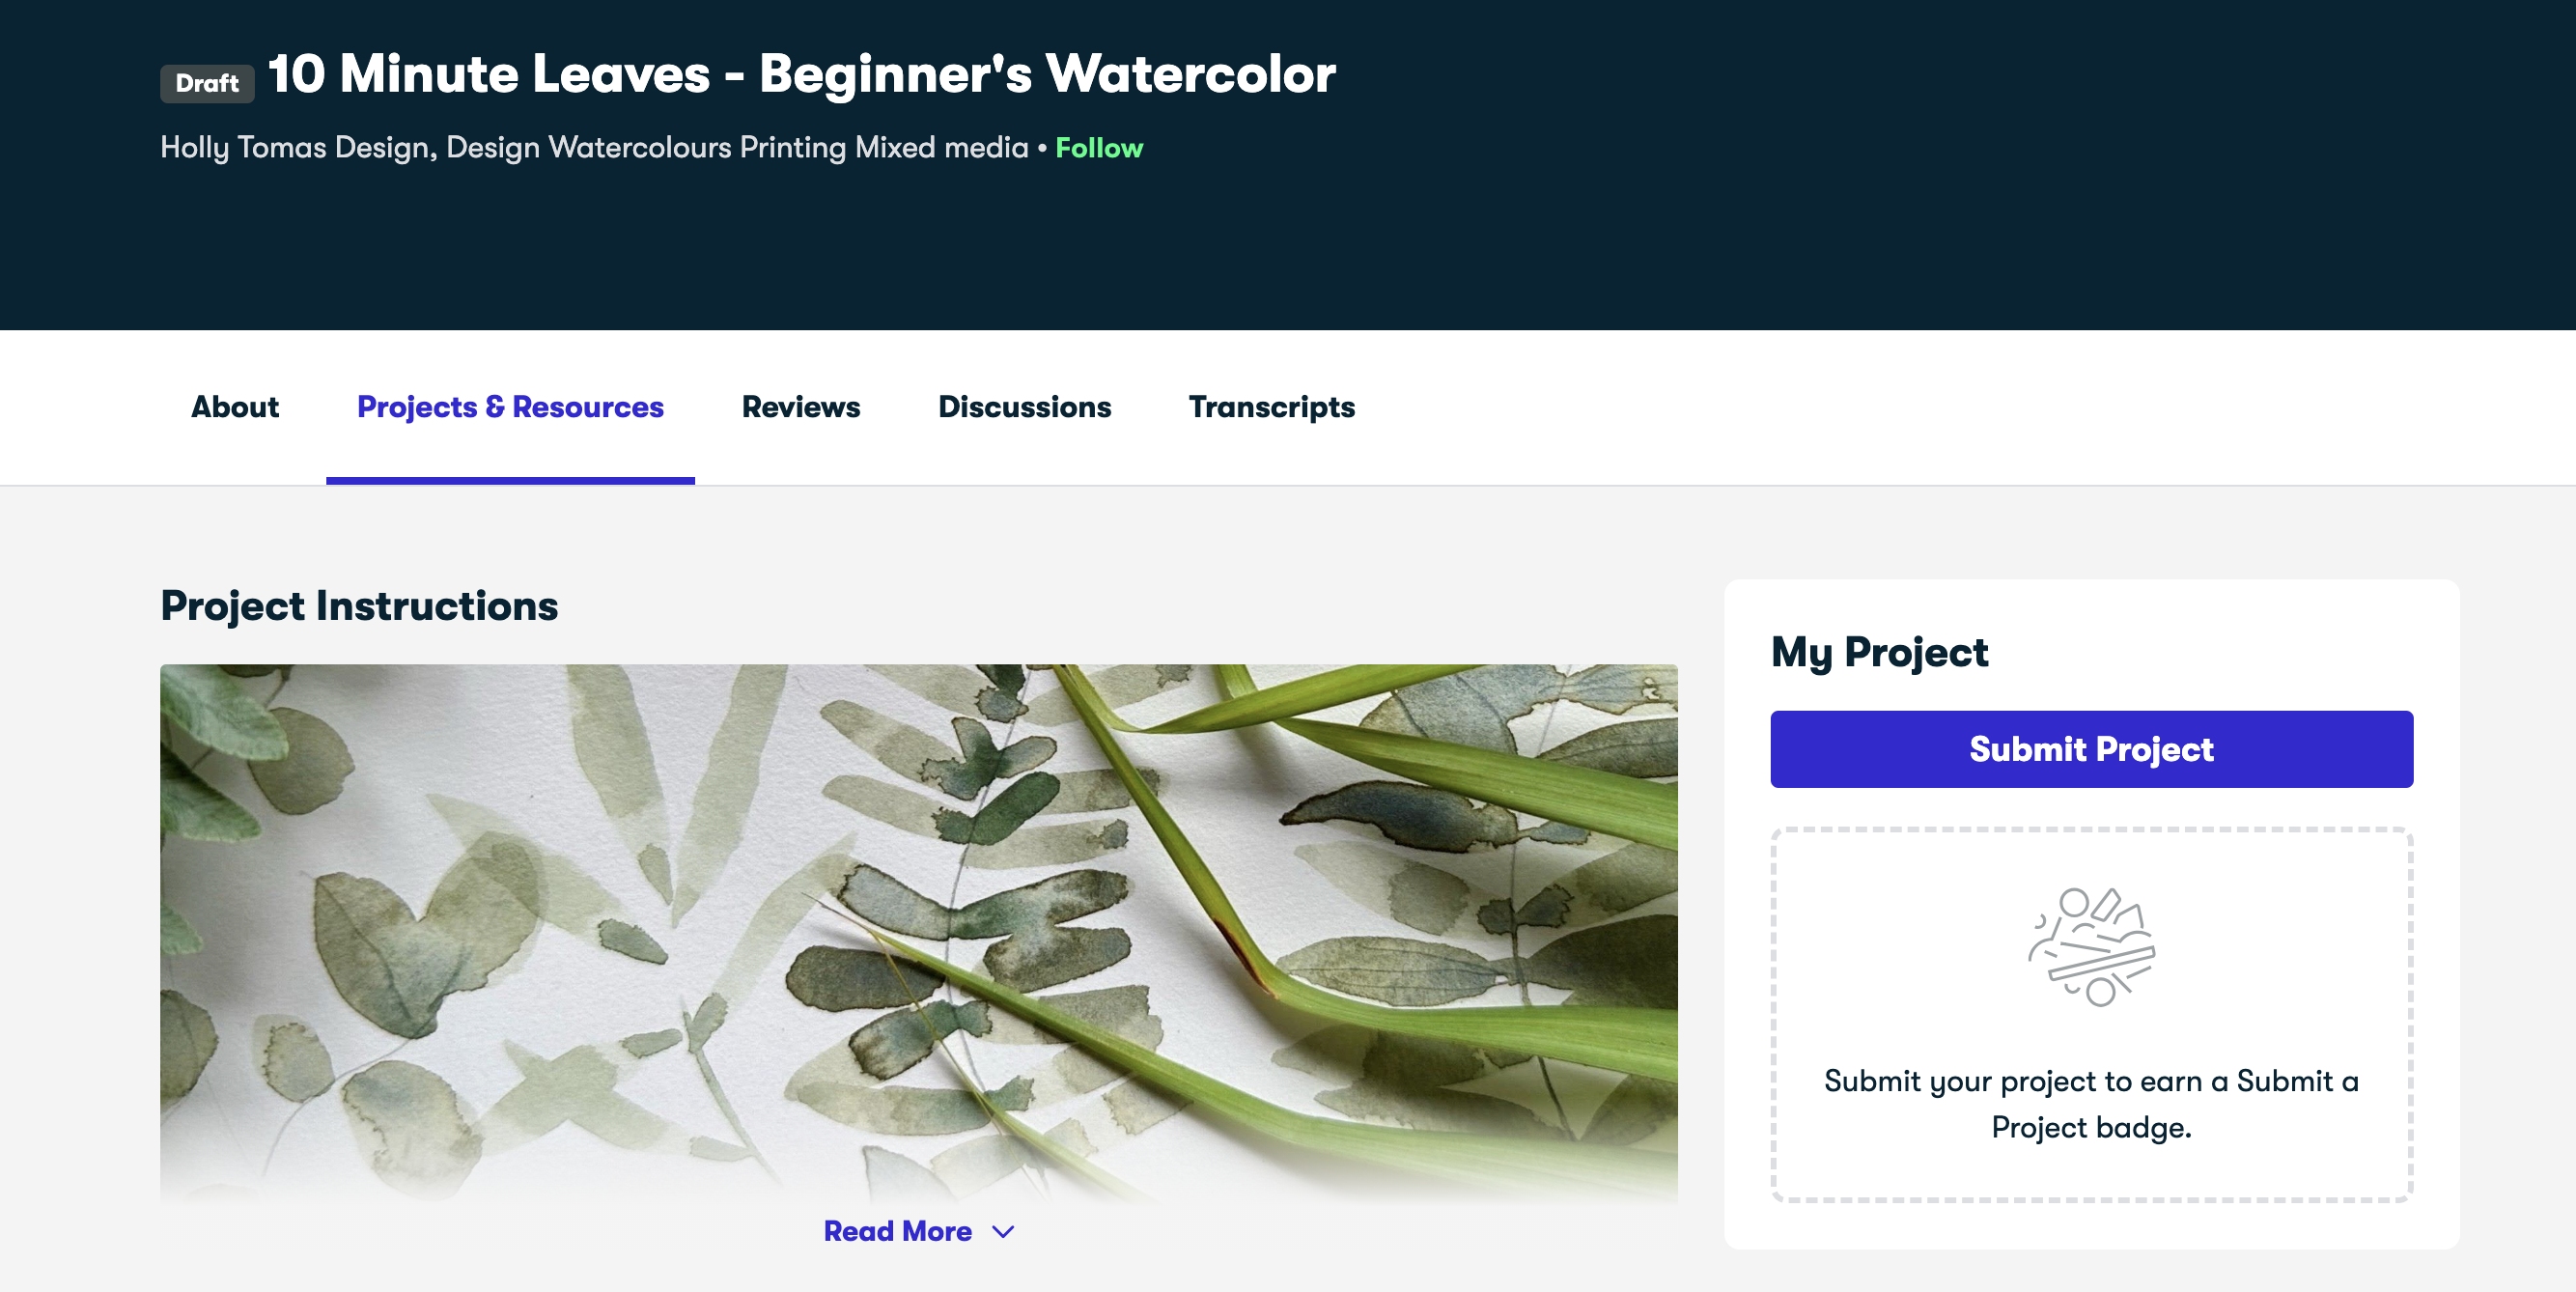
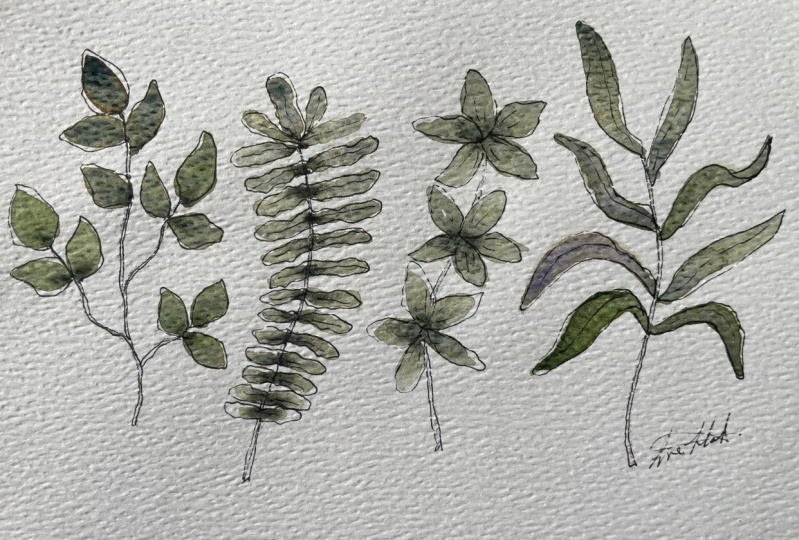
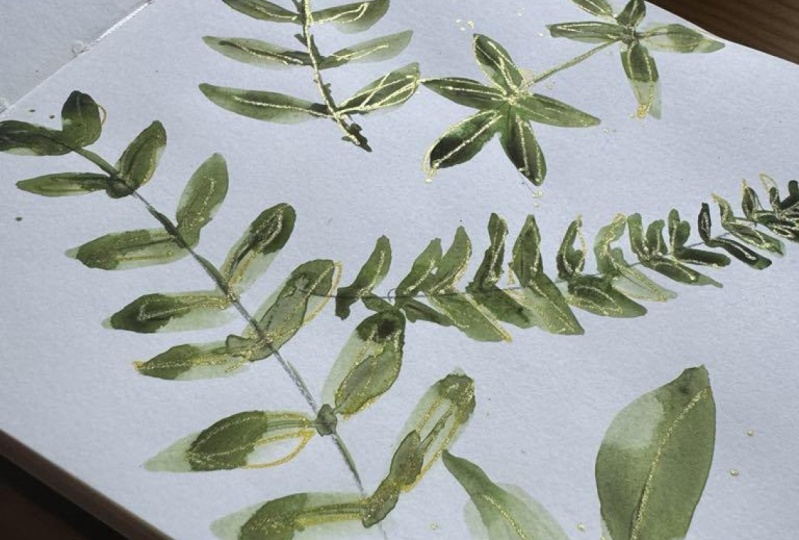
Hands-on Class Project
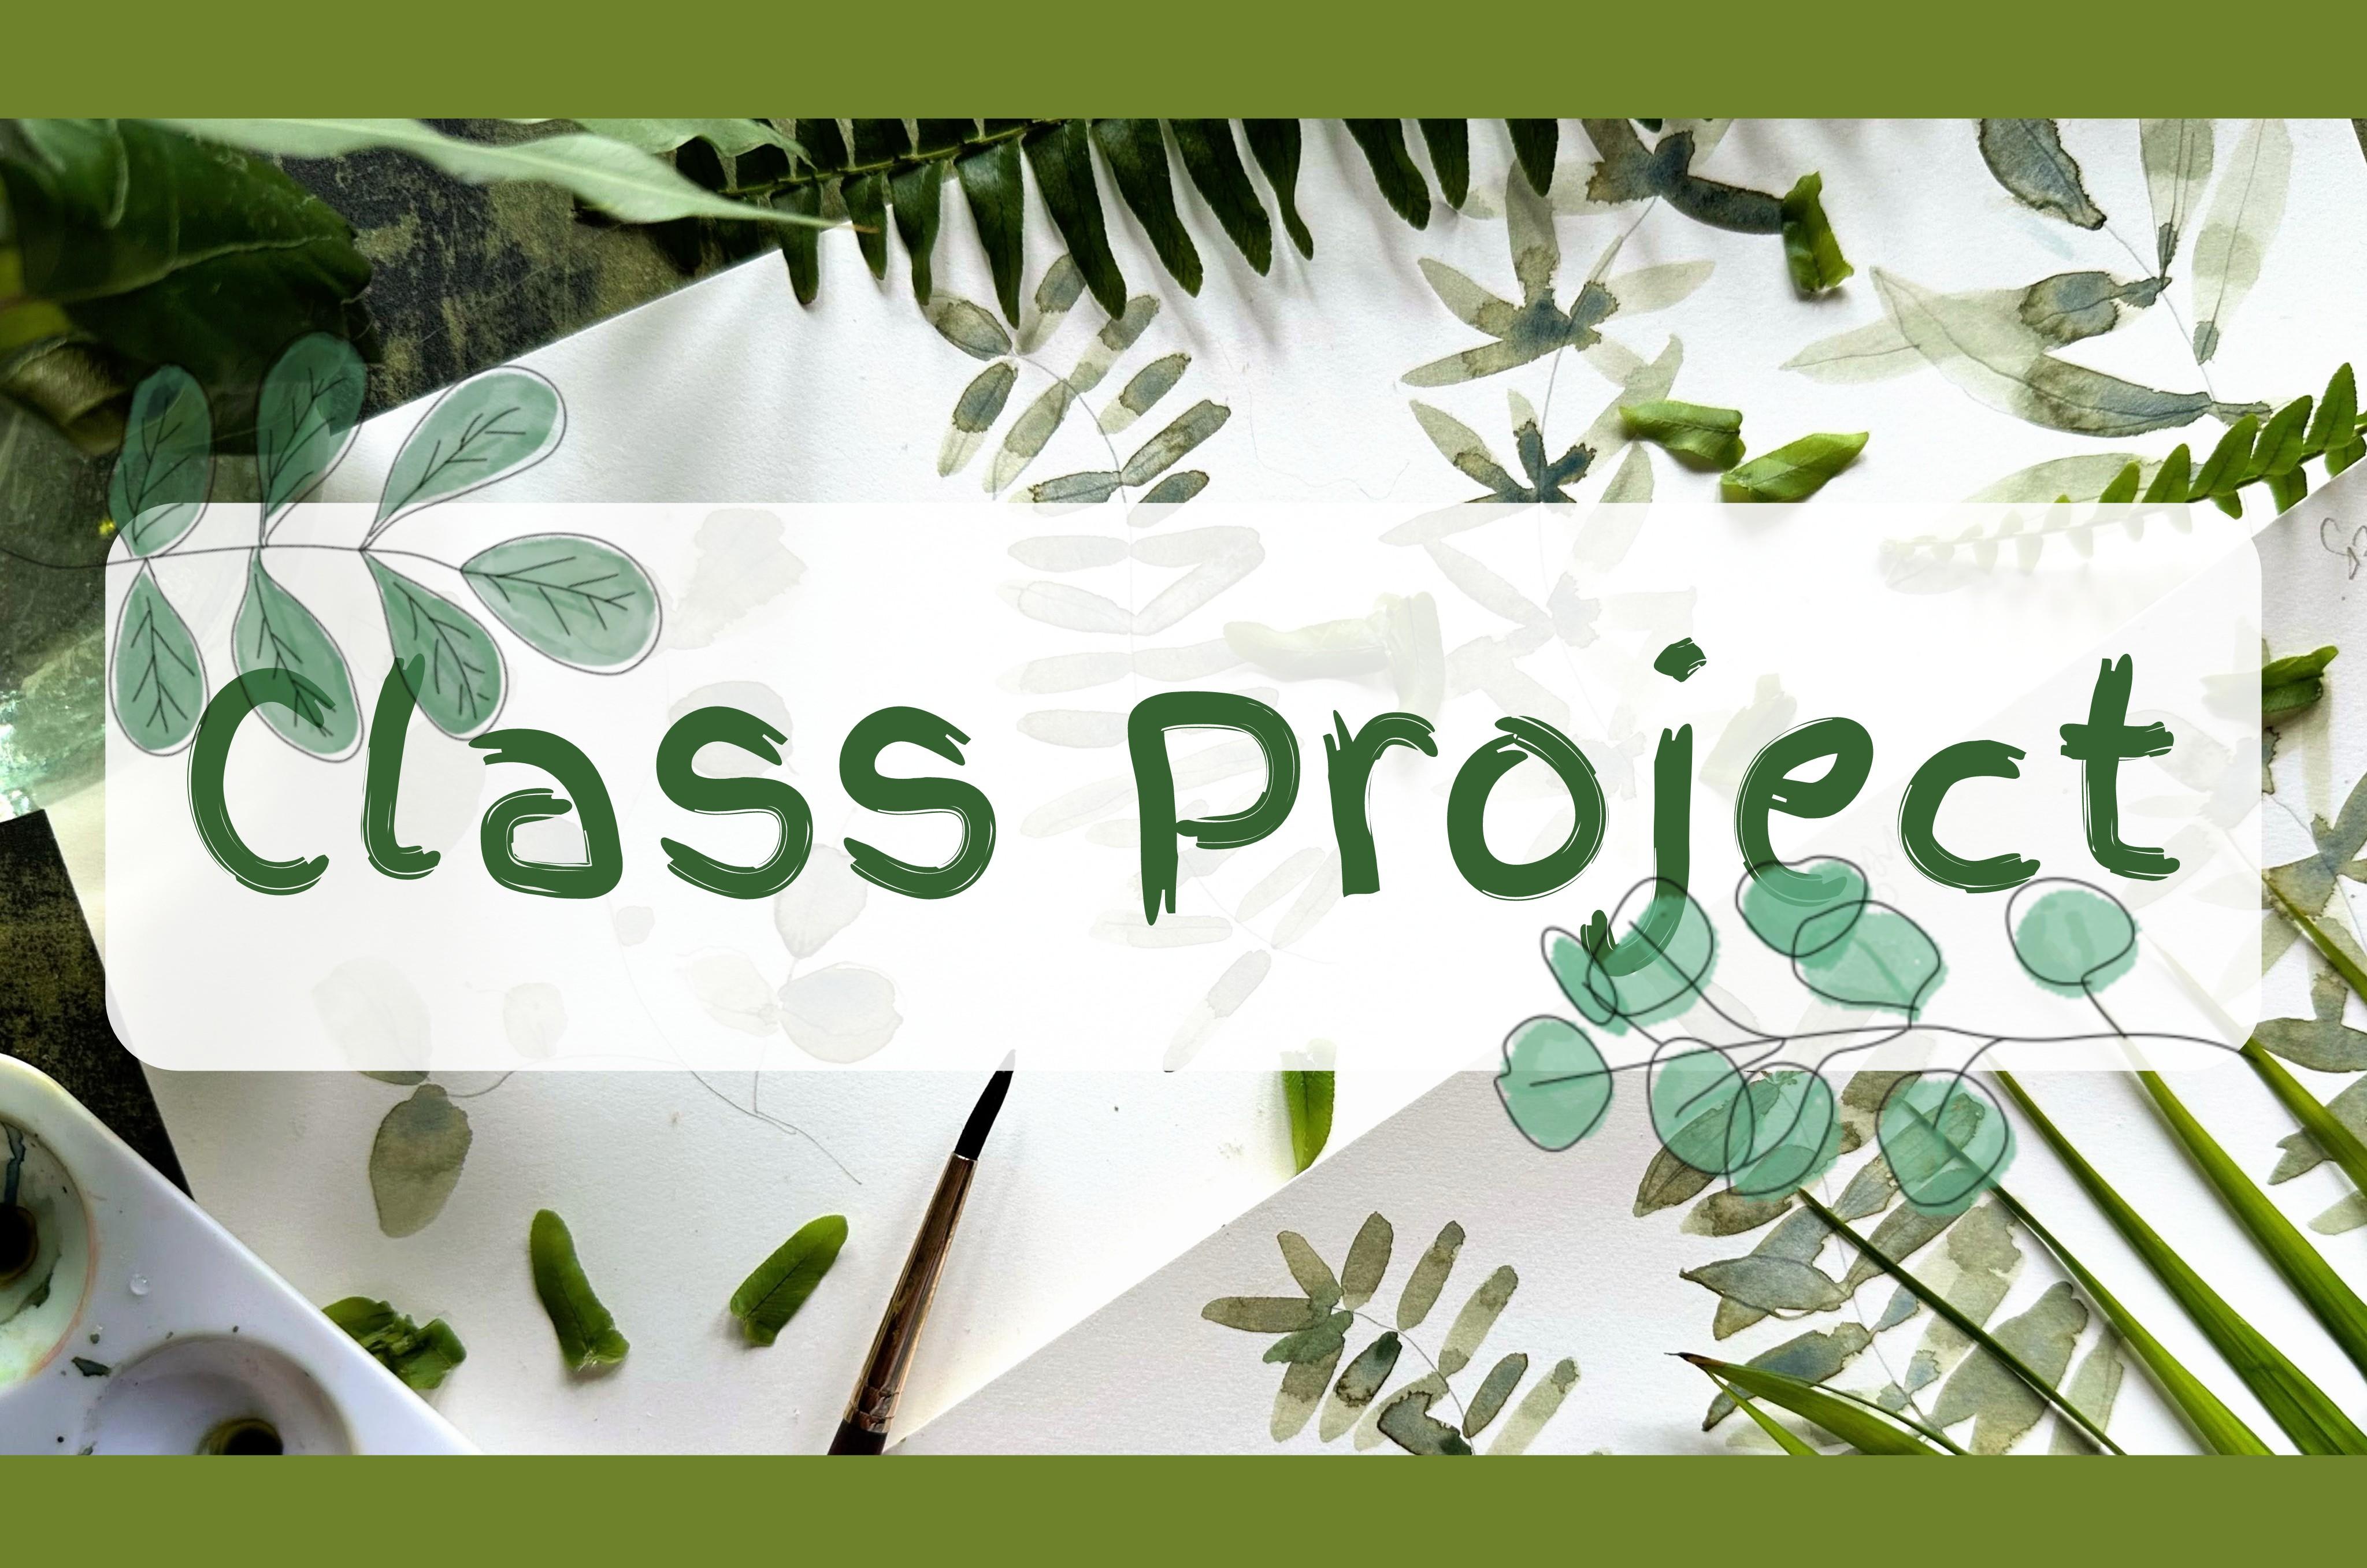
I invite you to create your own leaf study, by following me, or doing your own thing! :O) I chose Undersea Green for it's granulating properties and earthy hue, but you could choose any green!
Drawing a stem out of pencil takes away any stress regarding painting it. I found stems incredibly challenging when I first started out... and I still do, as I have a neurological condition which sometimes makes my hands a wee bit shaky! SO, let's just take it easy today, Pencil is a lovely way of forming curvy lines and adding details. It's also much gentler than using pen.
Choose a larger and smaller brush which you are happy with. I'll be alternating between a size 10 and 4 round brush.
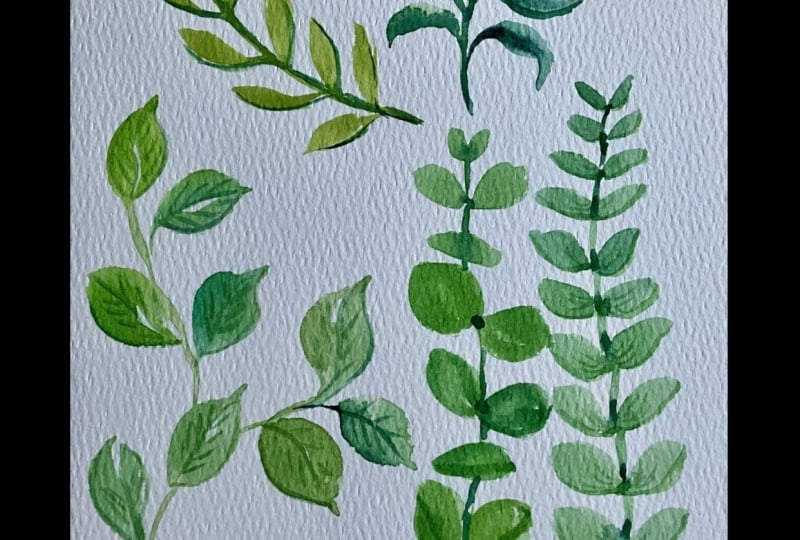
You don't have to stop at the 4 leaves I demonstrated for you.... carry on to fill the whole page, using references from our past classes together. Leafy Doodles is a good class for getting some ideas to add to your leaf practise.
There's a lovely community of supportive fellow students, which can make it feel less isolating. I love having lots of quiet time to myself, but it's always super special when I get a comment or a review from you all! Thank You for your continued support and encouragement!
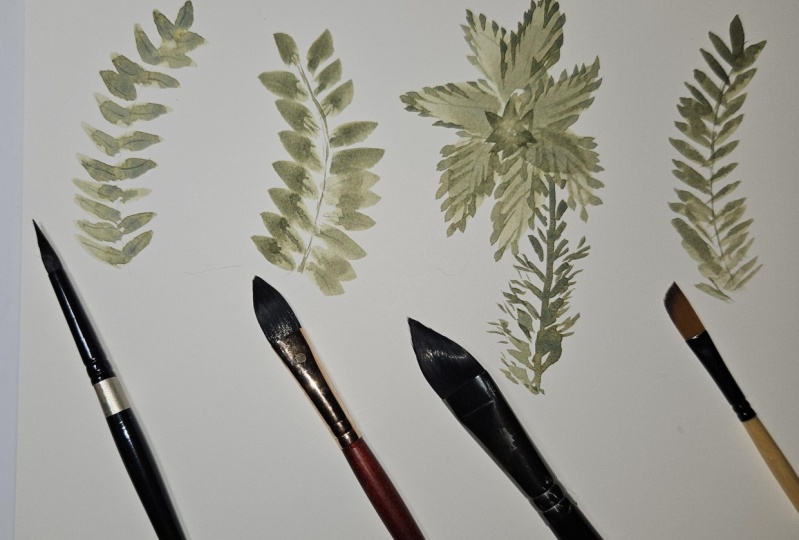
So, If you fancy sharing your watercolour leaves, and you're unfamiliar with how to do that, you may find this visual and step-by-step guide helpful :O)
Class Ratings
Why Join Skillshare?
Take award-winning Skillshare Original Classes
Each class has short lessons, hands-on projects
Your membership supports Skillshare teachers
Learn From Anywhere
Take classes on the go with the Skillshare app. Stream or download to watch on the plane, the subway, or wherever you learn best.