

Watercolor Paint Basics: What It Is and How to Use It
It sounds obvious, doesn’t it? Water, color, and paint. What more could it be? Plenty! Find out more about beautiful and easy-to-use watercolor paint.


Watercolor painting gets a bad rap. It’s easy to mix colors in water, after all, so we teach it to kids when they’re young. And it’s a great exercise to teach creativity to third-graders. The problem? We grow up, but our watercolors don’t. We forget that working with watercolor paint doesn’t have to be doodling. It doesn’t have to be fingerpainting. Done well, watercolor painting can be a vivid, stunning medium you can use to great effect.
But that still leaves the challenge of learning the watercoloring skills that will take you to the next level. Let’s remedy that.
What Is Watercolor Paint?
We associate “oil-based paints” with the great masters like Leonardo da Vinci. But the truth is, oil is just another medium for suspending paint pigments. Swap out oil for water and you have watercolors.
That’s it. That’s the whole distinction between oil and watercolor paint.
Once you know this, the idea of watercolors as a kid’s tool goes out the window. Switch to watercolor paints and you’re merely shifting the medium a little. The sophistication of the final result is more about the artist than the medium.
The catch? Every medium has its own quirks—a list of advantages and disadvantages that you can’t separate from the physics of painting. Here are the quirks to help you better understand how to use watercolor paints:
- Gradient color shifts. Because water is so—for lack of a better term—fluid, it’s great for creating subtle color gradients with minimal boundaries.
- Transparency. Get close to an oil painting once. Really lean in. See if you can spot any canvas. You can’t, of course, because oil is thick. It’s difficult to attain the transparent look you sometimes see in real life: the glimmer of rain running down windows or the glasslike shimmering of the sea. Watercolor gives you the advantages of water. You can see through it, making some of your lighter colors pop to life.
- Affordability. If you’re fortunate enough to live in an area where water is cheap? Congratulations, then so are watercolors. You’ll only need a basic setup: paper, brushes, containers for your colors and your waters, and you’re ready to go.
- Cleanup. Water is the ultimate solvent, so painting with it makes cleaning far easier than working with oils or acrylics. This makes watercolor-based painting ideal for the at-home hobbyist. Many great painters considered watercolor an ideal way to “sketch out” a painting in real color before finishing the real thing in oil.

The Types of Watercolor Paint
There are two general types of watercolor paint you can use.
The first, pan and tube, is what you might recognize from school. These days, you can literally find them in tubes—they kind of resemble the consistency of toothpaste. However, over the years, combining solid pigments with ingredients like gum arabic has given us the familiar “cakes.” The first time you attempted watercolor, you probably simply wet your brush, applied it to some of the pigment cake, mixed it, and you had your color.
The other type is liquid watercolor, which is a concentrated fluid that might remind you of food coloring. You’ll dilute this with water of your own. This is typically best-suited for airbrushing purposes.
Feel free to experiment with the watercolor paint types to see what suits your style best.

How to Use Watercolor Paints
It’s about as easy to summarize how to use watercolor paints as it is to explain how to paint in general. Watercolor is its own skill, which means it possesses all sorts of little steps you’ll have to experience for yourself.
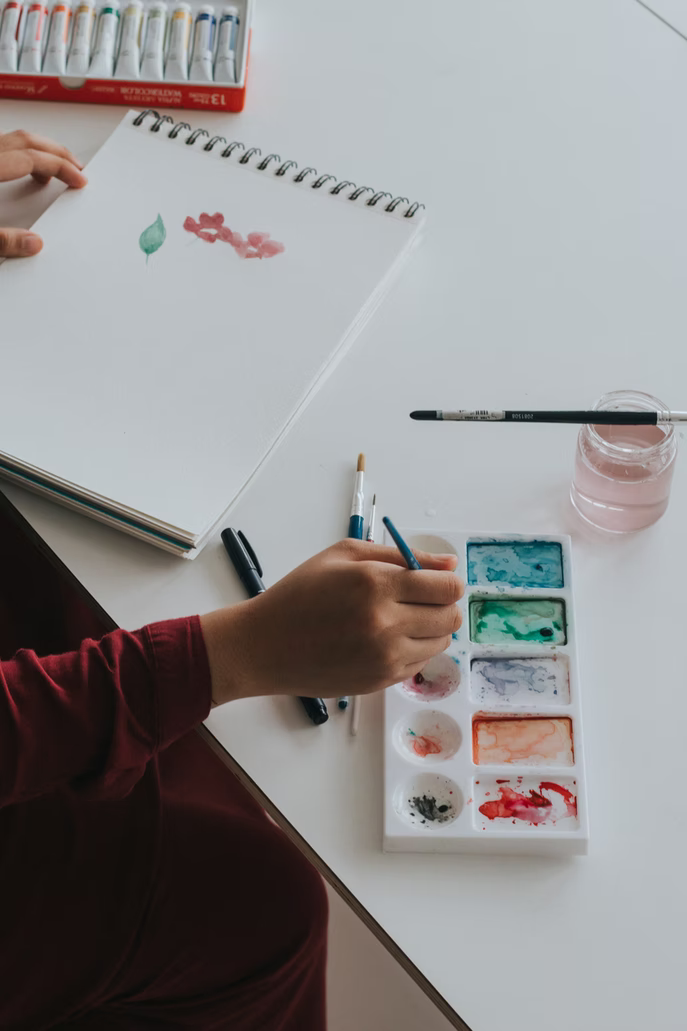
Start by picking out your watercolor paint brush and grabbing some watercolor paper. Next, we’ll explain how to use watercolor paint by tackling some of the more common issues people run into:
Creating Thin Borders
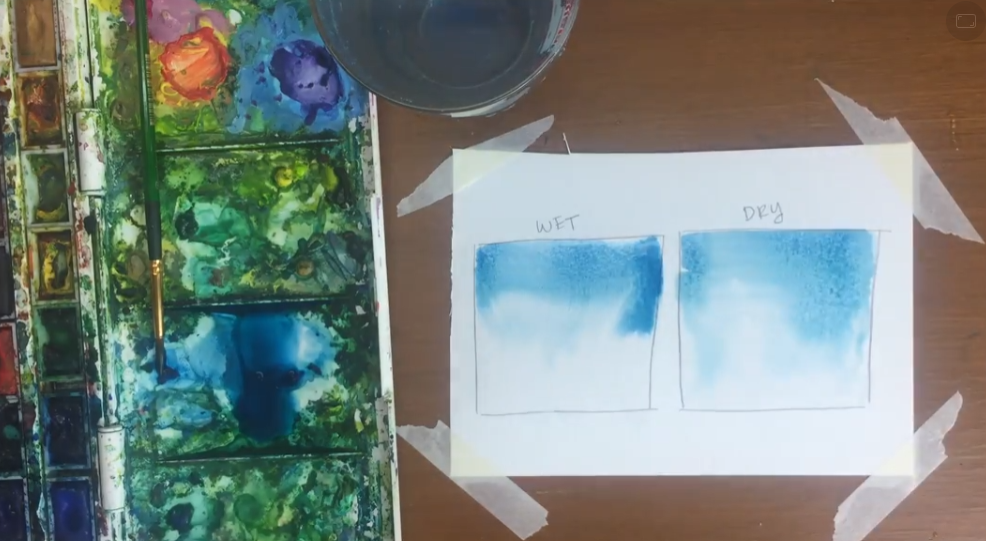
Water beads. That’s a problem. The solution is two-fold. First, start with a thin, dry brush that will give you an experience more akin to oil painting. Second, use a completely dry surface. Create your borders first: this will give you the freedom to move water away from the borders. Once you’re finished, you’ll be left with clean, clear lines.

Creating a Color Gradient
If you plan on painting a sunset, this technique is invaluable. Mix two colors side-by-side, but separately. Using your first color, get about a 50/50 combination of water and pigment and apply to the paper. Next, clean your brush. Bring in a little of the second color, mix it with your original color, and apply again—starting where you just finished. Keep repeating this technique until you’ve sufficiently blended colors.
Learning to “Build Up” Your Color
Building up color—from the color of your canvas to the pigment you’ve chosen—is similar to creating a color gradient. You’ll simply cut one of the colors from the equation. Apply a thin layer of almost colorless water to your canvas.
Next, add a little bit of pigment to your mixing puddle. Return to the canvas and apply. Repeat this process, gradually mixing in more pigment to your mixing puddle, until you end up with a color strong enough to resemble the pigment itself.

Water Your Artistic Knowledge at the Roots!
Art Essentials: Learning Watercolor Basics
Watercolor Paint Tips You Can Use Right Away
Using the techniques above will get you started. You can create a landscape with a thin line separating the horizon, then use color gradients for sun, waves, sand, sky—whatever strikes your imagination. But what if you want to take your watercolor skills to the next level? Here are some tips to improve your results:
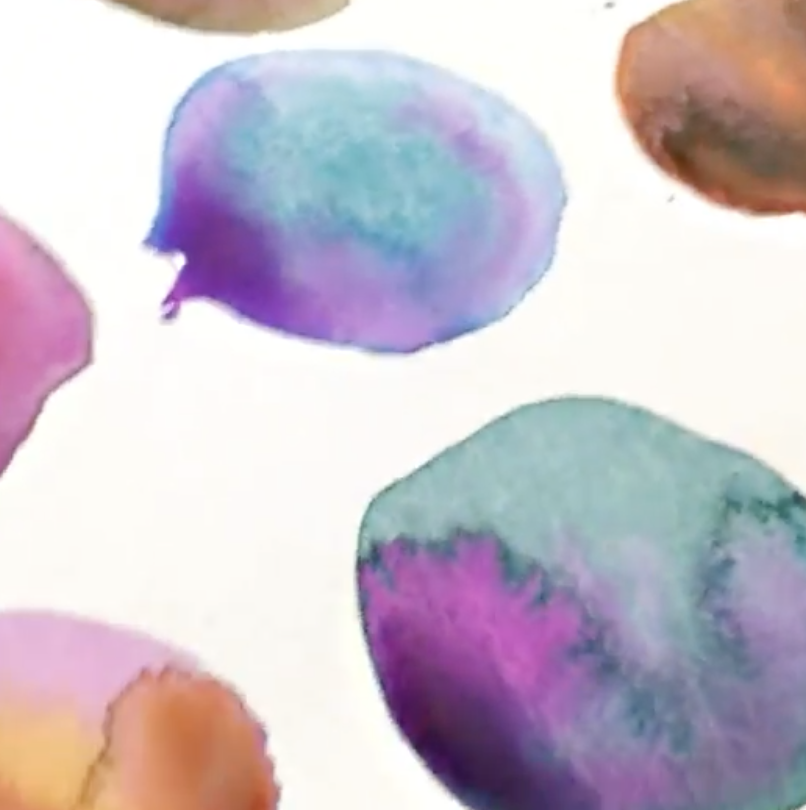
Tip #1: For Surprising Results, Try Splattering Colors
In her section on mixing watercolors on the page, Skillshare creator Yasmine Creates recommends taking your brush and tapping it against the back of your other hand. This creates a droplet effect you can use for all sorts of things—pops of color, raindrops, specks of dust—that will help you create distinctive layers of reality within your painting.

Tip #2: Try Sketching First
If you sit down with almost no experience and expect that your first watercolor attempt will look like a van Gogh, pump your brakes. Even great artists carry out extensive preparation before they commit paint to the canvas. Da Vinci had his sketches. Impressionist artists had their watercolors. Take some time considering your subject before you apply any color. Pencil in a rough sketch on the paper first.
As you gain more confidence in your watercolor paint skills, you may eventually skip portions of these steps. But a more thorough approach to your first attempts will help you learn each of the tiny “micro-skills” you have to know to make a picture come to life.
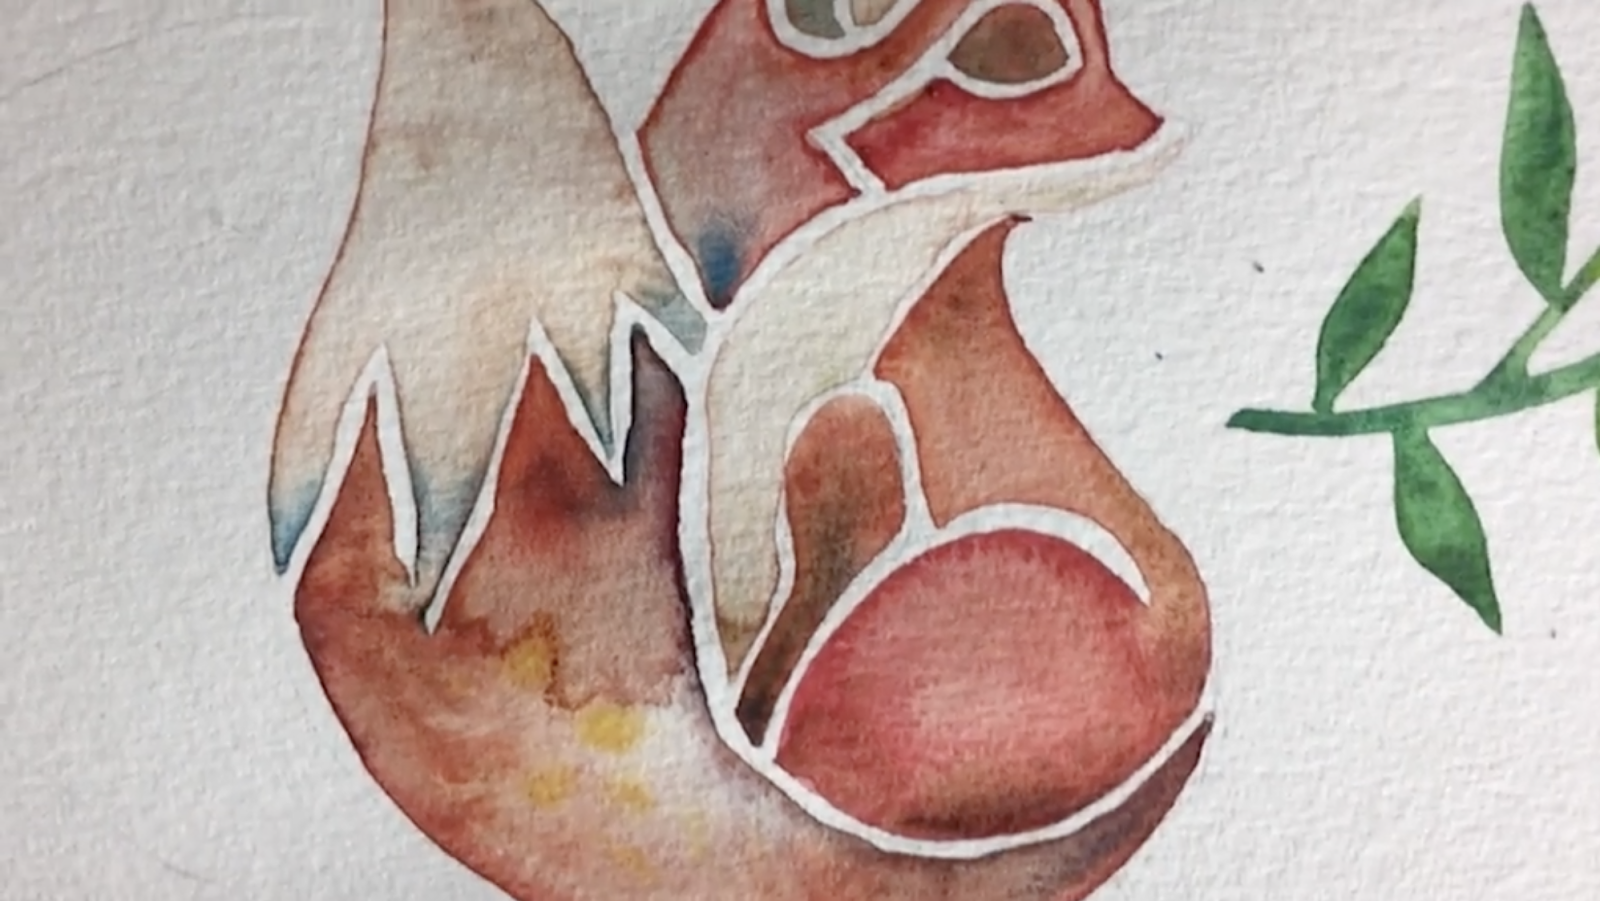
Tip #3: Outline, Outline, Outline
You’ve seen what water does when rain runs down windows. When one bead hits another, the two connect—a result of surface tension doing what surface tension does.
When you use watercolor paints, the same laws of physics apply. That’s why many people, like Katie Rodgers, start with an outline first. Working with the outline still moist, you can use water’s surface tension to drag the watercolor from your outline into the object, where it belongs. This prevents smearing and leaves you with tight, clearly-defined lines.
Tip #4: Always Keep Clean Water Handy
This is watercolor, after all: you’ll need a lot of it. But water isn’t just for mixing with the pigments. You’ll also need it to clean your brush. Water is an effective solvent, so it’s a good thing it cleans so easily. Whenever applying a new color to your paper or canvas, you’ll want to be sure you’re working with a neutral color to avoid the “bleeding” that sometimes happens with watercolors of different pigments.
Use Watercolor Paints Like a Pro
Watercolor paints have their unique attributes. No matter how creatively inclined you might be, that means learning a new set of skills.
Watercolor might be one of the purest forms of expression we have. It’s nothing but paper, water, and colors—but until you learn these skills, it’s going to be tough to translate the watercolor ideas in your head to what’s on the paper.
Our advice? Stay patient, learn from the ground up, and always keep your brushes clean.
Become a Master of Color
Watercolor Magic: The Basics of Color Mixing and Color Harmony
Try Skillshare for free! Sign up for a 7 day free trial today!
Get Started- Unlimited access to every class
- Supportive online creative community
- Learn offline with Skillshare's app


