

Turn Your Illustrations Into Jewelry: A DIY Tutorial
You don’t have to be a goldsmith to make your own jewelry. Turn your sketches into custom earrings in a few short steps.
Table of Contents


Jewelry is an expression of you, your style, and who you are. So, why not create your own jewelry with your very own illustrations? It doesn’t get more personal than that.
Your illustration could be as simple as a line drawing or more intricate if you’re a skilled artist. Or, if you’re not an artist but still want to create your own jewelry, try tracing sketches or drawings from friends, family members, or other royalty-free sources.
Once you have the materials, you can create all different types of jewelry. If you master earrings, move on to brooches or play around with color and more detailed designs. The choice is yours!
What You’ll Need
- Translucent shrink plastic film
- Sandpaper
- Waterproof markers
- Scissors
- Oven
- Parchment paper and a baking sheet
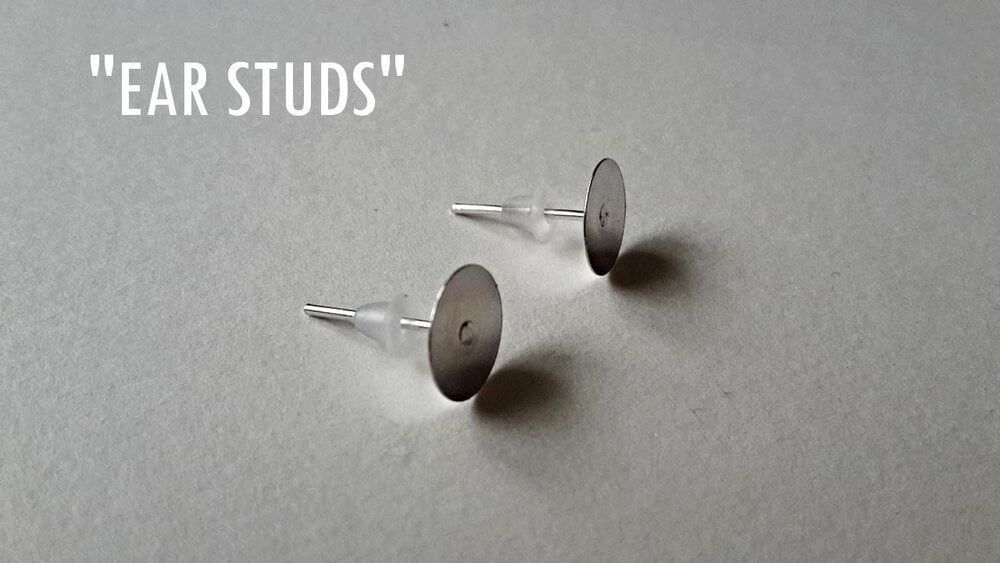
- Earring components (see photo below)
- Glue (for plastic/metal)
How to Make Custom Illustrated Earrings
Step 1: Sketch
Sketch a few ideas for your earring designs on regular paper. For beginners, use a rather simple design. You can always get more intricate next time!
Step 2: Trace
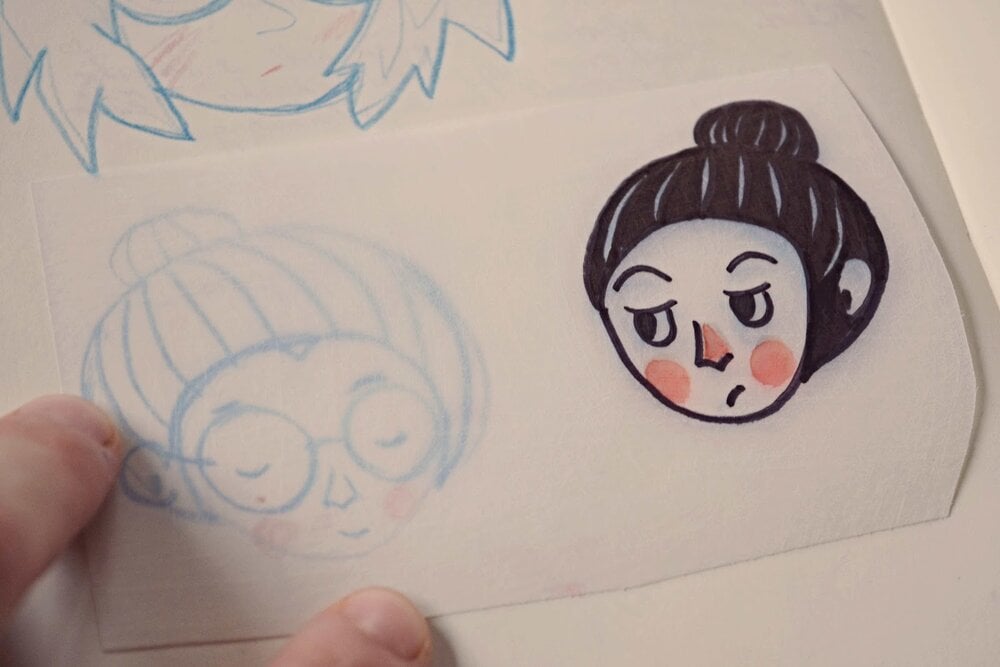
Gently sand your plastic film with sandpaper. Then copy your favorite sketch onto the plastic film with waterproof markers, ensuring you use the colors you want on your final product.
You should be able to see through the film and follow the lines of your original sketch. But keep in mind that your design will shrink, so draw it almost double the size you want it to be on the earring itself.
Step 3: Cut
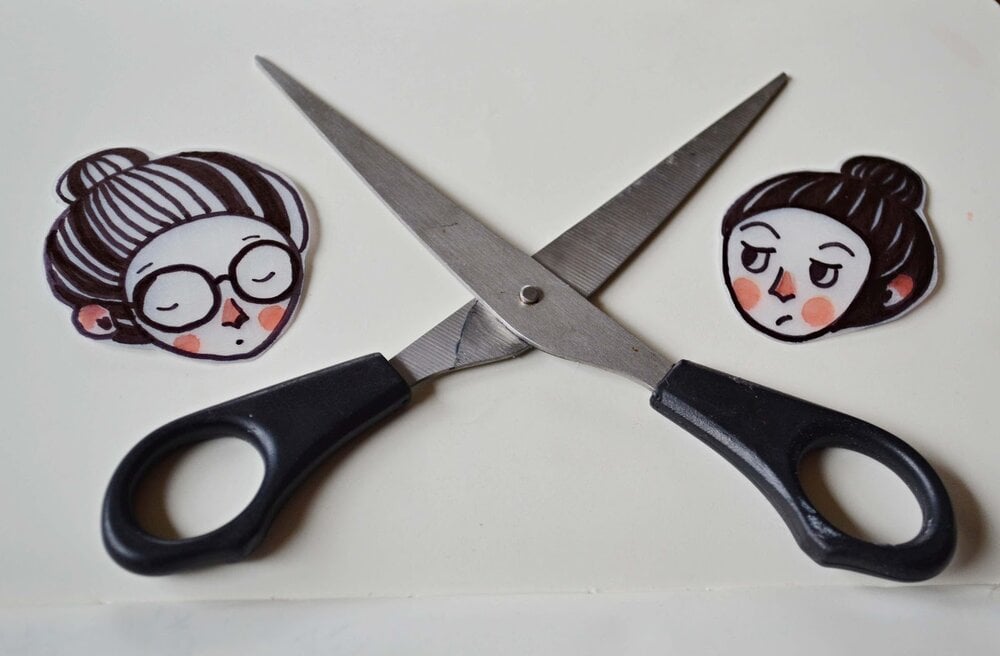
Cut out your designs making sure there is little excess on the outside of your drawing. Bake the plastic film pieces on a baking sheet lined with parchment paper in a 300°F (150°C) oven. The illustrations are ready when they are flat again. Let them cool.
Step 4: Glue
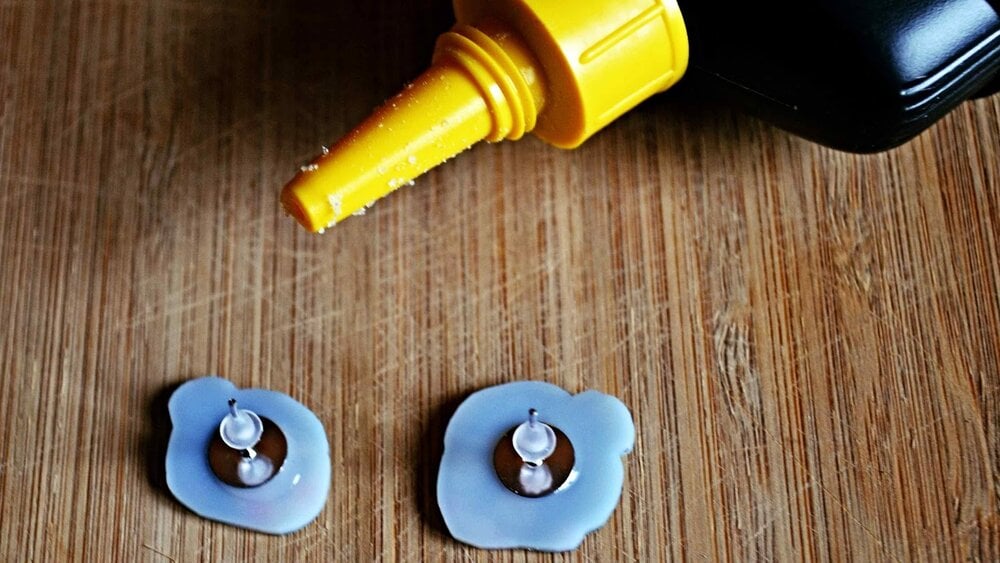
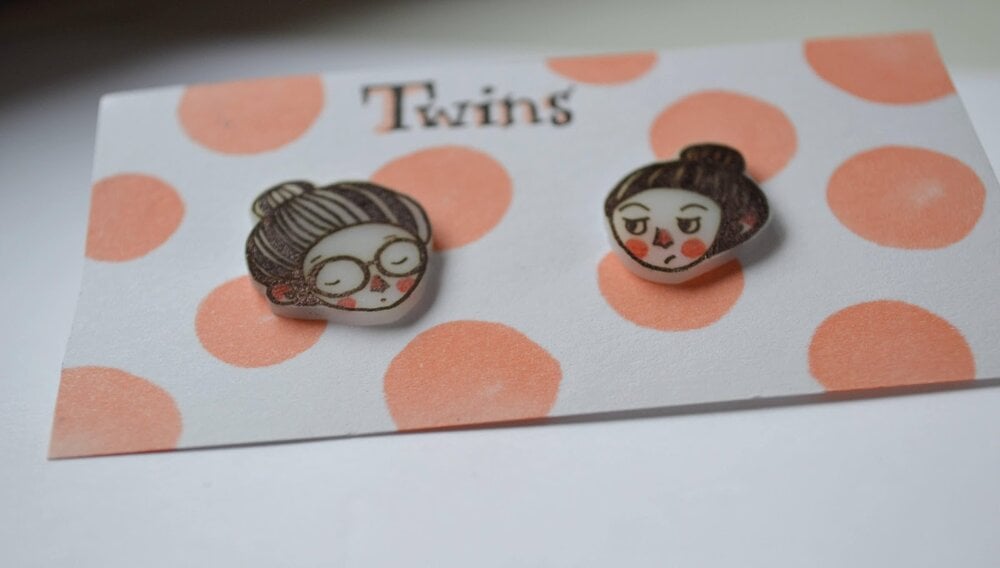
Once cool, glue the earring components to your plastic illustrations. Let sit for a few minutes to ensure the glue dries, and then they’re ready to wear!
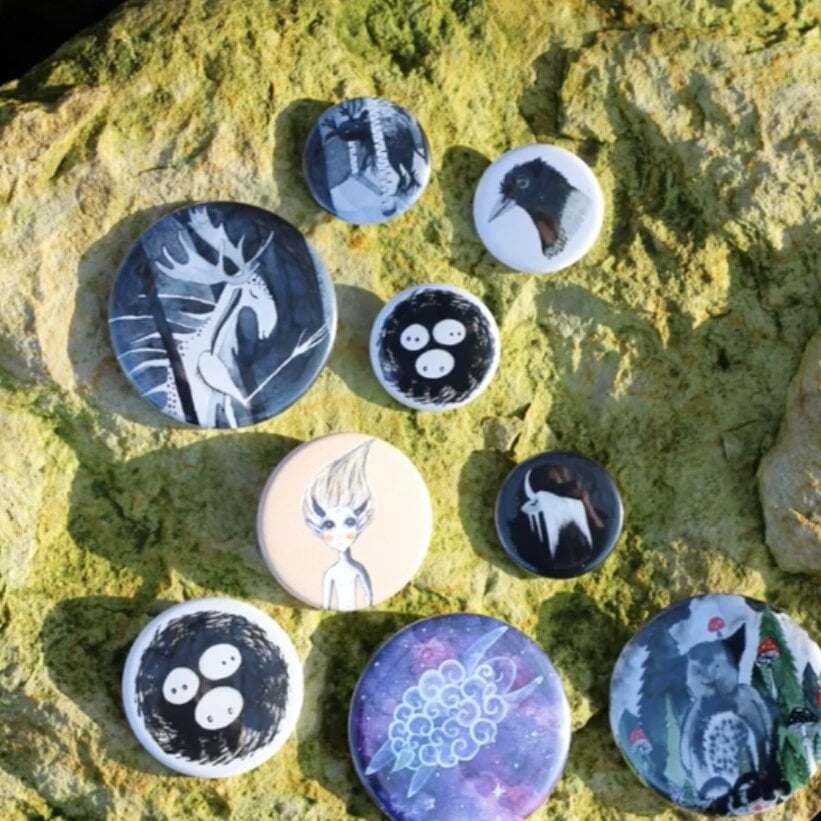
Make Even More Jewelry!
Illustrated Jewelry: Turn Your Art Into Wearables .
Try Skillshare for free! Sign up for a 7 day free trial today!
Get Started- Unlimited access to every class
- Supportive online creative community
- Learn offline with Skillshare's app


