

This is How to Draw a Butterfly in 10 Steps
Learn how to draw a butterfly in this tutorial that outlines a series of simple steps to start your butterfly sketch in no time.


Butterflies are some of the most magical creatures of the animal kingdom. Their whimsical nature and the beautiful, ornate patterns that adorn their wings have fascinated humans since the dawn of time.
Butterflies appeared in art as early as 3500 years ago, and to this day, butterfly drawings and butterfly art remain as popular as ever. If you’ve ever wondered how to draw a butterfly, read on for basic techniques you can put into practice that will make you a butterfly line drawing expert in no time.
What Supplies You'll Need to Draw a Butterfly
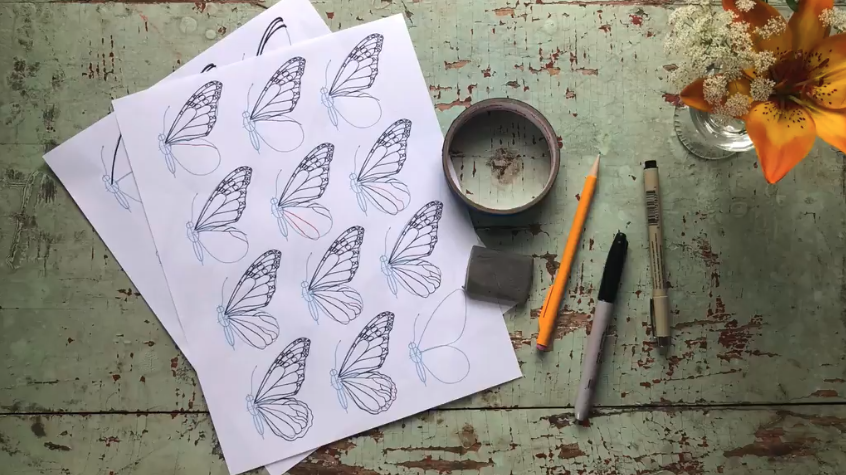
For this butterfly sketch tutorial, you will need:
- A pencil
- An eraser
- A marker or a pen
- Tracing paper
- Painter’s tape
- Something to draw on, like a piece of paper, a notebook or a sketchbook
- The reference photos supplied in this tutorial, or any other butterfly images you prefer. You might want to look for butterfly side views, butterflies with open wings, or butterflies in books or scientific collections.
How to Draw a Butterfly in 10 Steps
According to Julie Bausenhardt, illustrator and Skillshare instructor, "butterflies can seem a bit complicated, but once you get an understanding of their structure, they are really not that hard to draw." Now that you have all your materials ready, let's learn how to draw a butterfly step by step.
Step 1: Draw a Straight Line
Simple, right? You can use a ruler if you want it to be perfect, but don't worry if the line is a little off. This will be the center of your butterfly.

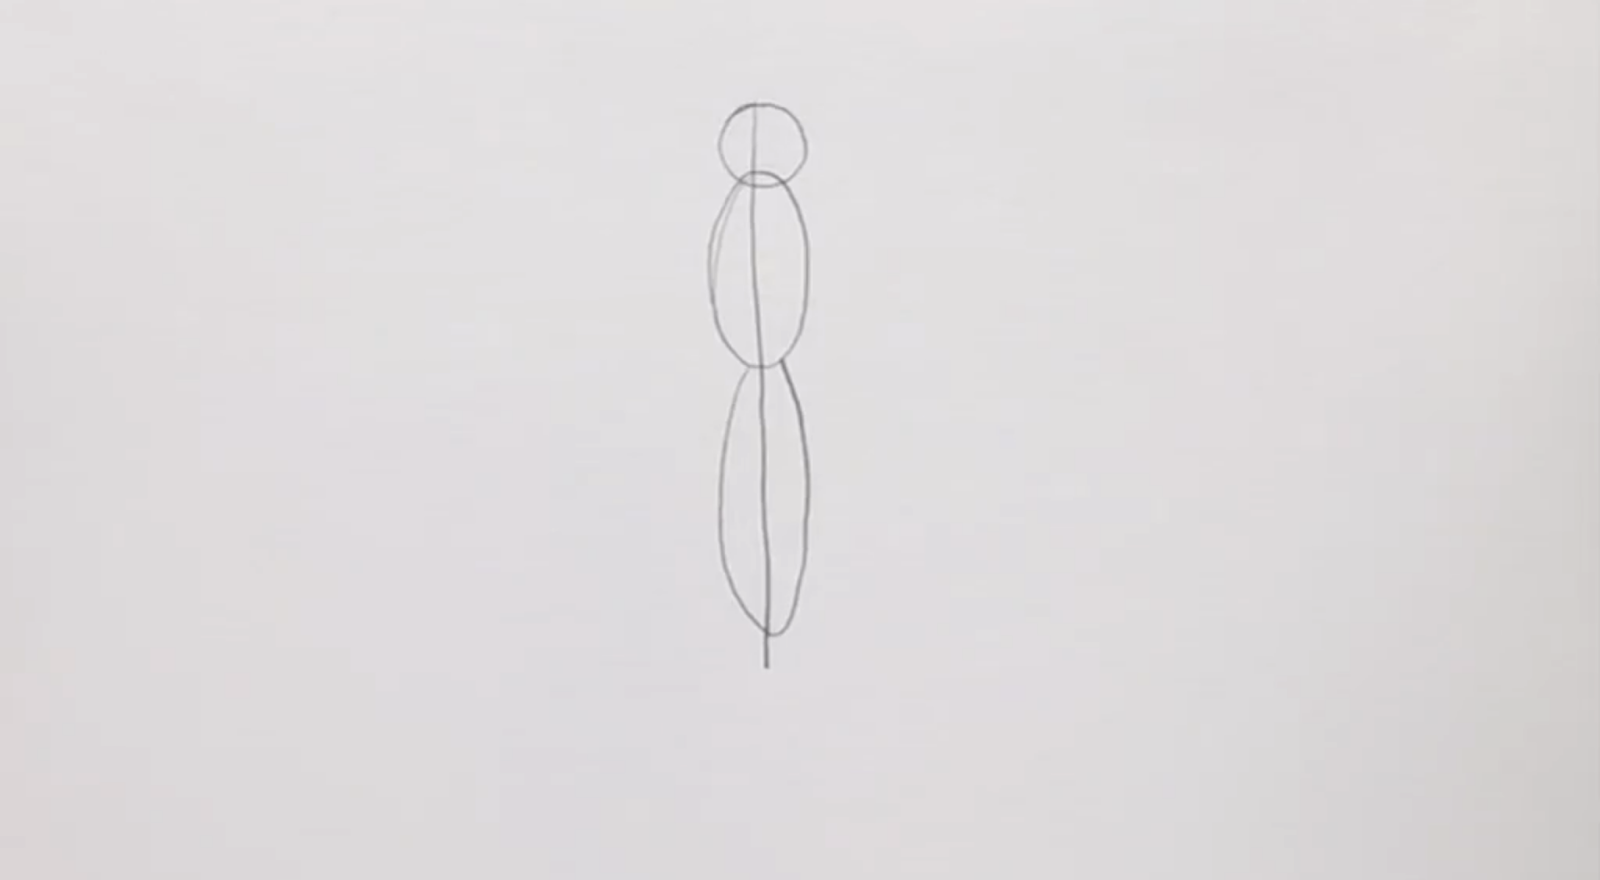
Step 2: Draw a Circle for the Butterfly's Head
When learning to draw, it's important to start with basic shapes, and the same approach applies when it comes to drawing butterflies.
Butterflies bodies are roughly divided into three main parts: the head, the thorax, and the abdomen. Start by making a circle at the top of your line for the head.

Step 3: Draw the Outline of the Body
You’ll now complete the butterfly's body using oval shapes. Place the first oval roughly above the middle point of the centerline—this will be the thorax or breast area. Then, add an elongated oval below it for the abdomen area of the butterfly. (Fun fact: Some butterfly species have very fluffy hair that covers these parts!)
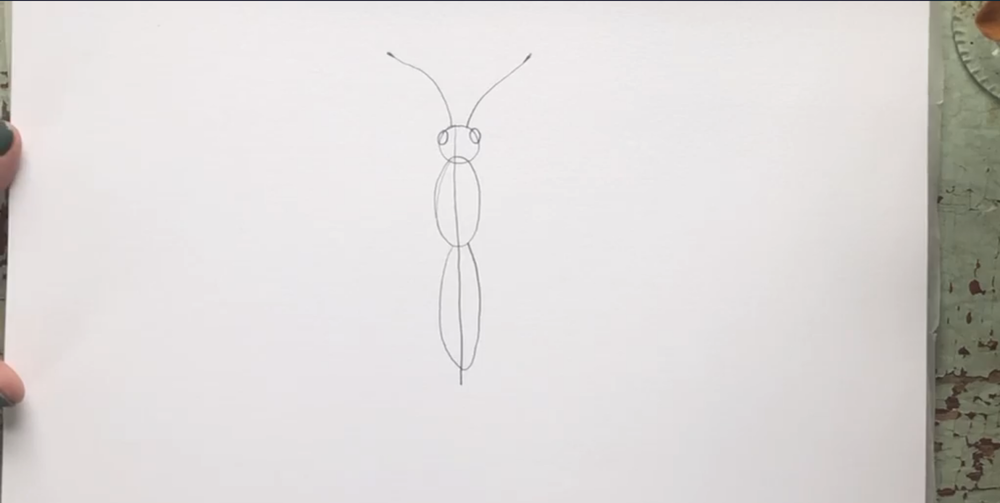
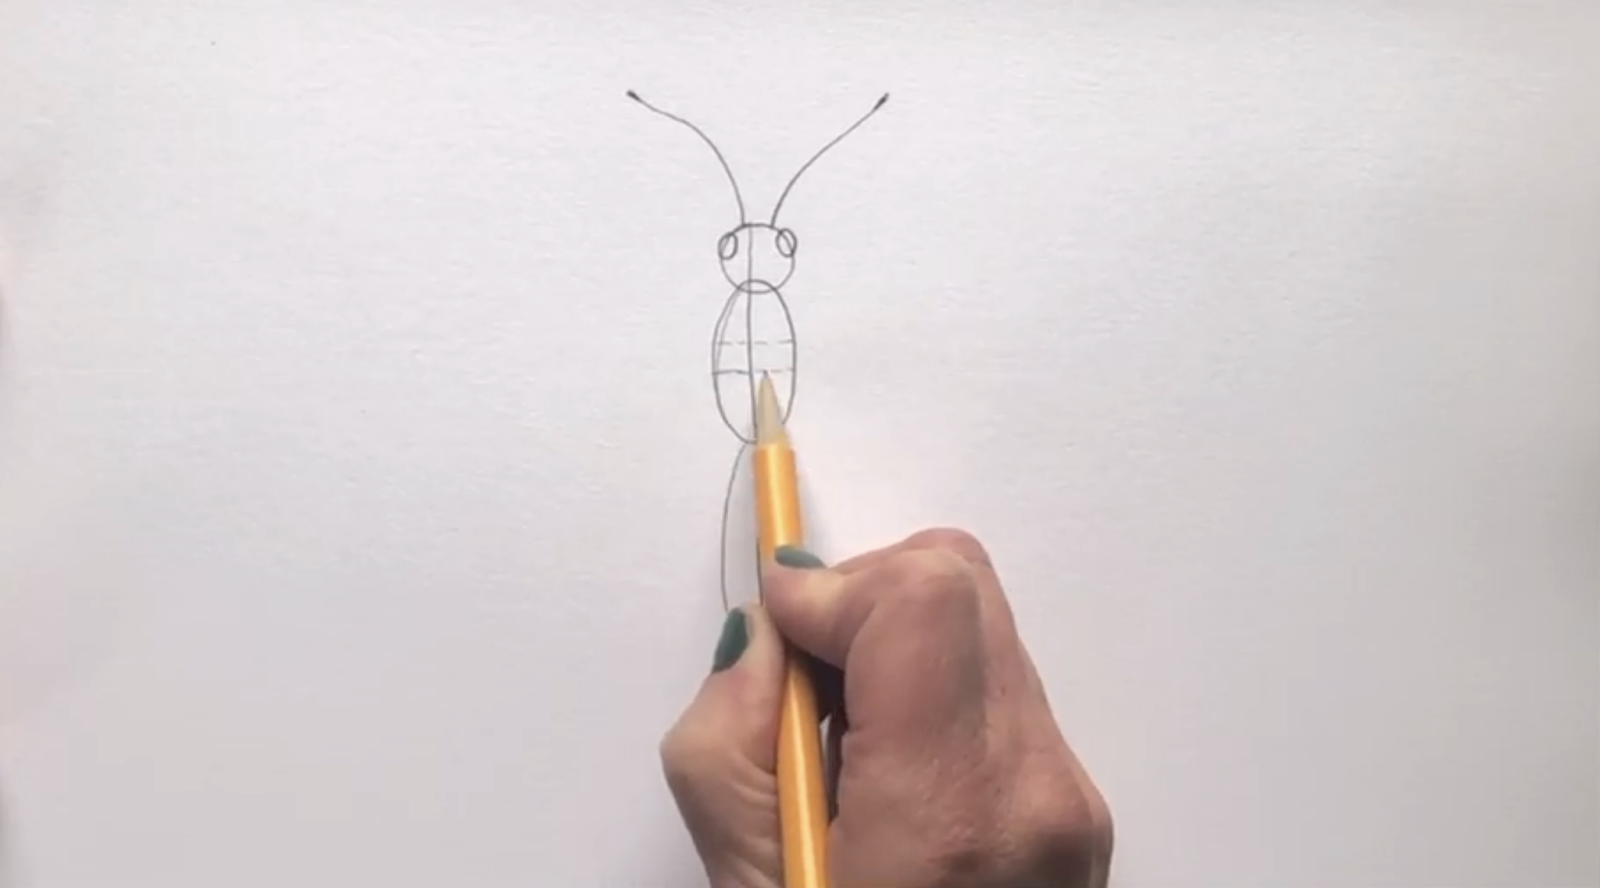
Step 4: Draw the Eyes and the Antennae
Butterflies have the widest range of vision of all wildlife. Each of their two eyes is made up of up to 12,000 little lenses that can see many different things at the same time, distinguish colors and patterns invisible to the human eye, and even see ultraviolet light.
But these complex eyes are simple to draw! Use two small circles to represent the eyes, and add two curved lines at the top for the antennae. The antennae are sometimes straight and sometimes slightly curved, depending on the species and what the butterfly is doing. Butterflies' antennae often have little knobs at the end.
Step 5: Mark the Starting Point of the Wings
Now, you’re getting to the exciting part: drawing wings. But first, make sure you get their location right. Divide the thorax section a little above the center and a little below the center. You can use dotted lines, as you’ll erase them later.
Step 6: Place the Wings
Using basic shapes to set out the overall structure of your butterfly sketch will help keep things in proportion and ensure your drawings work every time.
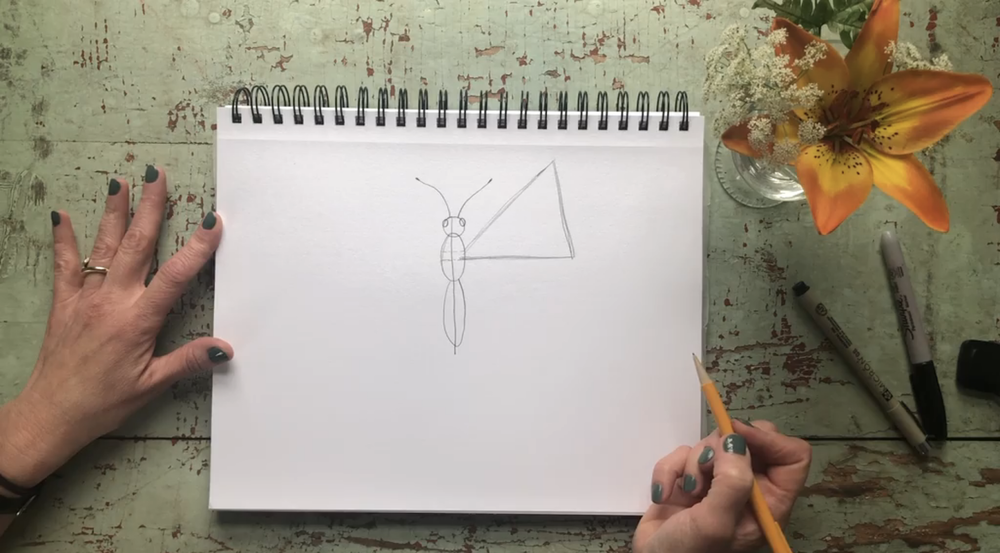
The Top Wing
When it comes to drawing butterfly wings, keep in mind the top wing will always be bigger than the bottom one. To position the top wing, make a triangle by drawing one diagonal line starting from the top mark you made earlier on the thorax and a horizontal line going out from the bottom mark, and joining them with a slightly angled line.
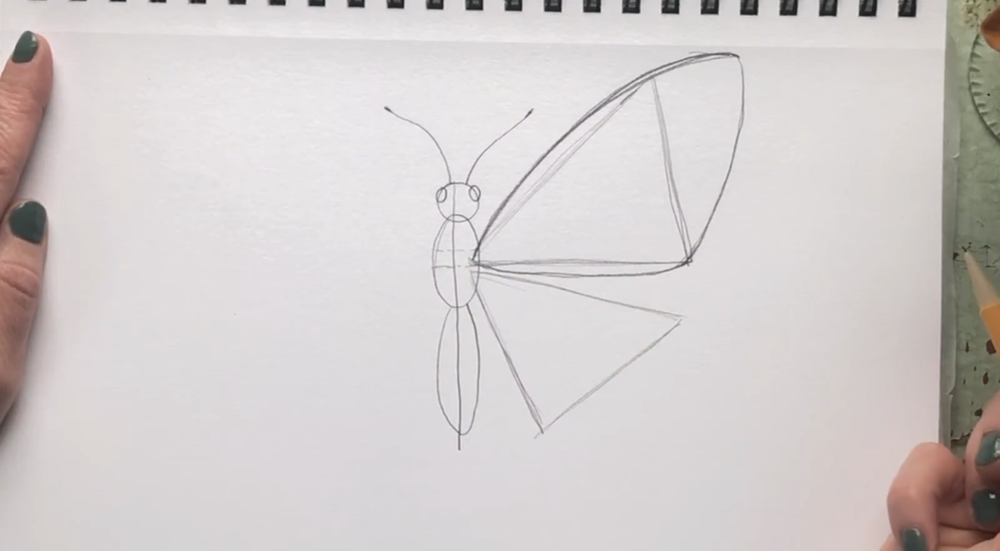
The Bottom Wing
Now, draw a slightly tilted triangle coming out from around the same area to position the bottom wing. Remember to keep it smaller than the top wing.

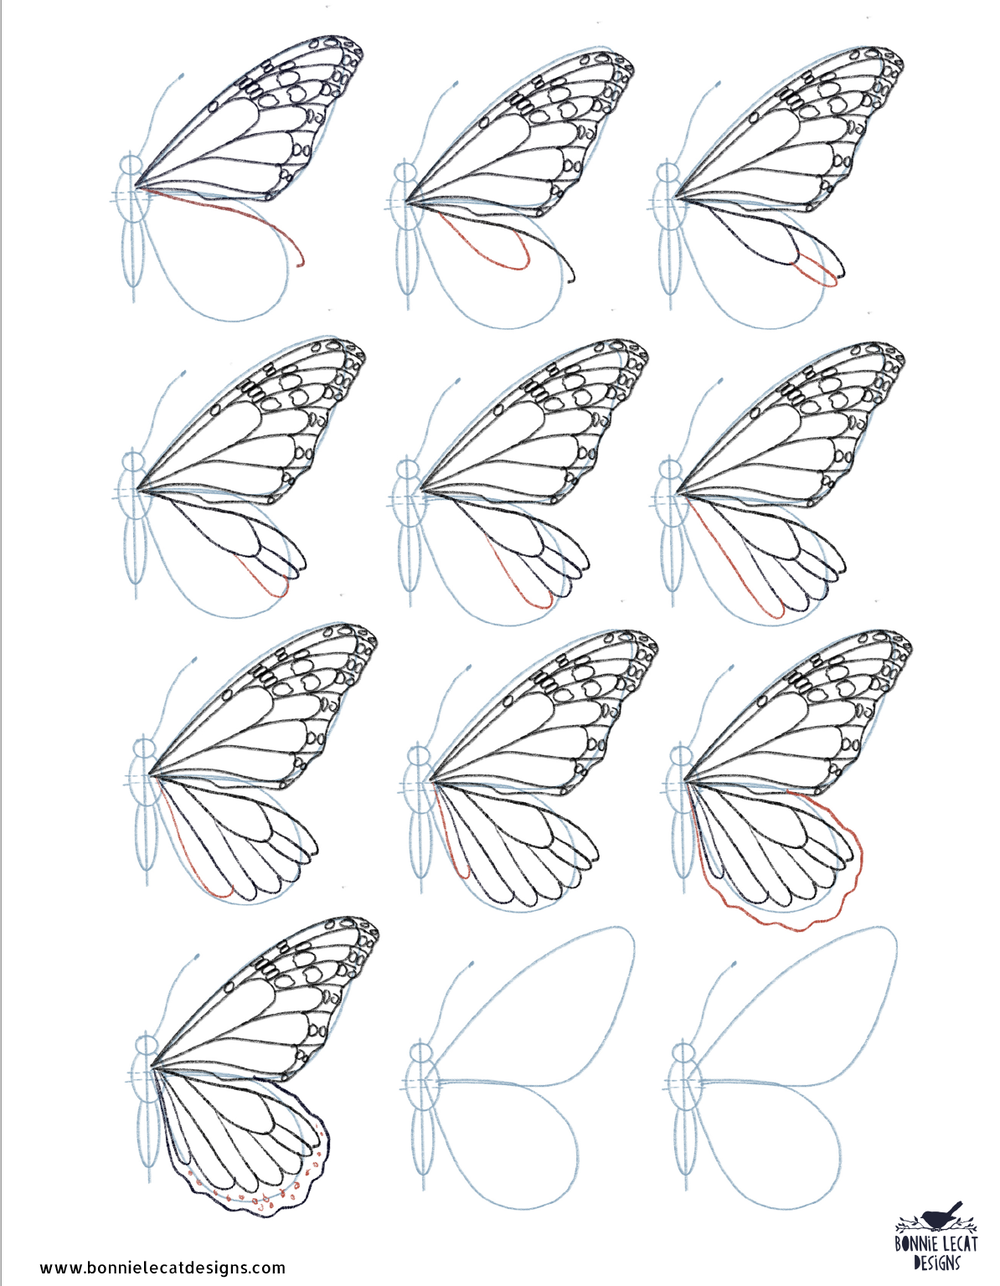
Step 7: Outline the Wings
Once you’ve drawn the triangles, you’ll have a layout you can use to outline a majestic monarch butterfly’s wings. (Don’t worry about doing the other side for now—we’ll show you a trick to cut your work in half and make sure your butterfly is symmetrical.)
For the top wing, start by tracing a slightly curved line starting from the bottom left corner of the triangle all the way to the top right corner and beyond.
Then, make another curved line connecting the end of the top line to the bottom right corner, and finish by barely curving around the bottom line of the triangle until your wing shape is complete.

Follow the same process with the bottom wing, just curving around the triangle. Once you have finished drawing the outline of the butterfly wings, you can erase the triangles so that they don’t confuse you when you start drawing the beautiful patterns inside the wings.
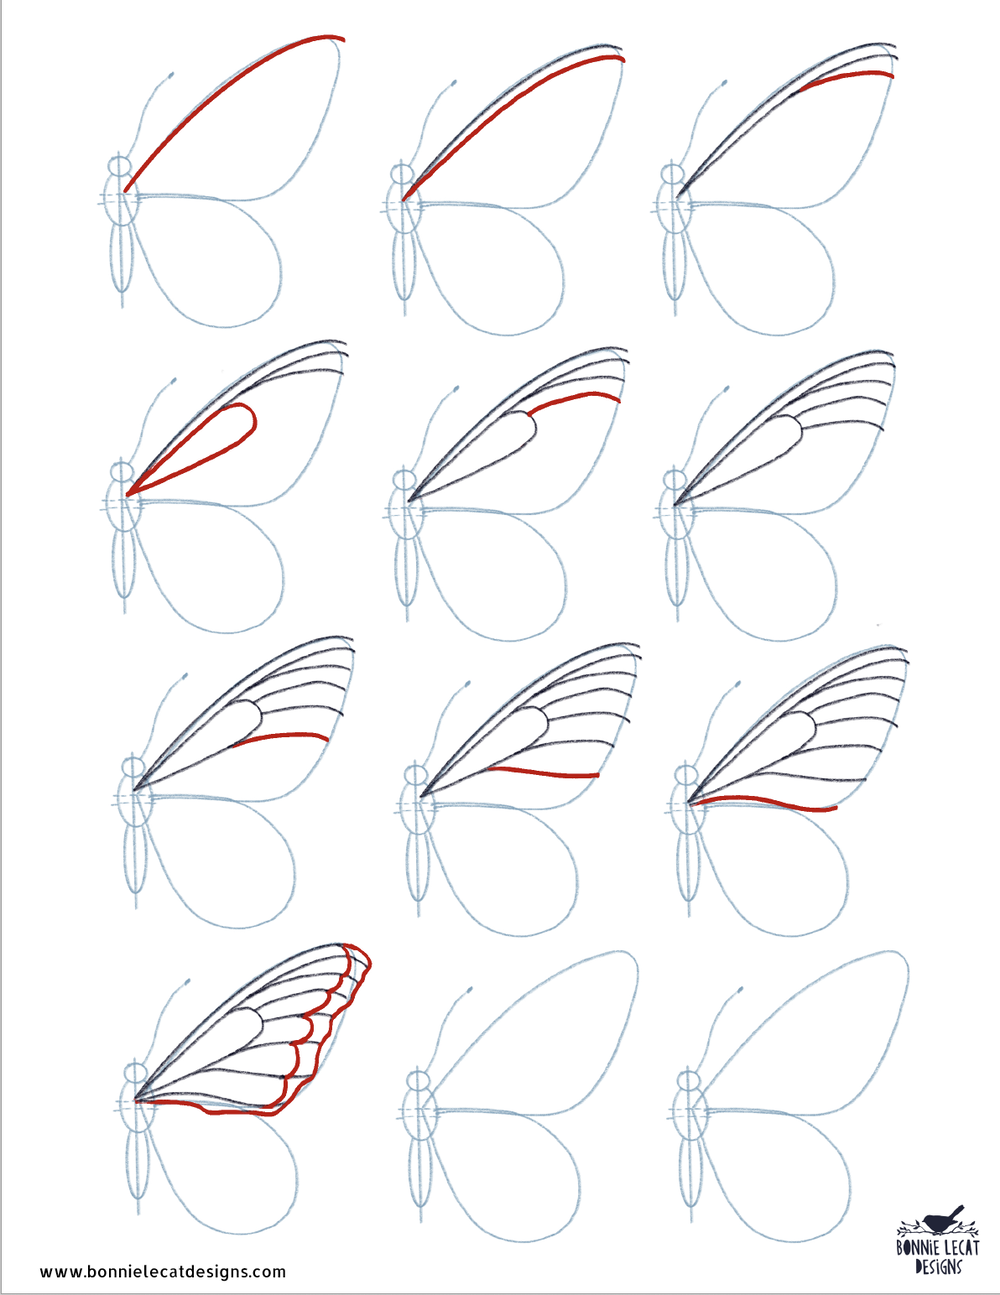
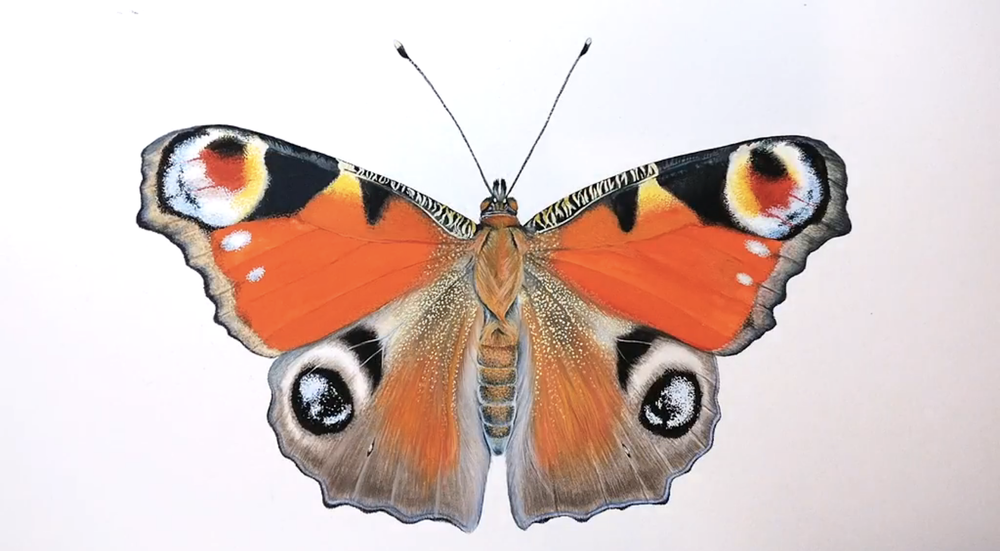
Step 8: Draw the Markings on the Wings
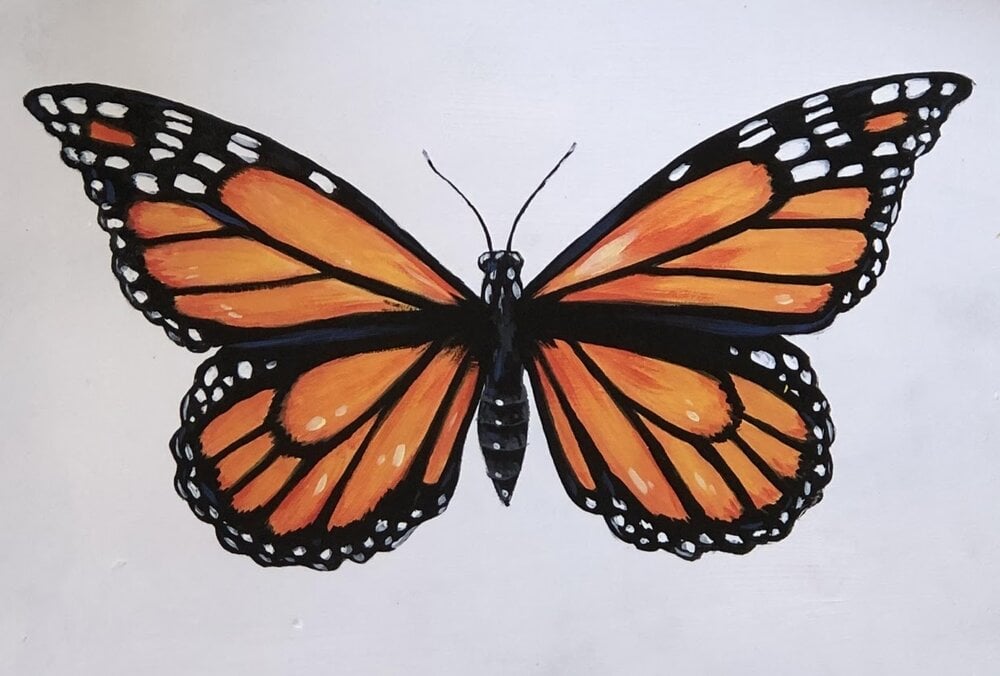
Now you have your basic butterfly outline, you can move on to the most exciting part: the markings on the wings. Butterfly wings have a large variety of markings. To humans, these markings can be fascinating and beautiful. To a butterfly, however, these colors can help identify different species or potential mates. They also keep butterflies safe, acting as camouflage, resembling eyes, or tricking predators into thinking they are potentially poisonous with their vibrant shades of red and orange.
For this tutorial, we’ll learn how to draw a monarch butterfly’s wings, but you can draw any other type of butterfly you’d like, or come up with your own fantasy butterfly.
Use the reference images below for a step-by-step process of how to draw the lines and spots on your monarch butterfly.

About Procreate With Artist Peggy Dean
Animal Pencil Drawings: Techniques for Beginners.
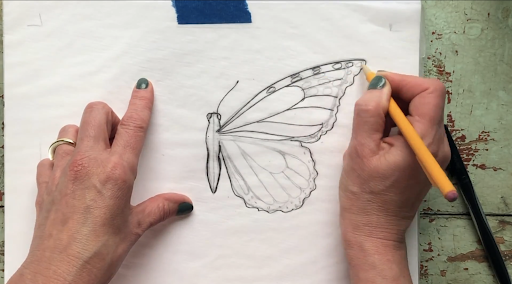
Step 9: Transfer Your Butterfly
Now that you’ve finished drawing the first side of your butterfly, you can either try to make an exact copy for the other side, or use this nifty trick to make it perfectly symmetrical.
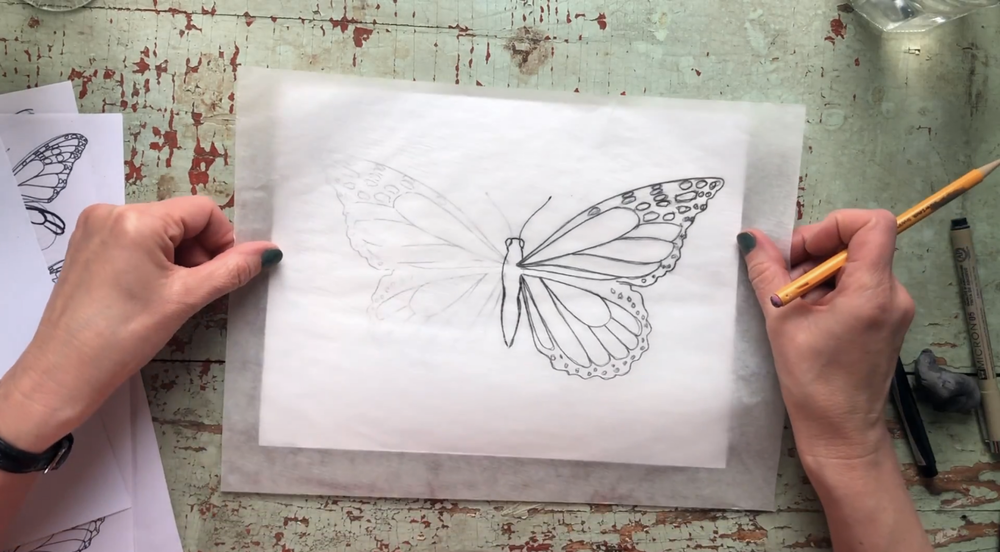
First, place a sheet of tracing paper on top of your butterfly sketch, keeping it in place with a piece of painter’s tape. Then, start tracing the outline with a dark pencil.
Now, take the tracing paper and place it with the pencil side down on another piece of drawing paper. Use a little piece of painter’s tape to hold the paper into place—you should be able to lift and return the tracing paper back to its exact same place if you need to.
Take a sharp pencil and, using a decent amount of pressure, start tracing exactly where you already drew. This will transfer the carbon on the paper onto your clean surface.
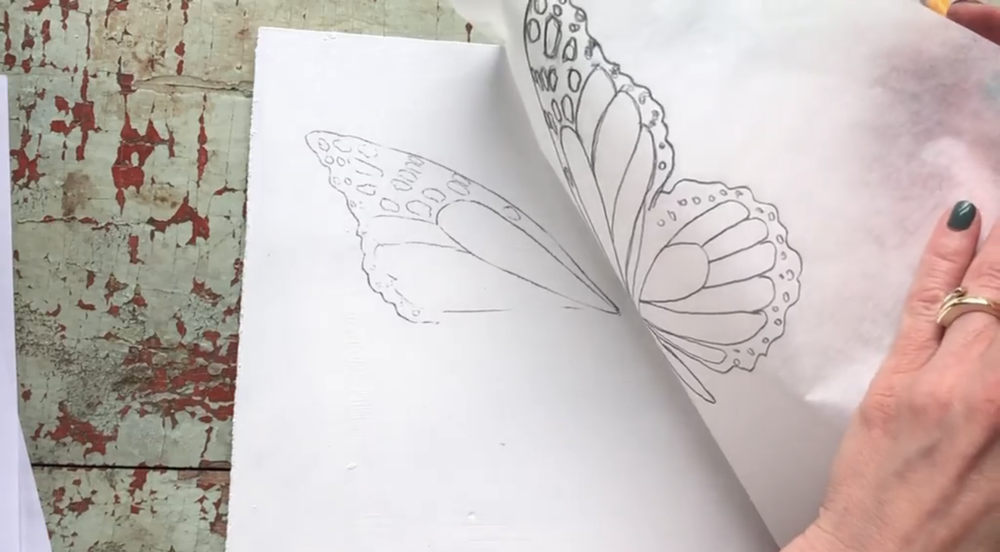
When you finish, lift up the tracing paper and flip it to make the other side. Lay it exactly over the body so that the wings are in exactly the same spot and your butterfly is perfectly symmetrical. Since you now have carbon on this side too, trace one more time. (You only need to trace the butterfly’s body once.)
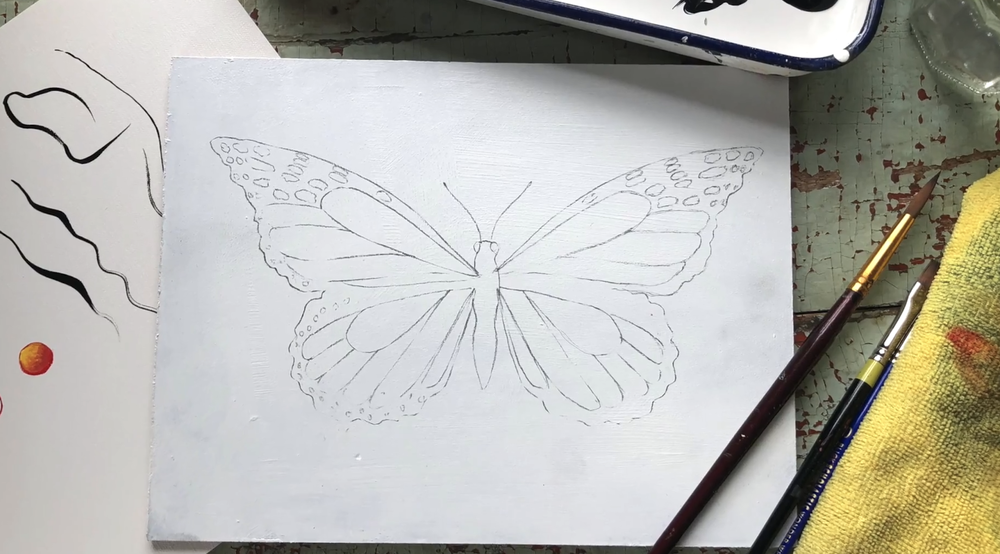
Step 10: Finalize Your Butterfly Drawing
After you finish tracing the second side, you will have a fairly clear and detailed outline of a beautiful monarch butterfly. Now, it’s up to you to decide how to make it your own.
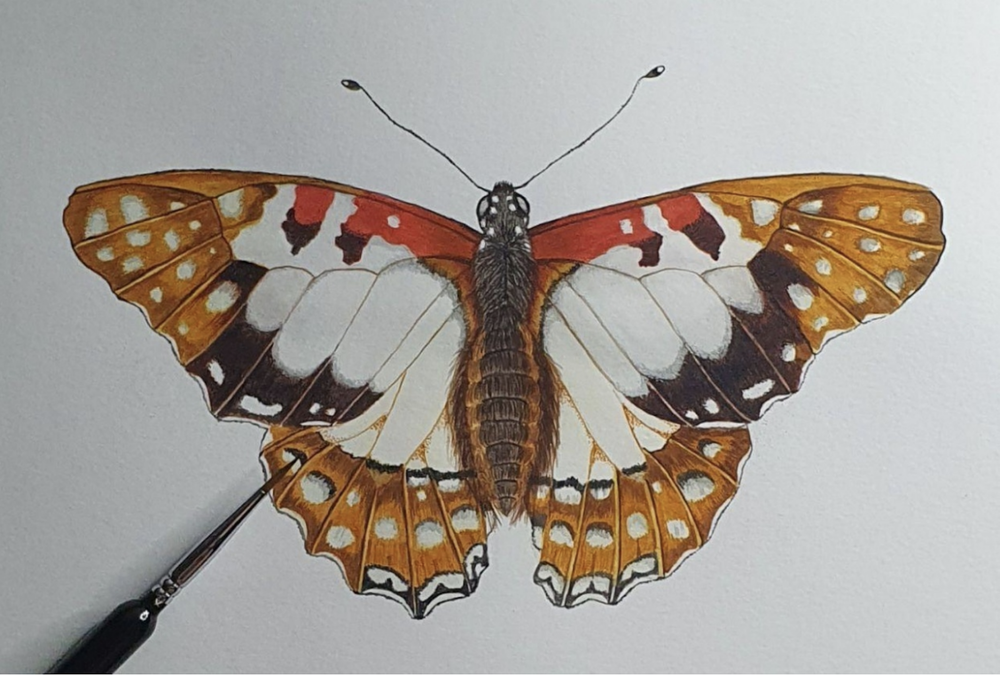
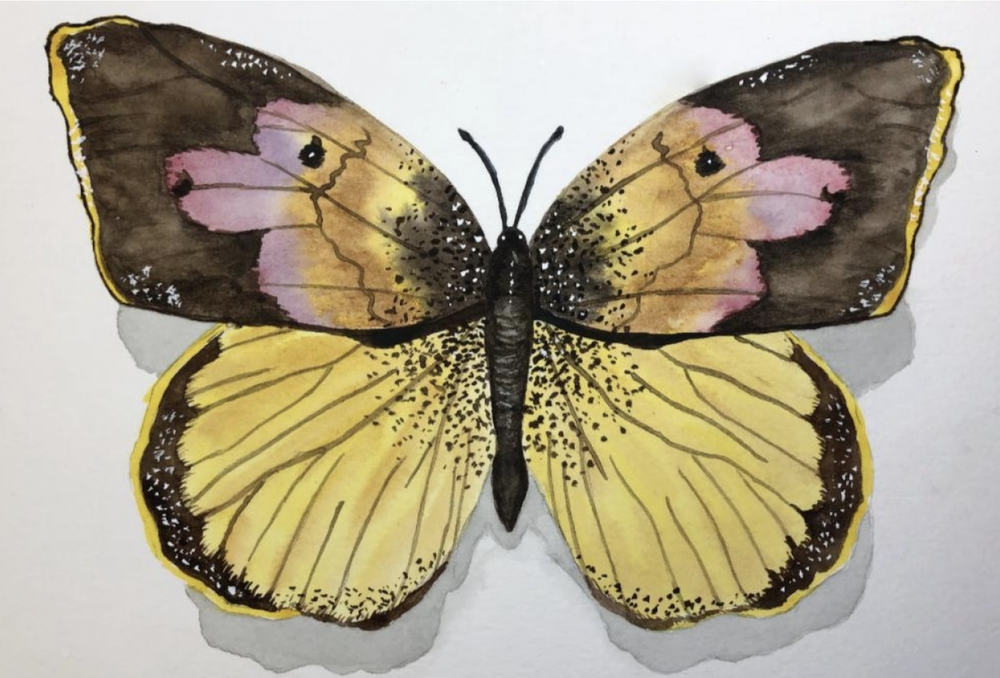
Take your Butterflies to the Next Level
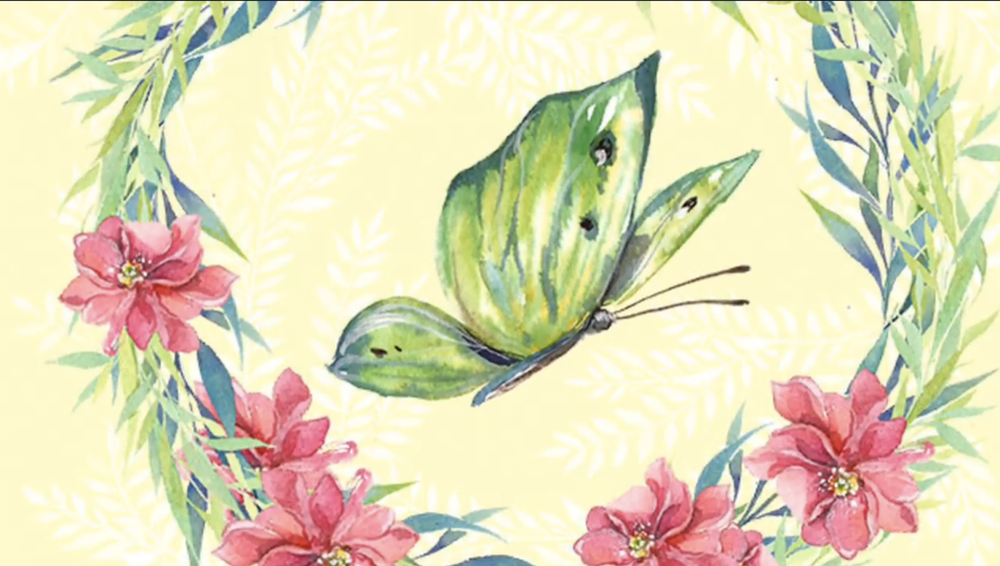
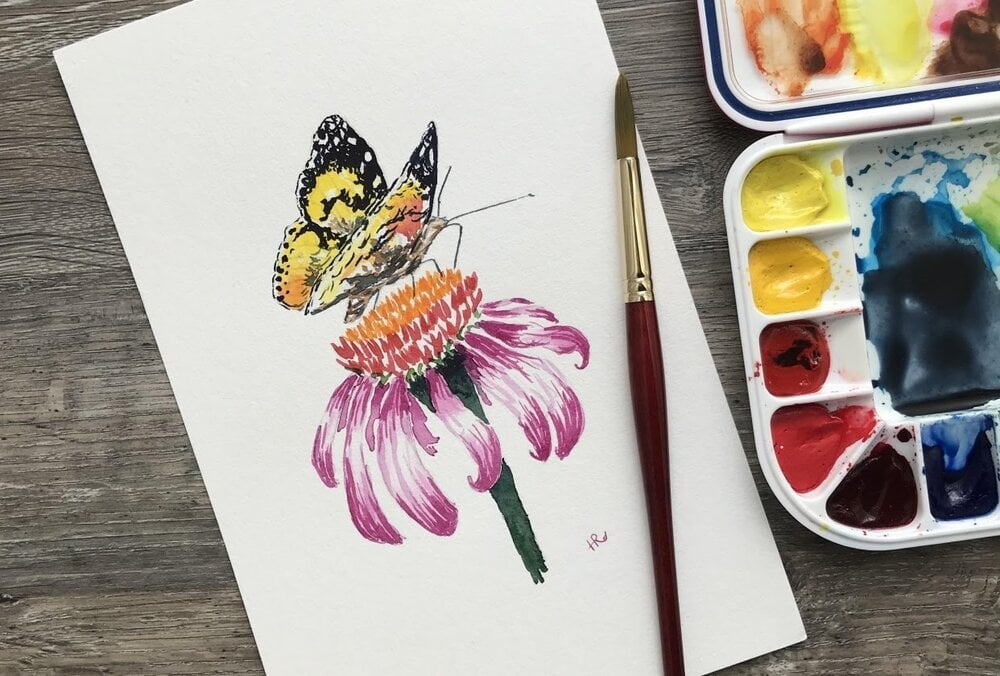
Learn to Paint Realistic Watercolor Butterflies.
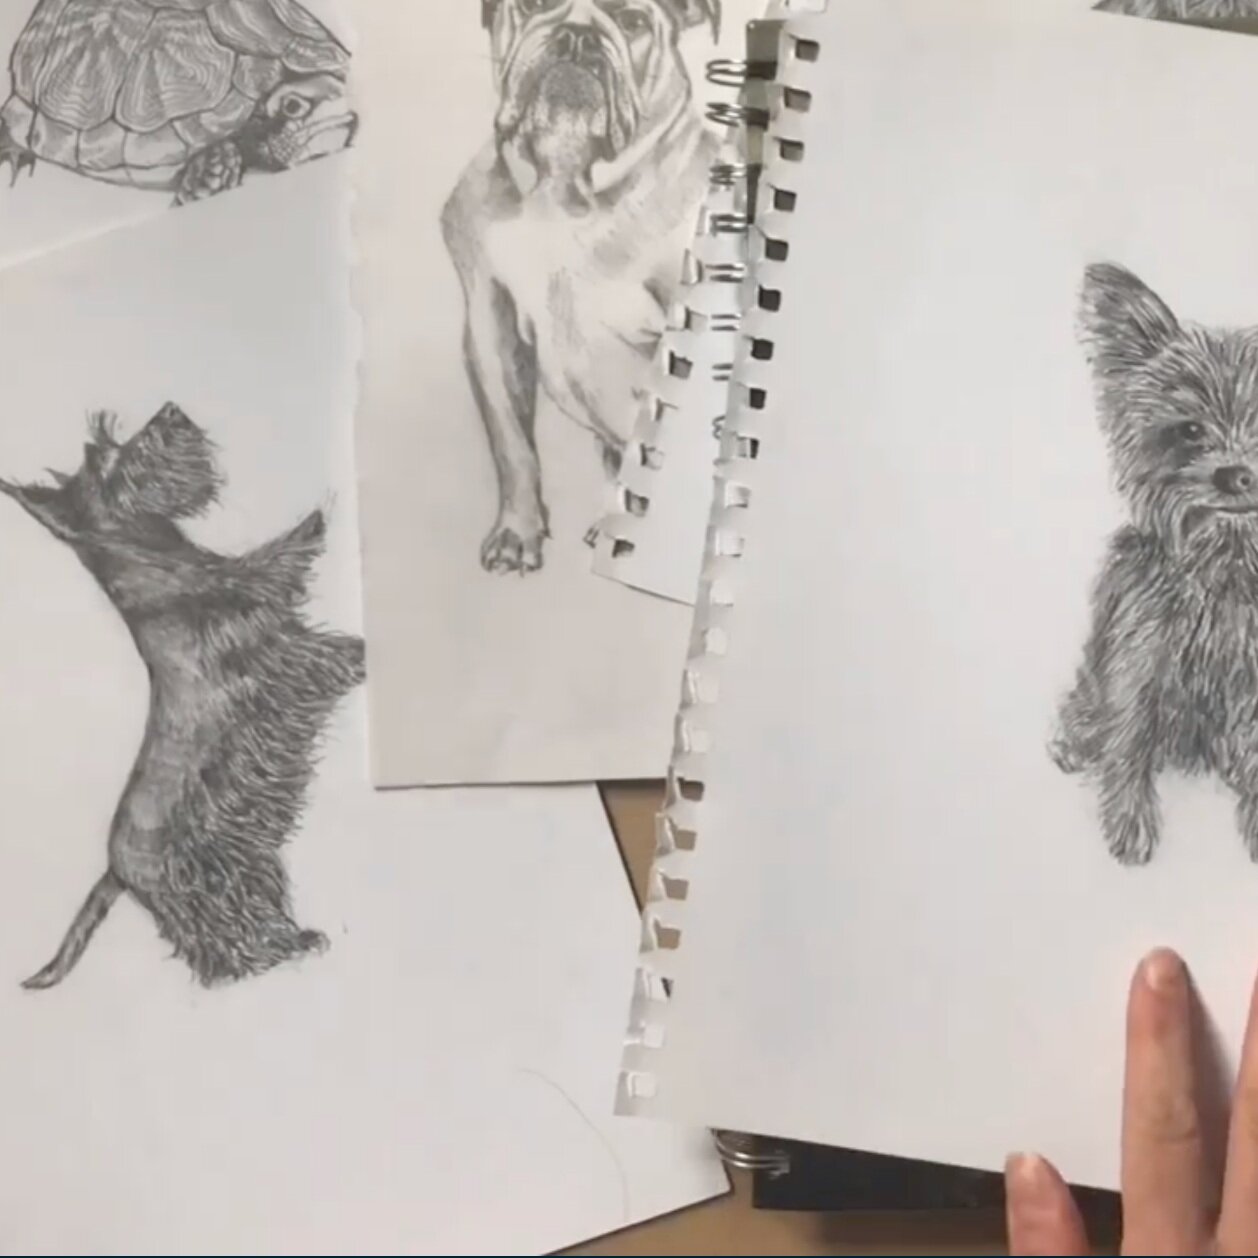
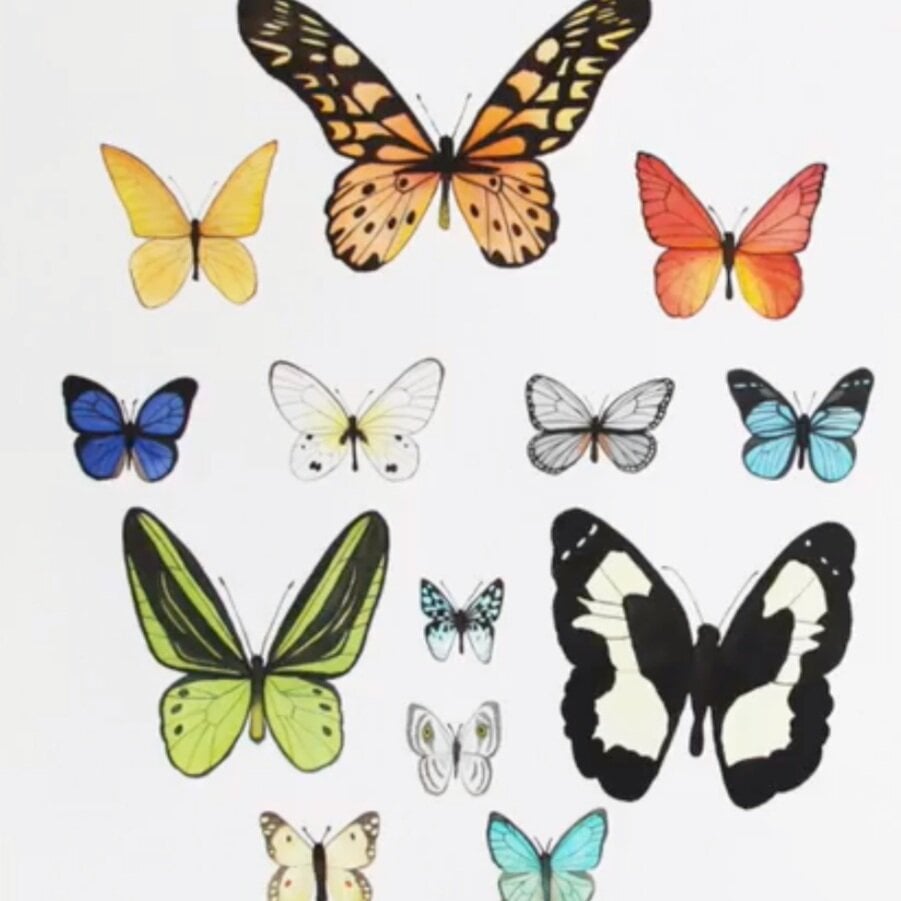
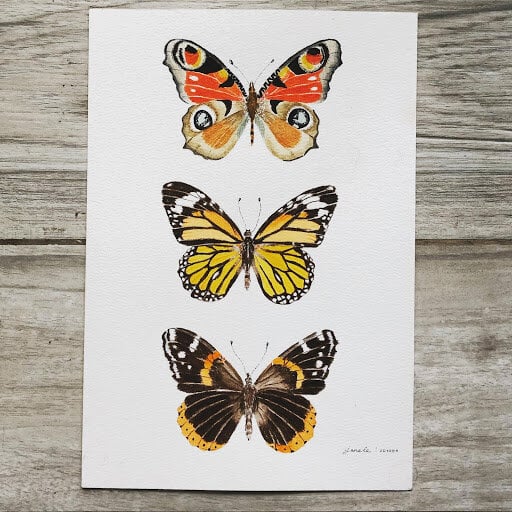
Butterfly Drawings and Butterfly Art
There are over 17,000 known butterfly species, so there’s an endless supply of inspiration for butterfly art. Here are just a few of the butterflies created by teachers and students of Skillshare courses.
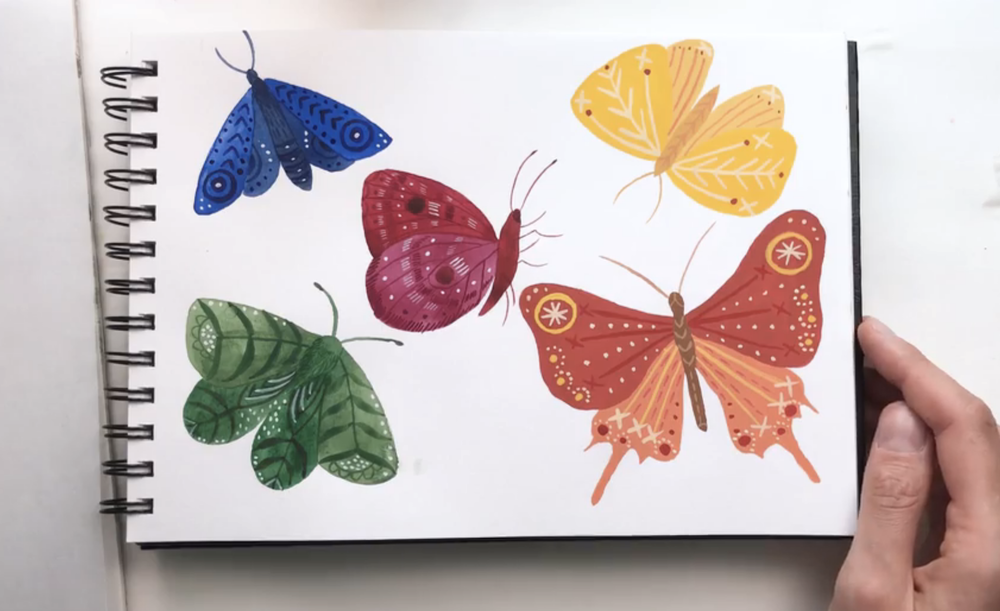
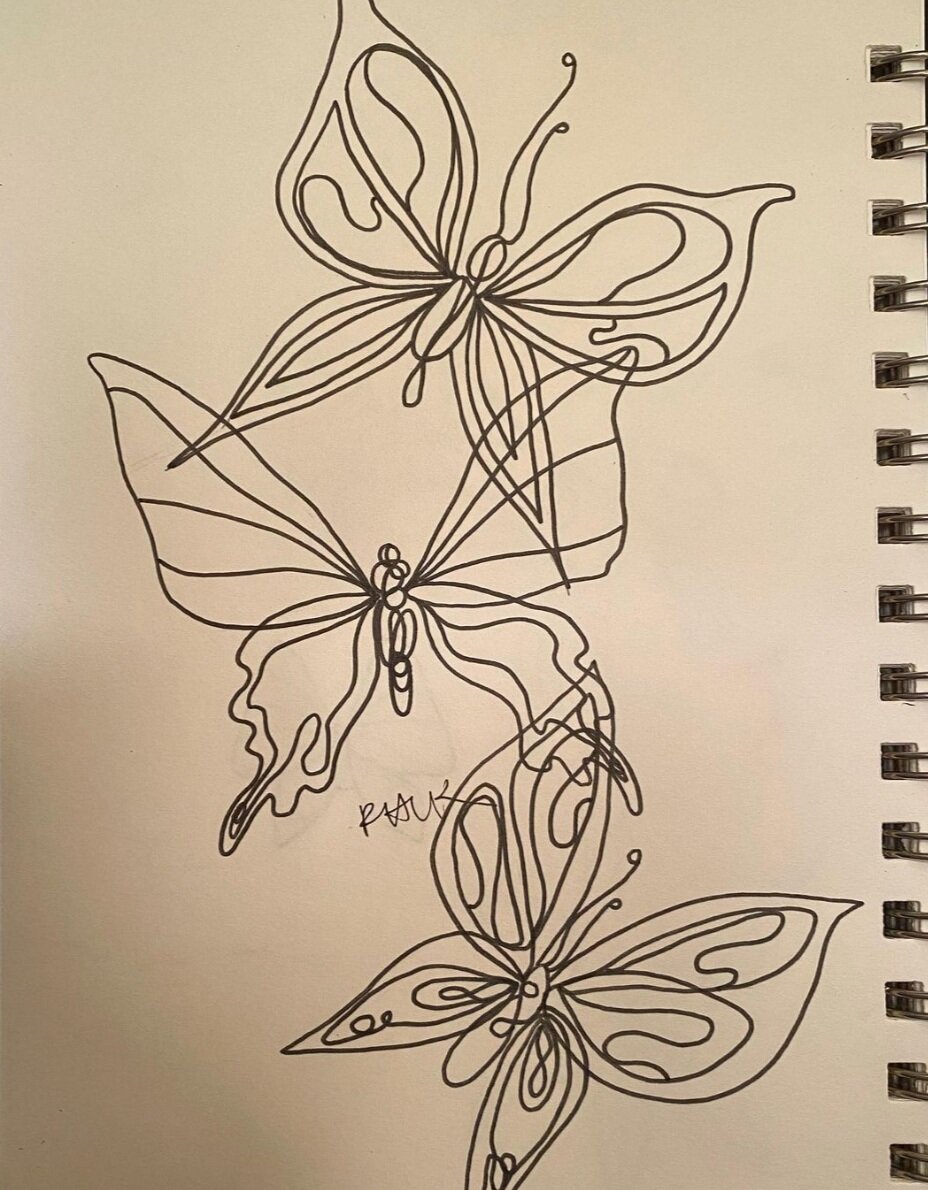
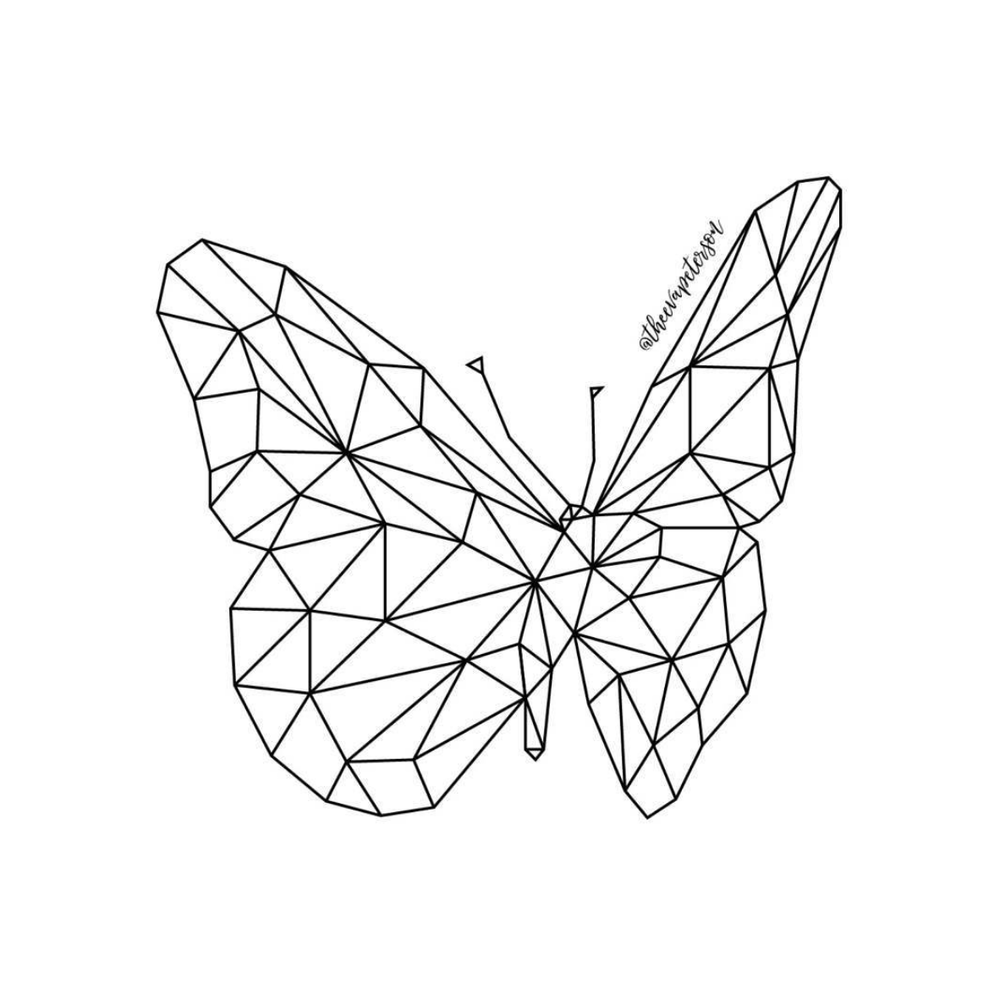
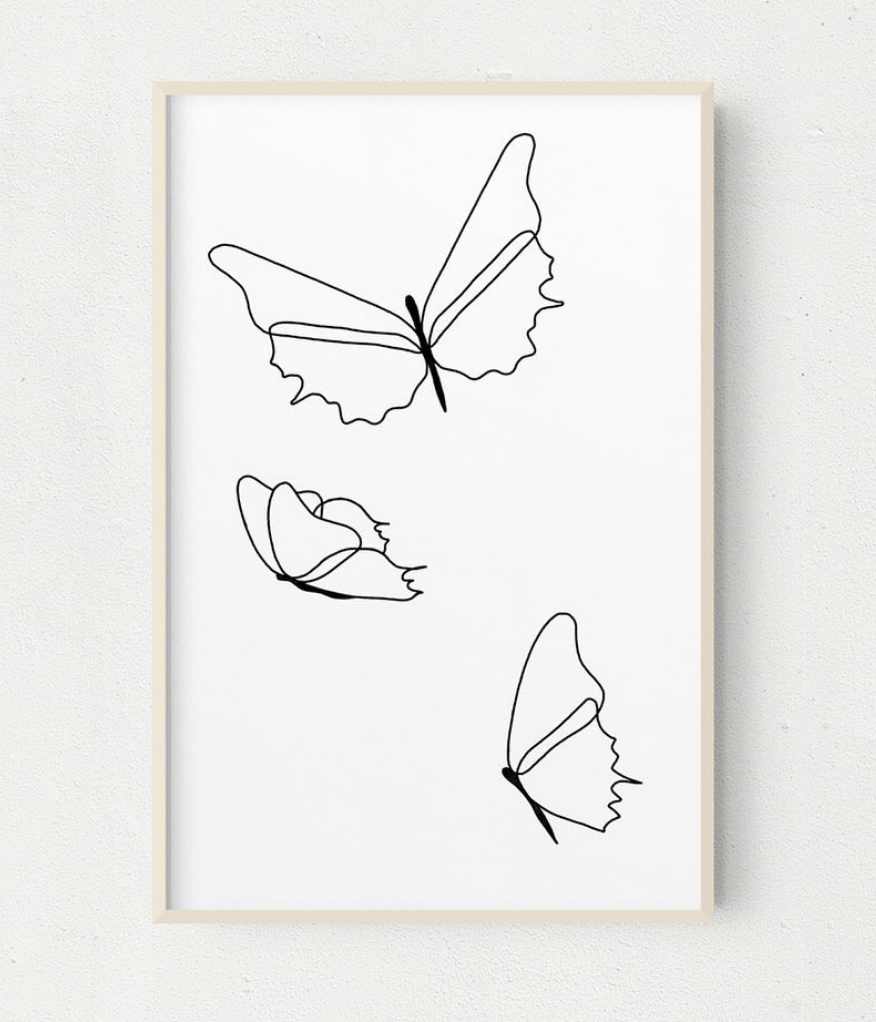
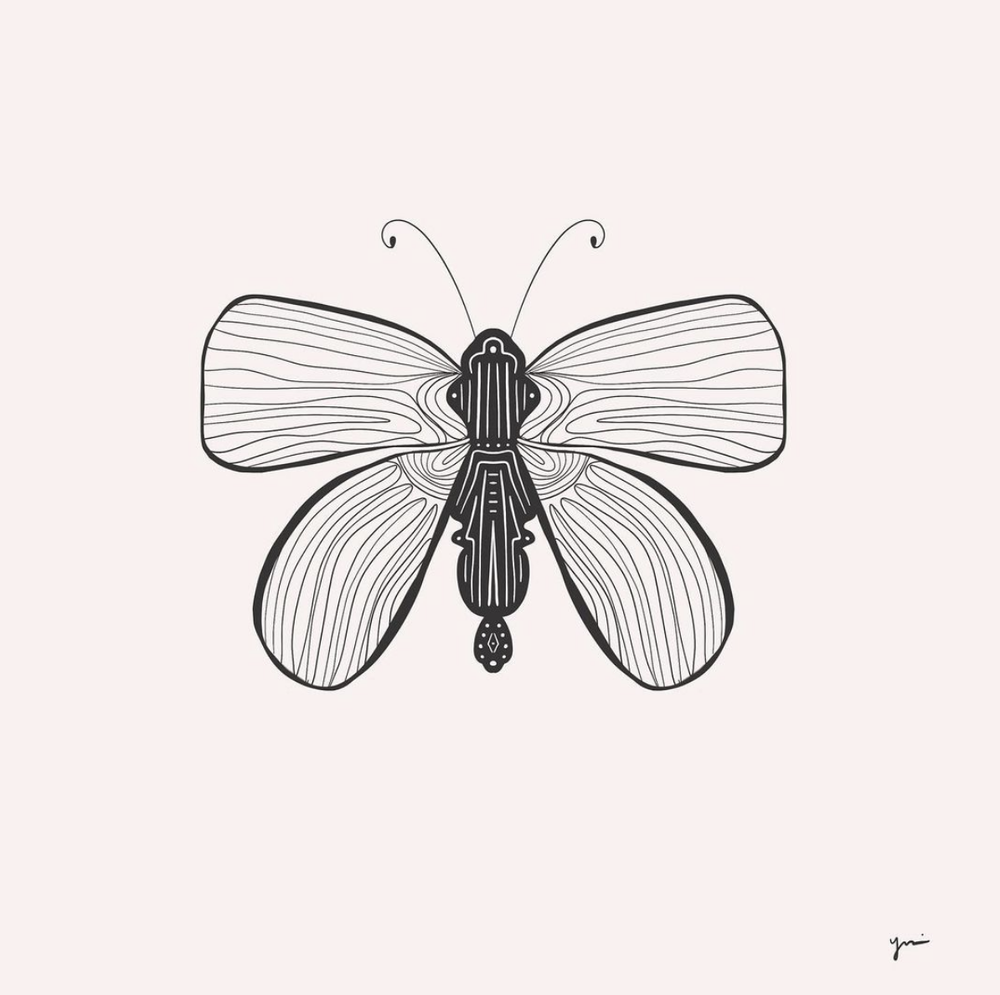
Butterfly Line Drawings
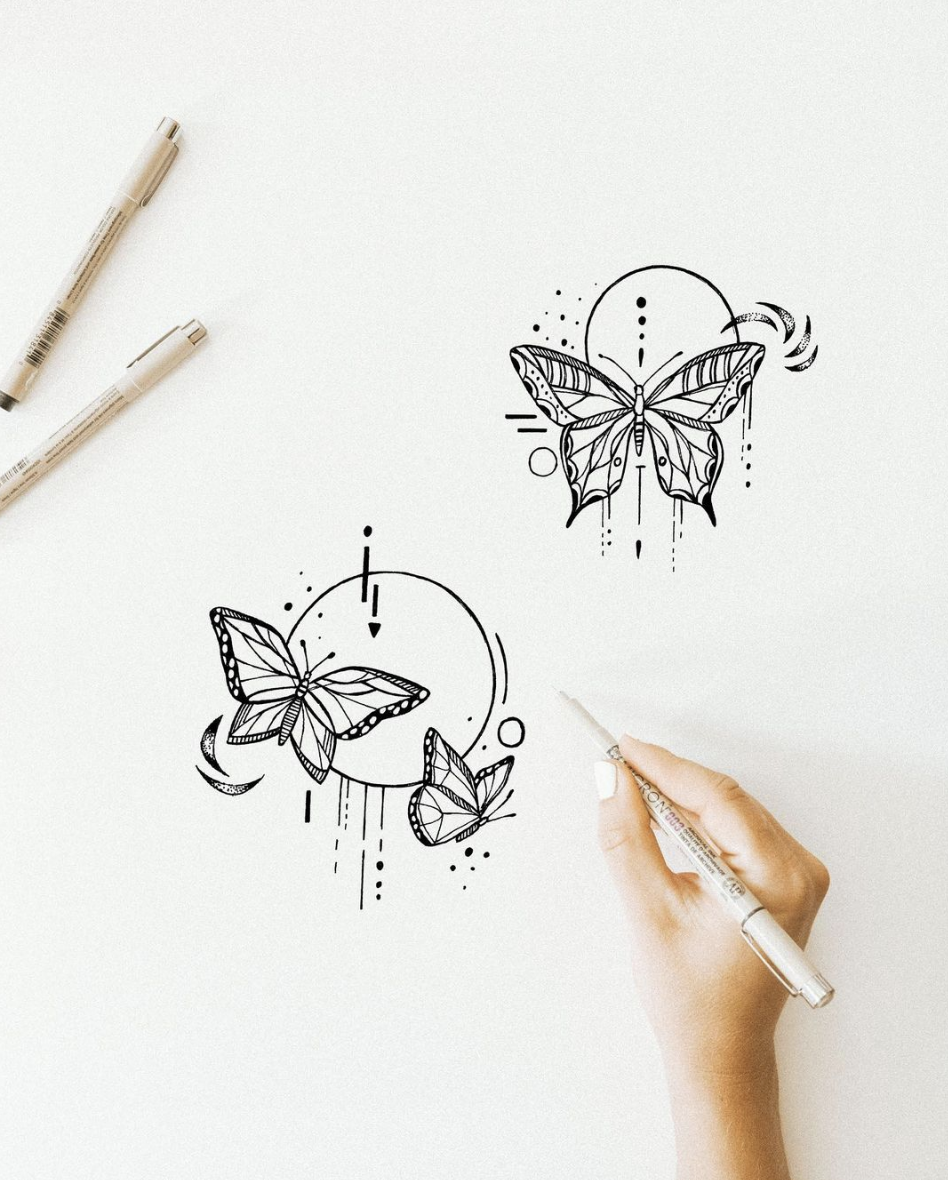
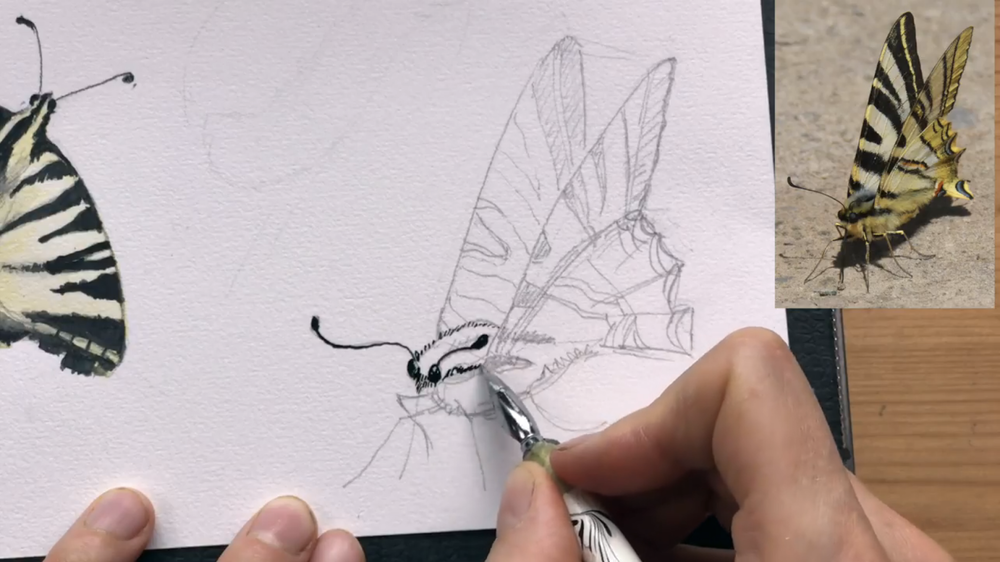
Butterfly Side View

Try Skillshare for free! Sign up for a 7 day free trial today!
Get Started- Unlimited access to every class
- Supportive online creative community
- Learn offline with Skillshare's app


