

Photography Workflow: From Set-Up to Editing, a Step-by-Step Guide
Learn a photographer’s workflow process from setting up a photoshoot to editing and delivering images.


Photography is both an art and a honed craft. It requires not only creativity, but also technical skills and an understanding of photoshoot concepts and the photography process.
Pulling together a professional photoshoot takes more than knowing which buttons to click on a camera—you’ll need to know how to nail every step of your photography workflow. We’ve created a guide from top photographers that will walk you through the steps of photography from start to finish.
What Are the Steps in Photography? A Typical Professional Photographer’s Workflow
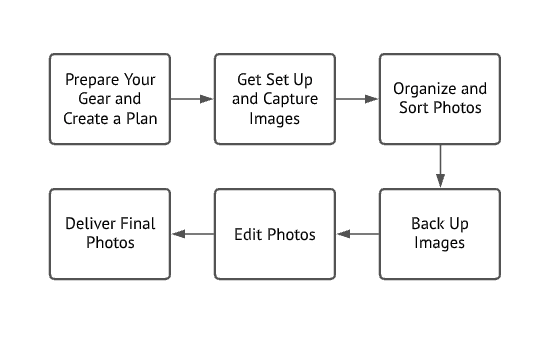
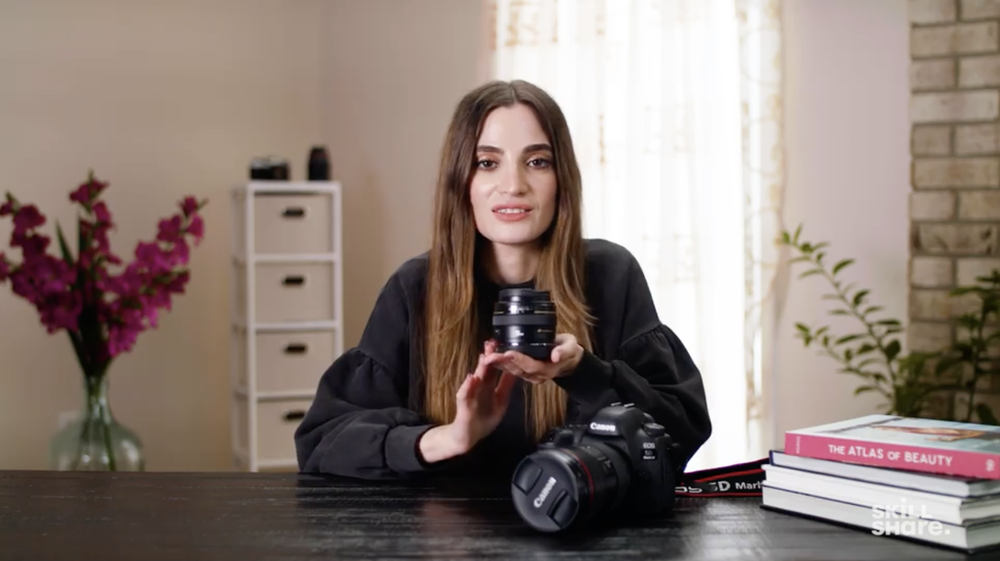
Step 1: Prepare Your Gear and Create a Plan
Photoshoots depend on having a game plan. “For some photoshoots, going in with the plan is the best course of action,” says photographer and Skillshare instructor Jessica Kobeissi. “Some things I like to plan for my photoshoots are: location, time, model, and at least one or two outfits.”
In this photoshoot process preparation phase, it’s also important to align expectations. If you are shooting for a client, discuss their goals and make sure you have everything you need to meet them before you start to shoot.
Regardless of what you’re shooting, it’s helpful to have a shoot schedule and shot list, including the people or props that need to be involved for each.
Once that’s set, you’ll also need to gather all your gear—lenses, tripods, lighting, and of course, your camera. You’ll also want to make sure you have empty SD cards and fully charged batteries.
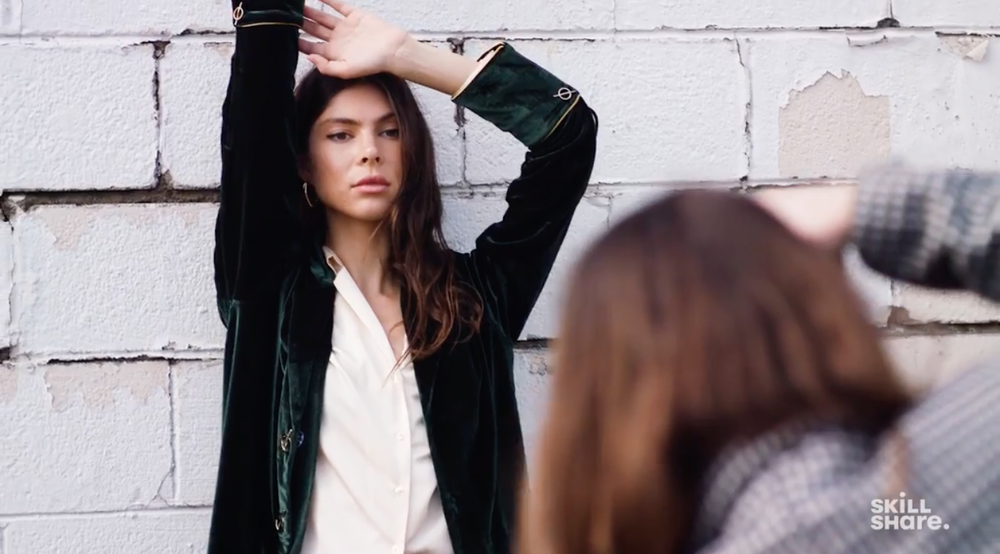
Step 2: Get Set Up and Capture Images
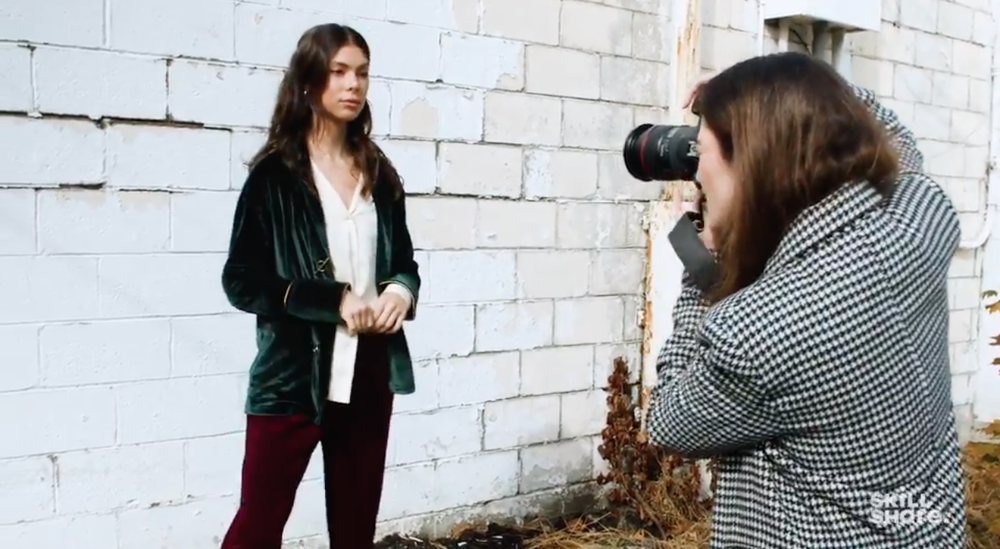
When you arrive at the shoot location, it’s time to scout out backdrops and other spots where you can capture images. You’ll also want to get your gear set out so it’s ready for you to grab when you need it—you’d hate to miss the perfect shot while digging for a different lens.
And while sticking to your shot list is helpful for making sure the day runs smoothly, feel free to go off script when needed. You have the freedom to shoot anything that inspires you or roll with any unexpected events of the day.
“It is so important when doing a photoshoot, especially with a model who’s building her book, to make sure you get a variety of photos for both you, and her, and your portfolio,” says Kobeissi.
Step 3: Organize and Sort Photos
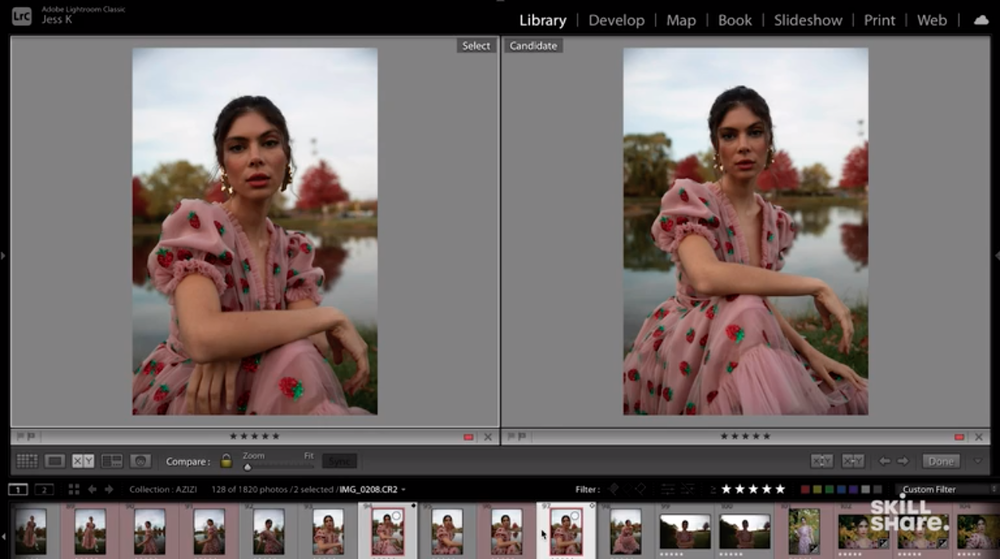
The shoot is over, so now what does a photographer do? This is the time to make sense of what you have and organize your images. Though there are several photo organizing software systems to choose from, most photographers use Adobe Lightroom for editing and categorization.
Photographers organize their photos in all kinds of ways. For example, you could create separate folders tagged by date, client, or specific keywords.
In addition to making logical sense of all of the images you have, it’s also your goal to weed through them, get rid of duplicates or photos that have mistakes, and keep only the best. “The selection process is never easy. It can take me hours to choose the final photos that I want to retouch and edit,” says Kobeissi.
Step 4: Back Up Images
You never know when a computer will crash or when something will corrupt your files, and you’d hate to lose all of your hard work. This is why your start to finish photography process must include backing up your data.
You should ideally have two different ways of backing up your photos to cover your bases, such as uploading them to a cloud storage system and keeping them on an external hard drive. It might seem like overkill, but knowing that your photos are safe will give you peace of mind.
Step 5: Edit Photos

To make photos pop, photographers edit their work in post-production. “By making adjustments, you can transform the entire picture,” says Kobeissi.
There’s no one correct way to edit a photo—editing is an art form on its own and depends on your style and the complexity of the photograph.
You may simply crop photos to bring attention to a subject or reduce background distractions. Or, you might choose to do skin retouching, adjust a photo’s brightness, or straighten an image to level its horizon.
“You can pinpoint certain colors in your photo and then make adjustments only to those colors,” Kobeissi adds.
Step 6: Deliver Final Photos

The last step of your photography workflow is to deliver your final photos. If you completed the photoshoot for a client, you’ll submit the finished photos to them. If the photos were for a personal project, you can upload them to your portfolio or share them on social media. You can also earn money by selling your photographs on sites like Creative Market, Shutterstock, Unsplash, and more.
Once that’s done, you’ve completed your photography workflow—and you’re ready to move on to your next shoot!
FAQs About Photography Workflows
1. How Many Stages Are in the Standard Digital Workflow?
Workflows are essential for any project, and the number of steps included in each depends on the complexity of the project. In general, each photography process will include pre-production, shooting, and post-production, with plenty of detailed steps in each stage. Each photographer can develop their own photography workflow chart to keep them organized.
2. Do You Have to Follow an Exact Photography Workflow?
The great thing about a creative profession is that you have control over the way you get your best work done. While the above is a standard approach to the photography process, it’s certainly not the only way. Don’t be afraid to experiment and find the workflow that works for you.
3. How Do Professional Photographers Backup Their Photos?
Many new photographers wonder: How do professional photographers manage their photos? Unfortunately, it’s a common rookie mistake to lose your photos or SD card, so it’s crucial to make backing up your data a consistent part of your professional photographer process.
You can upload your photos to a system like Lightroom or back up your photos with an external hard drive or cloud storage like Dropbox or Google Drive. In addition to backing up their photos, professional photographers will also stock up on memory cards so they don’t run out of storage during a photoshoot.

Set up Your Own Photo Studio!
Portrait Photography: Shoot and Edit Instagram-Worthy Shots.
Try Skillshare for free! Sign up for a 7 day free trial today!
Get Started- Unlimited access to every class
- Supportive online creative community
- Learn offline with Skillshare's app


