

Nail Design Basics and 30 Designs to Get You Started
Check out the latest nail art designs and learn the basics to get started yourself.
Table of Contents


Nail design is an art form all its own. Professional nail artists have always used a variety of materials and techniques to bring their nail art design ideas to life, but these days, more people are interested in DIY nail art and learning how to design nail art themselves!
Here, we’ve rounded up everything that you need to know about getting started with nail design.
Nail Art and Nail Art Design Basics
Tools and Supplies
To begin learning how to make nail designs, you’ll need a few tools on hand, including:
- Nail file
- Nail polish remover
- Cuticle stick
- Base coat
- Cuticle oil or hand lotion
- Top coat
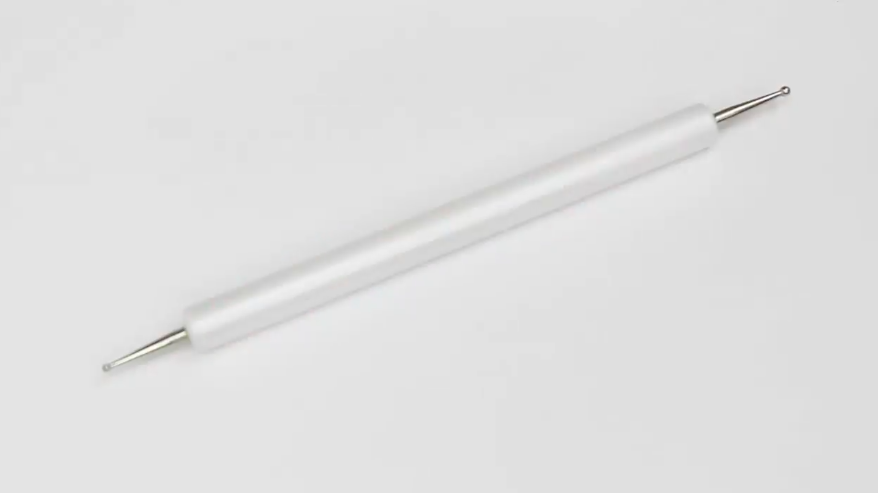
- Dotting tool
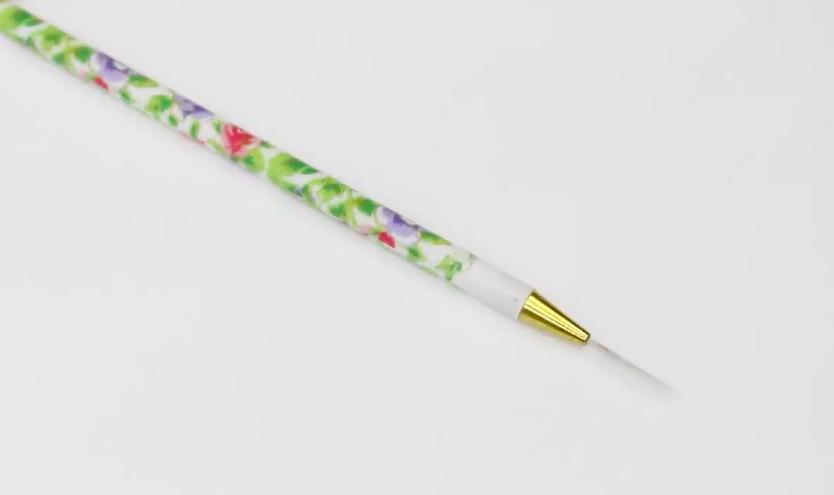
- Striper brush
- Small, round bandages
- Cotton pads
- Cotton swabs
- Nail polishes
Hand and Nail Care
Like any artist would, you need to prep your canvas before you begin working. For nail design, this means taking care of your nails and hands.
Use a nail file to create your desired shape—square, oval, round, almond, or stiletto. Then, apply cuticle oil, which helps stimulate nail growth. Once it’s absorbed, follow up with hand lotion.

Basic Nail Design Techniques
Though painting your nails seems straightforward, there are specific techniques involved when learning how to master basic nail arts design.
First, apply a thin layer of base coat. You shouldn’t be able to see the brush lines—if you can, you likely have a bit too much.
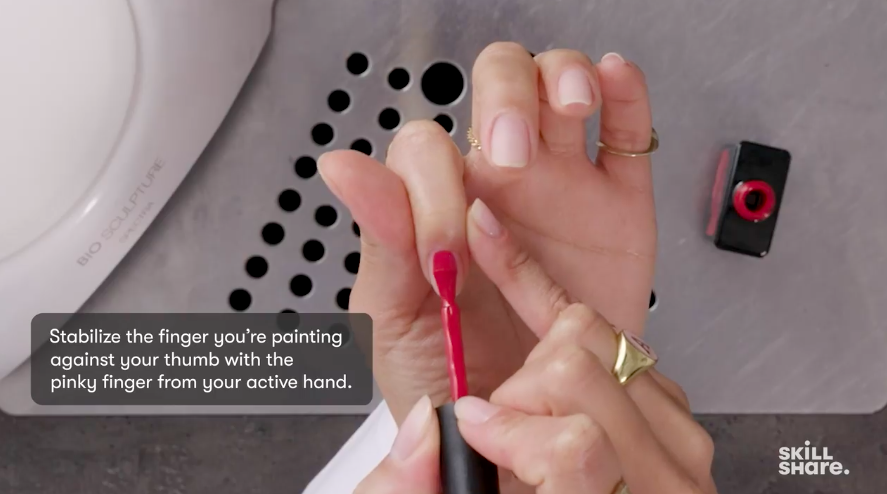
Then, apply your polish of choice. Hold your hand out in front of you with your palm facing you, then bend your fingers toward you so that you can see each of your nails. Slowly drag the nail polish brush from the cuticle line toward the free end of your nail. Try not to go overboard, as too much polish will make it tough for your nails to dry completely.
Once your nails are dry, use cotton swabs and nail polish remover to clean up the edges of your skin and cuticles. Finally, apply your top coat, again keeping this layer thin and smooth.
Now, get creative!
The Five Basic Nail Designs
1. Dots
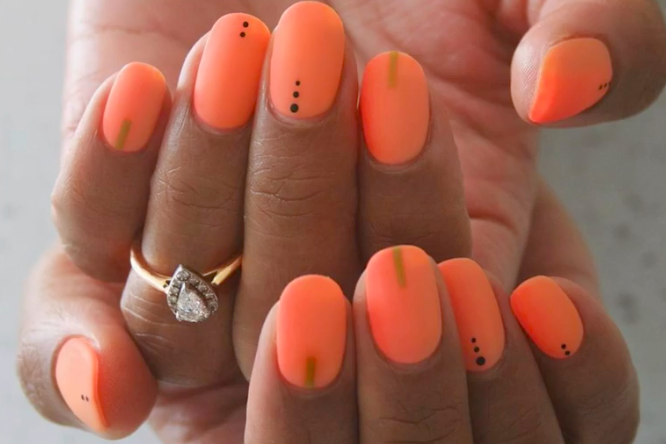
Dots are a great place to begin with basic nail art design—they’re easy to create and they render a fun, playful effect. To get the look, pour a small amount of nail polish onto a safe surface and dip the end of your dotting tool into it. Holding your tool at a 90 degree angle, apply tiny dots. You can create patterns or simply dot as you please!
2. Stripes
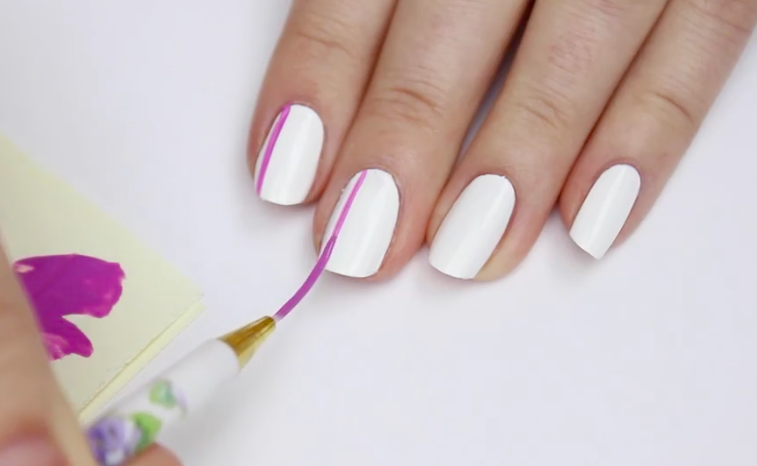
Striped nails are just about as versatile as dotted nails, and they’re definitely as easy. Using your striping brush, start at the cuticle line and drag the brush toward the free end of your nail. Play around with different thicknesses, angles, or numbers of stripes for a look that’s fun, preppy, or sophisticated.
3. Half Moon
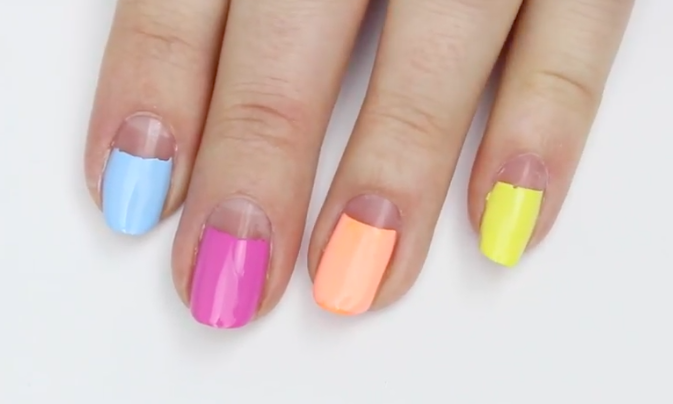
Remember those round bandages from your supply list? Here’s where they come in!
Prep your nails and apply your base coat only. Then, apply the bandages to each finger, covering the bottom quarter of your nail. Next, apply colored polish over the whole nail, including the covered portion. Once your nails are dry, carefully peel off the bandages and use cotton swabs and nail polish remover to sharpen the line as needed.
4. Rose Quartz
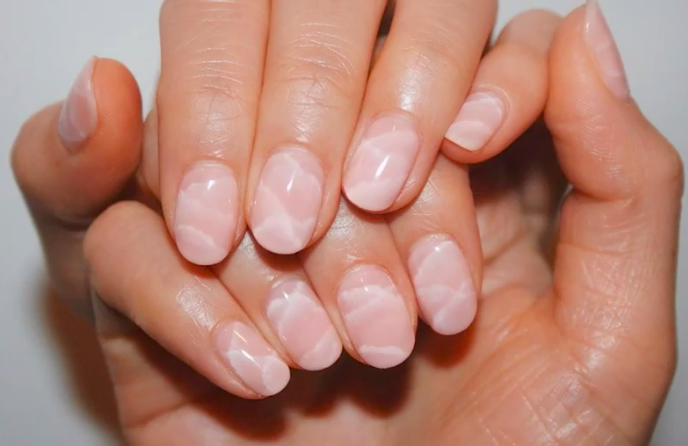
Creating this impressive rose quartz effect looks more complicated than it is! Prep your nails, apply your base coat, and paint on a neutral color. Then, take white nail polish and create random, messy lines. Using a cotton swab dipped in nail polish remover and then dried, push the cotton tip into the edges of the white lines to create the stone effect. Finish it off with a top coat.
5. Clouds
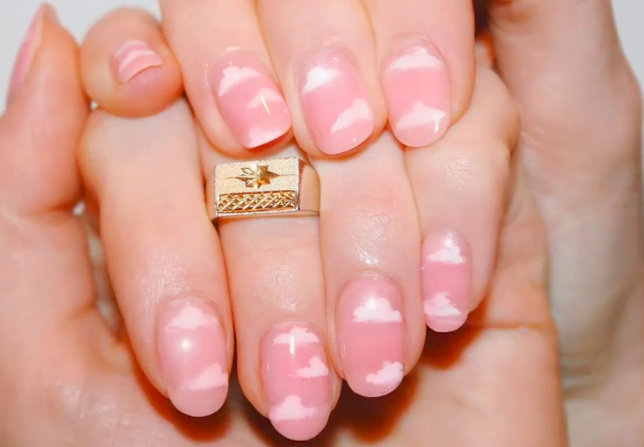
To get these cloudy nails, start with prepped nails and a base coat. Create a sky-like hue by using light blue polish (or mix blue and clear polishes to get a translucent blue). Next, use white polish to paint cloud-like shapes onto your nails. Finish everything off with a top coat.
30 Nail Art Design Examples
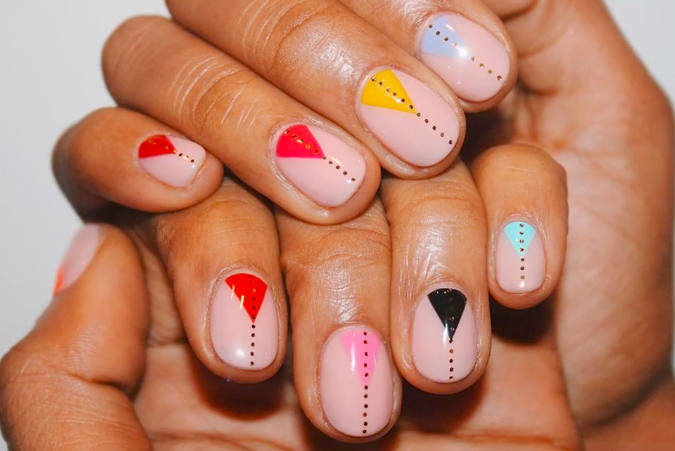
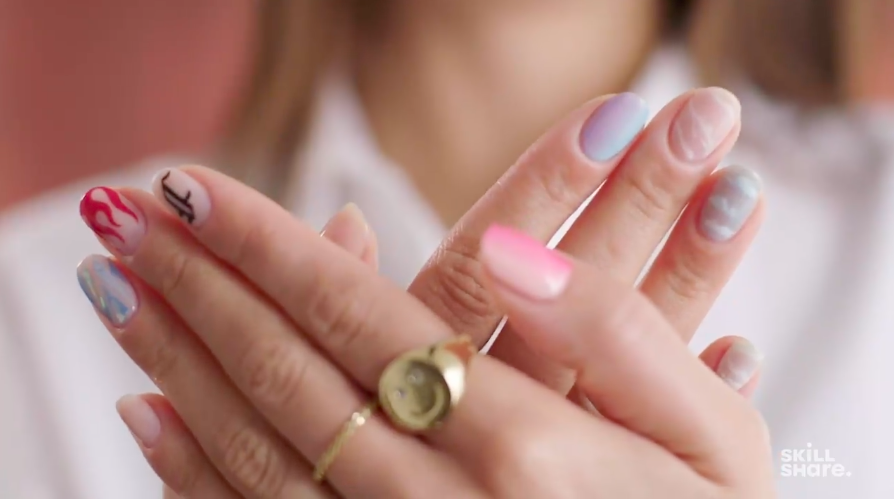
If you’re looking for “how to nail art design” classes, you’ll love following Imarni Ashman, a well-known nail artist who designed these fun nails by combining dotting and masking techniques.

This technique, called fading, uses different color gradients and fades them into the next.

The “shattered glass” technique is created by layering different polishes.
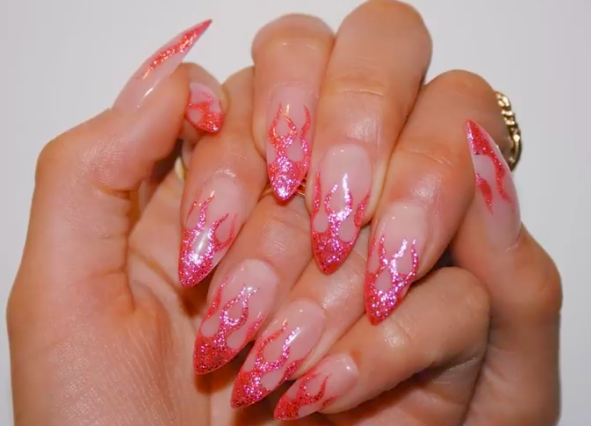
Creating flames is easier than it seems! Imarni Ashman shows you how to make your own.

Make a (written) statement with your nails!

If you’re not sure how to choose nail art designs, consider something that encompasses more than one nail art design technique—like lines and shapes.
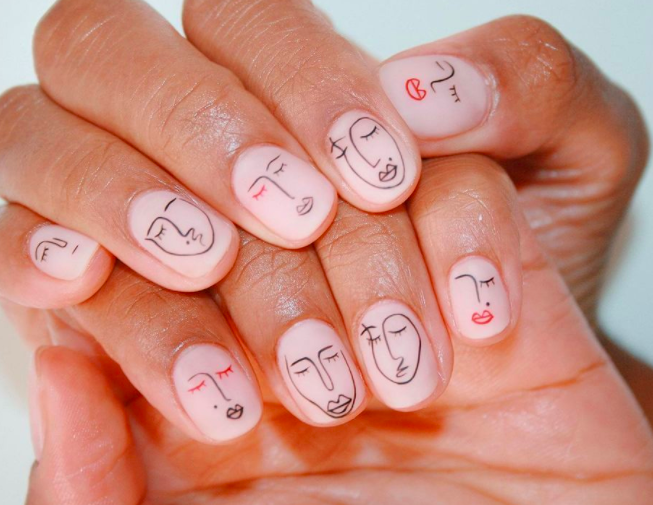
Miniature portraits on your nails? Why not?

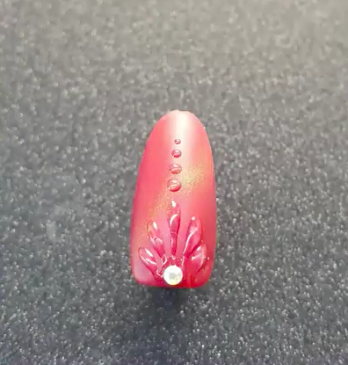
Flowers are a classic nail design—create your own using the dotting method.
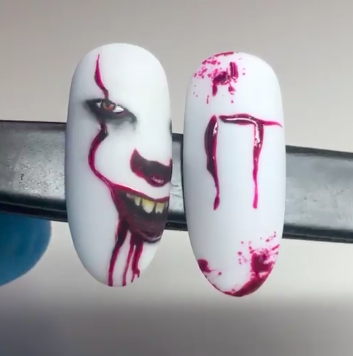
For something really out of the box, try this Halloween horror inspired nail art design.

This pretty design by Skillshare instructor Gabriela Cismas requires just a few lines.
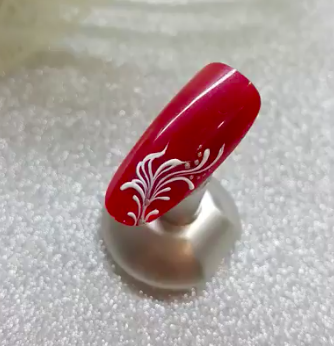
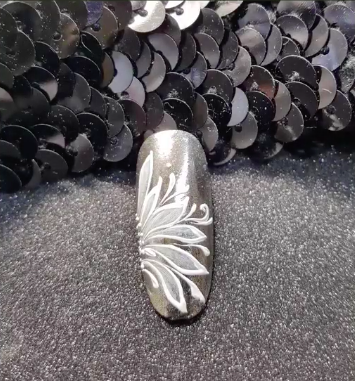
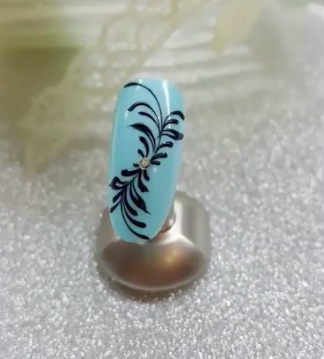
This fun, floral nail was created by using precise strokes made with a small striping-type brush.
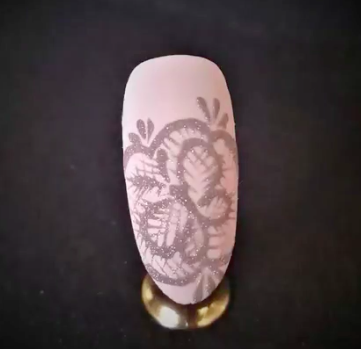
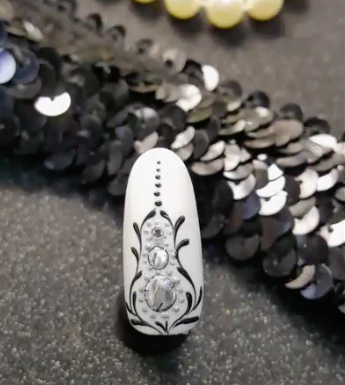
This lace technique is a popular, classy style, and Gabriela Cismas has a masterclass in this specific design.
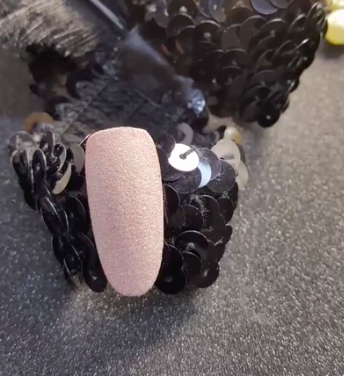
This acrylic nail art design technique, called sugaring, uses special acrylic dip powder to create a textured effect.
As you gain experience, try materials such as builders gel to create three-dimensional effects.
Create a mirror effect by using a high-shine top coat.
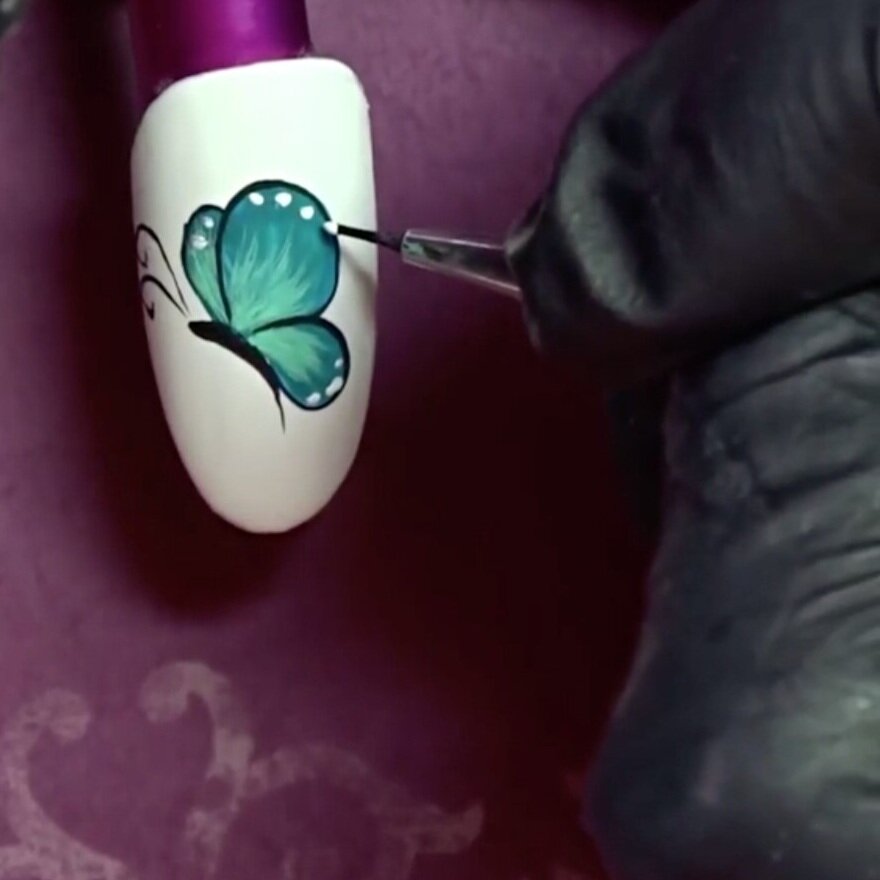
Use your striping brush and a few nail polish colors to create a butterfly on your nails.
Use small pieces of foil to add texture and interest to your nail art designs.

Create this smoky effect by mixing and layering different colors.
For adventurous nails, try adding small crystals or other stones to the surface.
Dreaming of the island life? Use precision brush work to create these tropical nails!
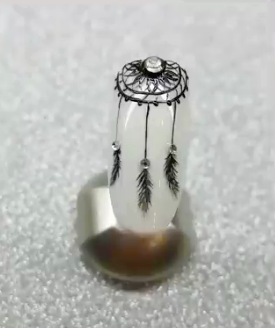
This dreamcatcher style requires time and patience—but has a big aesthetic payoff.
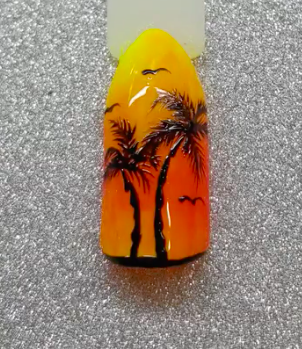
These sunset nails combine shading techniques with precise brushwork.
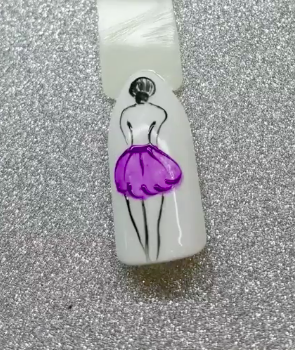
If you’re a ballerina or dancer, you’ll love this themed nail art design!
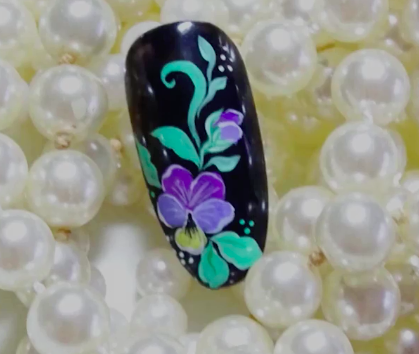
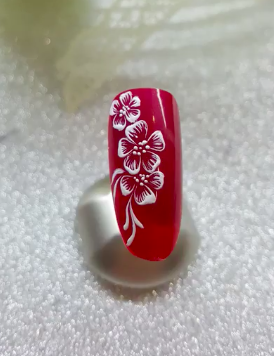
Floral designs and patterns make an impact when set over a dark background.
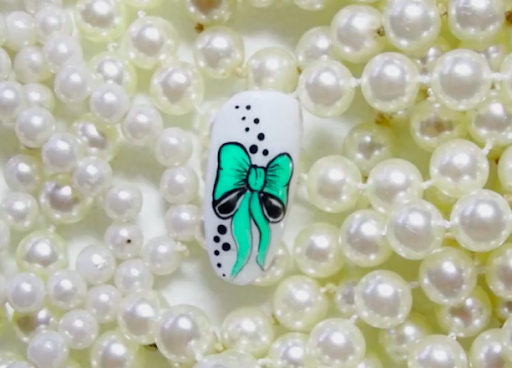
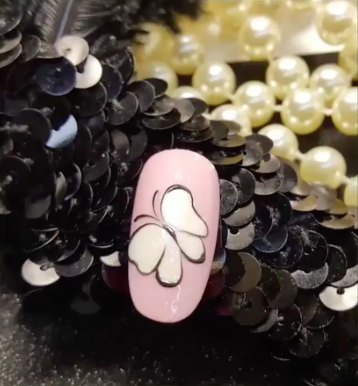
These bow nails are perfect for adults and children alike!
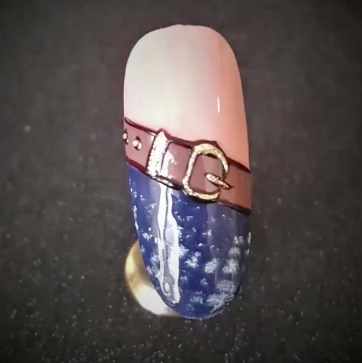
Skillshare instructor Gabriela Cismas created the look of jeans and a belt on her nails.
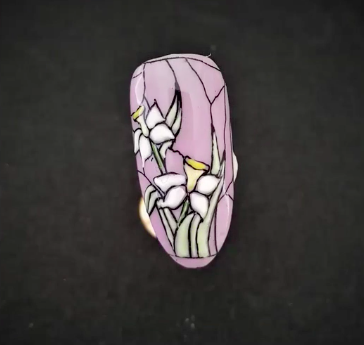
Love floral nails but want something different? Try this stained glass effect!
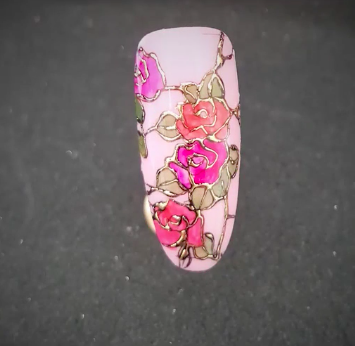
Skillshare instructor Gabriela Cismas uses gold paint to outline her flowers.

You can have a lot of fun with texture and nail art design using building tools like gel or acrylic.
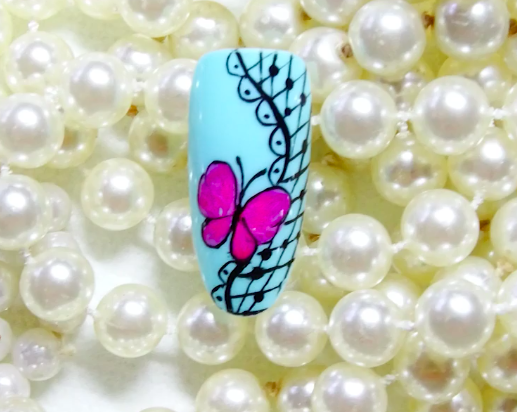
In this nail art design, Skillshare instructor Gabriela Cismas has created a butterfly over her gridded fishnet line work.
Use Acrylic Paint for Nail Art Design
Nail Art Course With Acrylic Paints.
Try Skillshare for free! Sign up for a 7 day free trial today!
Get Started- Unlimited access to every class
- Supportive online creative community
- Learn offline with Skillshare's app


