

Macrame Knots: Crafting String Art With Just Your Hands
Feeling strung up or at the end of your creative rope? Try out macrame—the hobby that’s light on supplies, easy on the eyes and perfect for beginners.


Decorating your home with art pieces you’ve made yourself is one of the best ways to save some money and create a truly unique and personalized space. But if you’re not one for painting or drawing, fear not—or rather, knot!
You’ve likely seen macrame before, in other people’s homes or even out-and-about. This long-practiced string art is simple enough for beginners to try and can be used for all kinds of wall art and hanging structures.
Once you’re comfortable with starter macrame knots, you can move onto more detailed weaving and create stunning pieces of your own.
Basic Macrame Knots
You can find some beautiful macrame examples all over the internet, but for first-time crafters, you’ll want to leave these designs for later.
Getting started with macrame means learning a few of the simplest knot types first, as these will form the base for your initial pieces and provide you with a solid foundation to build from as your skills develop.
Square Knot
One of the most common types of macrame knots is the square knot. These always need a minimum of four strings or threads, with the outer cords (when using four strings, this would be threads one and four) the working cords and the inner (threads two and three) the filler cords.
To start a square knot for your macrame design, bring the left working cord over the fillers to create a loop on the left side. Move your right working cord behind the fillers and pull the end through the loop to make a half knot. Make sure you pull your thread tight to hold your knot in place.
Repeat this process with the right working cord first, looping the left working cord on top of the right and tucking the end up through the loop on the right.

Tighten to complete and keep alternating from left side to right side as you add more macrame square knots.
Half Hitch Knots
Another easy macrame knot for beginners is the half hitch knot. Like the square, this is one of the basic knots of macrame you’ll want to feel confident in creating before moving onto more complex patterns.
You’ll find several variations of this knot, but all are useful to know for making macrame wall hangings with varying designs and patterns. A half hitch macrame knot is the simplest and can be used with as many cords as you like.
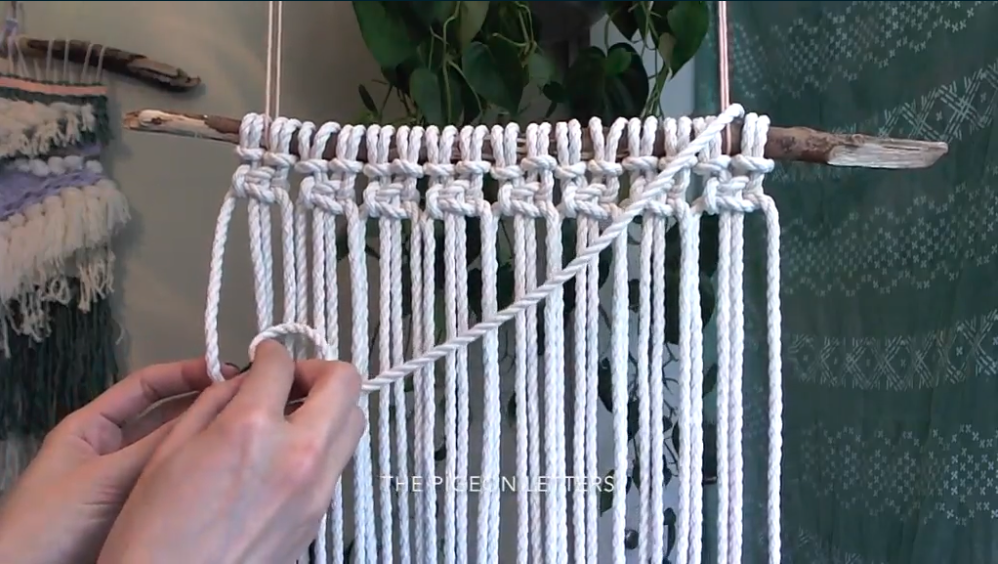
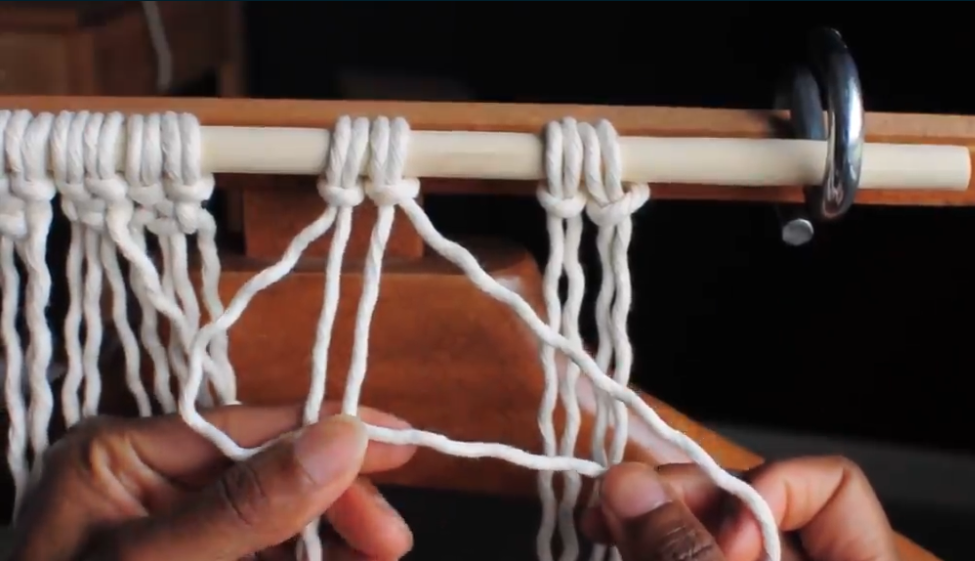
Taking your first cord on either side of your design as the working cord (you’ll want work either from the left or the right), pull this diagonally across your other cords in the strand to create an anchor.
With the cord next to this one, pull it under your working cord and make a looped “U” shape. The cord should lay on top of your working cord. Pull the end of this cord through the loop tightly to form your half hitch knot. Repeating this process on the same cord makes a double half hitch knot, which can be used for more advanced macrame designs.
Spiral knot
Also known as the half knot spiral or spinnet, the spiral knot is one of the prettiest basic macrame knots and helps give texture and definition to your macrame projects. Thanks to its twisting design, the spiral is incredibly sturdy, which makes it an ideal choice for making macrame hanging planters.
It may look difficult, but a macrame spiral knot is simply a repeating pattern of half square or vertical half hitch knots—this is why it’s essential to perfect these two other knots first.
You’ll begin in the same way you would with either of these knots, but instead of alternating from the left to right side working cords, you’ll keep going with one side only. Your cord will naturally create the spiral and twist as you add more knots.
Advanced Macrame Knots
Once you feel confident in your knot-making abilities, you’re ready to move onto more advanced techniques. Combining both easy and advanced knots will give your crafts a unique look and help you create modern macrame wall hangings and decor to fit your personal tastes and style.
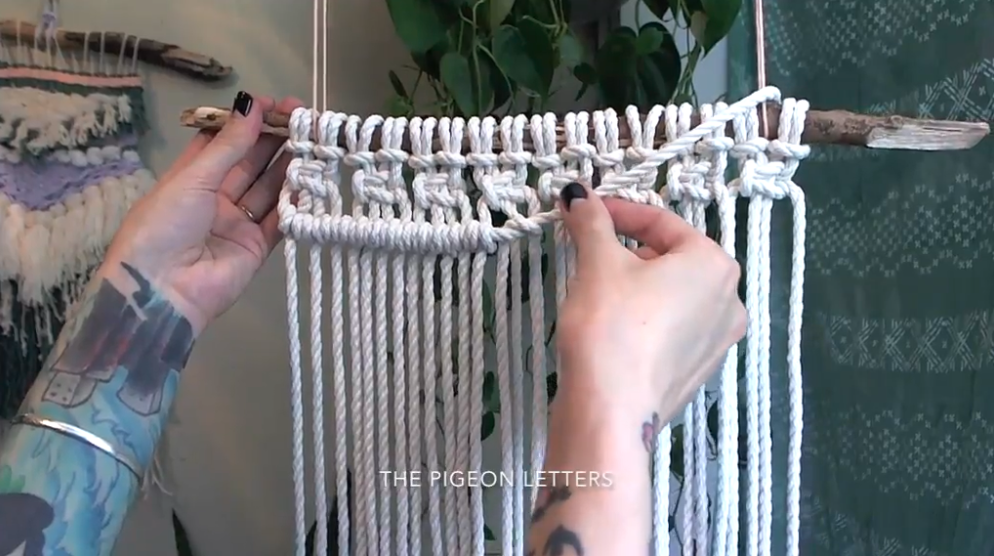
Clove Hitch Knot
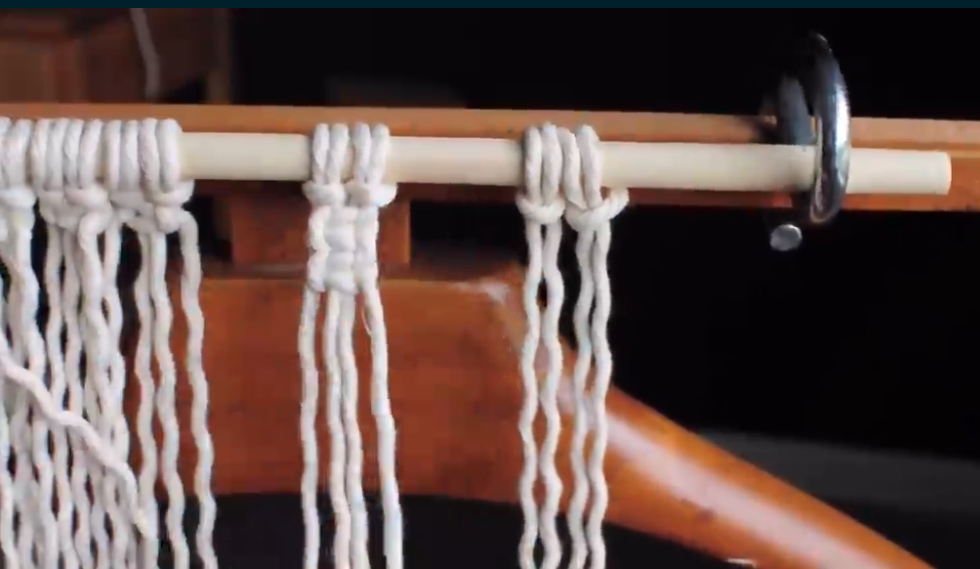
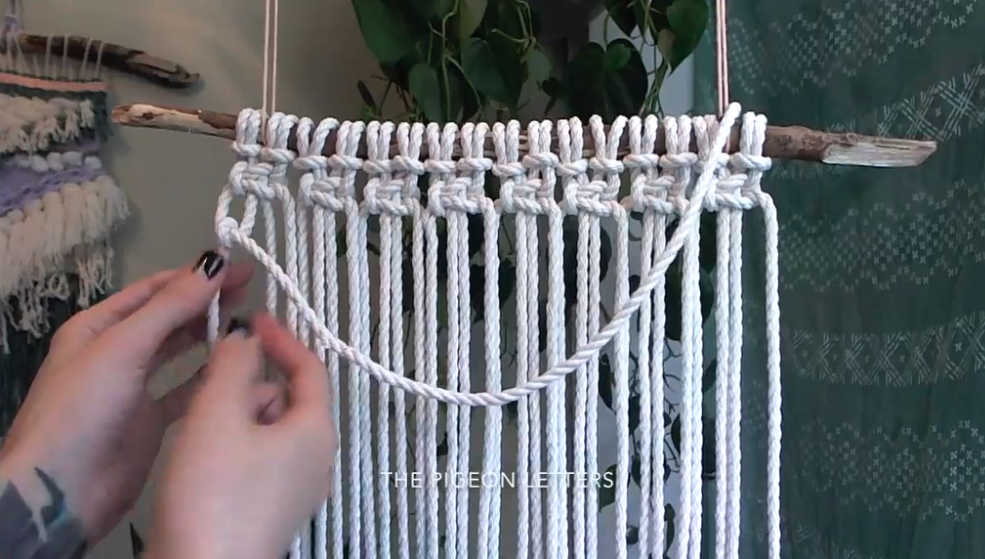
A double half hitch knot, also called a clove hitch knot, is the same technique as a single half hitch, but repeated on the same string twice before moving onto the next cord.

With your first double hitch in place, you can continue working along your other strings, looping these up and over your original anchor cord twice before moving onto the next cord until you’ve finished the full row. This will give you a horizontal double half hitch for your macrame design.
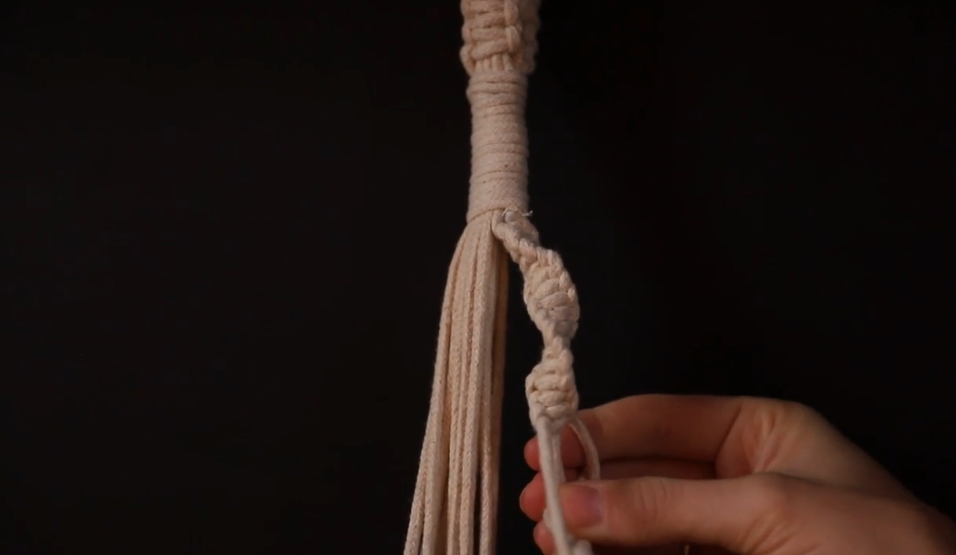
Gathering Knot
For projects like hanging planters, you’ll want to learn to make a macrame wrapped knot like a gathering knot.
With a single loose cord not attached to your design, lay the cord across your gathered strings and form a loop to sit at the point where you want the tight hanging section to be. Start winding the string around your bundled cords, with the end of the loop tucked up through the top of where you’re winding.
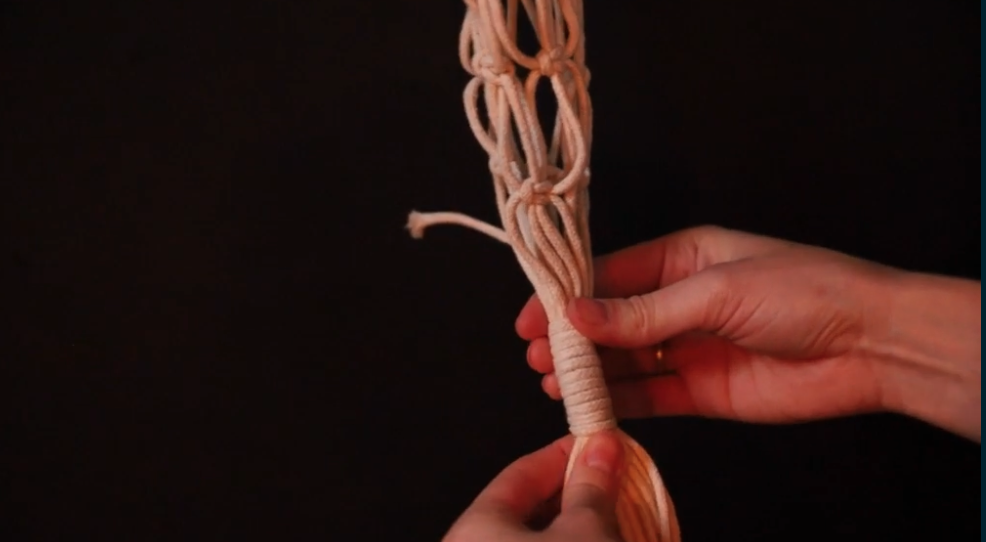
Continue this until you have the winding section to the length you want or run out of string. Tuck the other end of the cord through the loop, which should be sticking up the end of your winded section. Pull both ends of the gathering knot cord to tighten.
What’s Knot To Love About Macrame?
Anyone can learn to make stunning macrame designs, it just takes practice and dedication. And the best part is, if you make a mistake, it’s easy to undo your string and start again.
Take your time to learn the easiest macrame knots first before moving onto something more complicated. It’ll be worth it when you can knock out a beautiful design in only an hour or two!
Try Skillshare for free! Sign up for a 7 day free trial today!
Get Started- Unlimited access to every class
- Supportive online creative community
- Learn offline with Skillshare's app


