

Long Exposure Photography: A Practice in Patience
No matter how fast your camera’s shutter speed, some subjects are simply impossible to capture without long exposure. Learn how to use this tactic for amazing photos.


There are so many creative ways to capture the world on camera. And long exposure photography, which slows down the shutter speed to highlight key elements of a photo, is one of the most impressive.
Long exposure photographs tend to look manipulated, since they showcase a scene in a way that wouldn’t be visible at a single glance. But it’s skilled camera work, not Photoshop, that’s responsible for those amazing details.
The good news: you don’t have to be a professional photographer in order to put long exposure to work in your images. Keep reading to explore the basics of long exposure photography, including how to do it and some quick tips for taking exceptional long exposure shots.
Quick Links
- What Is Long Exposure Photography?
- Must-Have Long Exposure Photography Equipment
- Long Exposure Photography Settings
- Night & Day Long Exposure Photography
- Landscape Long Exposure Photography
- Long Exposure Photography Tips
- Creative Long Exposure Photography Ideas
What Is Long Exposure Photography?
Also known as slow-shutter photography or time-exposure photography, long exposure photography is a technique that allows photographers to condense an extended period of time into one photo. By slowing down the shutter speed, the camera captures both stationary and moving elements, combining both into a single frame. The result is an image that tells a more complete story—and that captures a lot more detail than you could get in a standard shot.
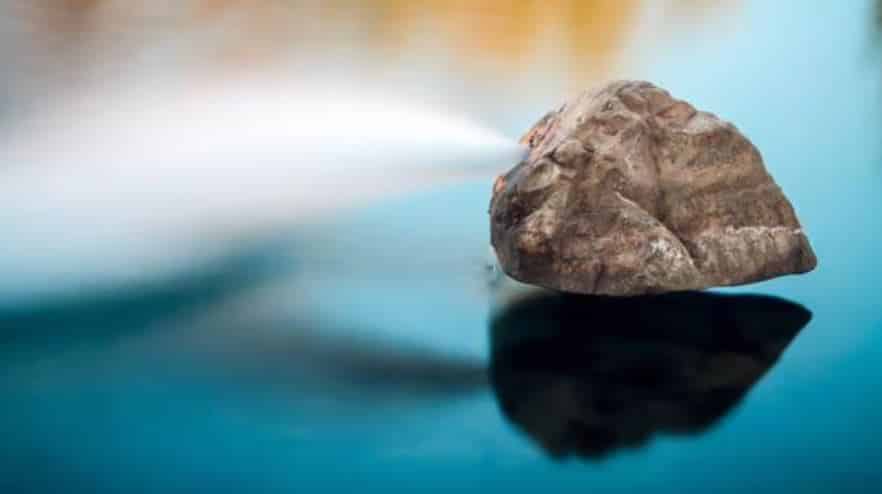
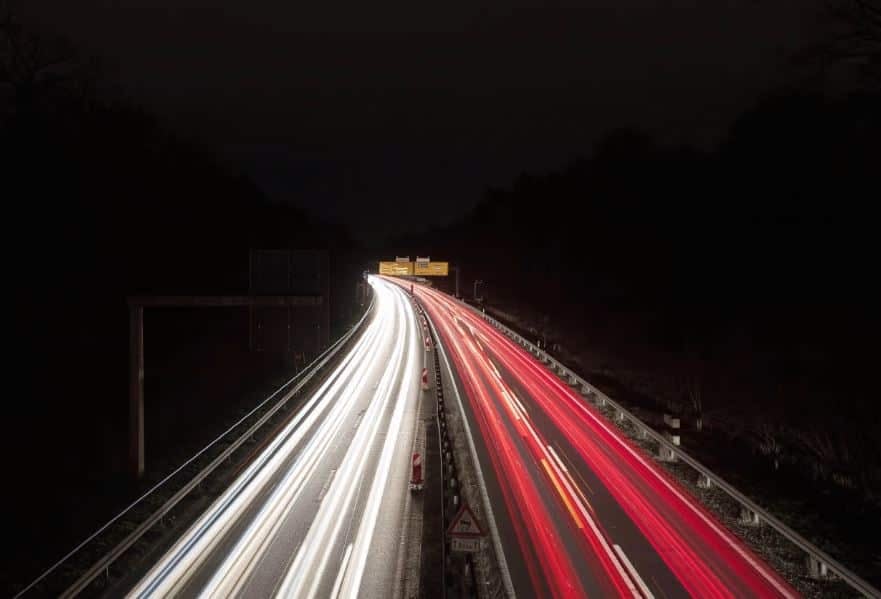
The long exposure technique is used in photography for a couple of reasons. One reason is that it smooths out elements that might otherwise appear blurred or undefined, such as clouds, traffic, or waves. It also softens the overall look of the shot, providing an image that is a lot more ethereal than what you might get if you used a standard speed. It is a popular choice for landscape and nature photography, as well as for astrophotography and other nighttime shots.
A photo is considered long exposure if it is shot at a shutter speed of 1/60 or lower, and images can take anywhere from a few seconds to several hours to shoot. As you start to experiment with long exposure, play around with different shutter speeds and time lapses to see what sorts of unique effects you can achieve.
Must-Have Long Exposure Photography Equipment
You don’t need a ton of equipment for long exposure photography, but you do need a few essentials.
Manual Camera
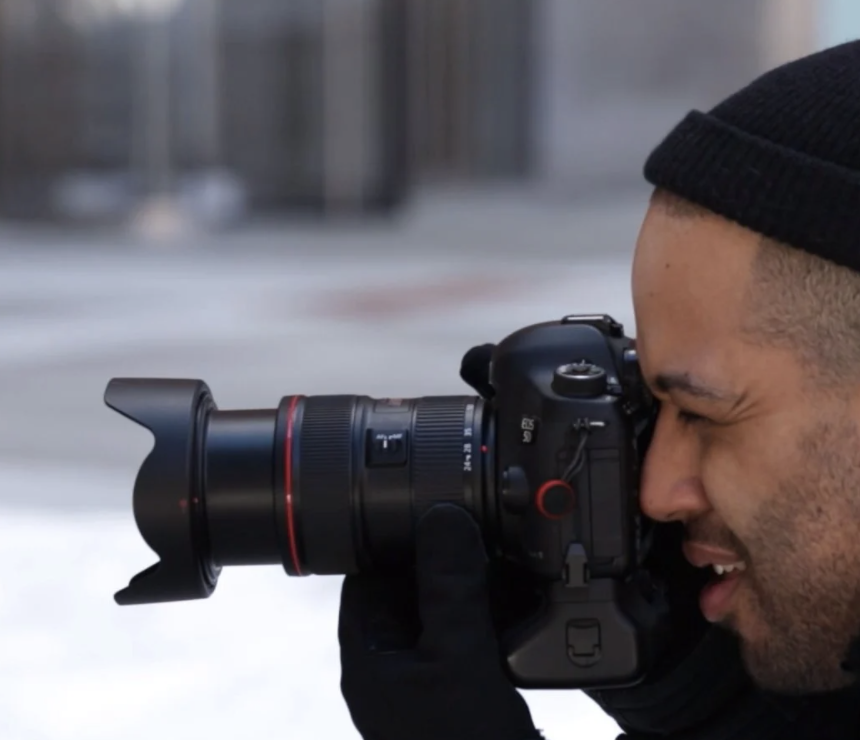
The most important piece of equipment for long exposure photography is a manual camera. Unlike an automatic camera, a manual camera gives you complete control over the shutter speed and aperture value, which is a must for taking long exposure shots.
Don’t want to go out and buy a new camera? Most smartphones offer at least some degree of manual control in their basic camera settings. There are also apps you can download that give you a higher degree of control.
Neutral Density Filters
For the best results with your long exposure photography, you’ll want to use neutral density filters (ND filters) on your camera—especially if you’re shooting in the daytime. These reduce the amount of light that reaches your lens and enhance the impact you get from an extended exposure. ND filters can also help blur motion in the frame.
Tripod
You technically could shoot long exposure without a tripod, but you probably don’t want to. A tripod keeps your camera completely steady during the entire duration of the shot, which, depending on what you’re trying to capture, could be many minutes long. Without it, you risk moving your camera and ruining your chances of getting a sharp image.
Long Exposure Photography Settings
The settings that you choose for your long photography shots depend on the image you want to create. For example, you’ll use different settings for night long exposure photography than you will for day, and you’ll also adjust your settings based on your depth of field and the speed of the moving object in the frame.
A few hints: always make sure that you’re shooting in manual (or bulb) mode and shoot in RAW to get the most contrast in color range and depth. From there, turn off image stabilization (IS) so that your lens doesn’t try to automatically compensate for movement in the frame. Then, it’s just a matter of optimizing your shutter speed and aperture for the photo. Do some research to learn about specific recommendations, since certain types of long exposures like panorama or star trail shots require specific shutter speed and aperture designations.

Take Your Camera Outside
Outdoor Photography: See, Shoot & Share the Beauty Around You
Night & Day Long Exposure Photography
Light plays a big role in long exposure photography, so it’s probably not surprising that the time of day you take your photo matters.
Always use neutral density filters for daytime long exposures to reduce the risk of overexposure due to too much light in the frame. A 6 stop filter should work just fine, but a 10 stop will be even better. If you don’t have an ND filter and have no way of getting one in time, you could attempt to take the shot without one, though results will vary. Your best bet is to use the smallest aperture possible on your frame, which will allow the least amount of light to pass through to the lens.
As for night long exposure photography, you’ll be looking for ways to bring more light into the lens, not less. You’ll do this by leaving the shutter open for a longer period of time, either by attaching a shutter release or by using your camera’s delay mode. And because capturing stars and other nighttime elements can require extended exposure times, start out with some test shots so that you can be sure your settings and your composition are on point before you get down to business.
Landscape Long Exposure Photography
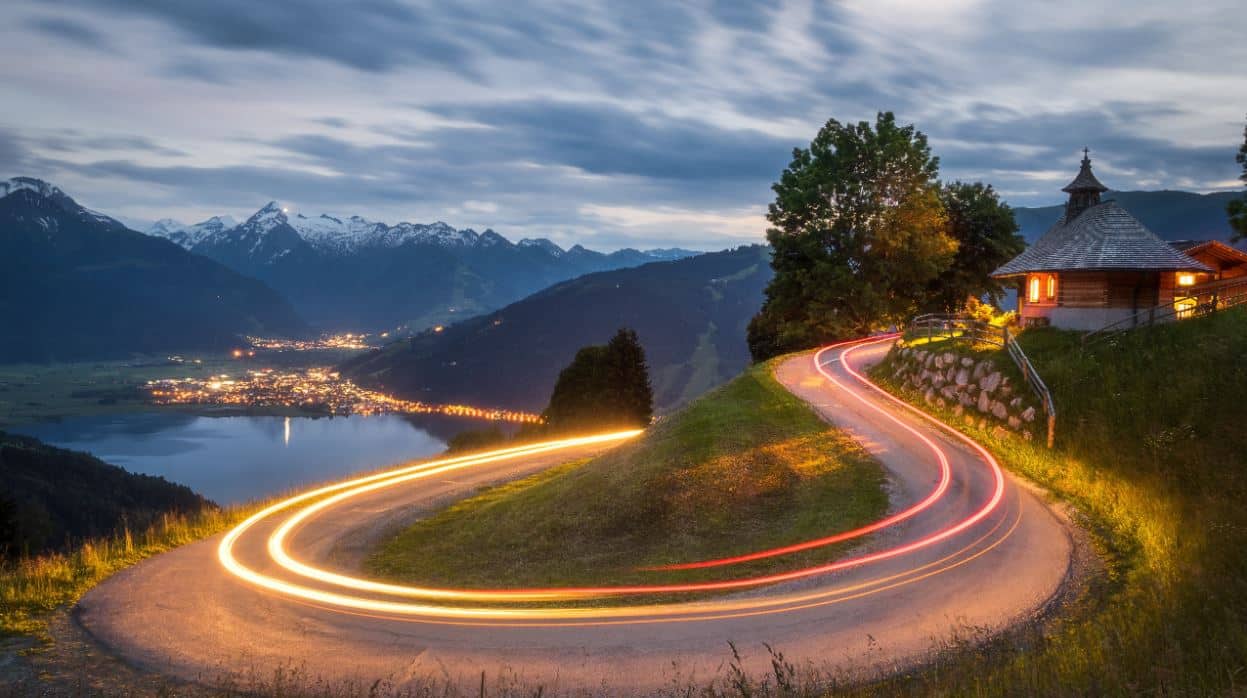
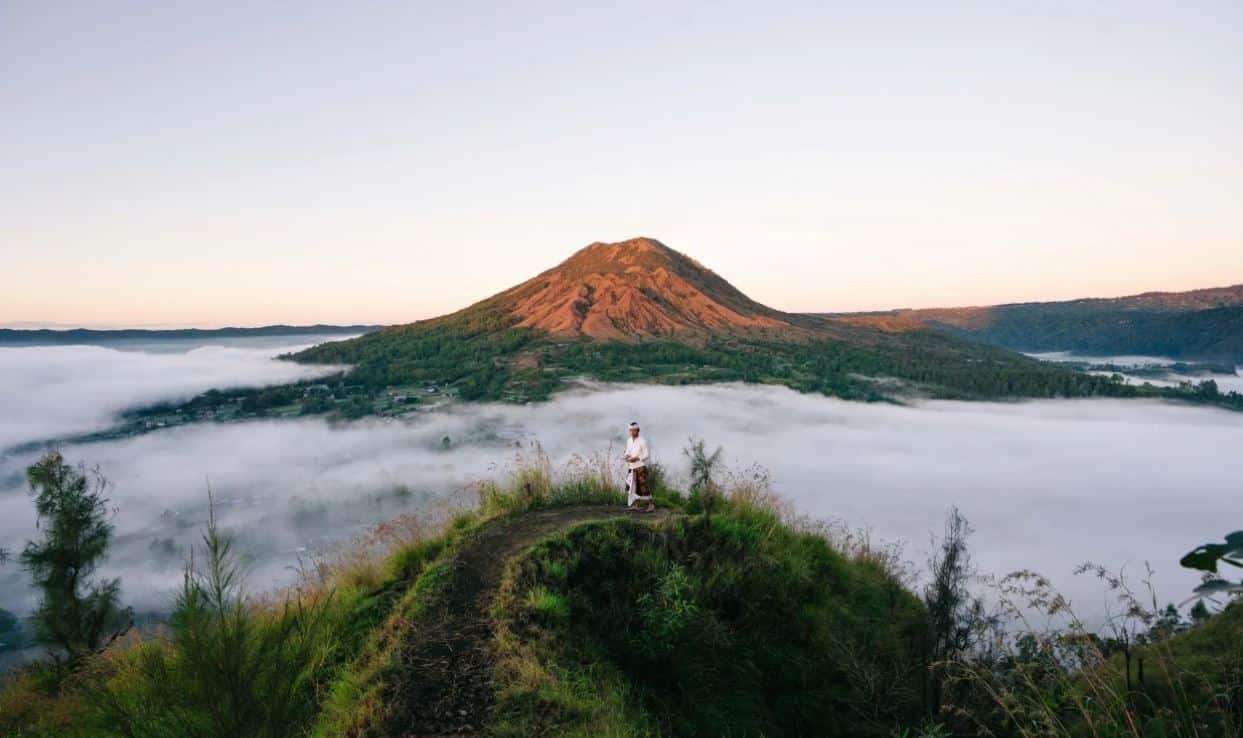
Landscapes are particularly well suited to long exposure photography. The technique can be used to highlight features like clouds and water and can help with creating surreal effects that transport the viewer to a scene that is both hyper-realistic and other-worldly in its composition.
To add more interest to your landscape long exposure photographs, try shooting on overcast days where the light is at least partially obscured by clouds. You’ll still want to use an ND filter, but you’ll find that you get more contrast in your frame and a stunning look at the sky in motion. Give yourself plenty of time to get that perfect shot, and, as noted earlier, frame your composition ahead of time so that you can focus more on exposure length than what elements you want to be shooting.
As a good rule of thumb, lower your ISO to make your camera less sensitive to light during daytime hours. You should also set aside plenty of time for tweaking your settings and landing on that perfect fit, since the ideal shutter speed and aperture arrangement will be highly dependent on the unique circumstances of the landscape itself.
Long Exposure Photography Tips
We’ve covered a good number of the must-know tips already (set up your composition ahead of time, adjust your settings based on lighting conditions, etc.), but there are other things that you can do to increase your chances of getting a spectacular shot.
Showcase Stillness and Motion
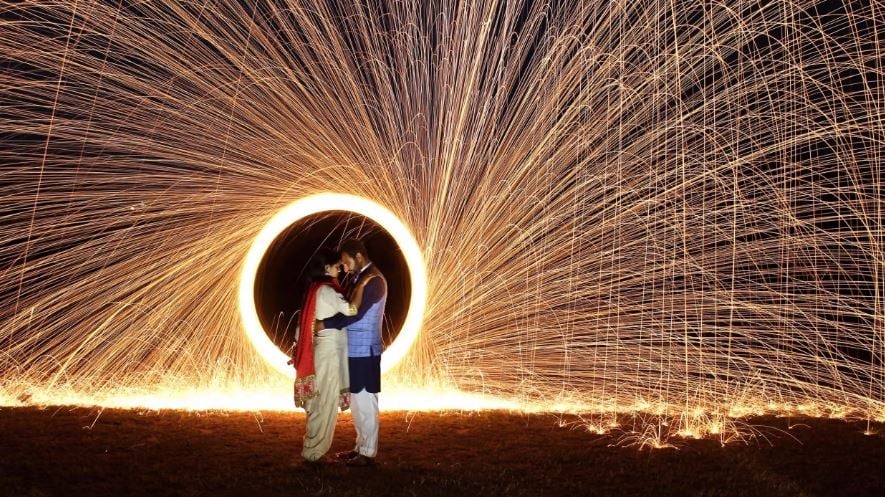
What makes for a great long exposure shot? There are a number of factors, but one of the biggest is that it features both stillness and motion. Centered, solid focal points like mountains, roads, buildings, or rocks make in-motion features even more enticing, and also serve to anchor your composition and give moving elements a sense of purpose and direction.
Compose, Then Focus
Done well, a long exposure photograph should direct the viewer’s eye to certain key elements. But before you can make those elements shine, you need to nail your composition. As you’re setting up your shot, optimize your composition first, then turn your attention to the elements in the frame that you want to be the focal point of the frame.
Cover Your Viewfinder
If you find that light is leaking into the frame even with an ND filter, cover your viewfinder to block it out, as well as your filter holder if necessary.
Experiment with Weather and Light
The ideal site for your long exposure photograph might be even more ideal at a different time of day or in different weather conditions. If possible, re-visit the same site in various conditions to see what gives you the most impactful—and the most jaw-dropping—shot.
Creative Long Exposure Photography Ideas
In need of some inspiration? We’ve got some ideas to get you started:
- Follow the light trails. Shoot scenes that feature light in motion, such as Ferris wheels or busy roads.
- Play with portraits. Long exposure isn’t just for landscapes. Try out the technique for portrait photography as well, being sure to work some degree of motion into the shot.
- Go out on a windy day. Motion brings interest to long exposure photographs, and wind brings more of that motion to a scene. Instead of staying home on windy days, venture out with your camera instead—just be sure to bring a steady tripod along too.
For long exposure photography made easy, check out courses on the subject and do research based on your specific intent. And of course: practice, practice, practice—the more familiar you get with long exposure techniques and settings, the more likely you’ll be to get that killer shot.
Digital Photography Basics
Fundamentals of DSLR Photography
Try Skillshare for free! Sign up for a 7 day free trial today!
Get Started- Unlimited access to every class
- Supportive online creative community
- Learn offline with Skillshare's app


