

Intro to Photographic Composition
Discover everything you need to know about photographic composition, from lighting basics and exposure, to what it takes to build a photography career.


Photographic composition is, in its simplest form, the way you arrange your photograph to meet the viewer’s eye. It’s how you communicate not only the focal point of your photograph to viewers, but also the reason why you chose to focus on that point. Your photograph’s composition should convey relationships between the various elements in your photo and ultimately leave viewers asking questions — the right questions — about your subjects.
When you’re learning photography, you’re not just learning to point, shoot, and adjust the lighting along the way. Whether you’re capturing an exotic setting or an average breakfast treat, you’re learning to tell stories. Composition in photography tells your viewers how to think about that faraway scene, or that blueberry loaf. It will encourage them to book tickets to that place they’ve never visited or head to the nearest bakeshop to buy their own pastry.
In other words, your photograph’s composition should never be an afterthought. In order to take professional-level photographs, you have to have a deep understanding of composition. In this paper, you’ll learn how to optimize your compositional skill in different areas of photography, from outdoor photography to portrait photos; how great composition can lead to a lucrative photography career; how to frame a photograph; and how lighting plays into your A+ composition. Let’s get started.
Negative space in photographic composition
Of course, photographic composition is about more than just the subjects. It’s also about the space between those subjects. Every photograph includes negative space, and thinking about that space creatively will end up making the items in your photograph’s foreground pop.
Though photography lessons often emphasize the importance of negative space in still life compositions, portrait photography and landscape photography both require thought about the empty space between subjects and objects. Learn to see the shapes between the shapes and it will open up a whole new world of photographic creativity that allows for unexpected compositions and the communication of complex messages. If a picture is worth a thousand words, it’s worth even more if you can learn to read between the lines.
Now that you know composition is all about telling a story, and that the space between subjects is part of that story as much as the subjects are, it’s time to take a look at how this plays into specific photographic genres.
Maternity photography
Let’s start with photos starring a single subject. Maternity photo shoots are a great example of how changing the composition of a photograph can drastically affect its mood, tone, and visual appearance. Sometimes pregnant women are radiant with the excitement of bringing new life into the world. Other times, they’re bloated, cramping, and annoyed that they can’t drink alcohol. Your job when it comes to maternity photographs is to bring out the former, even if the latter happens to be showing more on the day of your shoot.
To do this, you’ll need to experiment with a variety of angles that both showcase the pregnant subject’s stomach (arguably the true subject of the portrait) and highlight her beauty elsewhere. This means positioning the camera so as to display your subject’s face, stomach, and limbs. If your subject isn’t particularly flexible, this part may be easier said than done.
Maneuvering around a pregnant belly can be tough, especially when your subject isn’t a professional model. Regardless of how easy a job you believe modeling to be, the profession takes work, and lots of it is physical. Angles that look flattering in selfies or in real life don’t necessarily translate to photographic portraiture, meaning your average person won’t know how to tilt her neck just so to ensure that light falls perfectly on her face, all while continuing to make eye contact with the camera.
In maternity photography, you’ll likely need to train your subject how to move. Trial and error will help the two of you come to a pose that highlights the main feature of pregnancy (the belly) but doesn’t hide your subject's limbs, neck, or face. Remind your subject to stretch out, and let her feel free to take up as much of the composition as she wants. Her pose should not only form a shape that’s compositionally pleasing, but it should also reveal an emotion. How is your subject feeling about her pregnancy? Chances are, if she’s commissioned a photographer, she’s elated. Make sure you can work with her to capture that feeling, even if she’s camera shy.
Family photography
The biggest challenge of photographing an entire family is that there are multiple members. It may sound silly, but consider how difficult it can be to give posing tips to just one person in a maternity photo shoot. Add other adults and some children to the mix, and you’re left with a complex compositional feat.
When it comes to family portraits, photography can be a forgiving medium. You only have to make sure your subjects stay still long enough for a few quick snaps—if they’re in the right positions. So what are the “right positions” for an entire family?
Some families might come to your shoot with an established idea of how they want their family photo portrait to look. They may want parents in the back, children in the front, and cat and dog on either side (but let’s not worry about positioning animals for a photograph just yet). Others may need some direction. Either way, you’ll have to follow some basic rules: taller people in the back, smaller people in front, and measured spacing in between.
Your composition doesn’t have to be symmetrical — most families aren’t — but you should pay attention to the overall shape each family member is contributing to. Try to avoid boring compositions, like a family standing in a straight line, and clichéd poses, like two twins standing back-to-back.
Remember, family photography portraits is a great niche to get into if you’re looking to turn your photography hobby into a career. Graduation photography, bridal photography, and holiday photography all fall into the family portrait realm, and each are in high demand.
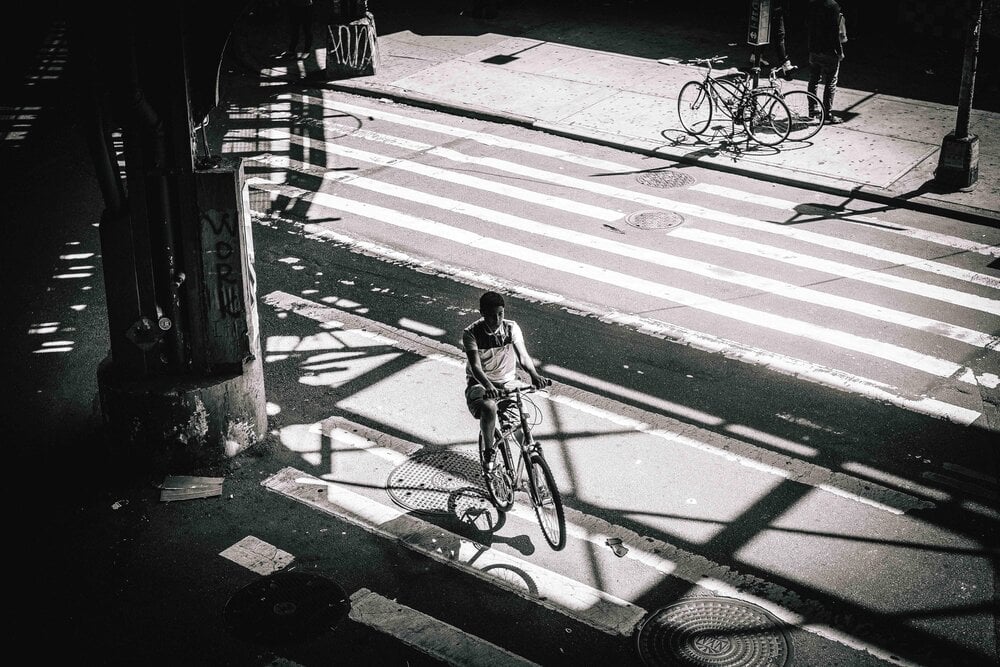
Street photography
Photographing in urban settings means you have a lot of great shapes to work with. From intricate architecture to the lines formed by streets, sidewalks, and bridges, the right angle can always lead to an impressive, well-framed scene.
What are you framing in these shots? Often, you’re framing people. Though the connection between photographer and human subject may not be as intimate on the street as it is during a maternity shoot or family portrait sitting, it’s still important. Sometimes you’ll happen to get the perfect candid of a stranger in action, Abbey Road album cover style, but other times you’ll want to have a short conversation with someone you meet on the street before beginning to snap pictures of them.
After all, connecting with your model is just as key to good outdoor portraits as is spot-on composition.
Lighting basics for photography
Ultimately, composition is comprised of everything from decorations and props to angles and lighting. And lighting, whether it’s natural or artificial, can make or break your shot.
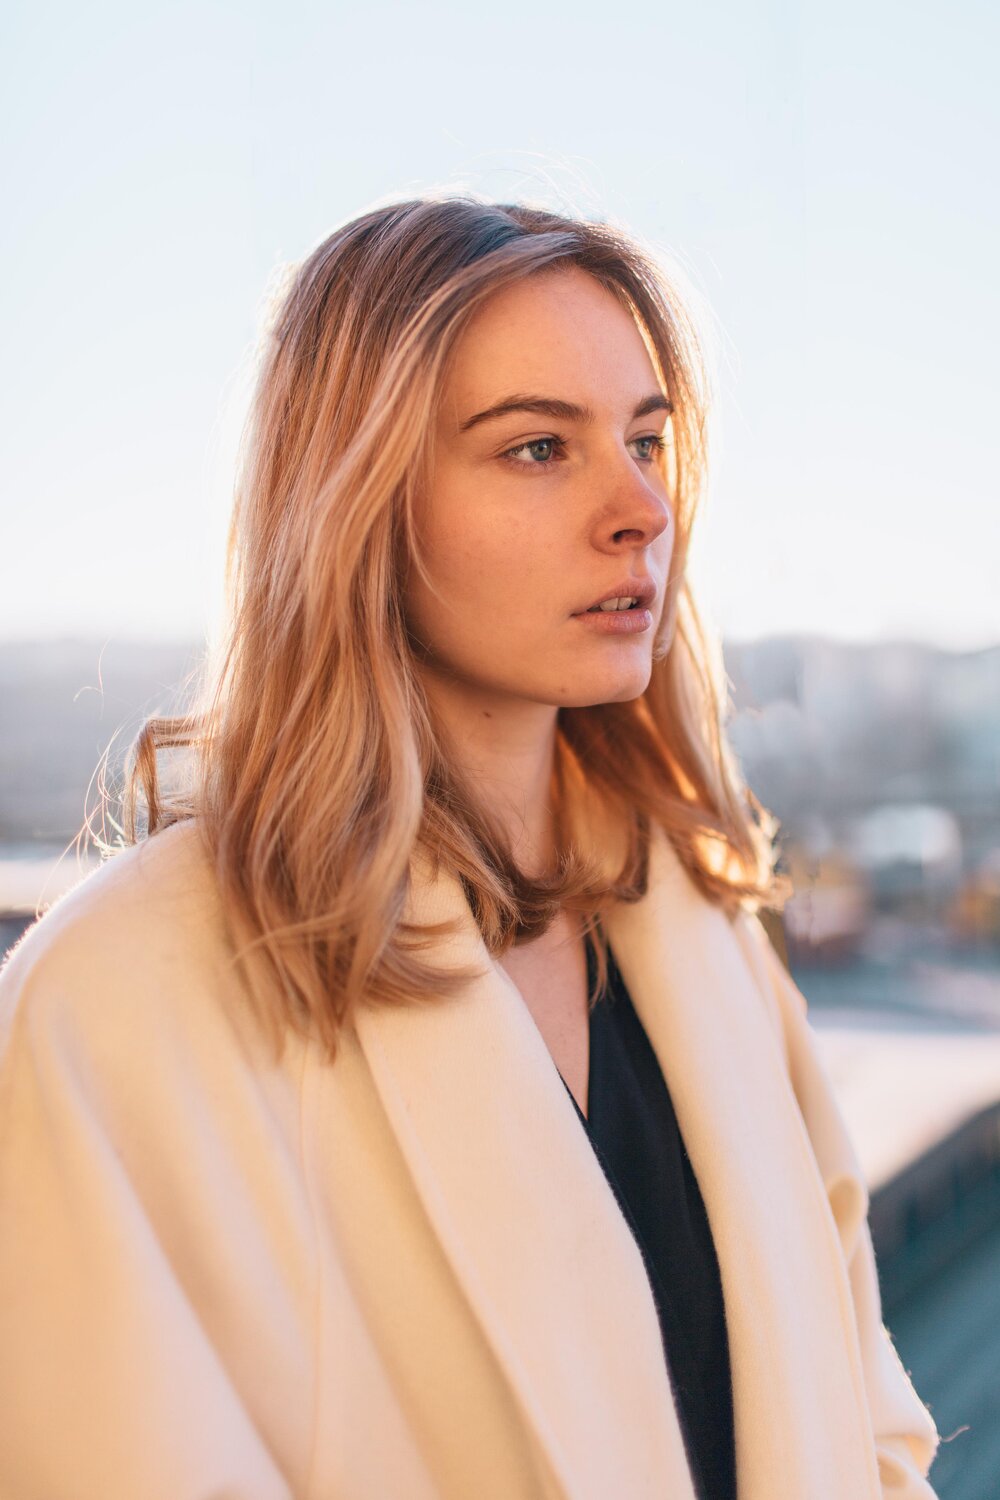
To practice great natural lighting photography, you’ll need to learn a few simple rules. First, try to avoid mixed light. Mixed light happens when you’re shooting indoors with studio light while natural light also seeps in from outside. This can create a yellow/orange tint in your photographs that’s hard to get rid of during post processing. Second, if you’re shooting with natural light indoors, make sure to pick a space with large windows — a skylight is a plus. Lastly, if you’re shooting outside using natural light, the times of day that will give you the best photographic lighting are early morning or the last hour before sunset, also known as “golden hour.”
Whether you choose to shoot with natural or artificial lighting depends on how much control you want over your shot. Shooting with studio light gives you much tighter command of your composition, but shooting with natural light can offer more nuanced, gentler effects. For more tips on choosing your light source, check out this lesson from photographer Benjamin Heath.
Exposure and shutter speed
Understanding exposure and shutter speed photography is crucial to shooting in both natural and studio light. Higher exposure time, another phrase for “shutter speed,” means sharper images. In other words, faster shutter speed helps freeze moving images, while lower shutter speeds create a blurring effect. When it comes to representing motion, photography that relies on low shutter speeds helps create that blurred out effect you sometimes see when photographers attempt to capture the fast pace of cities. Moving cars with their headlights on become colorful streaks across the composition, representing movement that’s otherwise impossible to capture in still photographs.
How can learning composition help your photography career?
Many photographers enter their craft as a passion project. They don’t realize until later that going professional can bring in extra cash.
In fact, in today’s internet-based market, you can make a sizable income by becoming a photographer. Since it’s become a basic requirement for businesses to have visually appealing websites, the demand for professional photographs has gone way up. Businesses aren’t looking for flat, boring photographs, either. Even the driest seeming businesses seek out photographs that evoke emotion to get potential customers excited about their work or product. Dramatic shots can speak volumes for businesses that once had to rely primarily on business cards to get the word out about their work.
How does composition play into sellable work?
When you’re learning how to start a photography business, you have to begin with a basic skillset. Composition marks the difference between a photograph that captures a viewer’s attention and a photograph that’s easy to ignore. In trying to appeal to business owners, you’ll need to catch their eyes for them to believe your work will draw the interest of their customers.
Photography that sells online ranges from breathtaking landscapes to stock photos of people smiling. You can sell these photographs directly to businesses, or you can sell to photo licensing companies for widespread use — and the promise of indefinite passive income.
Working for a company
As a photographer, you can either choose to go freelance or you can approach companies that focus on photography and visual content. If you’re aiming to work full-time for an employer, you’ll need to practice persistence, hard work, dedication, and embrace a little bit of luck.
Networking always entails some serendipity. It’s about meeting the right person in the right place at the right time. However, to get to that right place at the right time, you’ll need to have spent long hours perfecting your work and getting it in front of your target audiences. As National Geographic photographer Jonathan Kingston points out, everyone he works with “has taken radically different paths to arrive at this point in their career.” But none of them got to their esteemed positions without serious dedication to their craft.
To find out how Kingston worked his way up to Nat Geo, you can watch his story here. His path will give you insight into how you can achieve your own professional photography goals. But remember, his isn’t the only path you can take. You’ll have to ultimately forge your own, and may very well begin with a freelance portfolio.
Full-time freelancing
Of course, you don’t have to work for a company like National Geographic in order to become a successful photographer. While some freelancers get full-time work photographing occasions like weddings and graduations or even by specializing in headshot photography, others turn to passive income ideas to launch their own business.
This is where photo licensing companies come in. As a freelance photographer, you can focus on taking stock images that can be purchased over and over again by different users. Then there are sites like Fotolia and iStock, which buy stock photographs to license to their subscribers. The opportunities for passive income as a photographer are vast, and they can include some unexpected styles of work.
For instance, stop motion content plays well with documentarians, film directors, and musicians who want to try their hand at making music videos. Anyone who has a vision but needs visual material could be in the market for your work. If you’re interested in learning stop motion, you might want to experiment with dramatic lighting techniques like off-camera flash. One of the best online photography courses you’ll find on off-camera flash comes from Bernie Raffe. You can watch his lesson here.
What you need to start with photography
Photography is one of the more forgiving crafts when it comes to purchasing equipment. In today’s social media-heavy climate, many photography professionals simply use their iPhones to take high-quality shots!
Of course, equipment costs range from low (the phone you already have) to very high ($10,000 cameras, special lenses, and high-grade editing equipment). While you can make do with the bare minimum, there are certain items you won’t want to skimp on.
Camera and lens
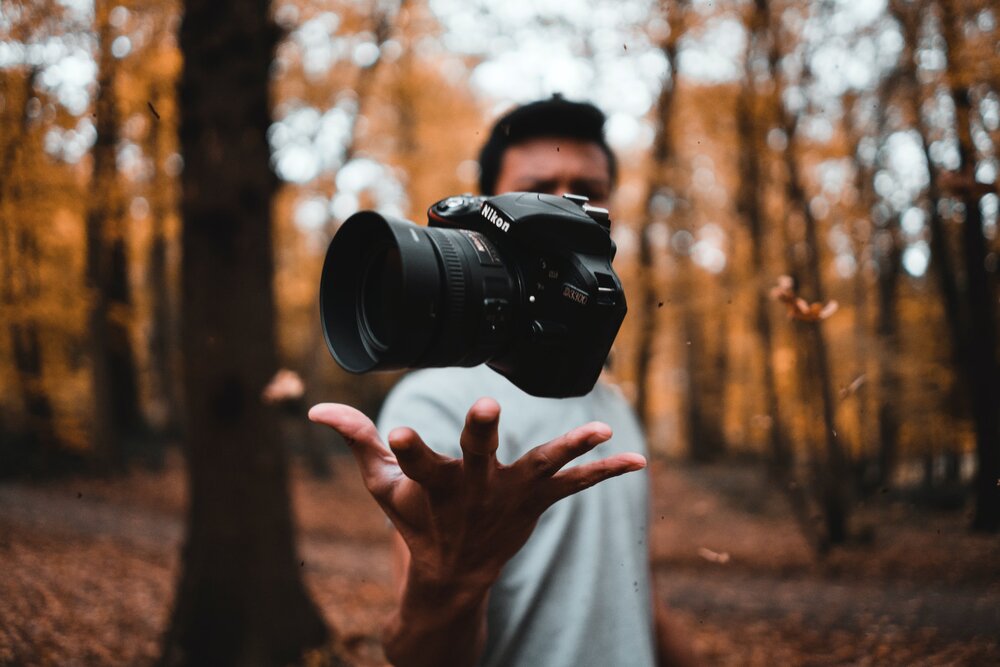
If you decide to shoot with more than just your iPhone — which is highly recommended, especially for beginners just starting to get a sense of the craft — you should expect to shell out some cash for the right camera body and lens.
Most photography professionals will recommend you shoot with a digital single-lens reflex camera, more commonly known as a DSLR. DSLRs will autofocus your shot, and they allow you to exchange lenses, so you can adapt to a wide variety of settings. Some DSLRs even let users capture motion (think about the market demand for video content), and they offer easily customizable settings. You can adjust your aperture, shutter speed, and ISO to meet very specific photographic needs (but we’ll delve deeper into these settings later).
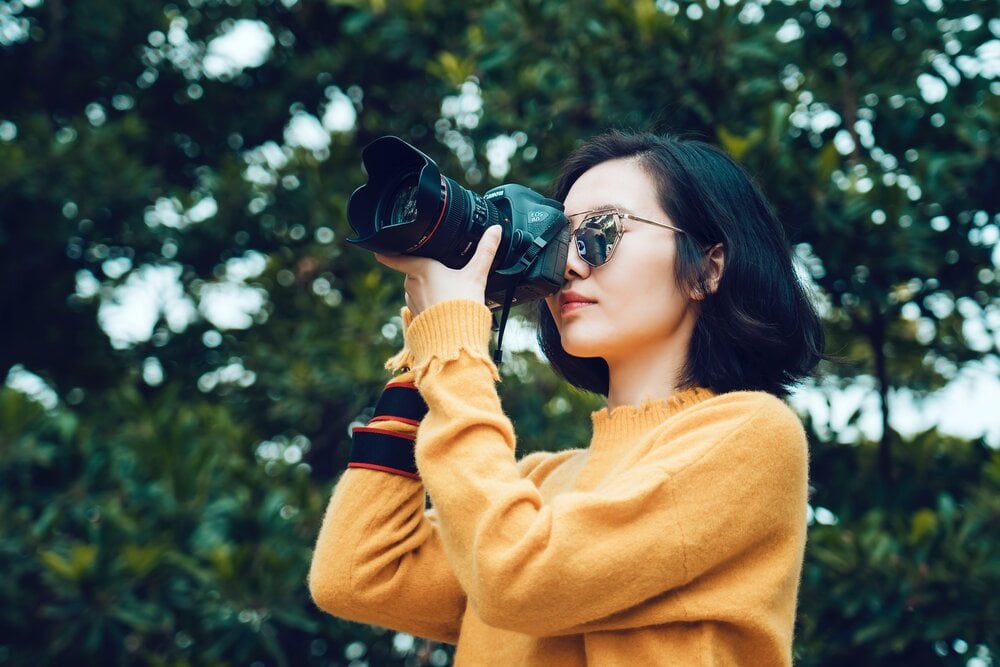
As for lenses, there are a number you can buy, ranging from close to $100 up to around $1,000. When purchasing a lens, you need to pay attention to its focal length and aperture. Focal length controls how in-focus your central subject is compared to the background in your photographs. Longer lenses mean blurrier backgrounds and sharper central subjects. Aperture refers to how much light you let into your photograph. Larger apertures let in more light; they’re good to use for indoor, low light settings.
This list of different camera lenses should provide you with enough background information to get you started shopping for camera equipment.
Quality editing software
When it comes to editing, the only time for cutting corners is when you’re cropping your photograph. If you opt for low-grade software for a lower price, you’ll still be competing with other photographers who use better products.
The most commonly used editing software comes from Adobe. Many photographers prefer either Photoshop or Lightroom to do their editing work. Some use both. Model photographer Stephen Vanasco, for instance, does most of his heavy duty editing in Lightroom before he turns to Photoshop to get rid of minor blemishes as the finishing touch. You can watch his photography tutorials here. For a thorough list of editing software options, along with prices, take a look at this.
Lighting setup
First, let’s talk flash. With flash, you have two options. You can use flash on your camera, or you can use an off-camera flash to light up your photographs. An off-camera flash can be unwieldy and gives you more moving parts to cope with during your shoot. On the other hand, an off-camera flash offers more flexibility. You can choose to light your subject from angles other than where you stand.
Then there are standing and hanging lights, which you can add to highlight different parts of your subject. Depending on the number and shape of these lights, you can achieve a wide variety of effects. The best portrait photography relies on solid and creative lighting setups to reveal and shade different parts of a subject’s face and body. With a black and white portrait, the lighting setup is especially key, since tone value is really all you have to define your subject.
Your lighting setup can include strobe lights with reflectors, a honeycomb grid, a snoot, and/or a softbox. Combining these lights with different reflectors and umbrellas (often referred to as “brollies”) can produce a wide variety of shading effects.
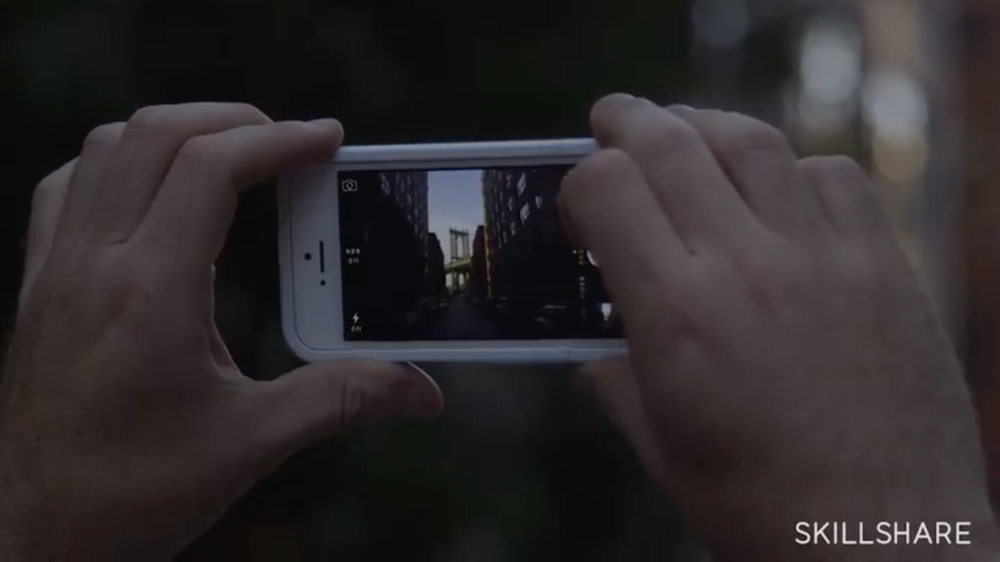
Shooting on your iPhone
Maybe you just want to start by playing around without investing in any equipment. As mentioned, your iPhone can work perfectly well as a camera, especially if you’re shooting for social platforms like Instagram. With the right understanding, you can get your ideal shot using only your phone.
If you want to get a bit more high-tech without going overboard, there’s equipment you can buy to improve the quality of your iPhone camera. There are a number of lenses you can attach directly to your iPhone, giving your further adjustment opportunities and even the chance to turn your iPhone camera into a fish-eye lens for sweeping scenery shots.
In Tyson Wheatley’s photography class, you’ll learn how to take better pictures on your phone using additional equipment and apps that specialize in certain photographic effects. You can also get a crash course on editing in Instagram.
Turn your vision into a photograph
Once you have your equipment ready, it’s time to compose your shot. But having the right equipment doesn’t mean great composition follows naturally. Here’s one last tip to prepare you before you set out to plan your shot.
More often than not, composition entails more improvisation than it does advance planning. Shooting an event means navigating moving crowds, and shooting a subject at their chosen location means interacting with a space you’ve likely never seen before. Even if you’re shooting a session in your own studio, subjects may arrive with unexpected props, tricky hairdos, and new requests about how they want their portrait to look.
Regardless of the scenario, good composition requires thinking on your feet. You need to learn how to work with the props and tools at your disposal, however unexpected or challenging they may be to work with, to create the best possible shot. No matter what those challenges are, you’ll find a way to reconcile them with the vision in your mind’s eye as long as you’re ready to be creative.
Say your assignment is to shoot a blueberry loaf for a bakeshop’s website. You’re given no direction other than to make the loaf look as appetizing as possible, and you have to conduct the shoot somewhere on the bakeshop’s grounds. How do you start?

First, you observe the layout and branding of the bakeshop. Does it have a rustic vibe, or is it trendy and urban? Does it include delicate touches, like doilies in each cake stand, or is the look more modern and geometric? Take cues from the client’s décor in determining how to frame your shot.
As you do this, you’ll also be looking for props. Is the loaf covered in a lemon glaze? Perhaps you’ll want to include a glass jar filled with this glaze next to the loaf, along with the spoon used to drizzle the topping over the baked good. This will not only add more dimension to your photograph; it will also give your viewer more information about the product — the glaze, like the loaf, was also made right here at the bakery.
You can use other resources from your location that aren’t part of your photograph’s central subject. For example, if the bakeshop has an outdoor garden, you can arrange the loaf on a table outside and scatter petals around it. Or you can let it sit inside, on the china the shop usually uses to plate treats for customers eating in-store, to give the photograph’s viewers a realistic sense of what it’s like to visit the bakery.
To offer an even more personal view of the object, you need to think about angles. Are you shooting from above, to capture visually appealing details of the blueberry loaf that patrons would usually miss in the view from their seats? Or do you wish to mimic the diner’s experience, shooting from the angle at which the breakfast loaf would appear to them? The choice depends on a combination of your artistic vision and what your clients, the bakeshop, want to convey to their potential customers.
Practical Tips for Photography
Learning how to frame and compose a great shot
Whether they’re freshly baked desserts, families posing, or people attending a large, public event, photographers need to make their subject matter stand out. This means using the subject’s surroundings to help viewers focus their eyes in the right place.
Point to your subject
“Pointing” to your subject doesn’t require anything so straightforward as an arrow-shaped signpost or your pointer finger sneaking its way into the frame. Rather, you can use other visual elements to indicate the central focus of your composition.
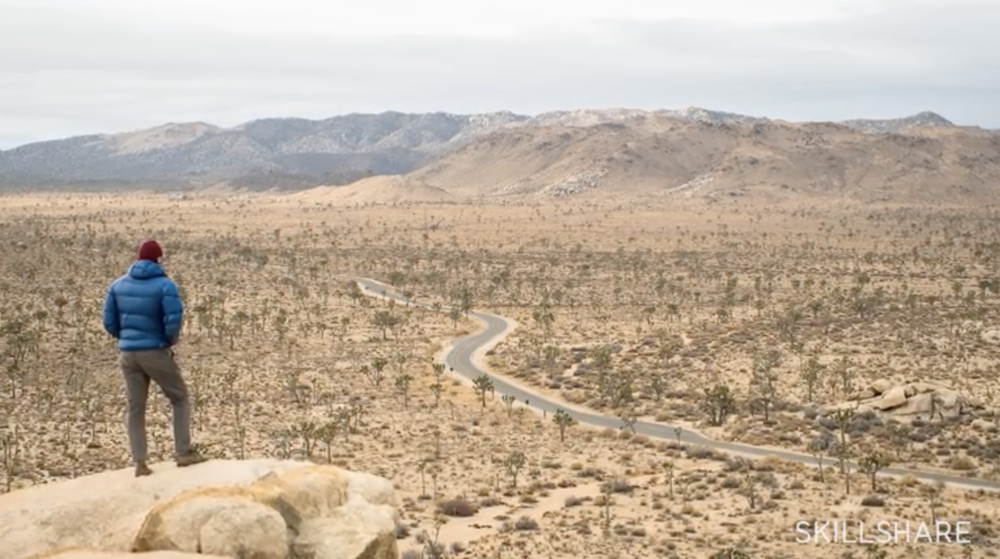
For instance, if you’re photographing a person outdoors, you can use the landscape to point to your subject. Say your subject is standing on a path that extends far out into the distant background of your shot. You can frame that path so it seems to begin in the top right corner of your frame while your subject stands up close and to the left. Viewers’ eyes will follow the origin of that outdoor path all the way up to your subject. To ensure their eyes linger on the subject, capture them in detailed focus, and let the path blur as it extends into the background of your shot.
If you’re photographing someone indoors, you can use props to create a similar effect. Use household items whose shapes seem to flow in the direction of your desired focus, or make the colors your subject is wearing stand out from the dominant colors in the background. All of these visual cues will make your subject pop in juxtaposition to its surroundings.
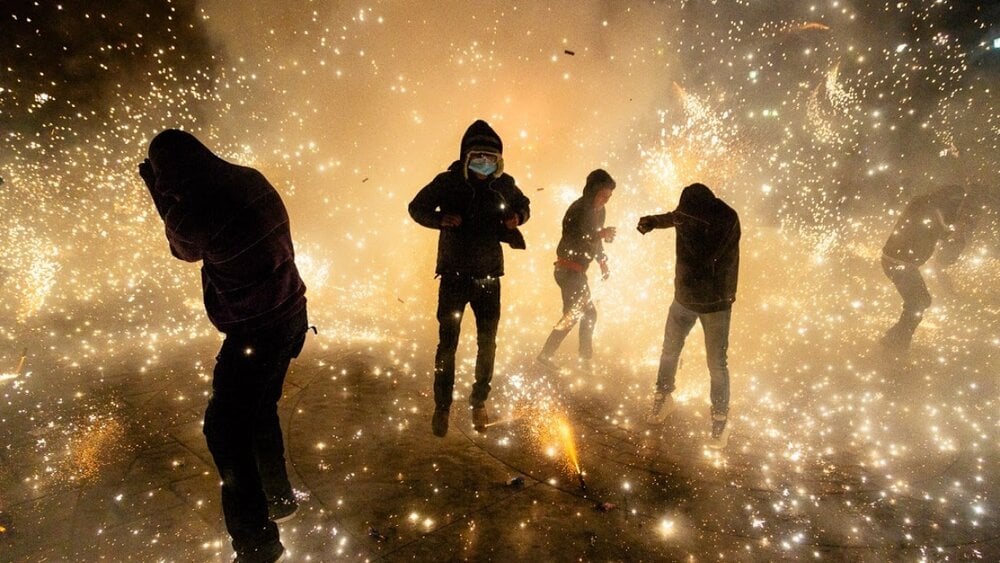
When shooting crowds, capture the specific
Often, photographers are tasked with capturing big events. Whether they’re indoor parties or city-long parades, it can be tempting to go for the impressive crowd shot. “Look how many people are here!” those shots tell viewers. “This is a big event!” Unfortunately, their storytelling powers stop there.
To make sure you’re conveying a narrative while shooting a big event, focus on smaller scenes occurring within the hubbub — or the “fringe,” as EyeEm Photographer of the Year, Porter Yates, puts it. By avoiding the easy crowd shot and picking out individuals from the scene, you’ll not only wind up with a more interesting photograph, but you’ll also inherently land on a better composition. Large clusters of people can clog your photo frame and lack a defined shape that could otherwise direct your viewers. By focusing instead on one person or small groups of people who are a part of a bigger picture, you’ll show viewers what’s actually going on at the event you’re photographing, and you’ll be able to create distinct shapes using defined objects and subjects.
Control your background
Your photograph’s background shouldn’t only highlight and look good with the subjects and/or objects in the foreground. The backgrounds and foregrounds of your photos also need to interact intellectually.
When you’re taking a portrait, for example, the items surrounding the subject should say something about their character, hobbies, or interests. You should position them against a backdrop that means something to them, whether it’s the home where they spend most of their time or by a lake because they love to swim. Even close-up photography begs a relevant background. How dark or blurry the background is compared to the subject can say volumes about the photograph’s central focus. Perhaps the subject is mysterious, and you can tell that because half of their face is swathed in the darkness that also makes up the photograph’s background (you’ll get further information on lighting and composition in a later section).
Ultimately, the artistic choices you make about a photograph’s background matter less than the reasons behind you making them. Be sure that your composition is purposeful and that each element of your photograph is there for a reason.
Add layers
Adding layers to your photograph is about taking practice shots before you decide what to include in your final photograph and what to leave out. Try starting a photo session by taking the most obvious shot. Include all the visual information an average passerby would note when taking in the scene you’re capturing, and narrow it down from there.
Say you’re photographing a group of kids in a moon bounce. You might want to begin by taking a picture that features the whole moon bounce and all of the kids inside. This tells the story, “A group of kids are bouncing in a bouncy castle,” and if you catch all of your subjects in varying states of “jump,” the composition won’t look too bad, either. However, you can up the intrigue of both the story and the composition by breaking it up into layers—capturing one element in front of another in front of another.
In this example, you might want to hone in on just one part of the bouncy castle structure and a couple of kids playing inside it. In the foreground, you can have part of the bouncy castle wall, to show where the kids are. Behind that, a child at the peak of her jump, frozen in the moment of pure joy that jump brings. And behind her, maybe there’s a smaller child who’s fallen as a casualty of this optimal jump, upset because he’s unable to compete with the force of the larger jumper. Now your picture has layers that provide a more complex narrative.
Photography: Lighting and composition
Having already discussed the basics of studio vs. natural light, it’s time to figure out how they can factor into your photographic composition. Shadows and highlights, after all, can make more of an impact on your viewers than can any physical object in your photo frame.
Working with natural light outdoors
Natural light is both a photographer’s friend and foe. It can evoke emotion, but it can also white out a carefully planned composition in a moment’s notice.
Thus, photographers using natural light, especially those working outdoors, need to prepare for sudden weather changes. Say you’re shooting on location for just one day. You need to be able to get your shot even if your sunny morning becomes a cloudy afternoon. There’s no other option.
These landscape photography tips from Surfer Magazine staff photographer Chris Burkhard will help prepare you to use all levels of natural light to your advantage. If you watch his photography classes online, you’ll learn how you can adjust your shutter speed and aperture to capture scenery bathed in the brightest midday sun and experiment with ISO photography and specialty lenses to depict outdoor scenes in the evening. Higher ISO settings make your camera more sensitive to light — ideal for darker scenes — while decreasing the size of your aperture — the opening that lets light pass through your camera’s lens — helps when the sun’s out in full force.
Working with natural light indoors
If you’re shooting indoors, the only way you’re going to get natural light is through the windows. This means finding the angle through which light enters the windows and positioning your subject accordingly.
The goal here isn’t necessarily to bathe your subject in light. It’s to create highlights and shadows that emphasize the mood of your subject or illustrate the situation they’re in. For instance, backlighting your subject will give them a bright aura, a technique used in the CBS soap opera “Touched by an Angel” to indicate the show’s angelic characters. You can also use this technique to create silhouettes.
Switching between manual mode and auto exposure settings in your DSLR camera can also alter your photograph’s highlights and shadows when shooting indoors. Fashion photographer Justin Bridges explores both options in his work, in which he always seeks to balance highlights, midtones, and shadows for an even composition. In watching his class, you’ll see how Bridges uses contrast to create evocative portraits with only light from the outside to cast shadows on his subjects.
Working with studio light
While many photographers work with natural light even when indoors, others opt for studio lighting to craft deeper shadows and bolder highlights. Though photo processing can efficiently create these effects, the result is never the same as when you create them in the studio itself.
Using primarily manual mode, photographer and teacher Bernie Raffe has practiced the art of off-camera flash photography to create dramatic portraits that look complete before they even make it to a digital editor. With equipment discussed earlier in this paper, like soft boxes and umbrellas, you can modify the light in your studio to make shadows softer or sharper. After you watch Raffe’s class, photography principles will become clearer to you, like why the light on a subject reduces in a proportion that’s the inverse square of the distance the subject moves away from that light source.
A lot for right now? First start practicing photography, and you’ll naturally begin to see how these more complex principles apply.
Photographic composition relies on multiple elements, from lighting and angles to scenery and props. But regardless of what type of photography you choose to pursue, whether it’s iPhone photography of beautiful sunsets for Instagram or for-hire wedding shoots, composition will be at its very core.
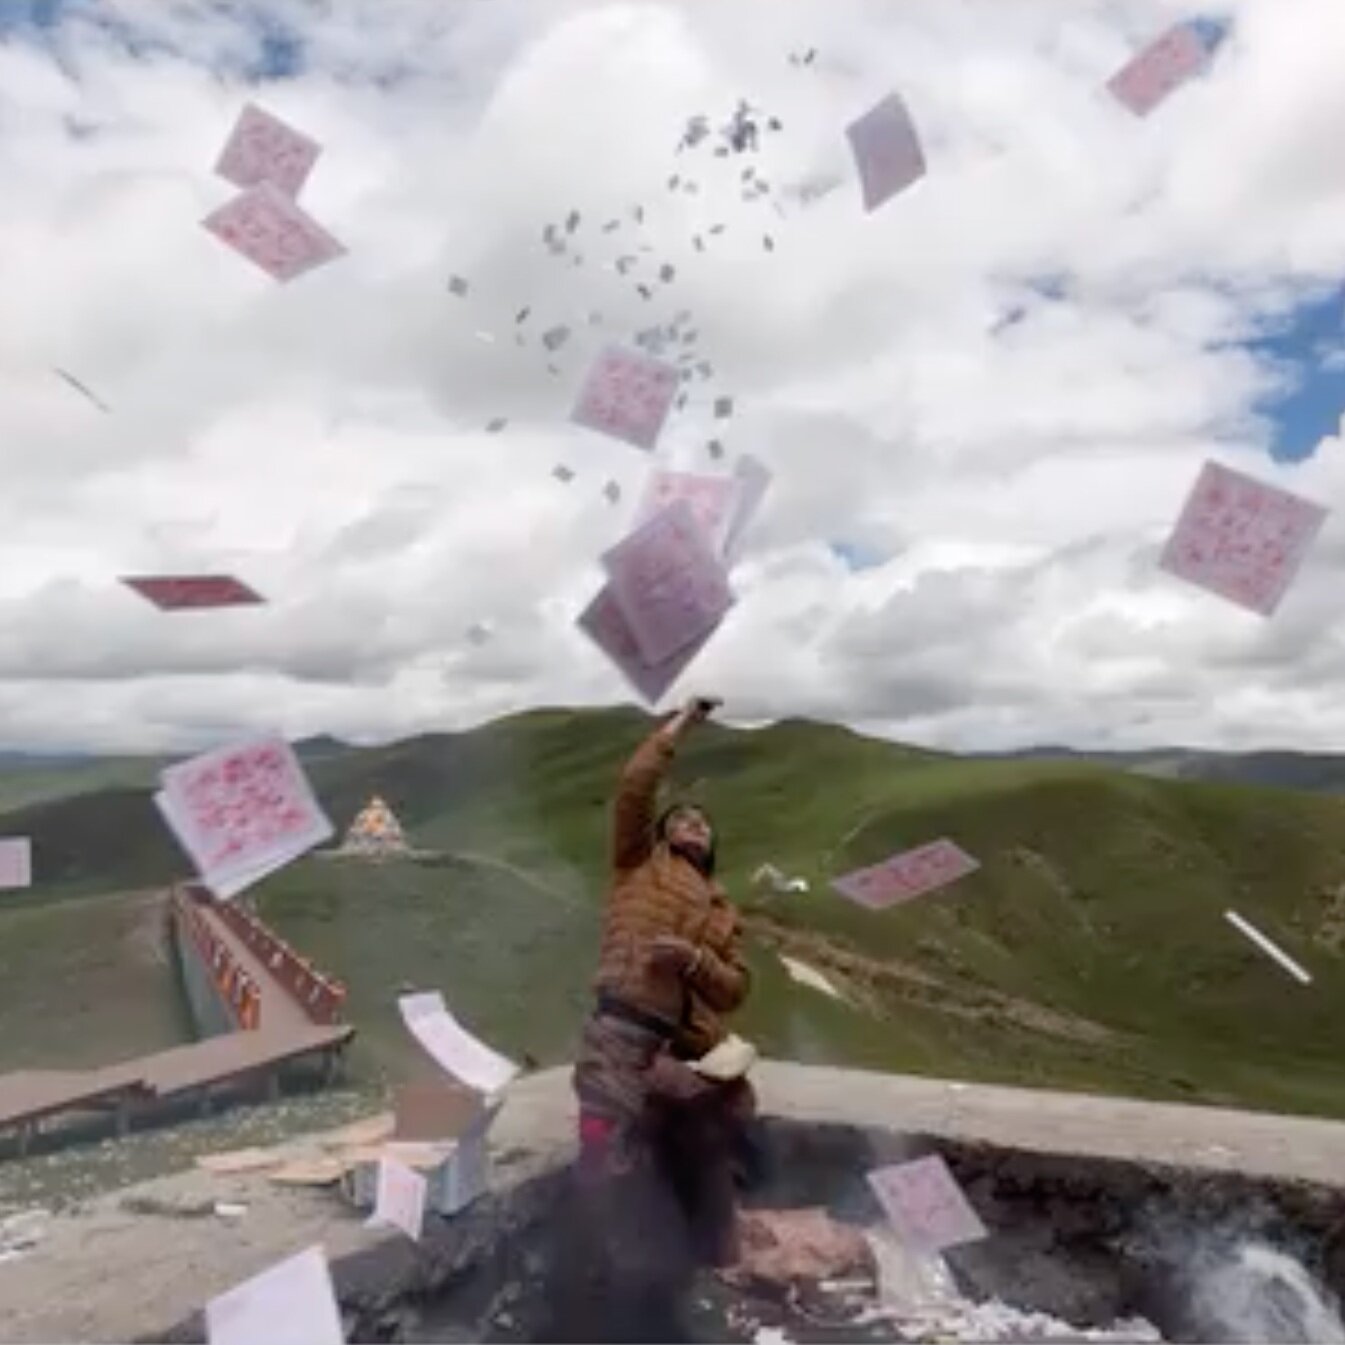
This remains true even for photographs that have unique effects, like time-lapse photography. Each individual frame in a time-lapse is just a photograph, after all, and the same composition best practices apply. For both novice and seasoned photographers alike, time-lapse photography offers a compositional challenge that can be met with the combined skills learned from both still and motion photography.
So whether you’re experimenting with complex moving images or making a blueberry loaf look like the most delectable treat known to humankind, always remember the importance of composition. With your newfound knowledge of composition techniques, you’ll be able to emphasize a subject’s most flattering angles and tell a story using no more than the scene before your lens.
But the best way to master composition is to take photograph after photograph. Practice on your iPhone, on your DSLR, on your old school digital point-and-shoot, and you’ll find that with each photograph you take, you’ll get closer and closer to achieving the perfect compositional balance.
Learn More What Makes a Great Photo
Frame a Great Shot: Exploring Photo Composition.
Try Skillshare for free! Sign up for a 7 day free trial today!
Get Started- Unlimited access to every class
- Supportive online creative community
- Learn offline with Skillshare's app


