

How to Paint Smiley Face Nails
From cute and funny to sophisticated and classy, nail art can be pretty much anything you want it to be. Why not smiley faces to bring a little joy to your day?
Table of Contents


Nail art not only looks pretty—it’s also a form of self-expression, a creative outlet, and a way of brightening up your daily life. There are all sorts of ways you can decorate your nails, but if you’d like a source of happiness right at your fingertips, why not try painting smiley face nails?
How to Create Smiley Face Nails
Nail polish comes in two main varieties: traditional polish and gel. Gel polish needs a UV light to “cure” it and is removed by filing and soaking the nails in acetone. While you can get gel polishes and UV lamps for home use, traditional polish is simpler for DIY nail art because it dries by itself and is easier to remove.
With that in mind, here’s how to put a smile on your nails using traditional polish.
Step 1: Choose a Design
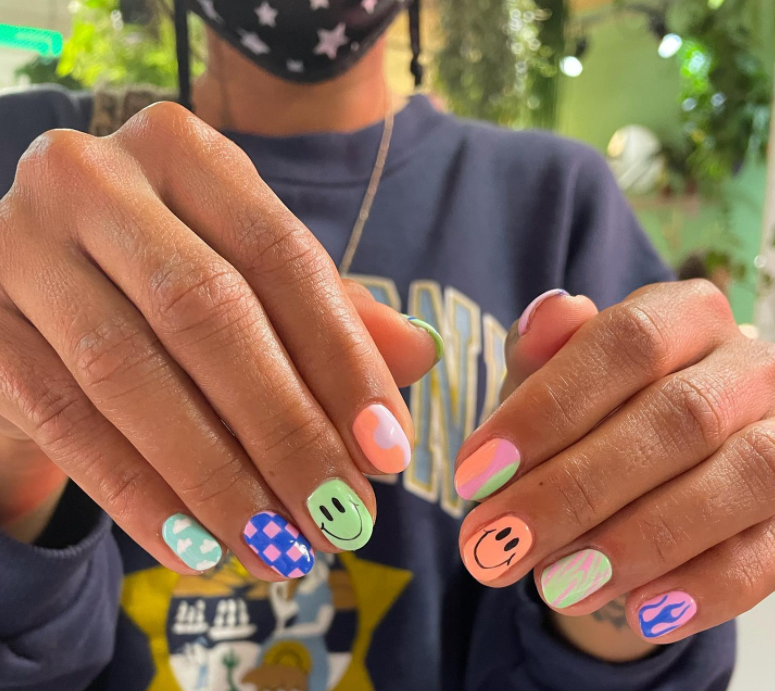
Instagram is a great place to gather inspiration—just take a look at these smiley face options.


Step 2: Gather Your Tools and Materials

To paint smiley face nails, you’ll need the following:
- Metal pushback tool
- Nail file
- Cuticle nippers
- Nail scissors/clippers
- Dotting tool
- Fine liner brush
- Nail cleaning brush
- Nail polish remover
- A clear base coat/top coat
- Nail polishes in other colors, such as yellow and black
Step 3: Prep Your Nails

Nail art adheres better to nails in good condition, so remove any old polish, trim and file your nails, push back your cuticles, buff the surface of the nail to smooth ridges, and apply a cuticle oil or hand cream. Make sure your nails are free of oils before you start painting them.
Step 4: Apply a Clear Base Coat and a Colored Coat (Optional)

Clear base coats protect your nails and help later layers of color last longer. Apply a thin coat of clear polish and wait for it to dry.
Depending on the design you’ve chosen, you may want to add a layer of colored polish on top of the base coat.
Step 5: Paint the Smiley Face

The brush that comes out of a bottle of nail polish isn’t fine enough to create small details like a smiley face. To paint the eyes and smile, you’ll need a metal dotting tool and a fine liner brush.
Practice drawing your design on a piece of paper first, before working on your nails. Precision is key, so take it slow and steady. Clean up mistakes with some nail polish remover and a clean-up brush.
Step 6: Seal With a Top Coat
When you’re happy with your smiley face design and your nails are dry, seal them with a clear top coat.

Practice More Nail Art Designs

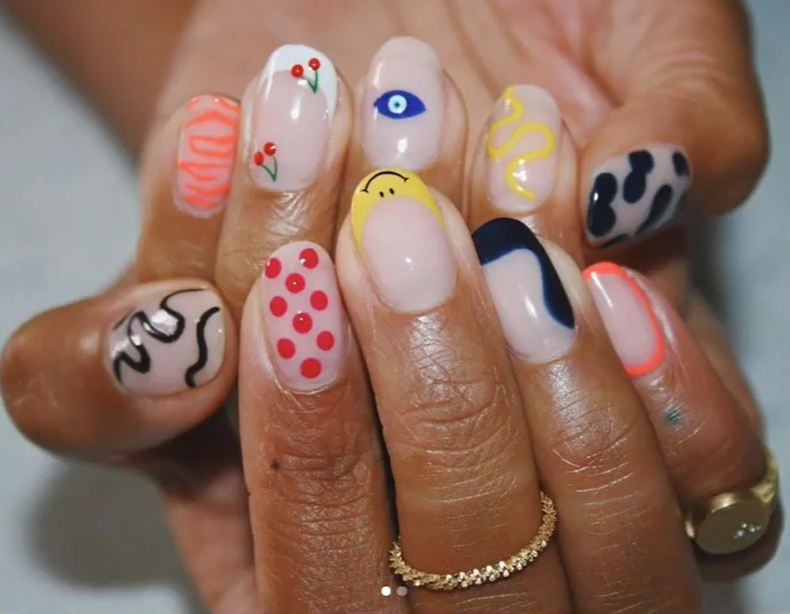
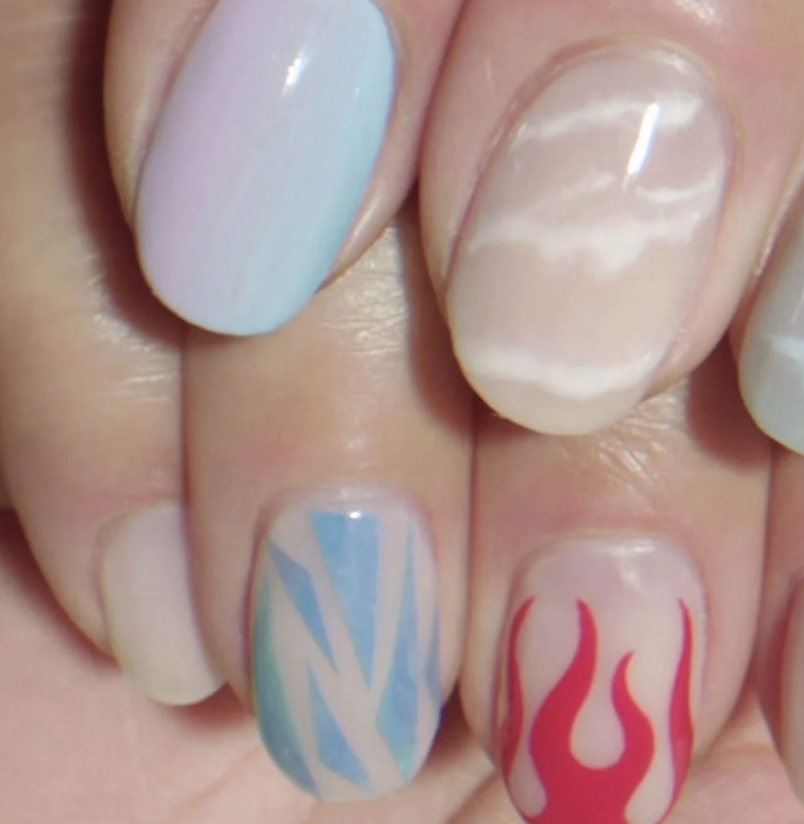
The techniques you use to make smiley face nail art can be adapted to create many more designs: flowers, flames, stripes, leopard spots, abstract art, and more. Think creatively and don’t be afraid to experiment—it’s how you’ll grow as a nail artist. Have fun!
Wear Your Own Nail Designs
Nail Art: Colorful, Creative Designs to Paint and Share
Try Skillshare for free! Sign up for a 7 day free trial today!
Get Started- Unlimited access to every class
- Supportive online creative community
- Learn offline with Skillshare's app


