

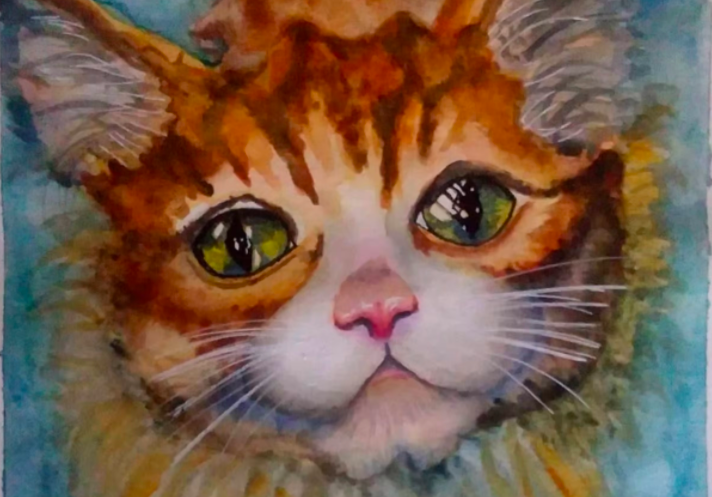
How to Paint a Watercolor Cat
Smooth and sleek or fluffy and furry, you can achieve any look for the cute watercolor cat of your dreams. It all depends on your imagination.
Table of Contents


With their natural beauty and curious personalities, it’s no wonder that cats have long been enjoyed as companions and family members for their human counterparts. And if you’re a cat lover who happens to appreciate art, then why not learn how to paint cats in watercolor? With only a bit of time and a few basic supplies, you can paint an easy watercolor cat to hang in your home as homage to your feline friends, to gift to loved ones, or simply to enjoy!
How to Paint a Watercolor Cat
Step 1: Gather Supplies
Before you can put brush to paper, you’ll need a few basic painting supplies:
- Sketching pencil
- Watercolor paper
- Masking tape
- Watercolor paints
- Paintbrushes in varying sizes
- Mixing palette (optional)
- Reference photo (optional)
While you don’t need a studio full of professional supplies to create easy watercolor cats, Skillshare instructor Yana Shvets does suggest a couple of finer tipped brushes for line and detail work and wider brushes for the cat’s fur and the background.
Step 2: Sketch Your Design
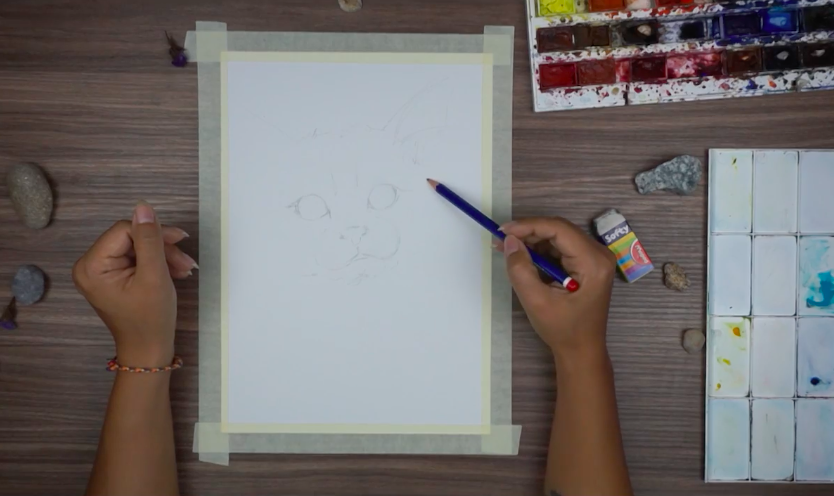
Start by using masking tape to affix a sheet of watercolor paper to your work surface so that you can sketch and paint your design without the paper moving around.
The next step for painting cats in watercolor is to lightly sketch the facial features, focusing mostly on the placement of the eyes, nose, and mouth and less upon the cat’s body, fur, and finer details. Your goal is to create an outline for your paint but not necessarily to paint your exact sketch.
Once you’re happy with the placement of your cat’s face, it’s time to add the first layer of watercolor.
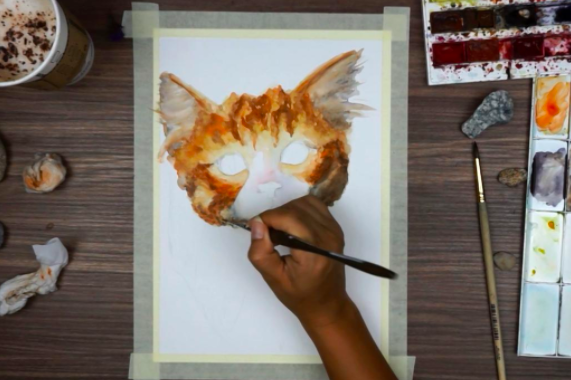
Step 3: Apply the First Layers of Watercolor Paint

Begin by choosing or mixing the primary color for your cat’s body and layer the paint lightly over your sketched design. Since this is only the first layer, don’t worry too much about perfection. You’re simply laying the base layer and trying to “wash” over your sketch.
You’ll want some natural water marks and paint lines so that your cat looks realistic when your painting is complete. Use the white watercolor paper for your advantage, too, and leave the color off of any areas that will be white or lighter in your final painting.
Following the same logic for darker areas, you can begin to take small amounts of deeper color and lay them onto the areas near the eyes and ears where you’ll be filling the sketch in with line work later in the process. You want to begin forming the shape of the cat and the roadmap for your more detailed work, but nothing should be sharp in this step.
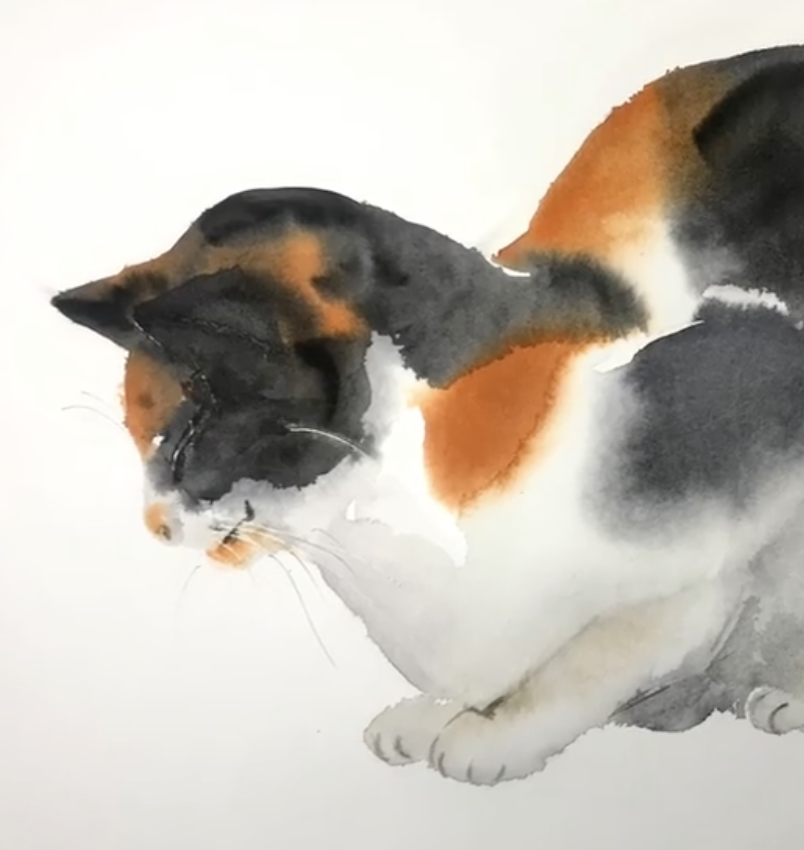
Perfect Your Sketch
Sketching All Kinds of Cats With Watercolor
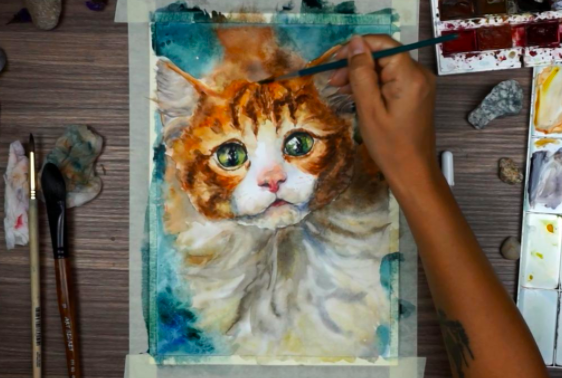
Step 4: Deepen the Tones on the Cat’s Face
Now it’s time to start making your cat look more like a cat! With your base layer and detail placeholders completed in step three, you’re ready to begin working on the details of your cat’s face.
Using a darker colored paint and your finer-tipped brushes, start at the ears and begin to make the shapes and lines that will represent the fur tufts in the ears and on the sides of the cat’s face. You can dip back into the body color that you chose in step three to make sure that the details aren’t too much of a departure from the color scheme you chose, but there should be slight variance in the details.
Step 5: Paint Realistic Eyes, Nose, and Mouth

In this step, you’ll finalize your cat’s face by painting its eyes, nose, and mouth.
Begin by mixing or choosing your cat’s eye color and fill in the sketched eye area with a fine-tipped brush. The smaller brush head will allow you to control the color and the amount of water that is transferred to the watercolor painting surface, keeping your design looking realistic versus flat or cartoony. Be sure to leave a couple of lighter spots in your cat’s eyes to account for natural highlights, and darken the edges that would be naturally closer to the cat’s fur by layering the eye color you chose.
To paint your cat’s nose and mouth, use a pink shade and mix it with red or black to darken the sketched lines that create the boundaries for these body parts. You can paint a small, red tongue peeking out of your cat’s mouth or choose to leave it closed. Your cat’s nose can be as dark or as light as you’d like, but you’ll want to include some shading around the nostrils and the curved lower edge of the nose.
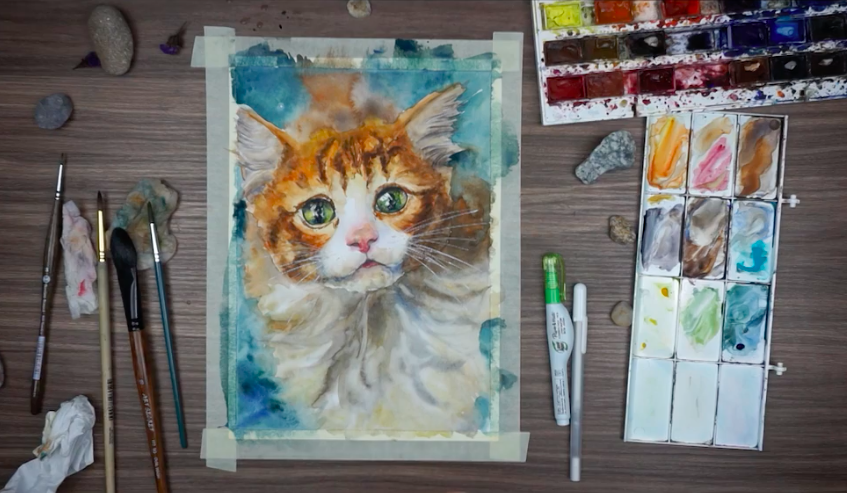
Step 6: Paint the Cat’s Body
In this final step, you’ll paint your watercolor cat’s body and the background to your painting. Similar to step three, begin by washing your body color paint over the cat’s body area; making sure to keep the color very light. Since the face is the focus of this piece, you can gradually begin to darken the color around the cat’s neck and face, while keeping the rest of the body in a lighter hue.
Finally, you can do some additional line work to create texture in your cat’s fur or add a background color. Once you’re happy with your painting, you have officially learned how to paint a cat in watercolor. All that’s left to do is share your work!
Final Thoughts (and Maybe a Cat Nap?)
You’ve successfully learned how to paint cats in watercolor and picked up some helpful painting tips along the way, too.
From here, you can continue to finesse cat eyes and cat noses, or you may choose to move on to other watercolor animals. We can’t wait to see what furry friends you create.
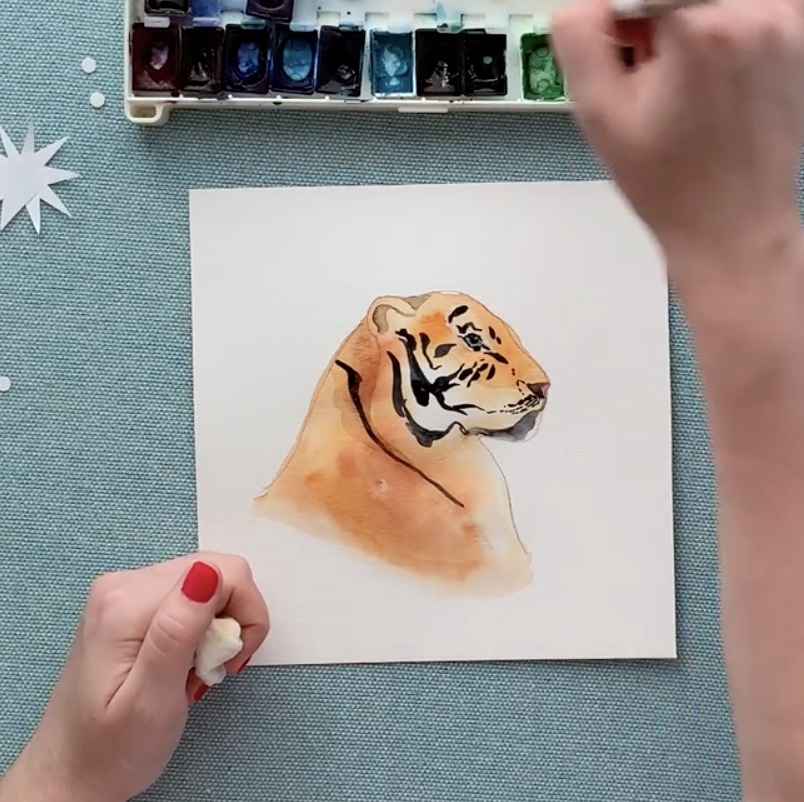
Are Big Cats More Your Style?
Painting and Lion and a Tiger in Watercolor
Try Skillshare for free! Sign up for a 7 day free trial today!
Get Started- Unlimited access to every class
- Supportive online creative community
- Learn offline with Skillshare's app


