

How to Make Cosplay Wings
From simple foil-covered cardboard to elaborate feathered pinions, if cosplay wings are an essential part of your ensemble, it’s easy to make them yourself.
Table of Contents


From fairies to dragons, some of the most iconic cosplay characters don wings. And while you can find an array of impressive and elaborate cosplay wings for sale online, it’s also possible to make them yourself!
With just a few materials, you can create realistic cosplay wings for your next costume. Here’s how.
Quick Links
- Materials for Cosplay Wings
- Step 1: Gather Reference Materials
- Step 2: Create the Frame
- Step 3: Cut Out Feathers and Scales
- Step 4: Apply the Feathers
- Step 5: Add Paint and Final Details
- Step 6: Test Them Out
How to Make Cosplay Wings
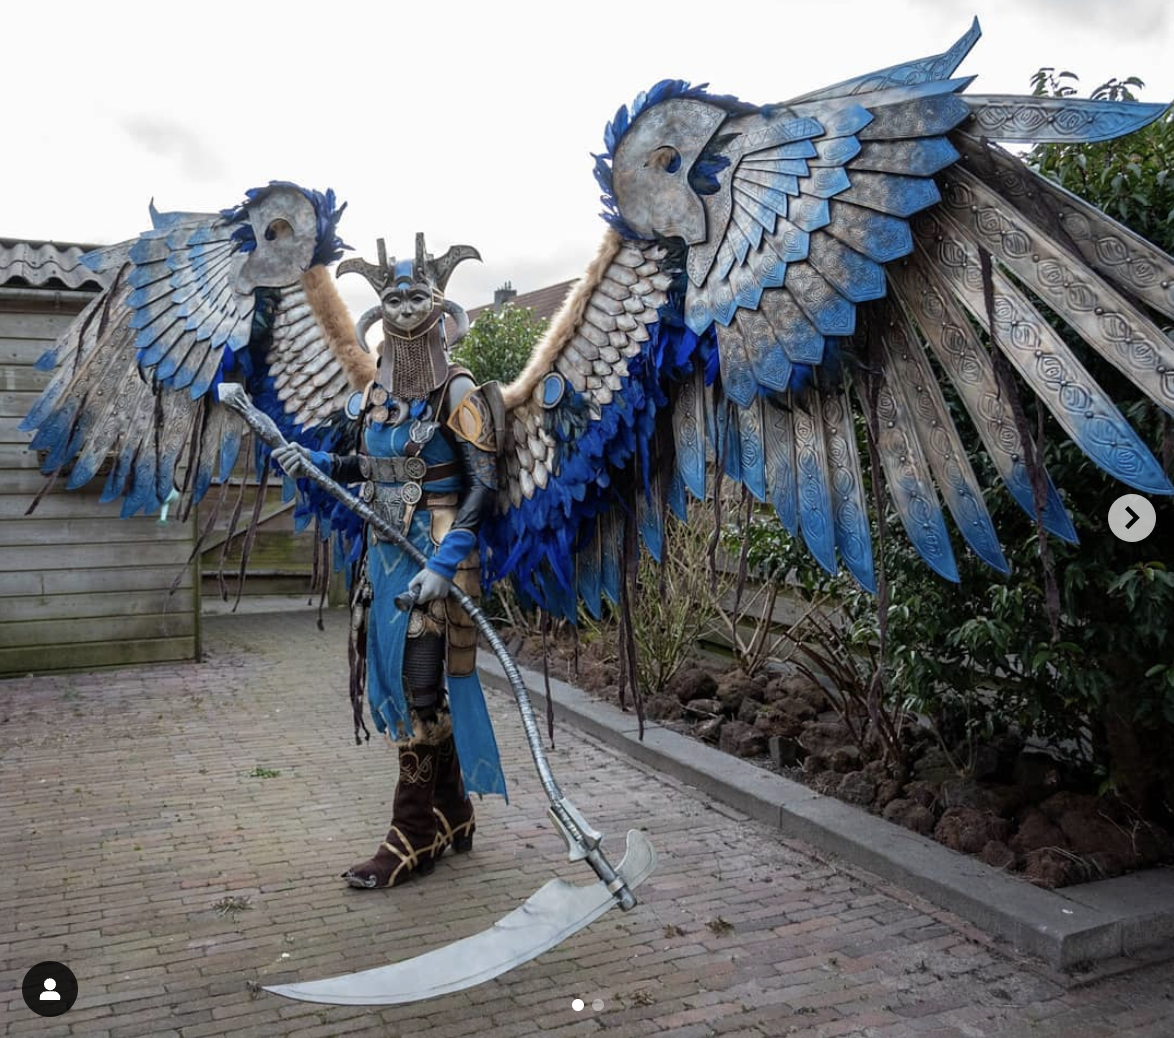
Depending on your specific costume, you may need thick, feathered wings or sleek, transparent pinions. The size may also vary greatly—some characters have small, lightweight wings, while others carry massive ones that contain a more rigid (and heavy) framework.
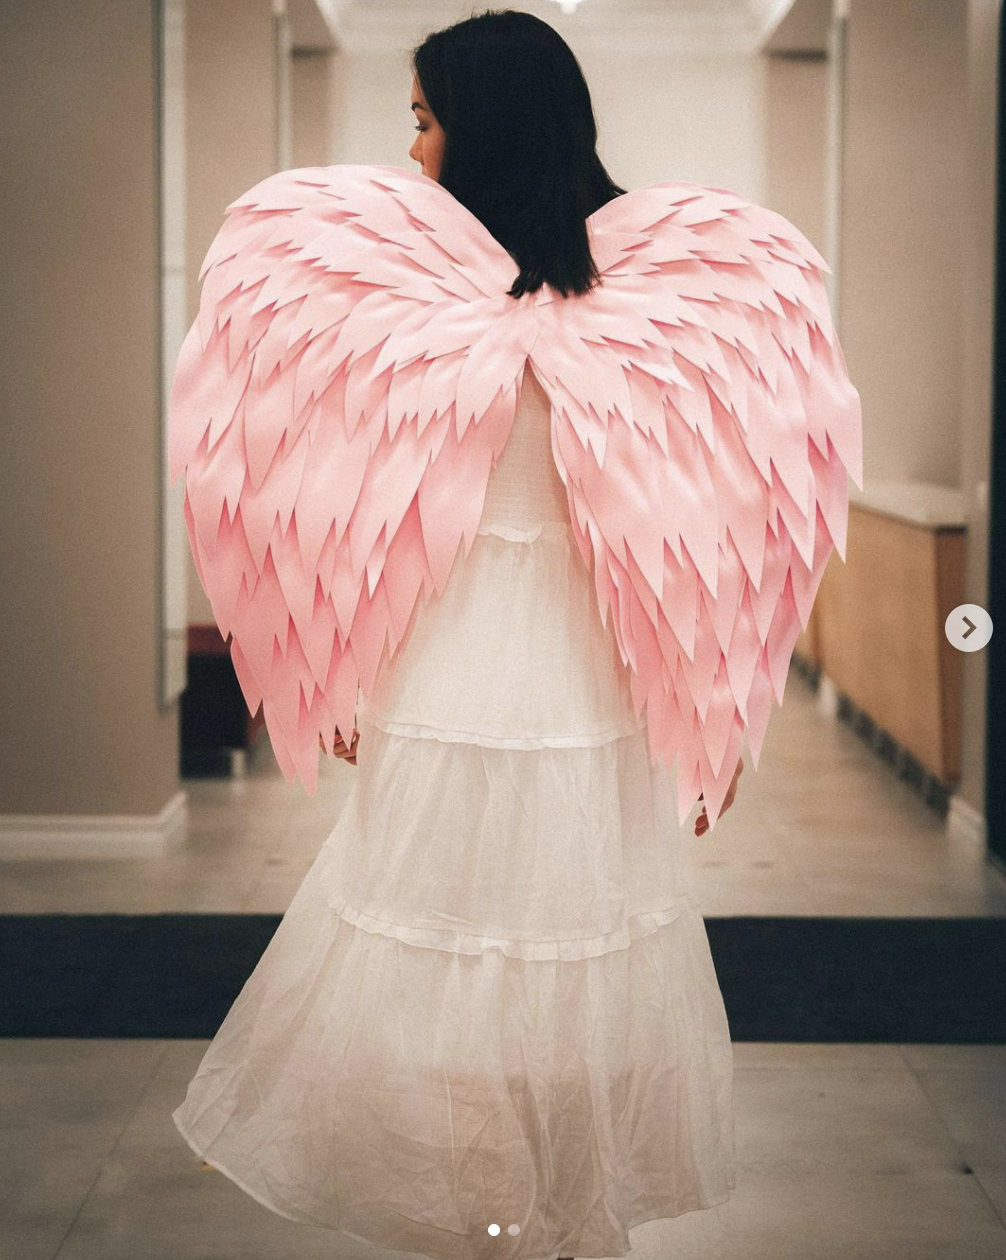
In this tutorial, learn how to create a pair of basic, mid-size wings that can be customized in several ways for your specific character—no sewing required.
Materials for Cosplay Wings
To create a pair of sturdy yet flexible wings, you will need the following materials:
- Pencil or marker
- Large sheets of paper or craft paper roll
- Aluminum sculpting wire
- Pliers
- Hot glue gun and glue sticks
- Foam board
- Craft foam sheets
- Scissors or Exacto knife
- Strap material (e.g., nylon webbing)
- Optional: spray paint, acrylic paint, glitter, and other decorative materials
Step 1: Gather Reference Material
You probably have a general idea of what your character—and their wings—looks like. However, to make them from scratch, it’s helpful to have a variety of images to help you understand their appearance from every angle. For example, what do they look like from the back? Where do they connect to the character’s body (e.g., the shoulders, the lower back, etc.)? What do the feathers or panels of the wings look like in detail? Taking time to really examine the wings on the character will allow you to replicate them as closely as possible.
Get Started on the Rest of Your Costume!
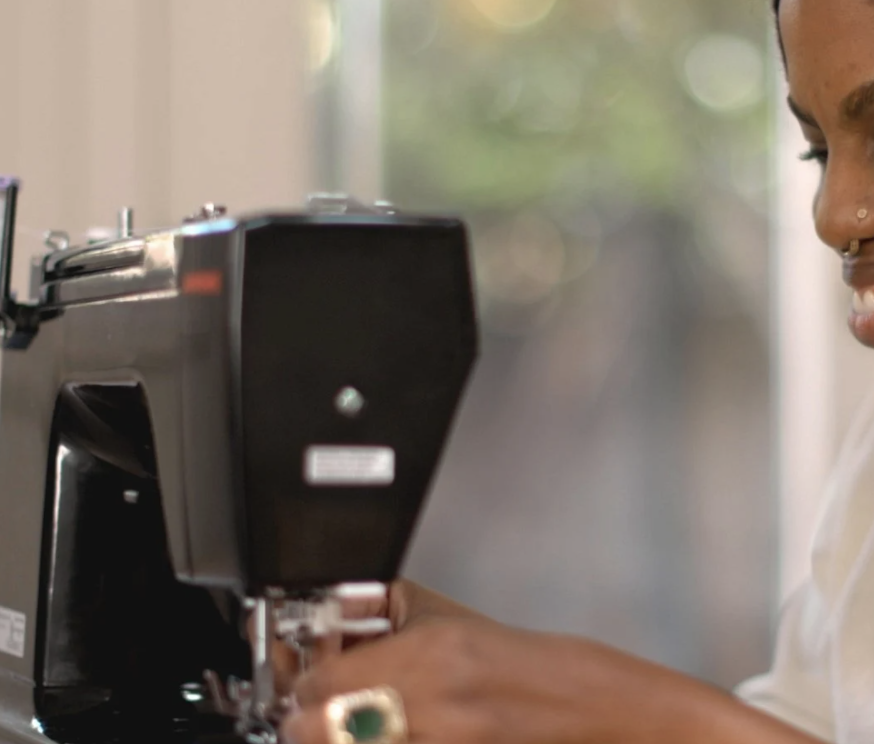
Sewing Basics: Make Your Own Clothing
Step 2: Create the Frame
Realistic cosplay wings range from simple to extremely complex. Some wings are even built with mechanical frames to allow them to extend and contract. However, even simple wings need a well-constructed frame to ensure they don’t droop or break while you’re wearing them.
To create the frame, start by drawing the outline of the wings on a piece of paper. Then, following that line, use a pair of pliers to mold a wire in the general shape of the wings. Using hot glue, attach the center of the wire framework to a square piece of foam board—this base will keep the wings steady on your back.
Then, with a staple gun or hot glue gun, add your straps. Make sure they’re long enough to loop over your shoulder and down under your arm.
Step 3: Cut Out Feathers and Scales
Now, take a close look at your reference photos to see the color, texture, and shape of the individual feathers or scales. Generally, feathers are longest near the bottom of the wings and shorter toward the top.
Draw individual feathers on sheets of craft foam or large pieces of fabric, starting with the largest and longest shapes, and then filling in the gaps with the shorter, smaller feathers. Keep in mind that you will layer the feathers as you apply them and you will need enough to cover both the front and the back of the wings—so err on the side of caution and make more than you think you will need. Cut out the feathers with an Exacto knife or craft scissors.
Step 4: Apply the Feathers in Layers
Before you start applying feathers, you need something to glue them to. Trace each wing on a piece of craft foam and cut it out. Then, use hot glue to apply the foam to the wing structure. This will give you more surface area to apply the feathers.
Begin gluing the feathers to your frame with your hot glue gun. Start with the longest feathers on the bottom, and then add layers of shorter feathers as you move toward the top. Once you finish applying the feathers to one side of the frame, let the glue dry completely, then flip it over so you can add feathers to the other side.
Step 5: Add Paint and Final Details
Now it’s time to personalize your wings! You can leave them the original color of your craft foam or fabric, of course, or you can use one or more of the following methods to make them more realistic and true to character:
- Paint them a solid color with spray paint.
- Create a more intricate and decorative design with acrylic paint and paintbrushes.
- Add a layer of iridescent film for a rainbow effect.
- Sprinkle or spray on glitter to create a glistening effect.

Step 6: Test Them Out
Before you take your wings on their maiden voyage, make sure to test them out. This will allow you to fine tune the design and make any final adjustments. For example, you might find that the straps need to be tighter to keep the wings from sagging. Or, maybe you prefer the wings to be slightly angled to the back, rather than straight to the side.
Spread Your Wings!
Part of the fun of cosplay is learning how to make the many different elements of a costume. With this cosplay wing tutorial, you have the foundation to make nearly any kind of wings—from simple to elaborate. Experiment, iterate, and let your creativity take flight.
The Complete Guide to Your First Costume
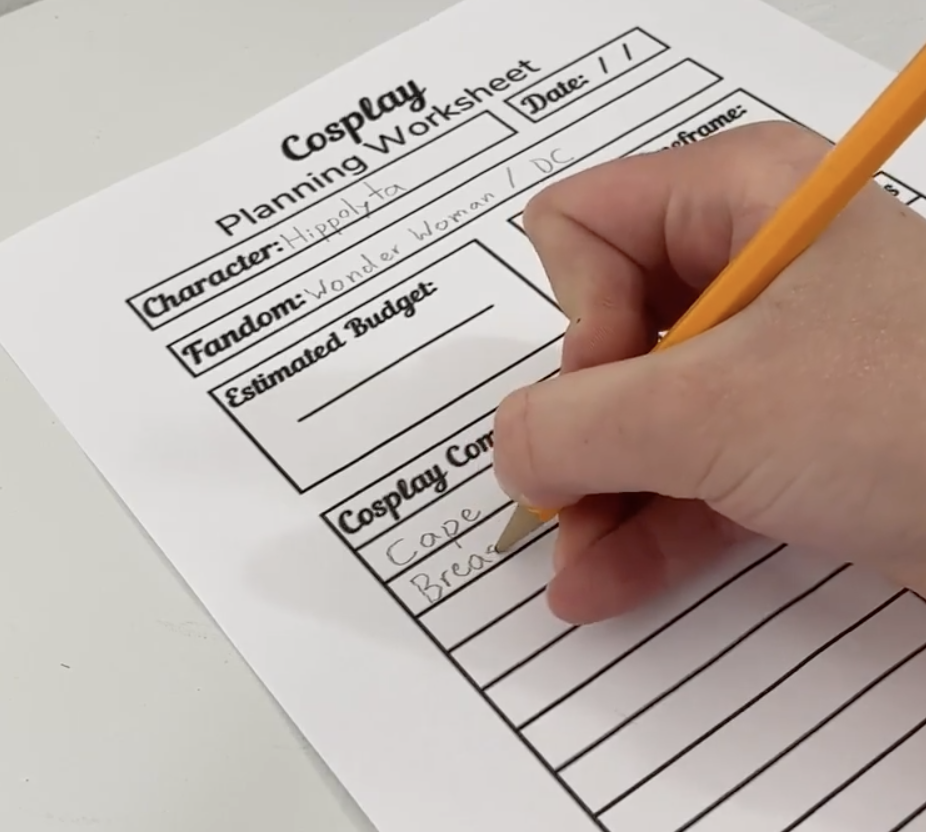
How to Plan a Cosplay From Start to Finish
Try Skillshare for free! Sign up for a 7 day free trial today!
Get Started- Unlimited access to every class
- Supportive online creative community
- Learn offline with Skillshare's app


