

How to Make a Needle Felting Animal: A Step-by-Step Guide
Learn how to make a needle felted animal with this guide for beginners and video tutorial.


Needle felting is a fun craft that’s easy to learn, and needle felting animals are a favorite subject. They can be cute, quirky, cartoonish, or even surprisingly realistic. Whatever your favorite, this article provides step-by-step instructions for how to do needle felting animals.
How to Make Felt Animals for Beginners

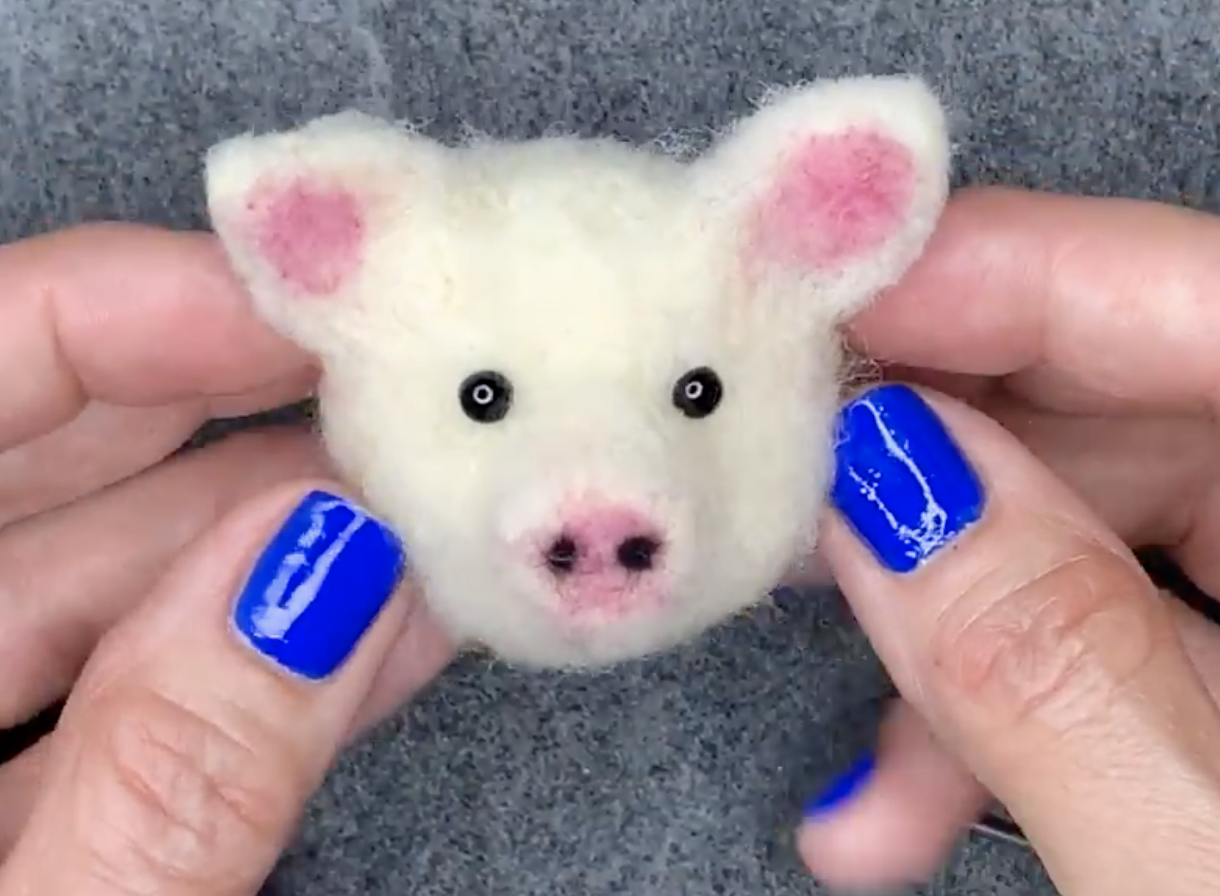
Basic needle felting is not difficult to learn, and starter kits from craft stores provide all the supplies you need to get started, including the raw materials for felted wool. Some felting wool animals are more complex than others, and creating realistic faces and details takes some practice. If you’re just starting out with needle felting, professional felter Linda Facci guides learners through the process of creating a simple needle felted pig in this class.
Once you’ve learned the basics of how to do needle felting animals, you might want to try more complex designs. The basic construction of 3D felted animals is similar, whatever the animal: think, a torso with four legs and a head attached, possibly with ears, a tail, and a snout for detail. Colors and specific details will vary, but the core principles are the same and can be adapted to various animals.
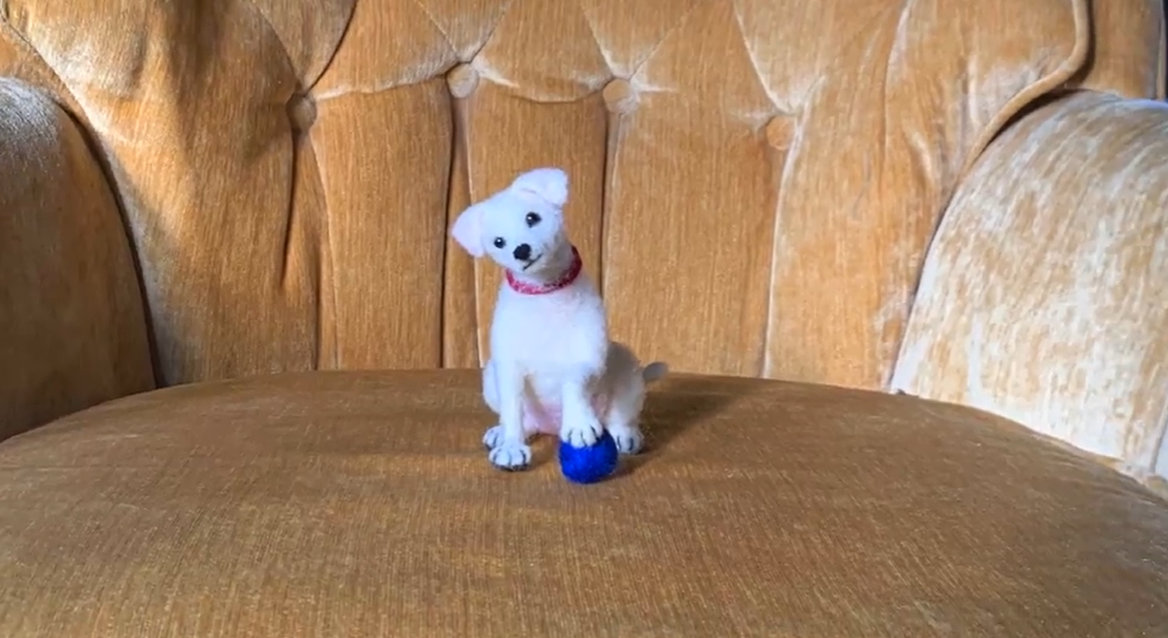
This step-by-step guide walks you through the process of making a needle felted dog.
Make Wool Felting Animals From Scratch
A Beginners Guide to the Wooly World of Needle Felting
Step 1: Gather Your Supplies

To make a needle felted dog you will need:
- A felting pad
- A felting needle (38 or 40 gauge)
- Pipe cleaners
- Sharp pointy scissors
- Core wool
- Black wool
- Pink wool (optional)
- Craft eyes or beads
- 2 straight pins
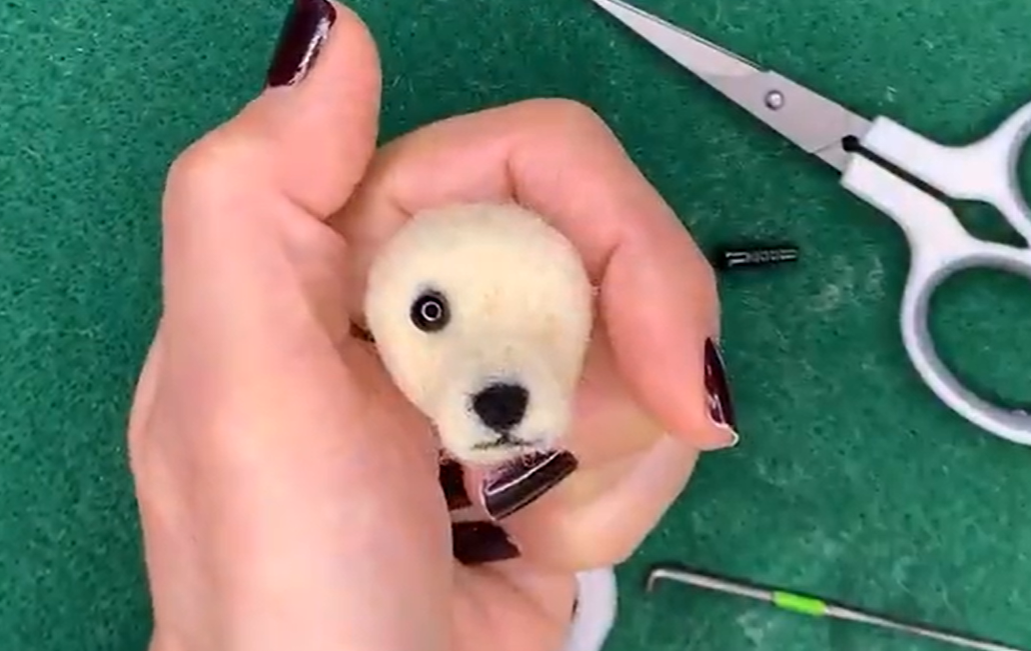
Step 2: Make the Head, Muzzle, and Nose

Take a pipe cleaner and fold one end over about an inch so you have a smooth end. Take a bit of wool and spread it out between your fingers to thin it out. Starting about half-way down the pipe cleaner, wrap the wool around, keeping it tight and smooth. Once you reach the end of the pipe cleaner, wrap the wool back down to the point where you started. Keeping going like this until you have a smooth, wool-covered pipe cleaner. The smooth end of the pipe cleaner will become the snout.
Take a bit more wool and wrap it tightly around your index finger, then take it off. Poke the ends a little with the needle to bind the strands together.
Attach the ball you’ve just created to the felt-covered pipe cleaner to attach it, and then wrap it around, securing it at both ends.
Taking a smaller piece of wool, repeat this process to create the snout, wrapping it around the end of the pipe cleaner and attaching it to the ball of the head by poking with the felting needle.
Shape the head and snout as you go to create the desired shape for the kind of dog you’re making.
To create the nose and mouth, take a tiny bit of black wool and needle felt it onto the snout and head in the right places.
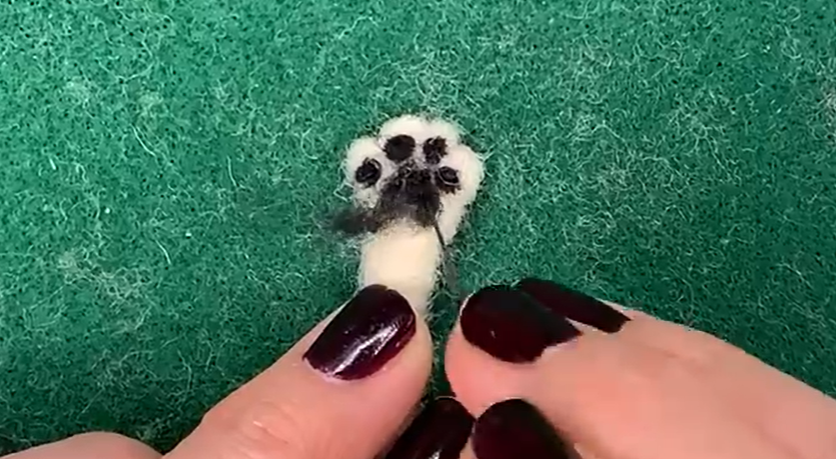
Step 3: Add the Eyes
You can use wool, beads, or craft eyes. If you need to add glue to attach them, use it sparingly. If you have craft eyes with a screw or rivet, you might need to snip a small hole in the correct positions before putting in the eyes. At this point you could also add a bit more wool to create a brow above the eyes.
Step 4: Make and Attach the Ears
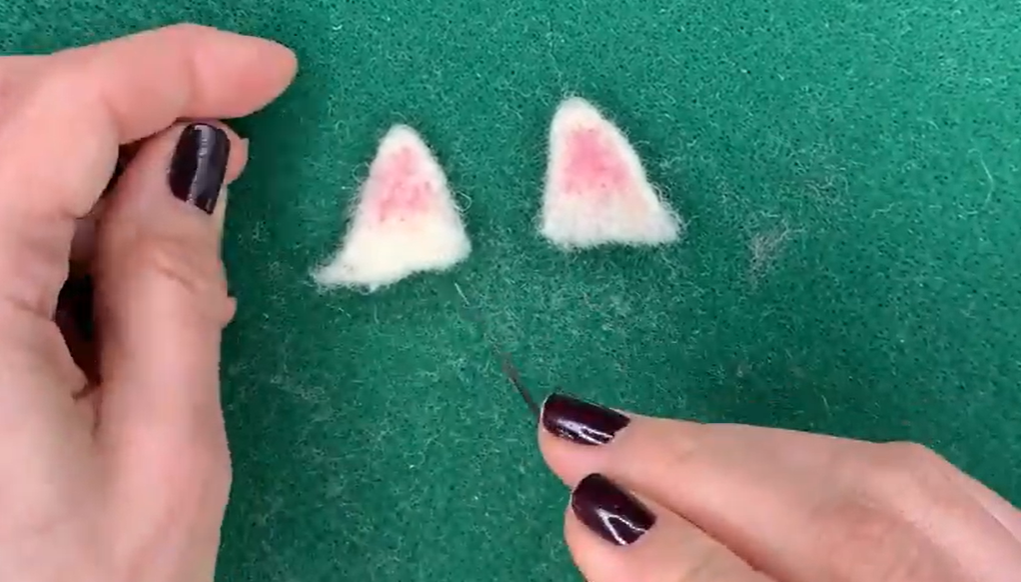
Needle felt two triangular shaped ears. Leave one edge of each ear ragged as this will be the edge you attach to the head. You could add a touch of color, such as pink, at this stage.
Attach the ears to the head, using pins to secure them before you begin poking the fibers together if you need to.
Step 5: Make the Body and Attach the Head

To form the body, take a wad of wool and roll it up, poking as you go to connect the fibers. Make sure to poke each end to neaten up the fibers.
To attach the head, trim the pipe cleaner down. Fold the end over to create a smooth end. With your thin, sharp scissors, snip a long hole into the middle of the torso, in the position where you want to sit the head. Insert the pipe cleaner to attach the head.
Close up the gap between the head and the body by adding a little more wool and needle felting it all together.
Step 6: Make the Legs, Paws, and Tail
Cut five pipe cleaners (four for the legs, one for the tail) to a length a little longer than you want the legs and tail to be. Fold over one end to create a smooth end. Wrap a small amount of wool around the pipe cleaner in the same way that you did in step #2. Repeat for all five pipe cleaners.
Taking four of the wool-covered pipe cleaners, fold one end of each over to form a paw. Cover that area with a bit more wool and attach it by poking with the needle. If you’d like to get even more detailed at this point, form some little toes and attach them to the paw, and add some color to the bottom of the paw to create paw pads. This is rather a fiddly step, so it can be skipped if you’re not concerned about having a highly detailed animal. But if you’re wanting to advance your needle felting skills and create realistic animals, this is a nice touch.
Step 7: Attach the Legs and Tail

Place the legs in the correct positions and, adding a bit more wool at the point of each insertion, attach them to the body by poking the needle lightly.
To add the tail, make a little cut in the dog’s backside and insert the tail inside. Add a little more wool and poke it with the needle to smooth things out.
More Felting Animals to Make
Skunk

This needle felted skunk is constructed around wire so that its body, limbs, tail, and head can be repositioned.
Cat
A cat can be made using a very similar technique to the dog detailed in this article, but with a head and other details that are more faithful to feline features.
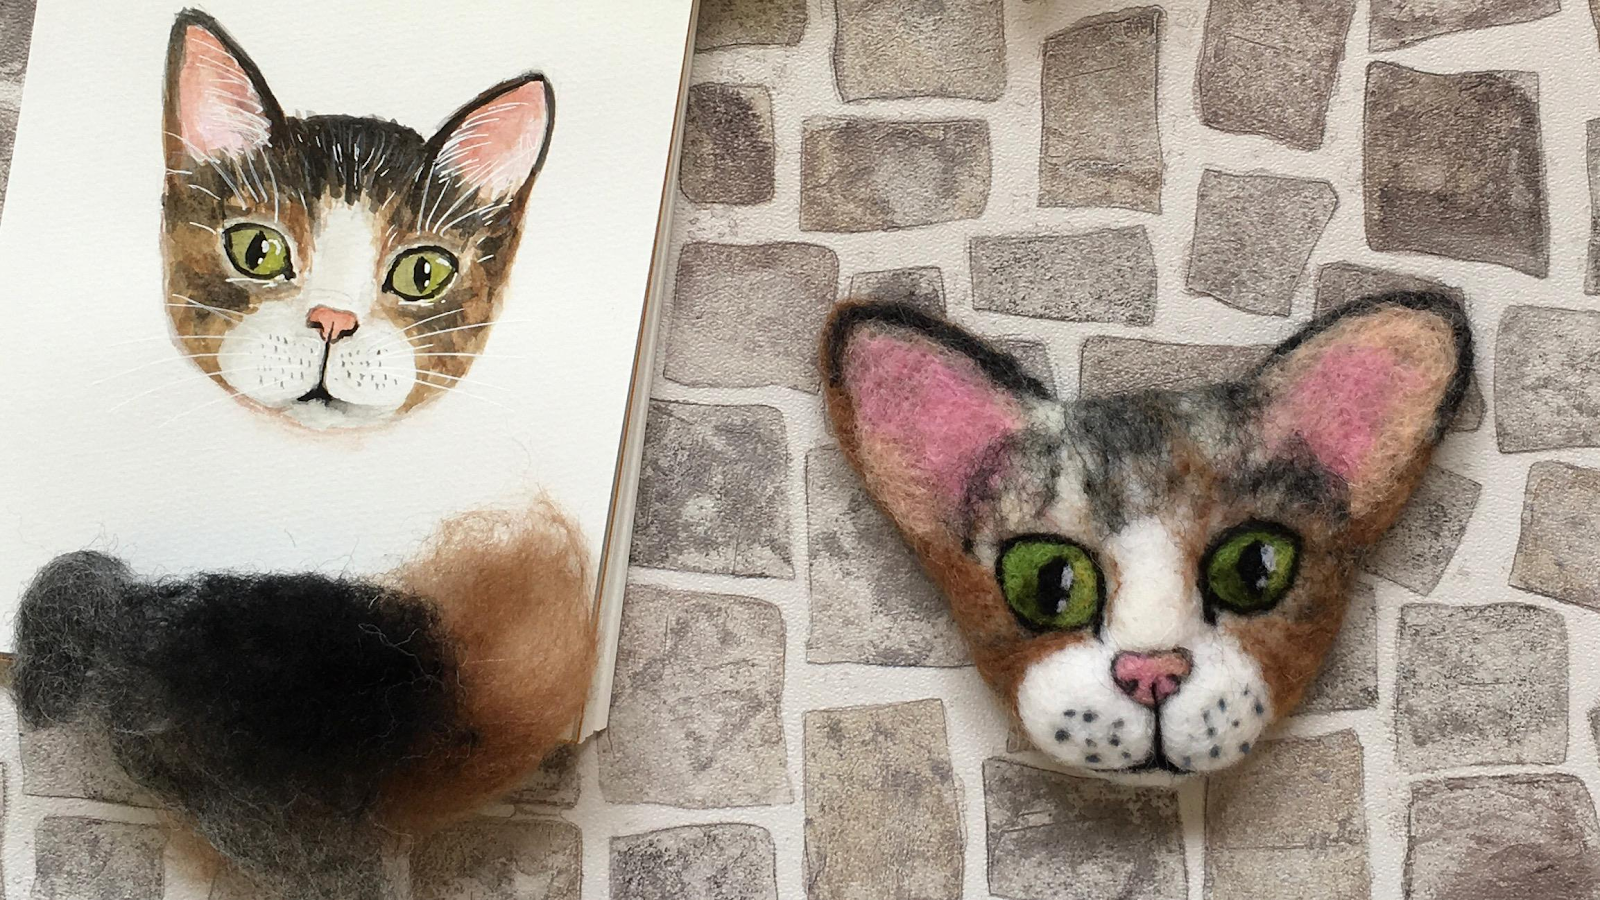
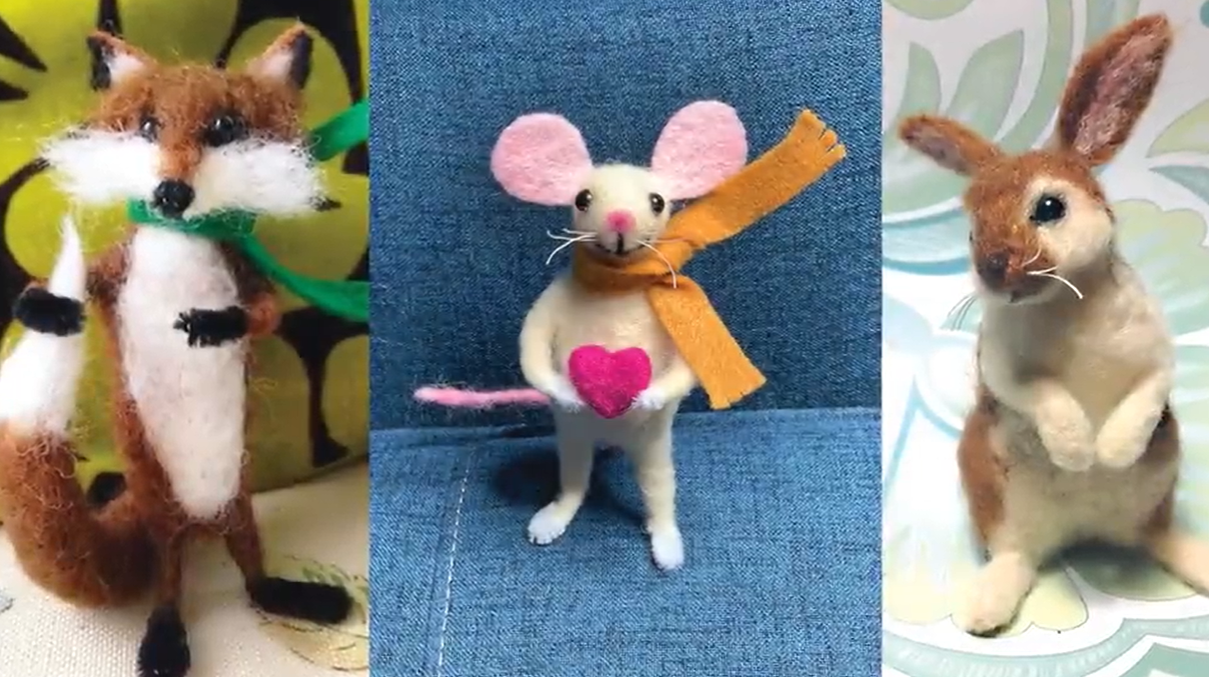
Fox

Wool painting uses needle felting techniques to create 2D illustrations rather than 3D objects. All kinds of subjects can be painted this way, including this sleek fox.
Polar Bears

Felting wool animals make cute toys for kids, ornaments for adults, or even wedding cake toppers! You can find all kinds of creative uses for your crafts once you’ve learned how to make felting animals.

Loved Needle Felting a Dog? Try a Llama Next!
Learn to Needle Felt and Decorate a Llama
Find Inspiration from a Thread Art Pro
Skillshare Originals teacher Danielle Clough talks through her process and how she finds mindfulness and freedom in the simple art of crafting with her hands.
Try Skillshare for free! Sign up for a 7 day free trial today!
Get Started- Unlimited access to every class
- Supportive online creative community
- Learn offline with Skillshare's app


