

How to Draw Flowers: A Step-By-Step Tutorial by Artists for Everyone
Learn how to draw a perfect flower with this tutorial created by artists. Draw sunflowers, lotuses, roses, and more.


Flower drawing is a vital part of the art world, with countless creatives across the years honing their skills by sketching and painting the natural world around them.
Just like Monet, Van Gogh, and Renoir, we all have to start somewhere. By following this step-by-step guide, you’ll soon be moving from a simple flower drawing to more complex designs such as roses, daisies, and lotus flower drawing.
Supplies You Need for Drawing Flowers
Setting yourself up with all of the supplies you need is the first step for every artist. Once you have the right tools, they’ll help you make flower drawing easy and enjoyable.
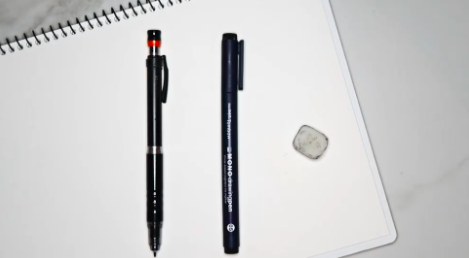
1. Paper
A sketchbook is an ideal choice over loose sheets of paper, as this helps you to keep everything together and see the progress that you’re making.
2. A Pencil
Mechanical pencils are the most convenient so that you don’t have to keep sharpening as you draw.
3. A Pen
Just like flowers, pens come in all shapes and sizes. Start your collection with a few choices from fine to bold so that you have the right nib thickness for the style that you’re trying to achieve.
4. An Eraser
Even the experts make mistakes, so make sure you have a clean eraser that you can use to touch up errors or lightly erase your pencil markings before going over them in a fine pen.
With all of your necessary equipment in place, you’re ready to start creating your drawing of a flower!
How to Draw an Easy, Simple Flower
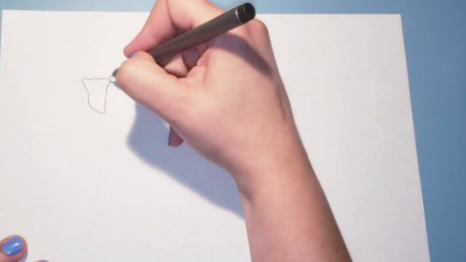
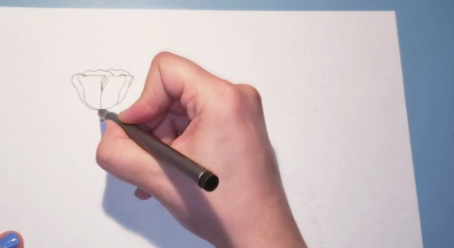
Step 1: Draw a Basic Outline
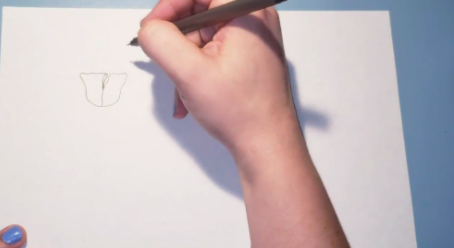
To begin your flower line drawing, draw a vertical curved line with a horizontal line across the top. This doesn’t have to be straight—after all, no two flowers look exactly the same! Take your pencil or pen down from the horizontal line until it meets the end of the vertical line. This should create an upside down, bell-like shape.
Add a small tear-shape along the top right edge before repeating your first lines on the other side of the right line. This will give you the outline of your flower head, where you can now add extra details like a stem and petals.
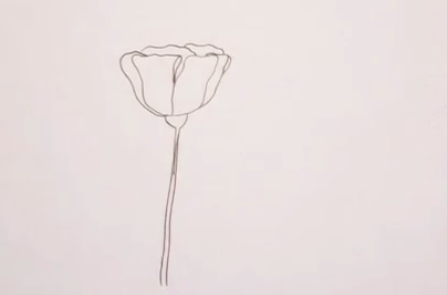
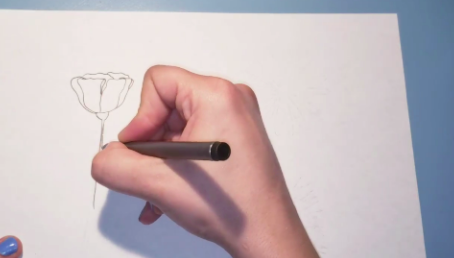
Step 2: Build in Extra Details
Around the outside edges of your outline, draw a few extra wavy lines from the bottom and around the top corners of the flower head. Draw two more wavy lines across the top to give your flower depth.
Finally, draw two curved lines underneath the flower head with a small gap between them. From there, sketch two straight, vertical lines to create your stem. You can add leaves to the stem, color it in, or choose to keep it simple like this, which is a common aesthetic choice for flower line drawing. Whichever option you decide, you’ve just created your first simple flower drawing!
How to Draw a Sunflower
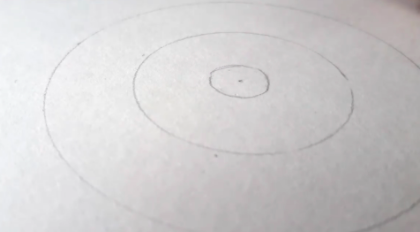
Step 1: Draw 3 Perfect Circles
When you’re creating a sunflower drawing, it’s important to keep the iconic characteristics of the flower as realistic as possible. For this, you’ll need to grab a compass (think the one you used in math class, not the treasure-hunting kind!) and set the width to reach around three-quarters of the way to the edge of your paper. You’ll then want to draw two smaller circles inside the larger one with your compass.
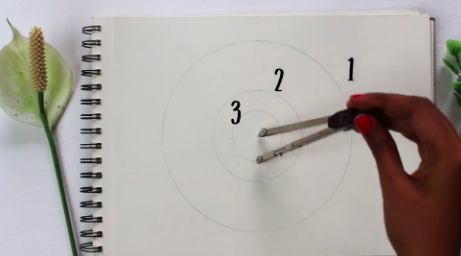
For the final, center circle, draw this by hand with your regular sketching pencil.
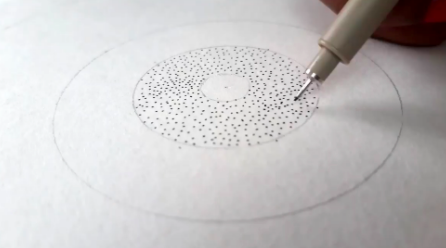
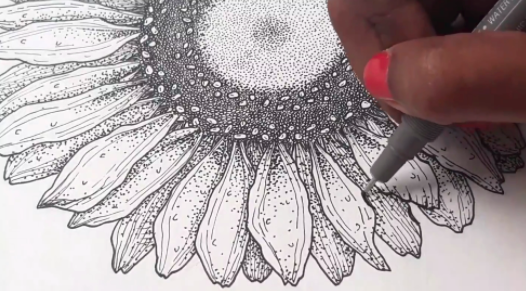
Step 2: Stippling and Hatching
Inside the third circle, take your pen with the finest nib and add dots throughout the whole circle. You’ll then repeat this motion with your next thickest nib inside the center circle.
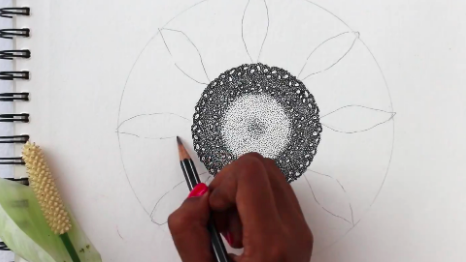
From here, you will draw small oval shapes inside the second circle, spacing these out however you would like. Between each of the oval shapes, draw smaller circles to fill in all of the space in the second circle. This can be a time-consuming process, but enjoy the quiet moments as you work toward completing your sunflower drawing!

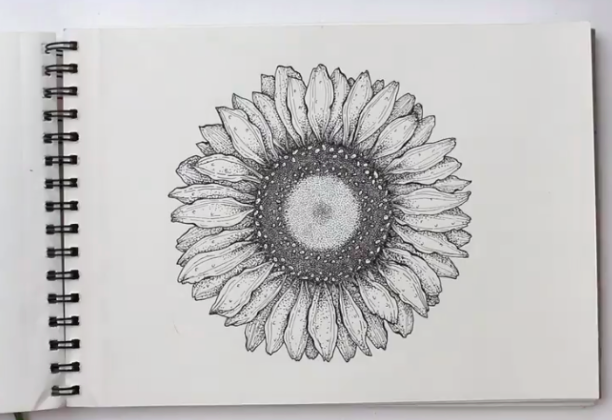
Step 3: Add the Petals
Within the first, or outer, circle, draw oval shapes with pointed edges that reach from the outside edge of the circle down to the edge of the second circle. If you’re familiar with lotus flower drawing, the petal shape is very similar.
Between all of your initial petals, add overlapping petals until the outer circle is completely full. Make some wider and some narrower to give a more natural finish. Go over your petals with your medium-nib pen and once the ink is dry, erase all of your pencil markings on your sketch.
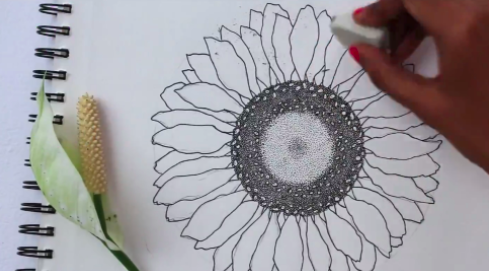
To complete your drawing, add lines and dots across your leaves to create a life-like sunflower on your paper.
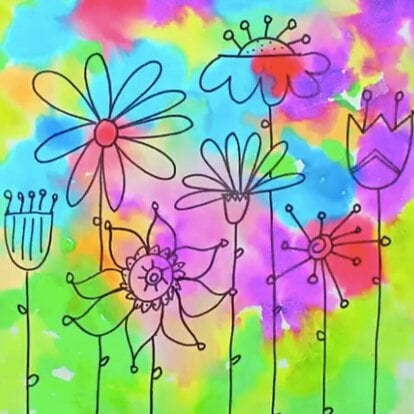
Teach Your Kids Flower Drawing
Art for Kids: Drawing and Painting Wildflowers with Watercolor Paints
How to Draw a Rose
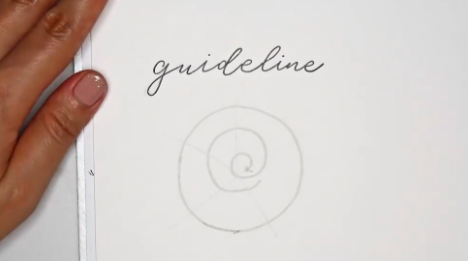
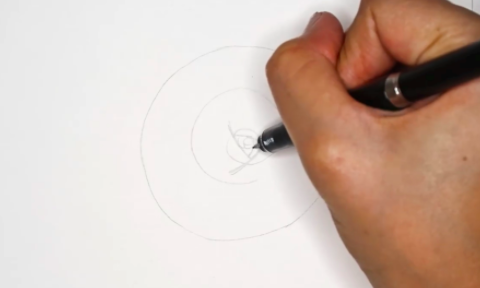
Step 1: Create Your Guidelines
Rose drawings may seem complicated to create, but breaking down each element into simple shapes and lines makes flower drawing easy. To get started, draw a circle with a swirled pattern in the center. This will form the start of your rose head. With your pencil, draw light lines from the center point outwards until your circle has five equal sections on the inside.
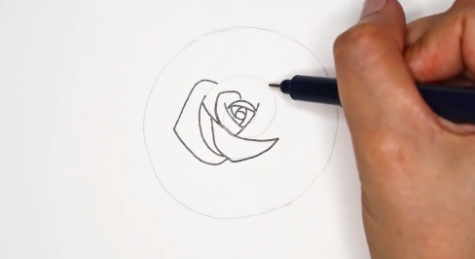
Step 2: Start Adding the Details
From here, lightly sketch a “Y” shape across the middle of the swirl, adding lines and circles inside the center portion of the swirl to create the middle section of your rose.
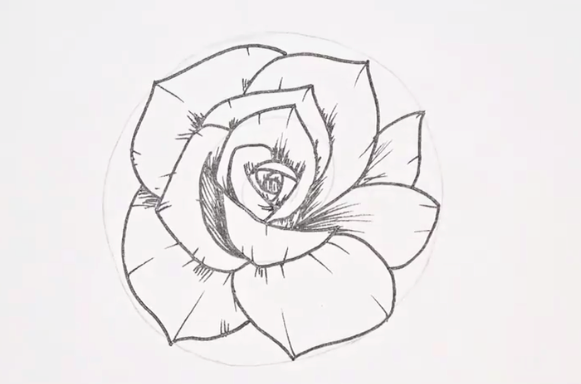
Step 3: Draw in the Petals
Your rose drawings aren’t complete until you’ve added their petals! Around the “Y” shape and center lines, sketch half-moon shapes, with some interlocking and overlapping. Once you’re happy with the placement of these shapes, you can go over these in your pen to finalize them.
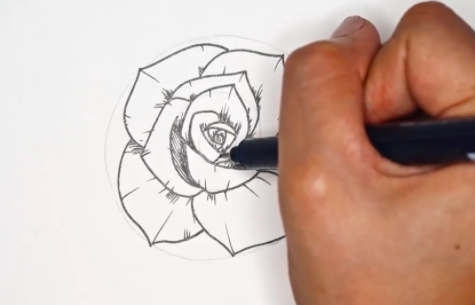
Lastly, draw oval and tear shapes with pointed tips, stretching these to the edge of the outer circle to form your larger, outer petals. Draw small lines along your petals where you imagine shade would hit your rose on a sunny day. This helps to lift your rose drawing from a flat image to one with more realistic depth.
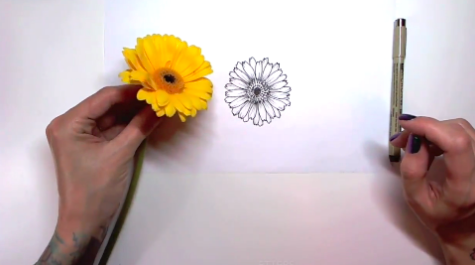
How to Draw a Daisy

Step 1: Start From the Center
Just like sunflowers, a daisy drawing is mainly made up of a series of circles, dots, and lines. Start by drawing a circle made from small dots, with a ring of tiny oval shapes around it. Don’t worry about keeping everything neat and even—your daisy will look more natural if it’s not completely perfect. Keep adding more dots and ovals until you’re happy with the size of the middle section of your daisy.
Step 2: Sketch Out the Petals
Daisy petals are narrow at either end, with the widest part around three-quarters of the way to the edge of the petal. Draw oval shapes around the inner circle, with a small V shape at the tip of each petal. Once you’ve completed the first layer of full petals, fill in the gaps between them with outlines of petals behind the first layer.
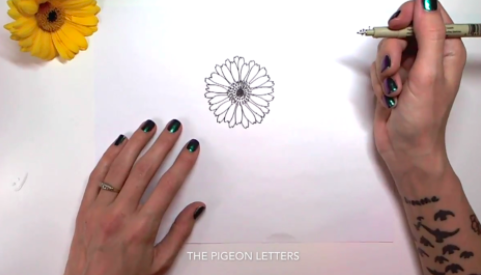
Step 3: Finish With Final Details
Starting from where the petal meets the center, draw a light curved line outward from the base to the middle of each one. You want to keep this as light as possible; a good technique to use is a light wrist-flick to make sure that you’re not pressing down too hard on your paper. You can also add a light line across the top side of a few of the petals to act as contrasting shading to finish off your daisy drawing.
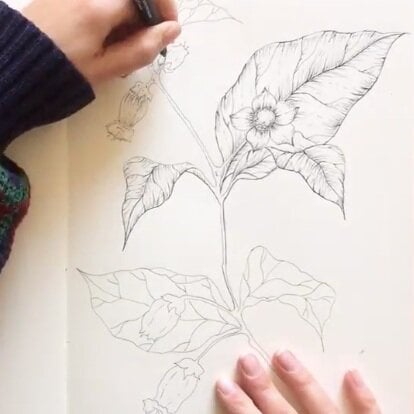
Inspired to Create More?
Ultimate Guide to Drawing Botanical Line Illustrations
Try Skillshare for free! Sign up for a 7 day free trial today!
Get Started- Unlimited access to every class
- Supportive online creative community
- Learn offline with Skillshare's app


