

How to Draw Facial Expressions: A Guide
Learn how to draw facial expressions in this step-by-step guide and tutorial.
Table of Contents


Facial expressions are one of the most powerful ways we humans have for communicating with one another. From a very early age, we develop the ability to distinguish a happy expression from an angry face. As we grow older, this ability turns into a way of expressing our feelings and reading other people’s thoughts and emotions without the use of words.
You can bring this innate ability to your drawing, as well. Here, we’ll show you how to draw facial expressions by exploring how each of the main human emotions—happiness, sadness, anger, fear, and surprise—can be distilled into a few basic gestures and adjusted to achieve an even broader emotional range.
How to Draw Facial Expressions
Expressions are the visual and unspoken language of a character's mood and personality. Regardless of whether you’re aiming for a realistic style or want to learn how to draw anime expressions, when you understand how each emotion affects certain areas of the face, it becomes easier to express them in your drawings.
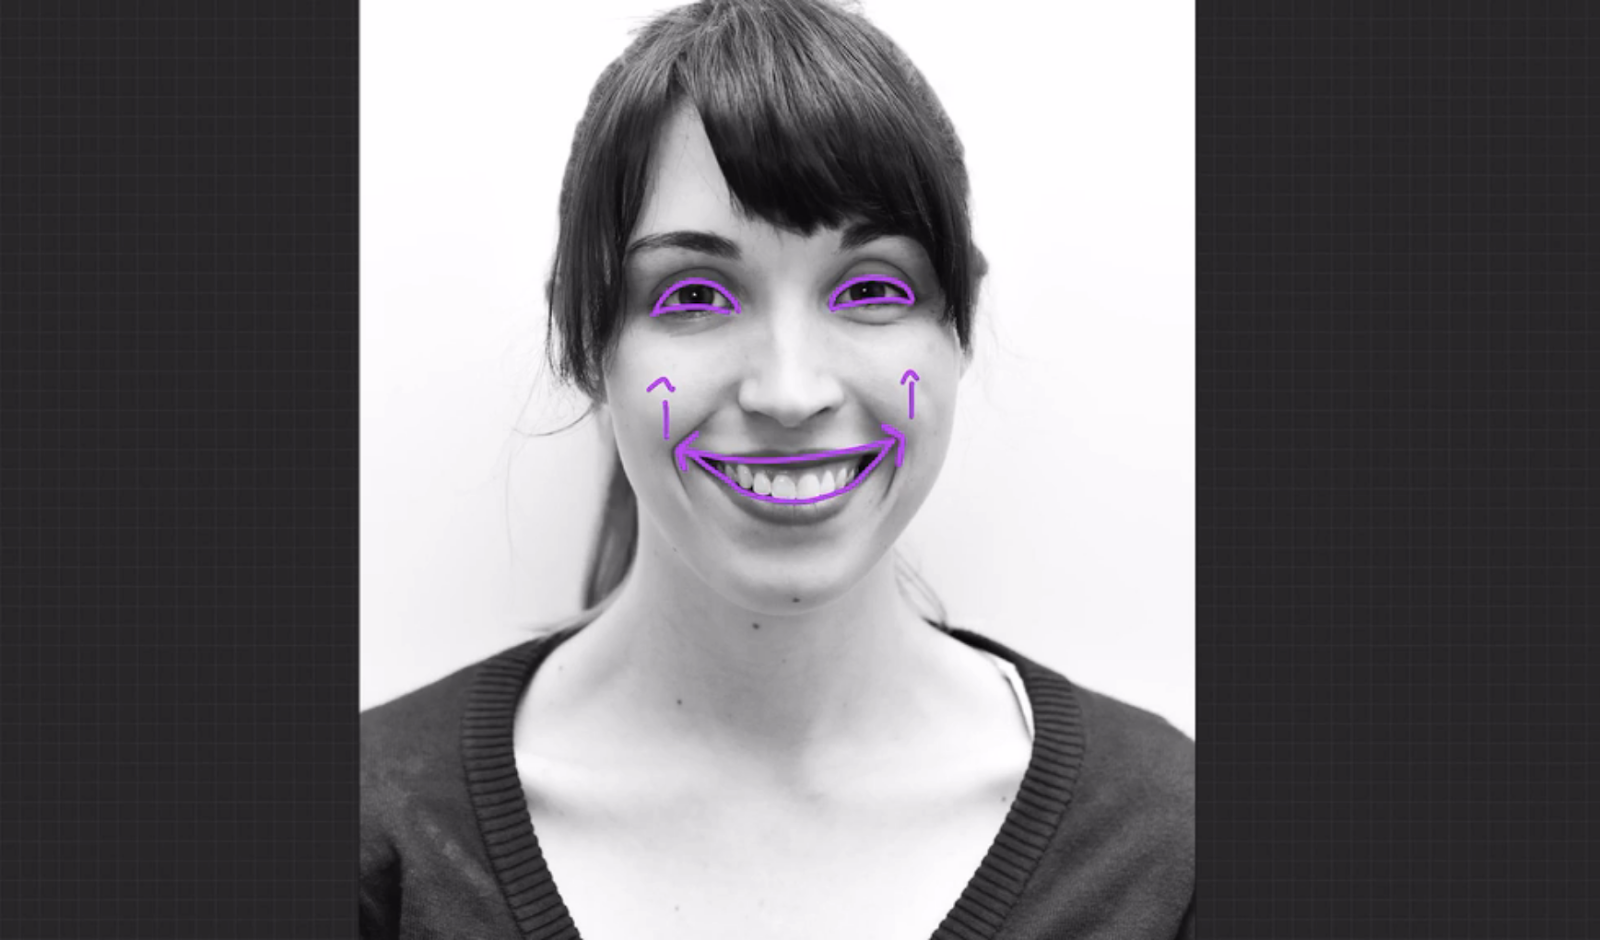
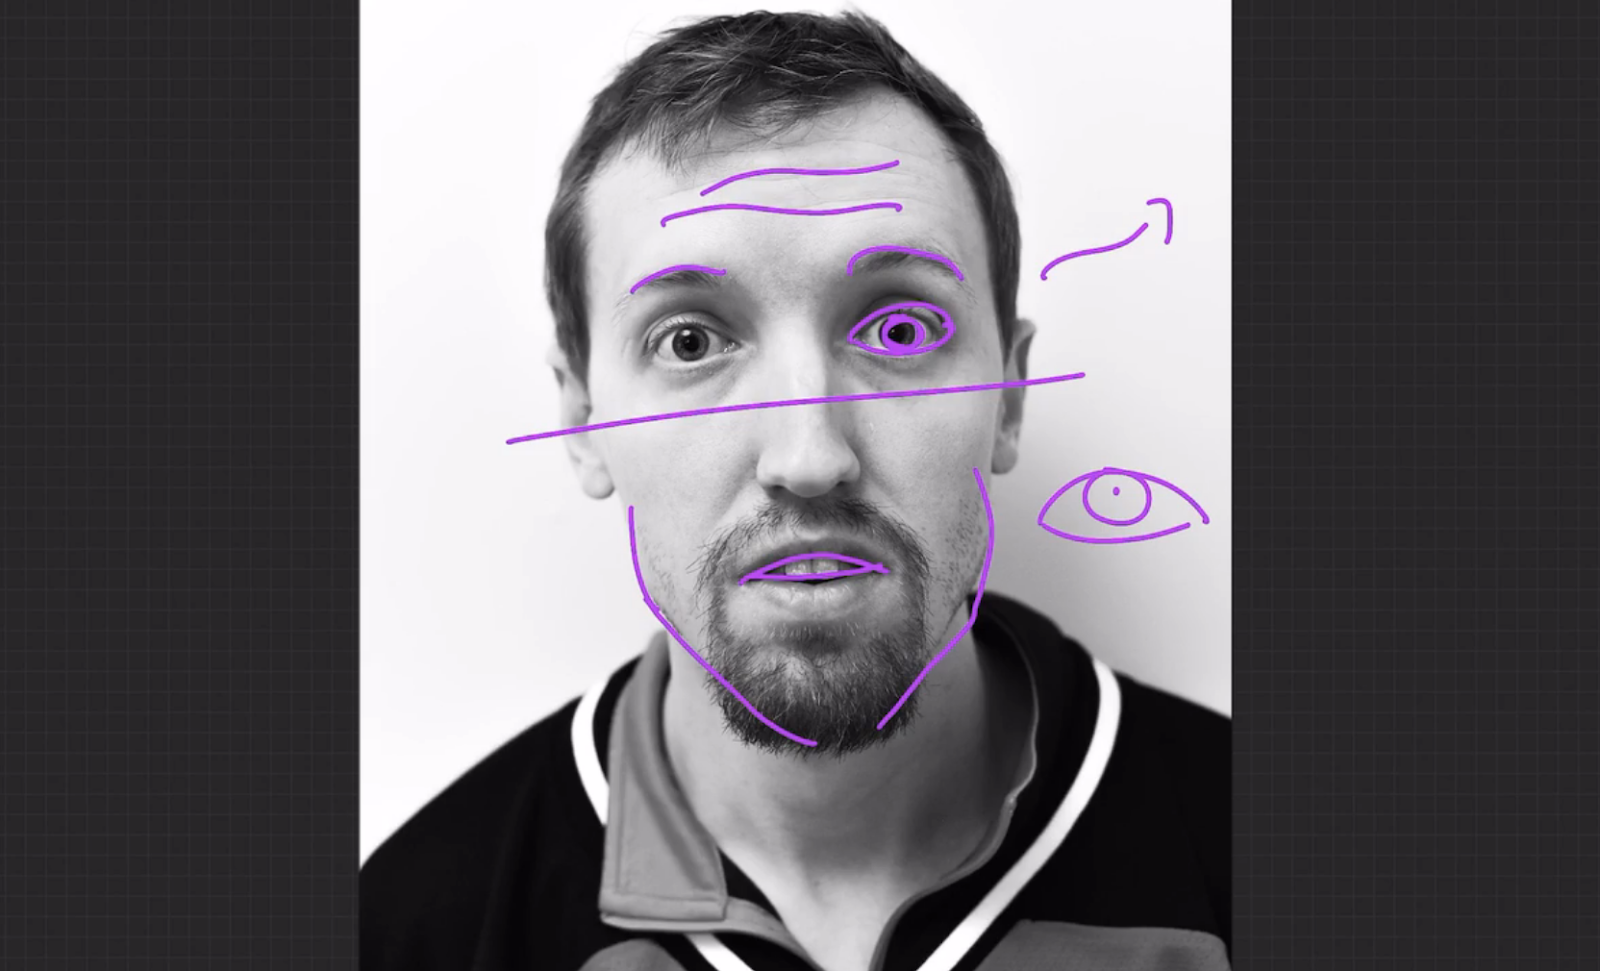
Let’s start by introducing the concept of “points of tension.” These are the areas of the face where the muscles tense up and become more prominent, usually through wrinkling. Each facial expression has its own distinctive points of tension, but when you’re learning how to draw expressions you can keep your focus on the mouth, the eyes, and the eyebrow area.

A great way to start learning how to draw facial expressions and understand points of tension is to take photos of yourself expressing a range of emotions and study them to identify which parts of your face are moving and how. You will notice that the more intense the emotion, the more areas of the face are involved.
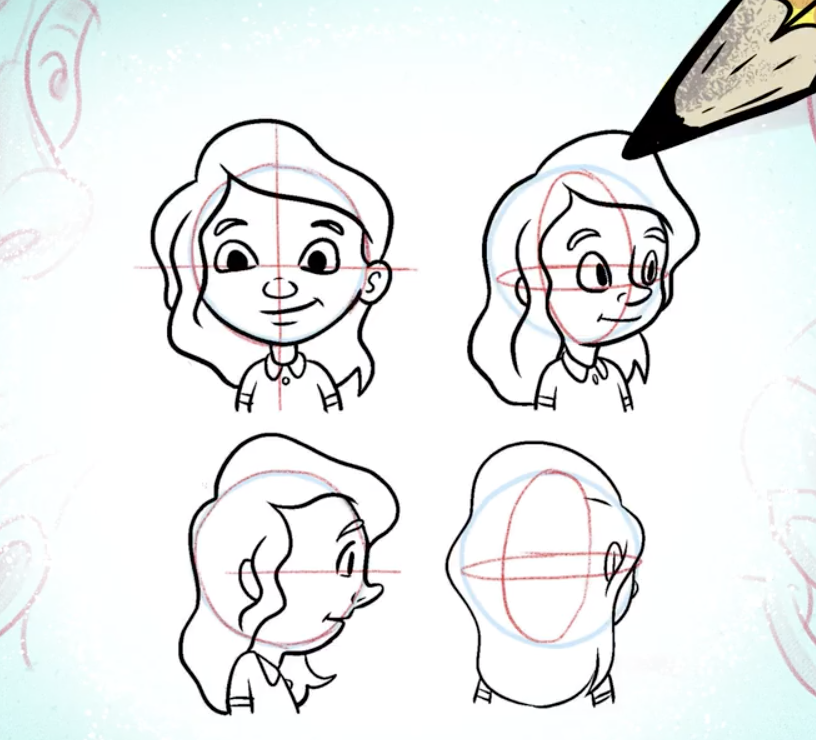
From here, create a character sheet, which is simply a series of basic head shapes that you can use to practice how to draw expressions. By extracting the main points of tension from your reference photos and exaggerating, tweaking, and mixing them up inside the head shapes, you can achieve a wide range of emotions.
Start Your Face-Drawing Journey
Drawing Faces: A Beginner's Guide
How to Draw a Happy Face
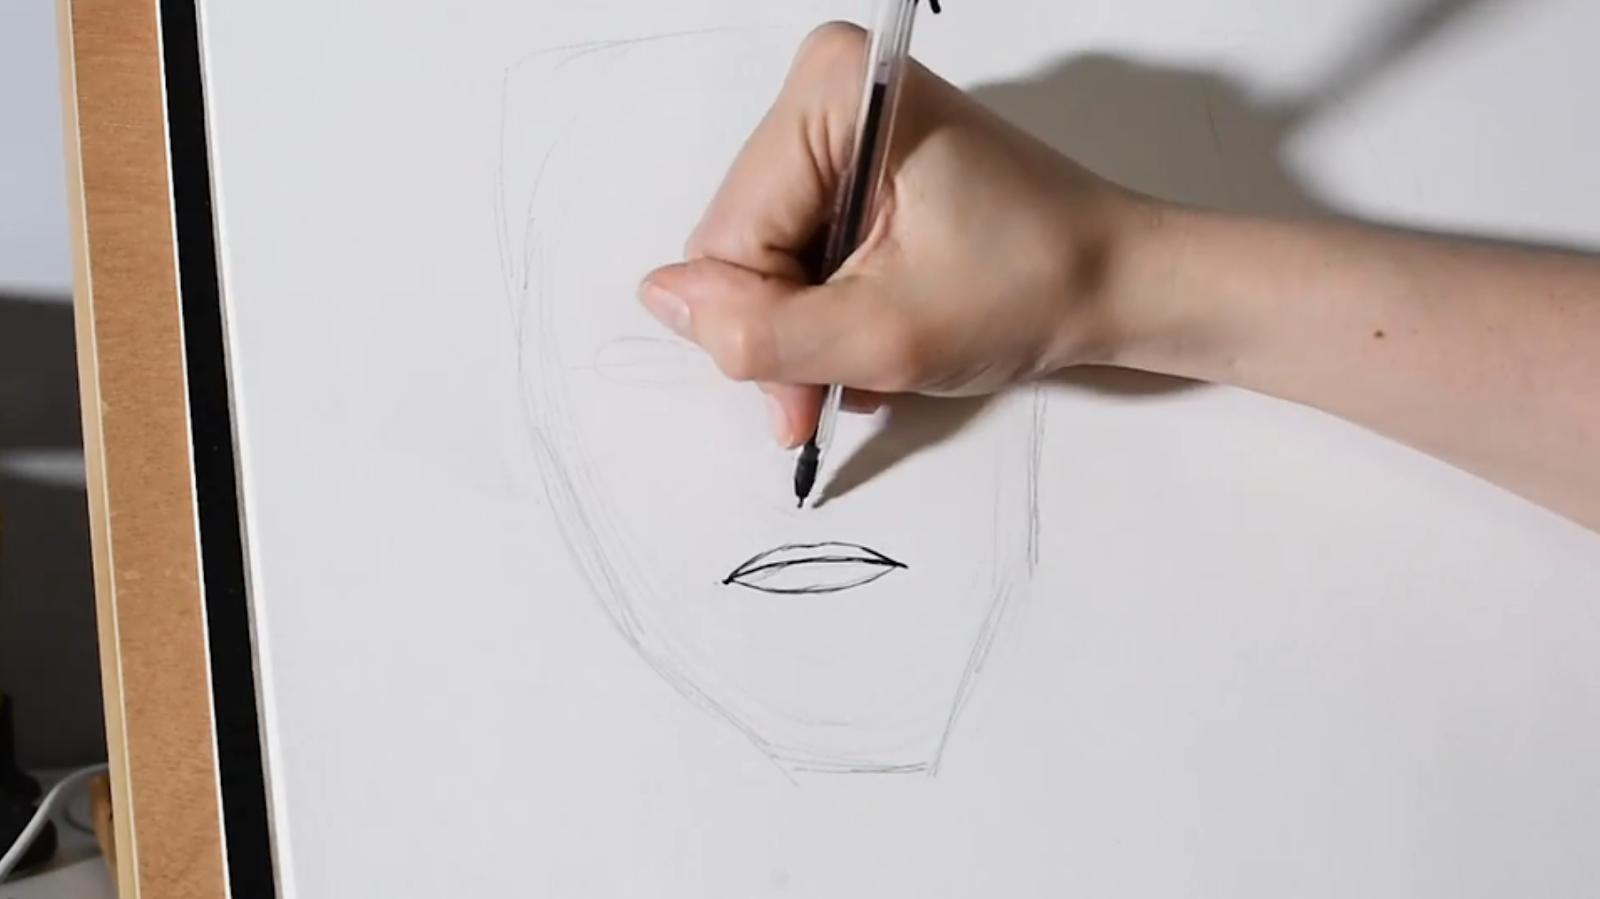
Step 1: The Mouth
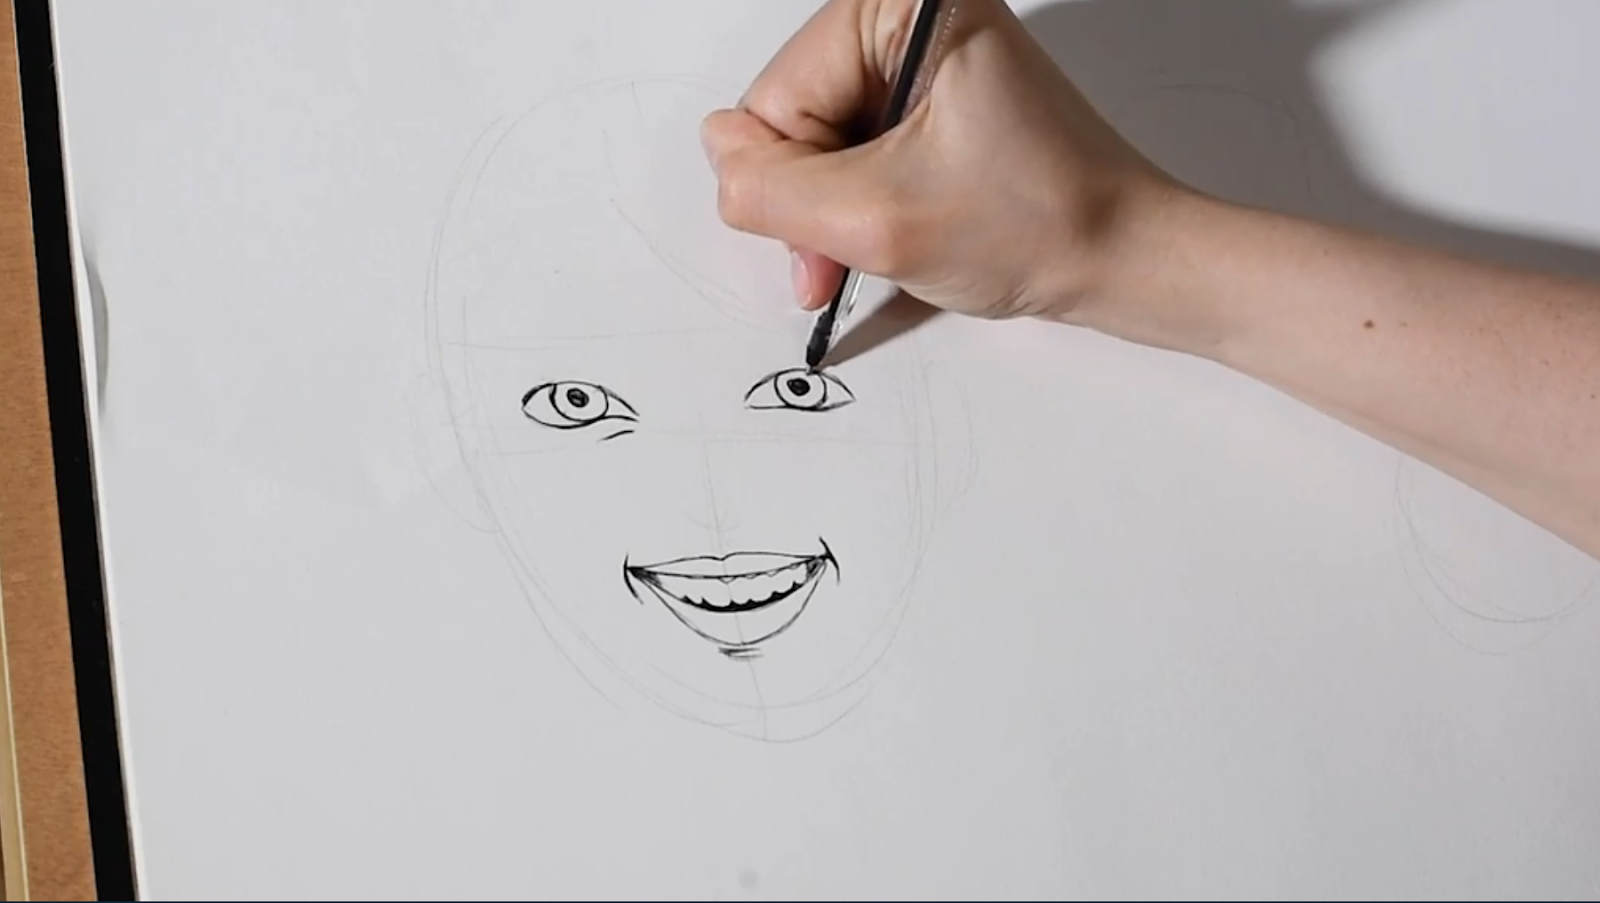
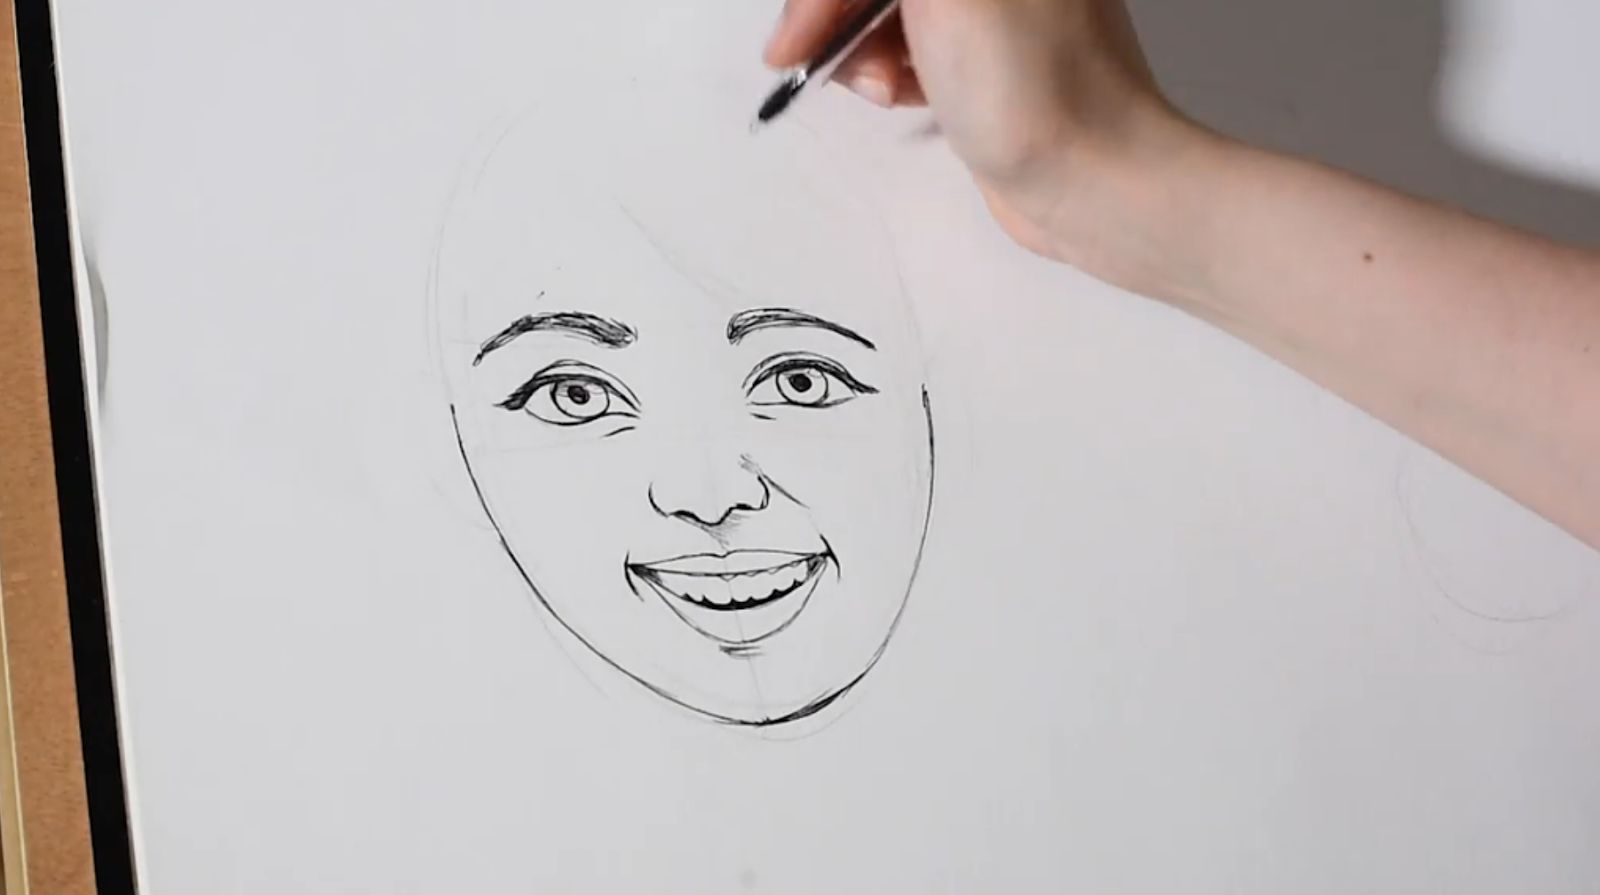
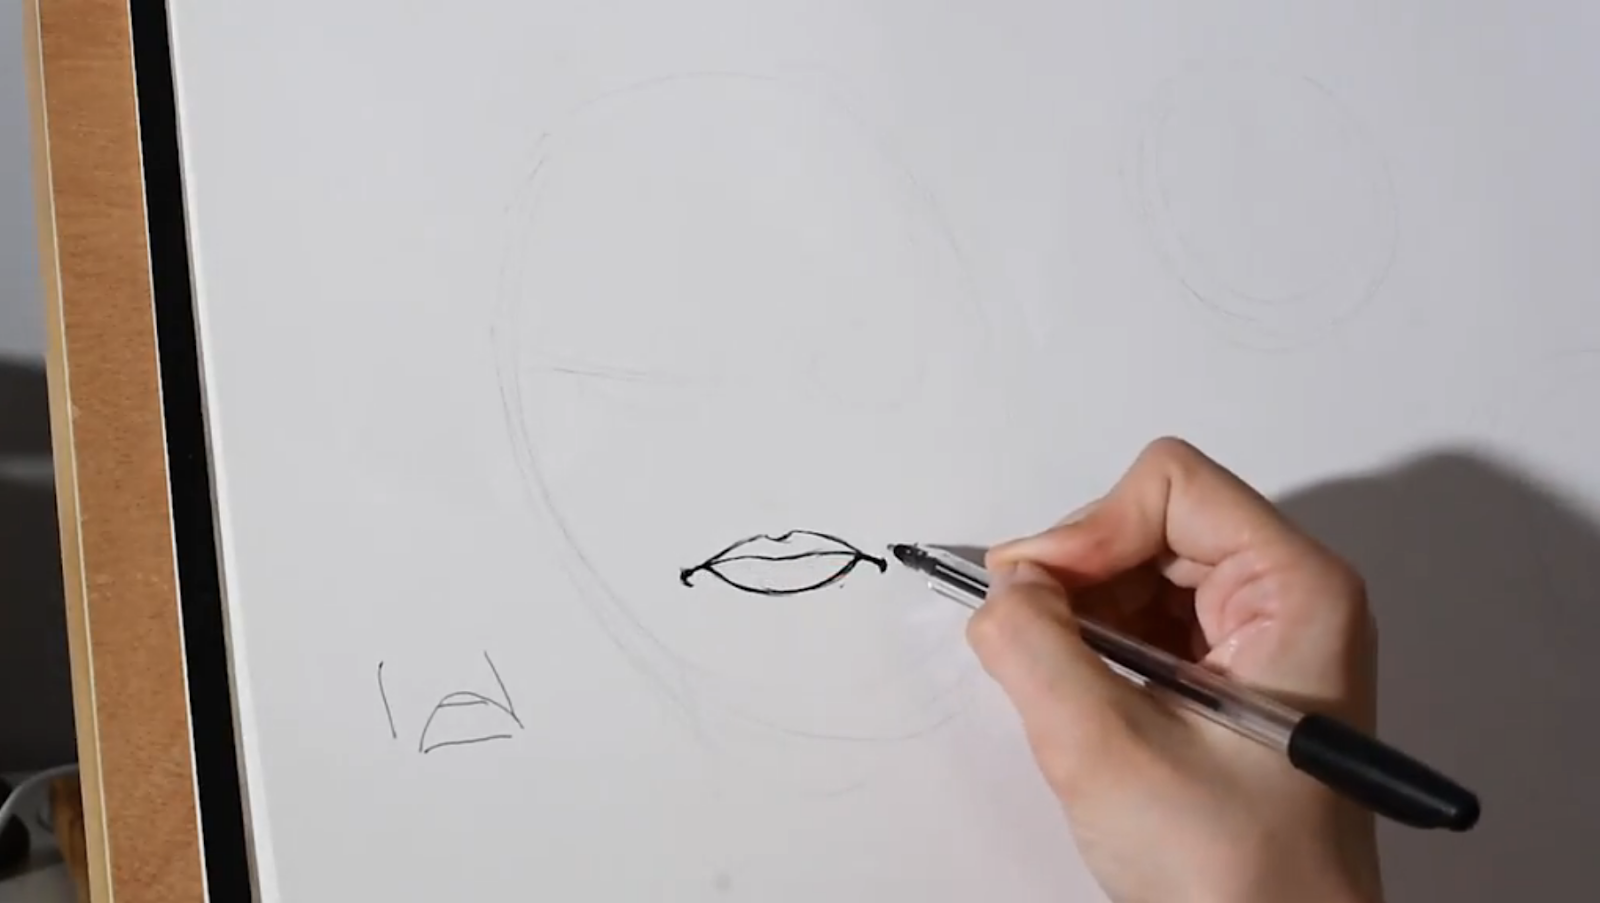
When we smile, the corners of the mouth and the line between the lips turn upward, so this is the first step when drawing faces with a happy expression. You can then add the lips and decide whether you prefer a closed mouth for a subtle and peaceful smile, or if you want to make a more expressive smile by drawing the mouth slightly open.

Step 2: The Eyes
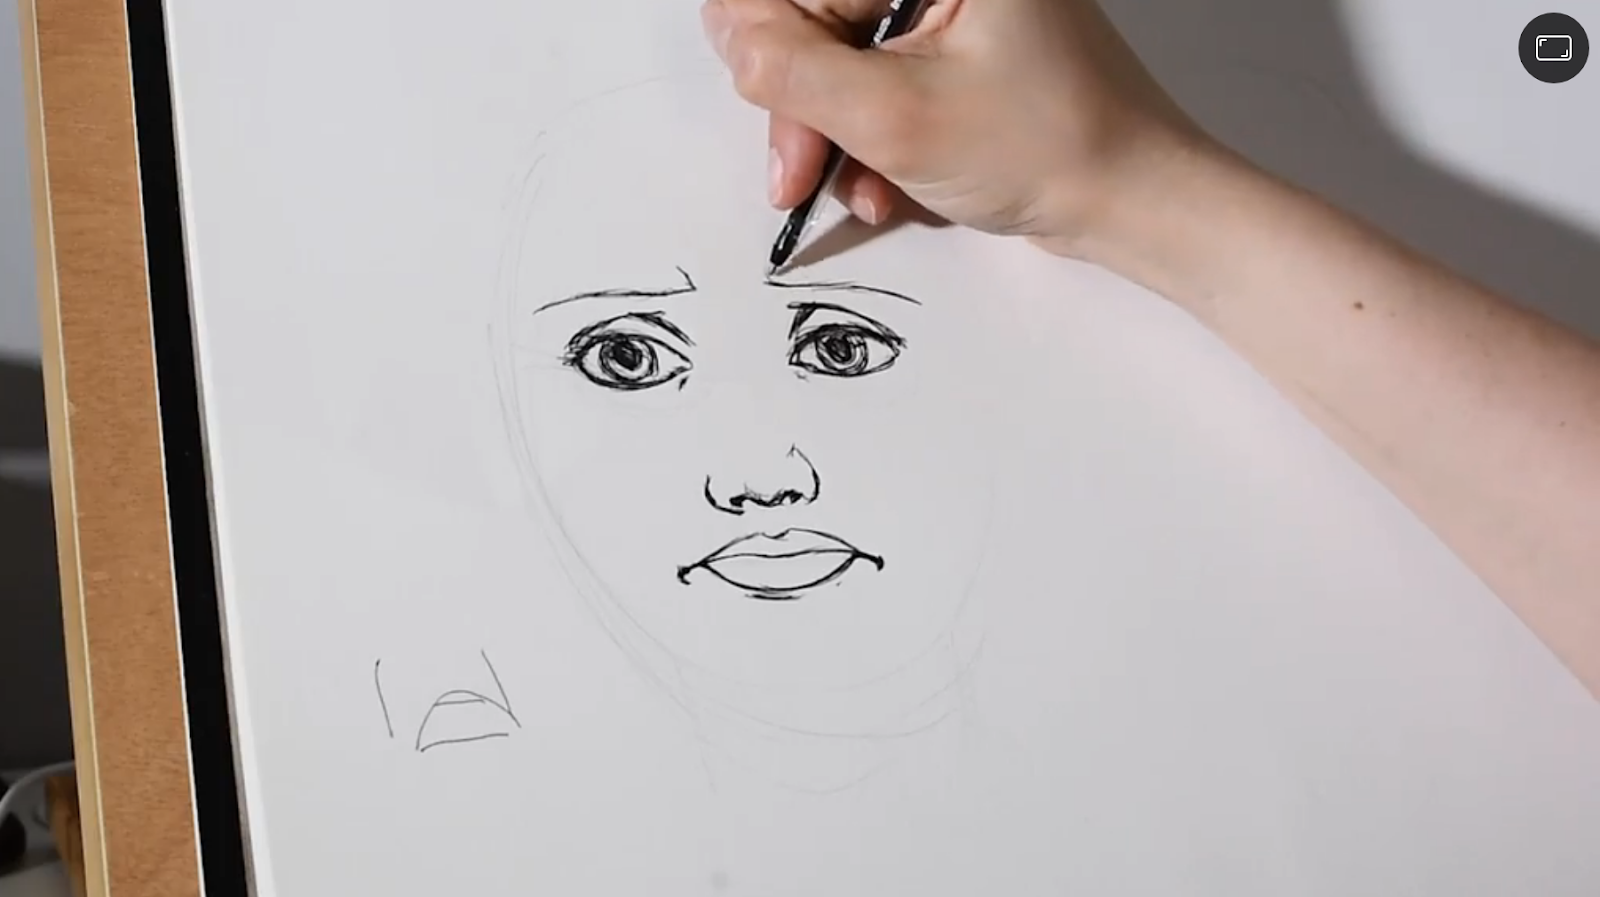
When we smile, the cheekbones go upward, making the eyes squint slightly (remember “smize”?). Do this in your drawing by making the lower lids arch up a little and adding wrinkles in the outer corner of the eyes to emphasize the gesture. The top lid will generally cover more of the iris than the bottom eyelid.
Step 3: The Nose and Cheekbones
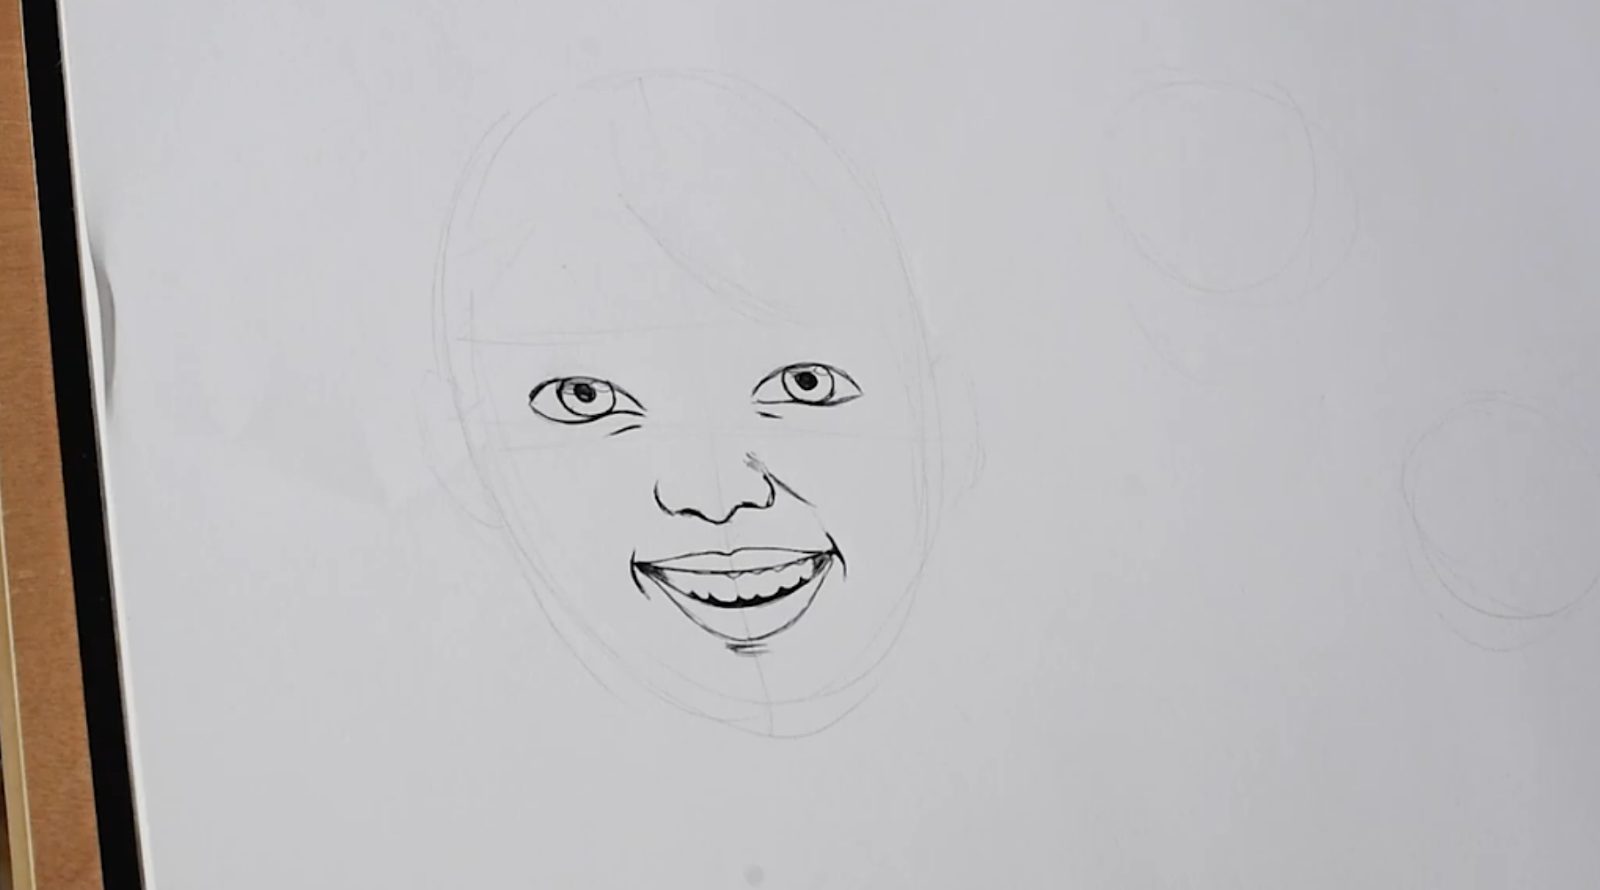
Sometimes smiling makes your nose scrunch up. Emphasize the outlines of the nostrils and make the septum curve go downward slightly. For the apple of the cheek, add lines from the corner of the nose toward the corner of the mouth, but avoid joining them if you don’t want your character to look older.
Step 4: Eyebrows and Details
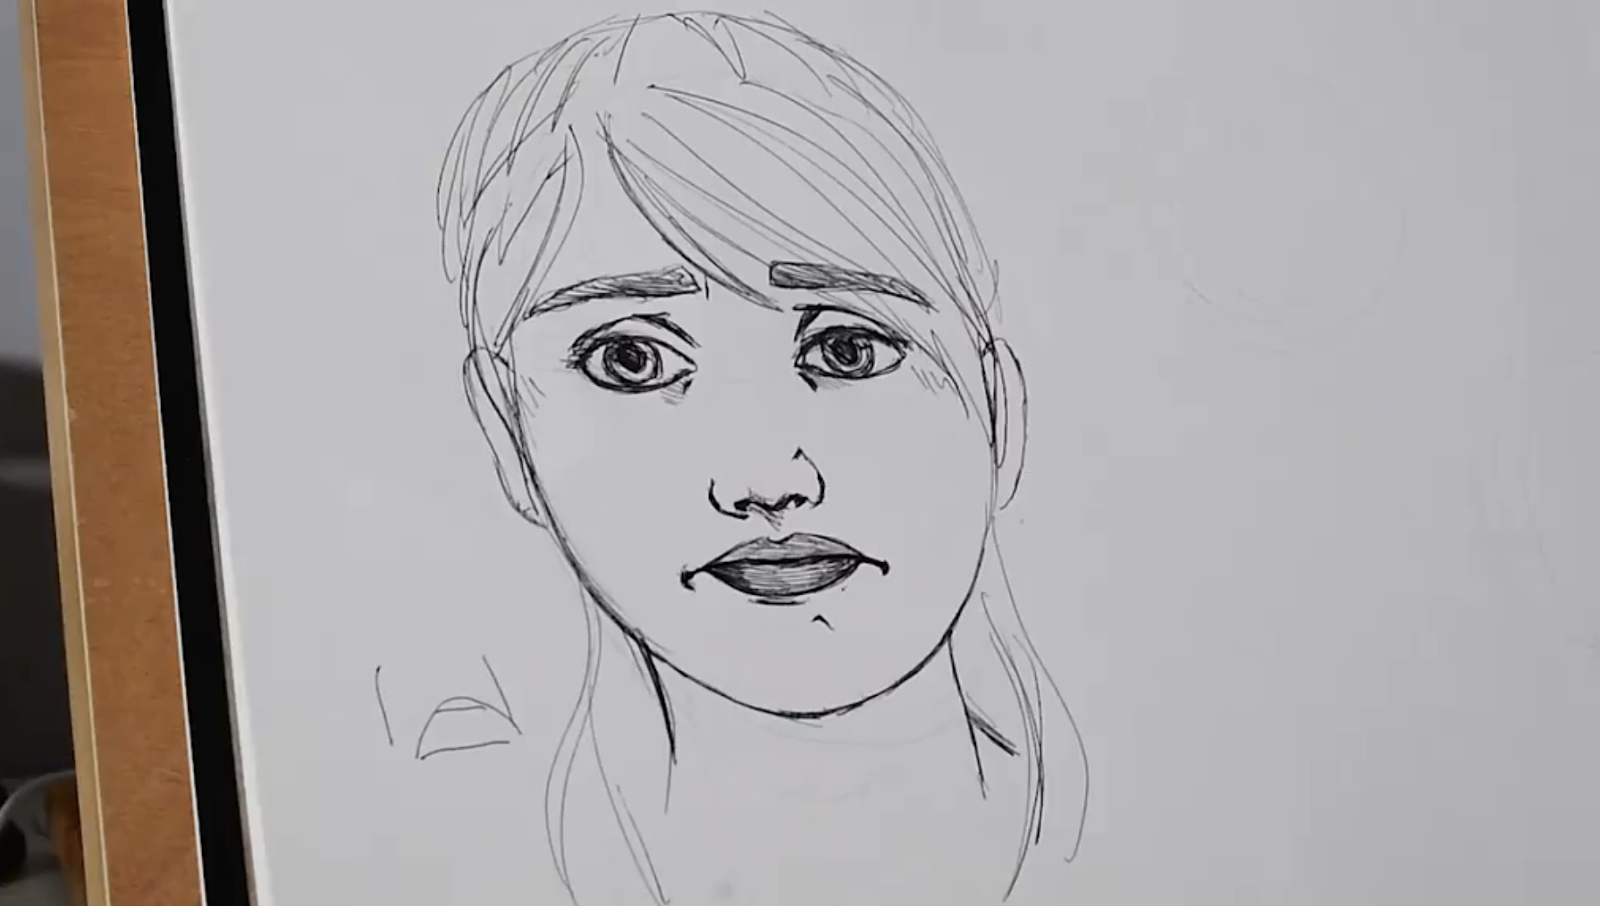
Finish your drawing by adding the eyebrows and any other details you’d like. Note that on a happy face the brow is relaxed, so the eyebrows will have a natural shape. You can experiment with raising the eyebrows or changing the shape of the eyes or mouth to explore subtle changes of expression in your character’s face.
How to Draw a Sad Face
The points of tension involved in a sad expression are the mouth and the brow. The simplest way to draw a sad face is by drawing a downward arch for the mouth and two diagonal lines that go upward toward the brow, but there are a few other details you can add that will make the emotion really shine through.

Step 1: The Mouth
On a sad face, the corners of the mouth go downward. You can intensify your character’s despair by drawing the mouth open; otherwise, keep the lips shut and draw lines outside the corner of the mouth to elicit a tense, disappointed, or frustrated expression.
Step 2: The Brow and Eye Area
The eyes and the eyebrows are key features of a sad face. The brow is furrowed and the inner corners of the eyebrows go inward and upward, causing wrinkles on the forehead. The outer corners of the upper lid go slightly downward (“puppy eyes”), and the gaze can be glassy, teary, or off to one side.
Step 3: Extra Details
Modulate the depth of emotion your character is expressing and achieve a more realistic result by shading certain areas, adding lines for wrinkles, or drawing tiny circles inside the iris for that teary-eyed look.
How to Draw an Angry Face
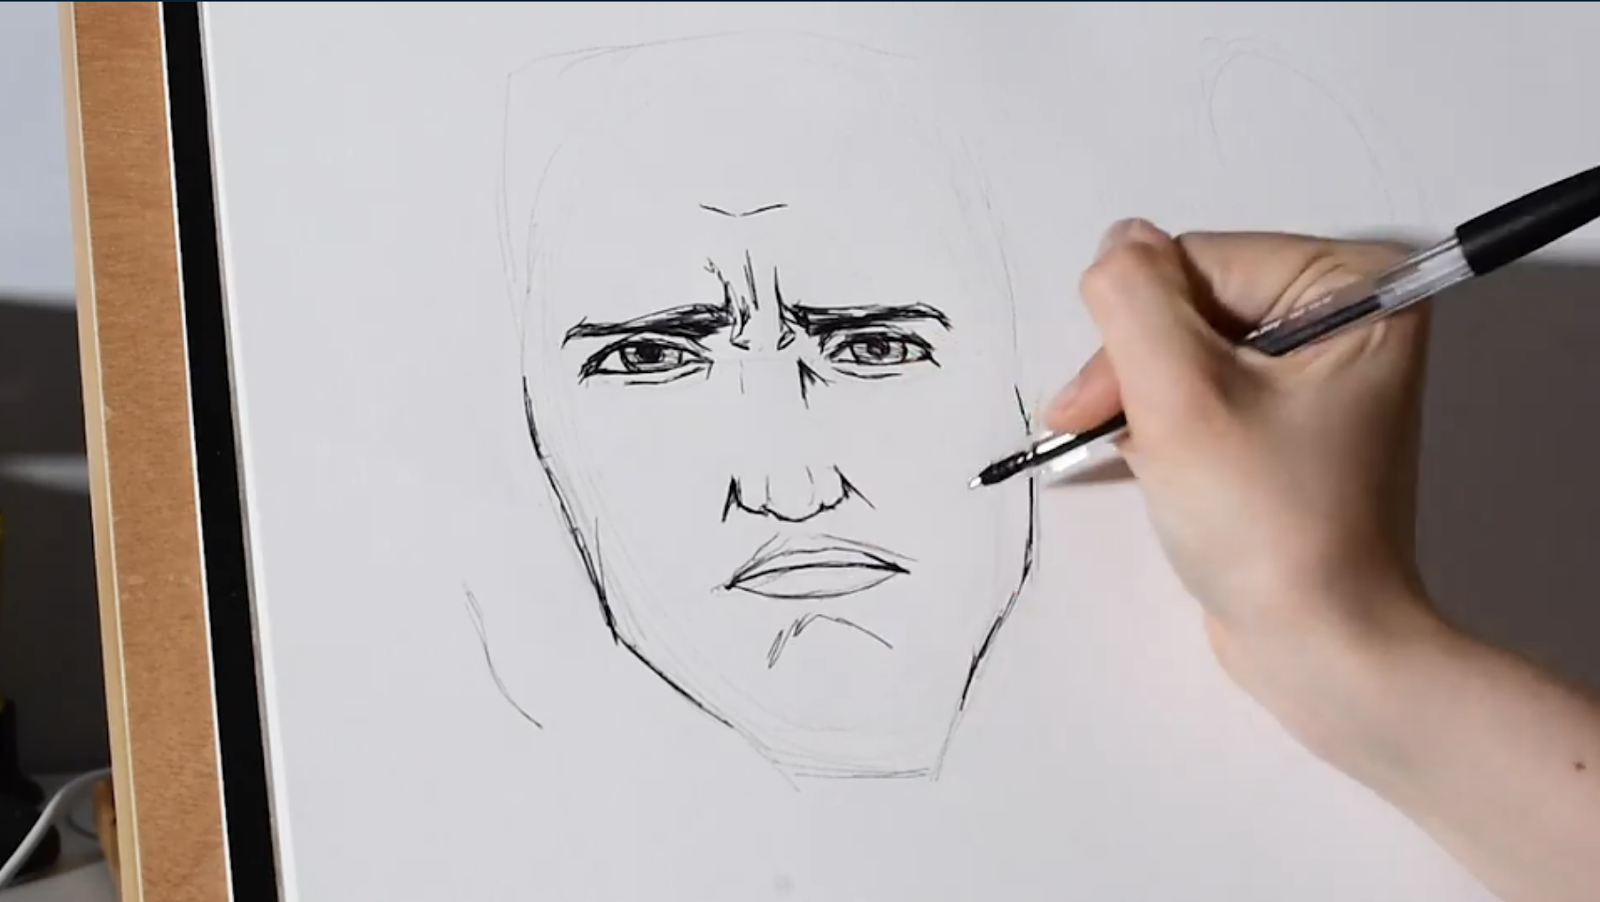
Anger is an agitated expression, especially in the top half of the face. The points of tension are the mouth and brow, and depending on the intensity of the emotion, the nostrils might flare and the mouth opens up to show the teeth. While perfecting your skills on how to draw an angry face, use stronger lines to emphasize the gestures.

Step 1: The Mouth
You can start by making an almost straight line, curved slightly downward toward the outer corners, and letting the line between the lips go slightly further out than where the lips end to add tension. You can also draw an arch below the mouth for a clenched jaw.
Step 2: The Eyes
The way the eyes gaze at the viewer is essential when drawing an angry expression. The eye shape is narrow and covers the top and bottom parts of the iris. The top lid is heavy and the bottom lid tenses up, causing wrinkles. You can add shading over the eye area to intensify the effect.

Step 3: The Eyebrows
A knitted brow is an essential feature of an angry facial expression. The eyebrows draw down and together, going over the top lid and helping darken the gaze. Adding vertical wrinkles between the eyebrows will immediately give the right effect.
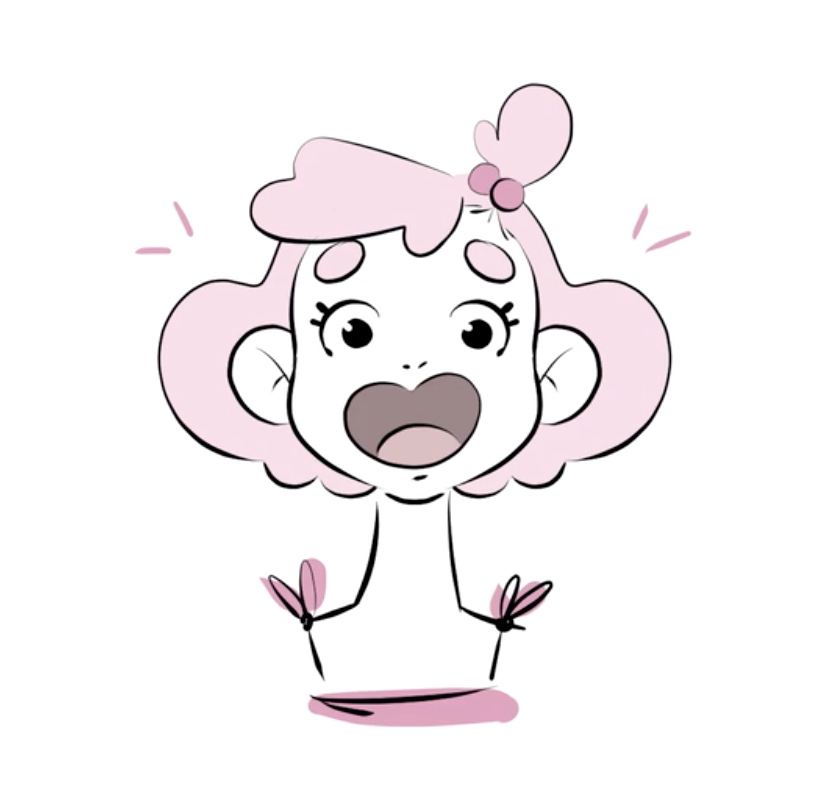
How to Draw a Scared Face
The points of tension involved in a scared face are the forehead and the jaw, if open. Just like in a surprised face, the eyebrows are raised, the eyes wide open and the pupils dilated. However, in a surprised face the mouth is in an “o” shape whereas with fear the jaw is tense, causing the cheekbones to go upward and the lower lids to tense up.
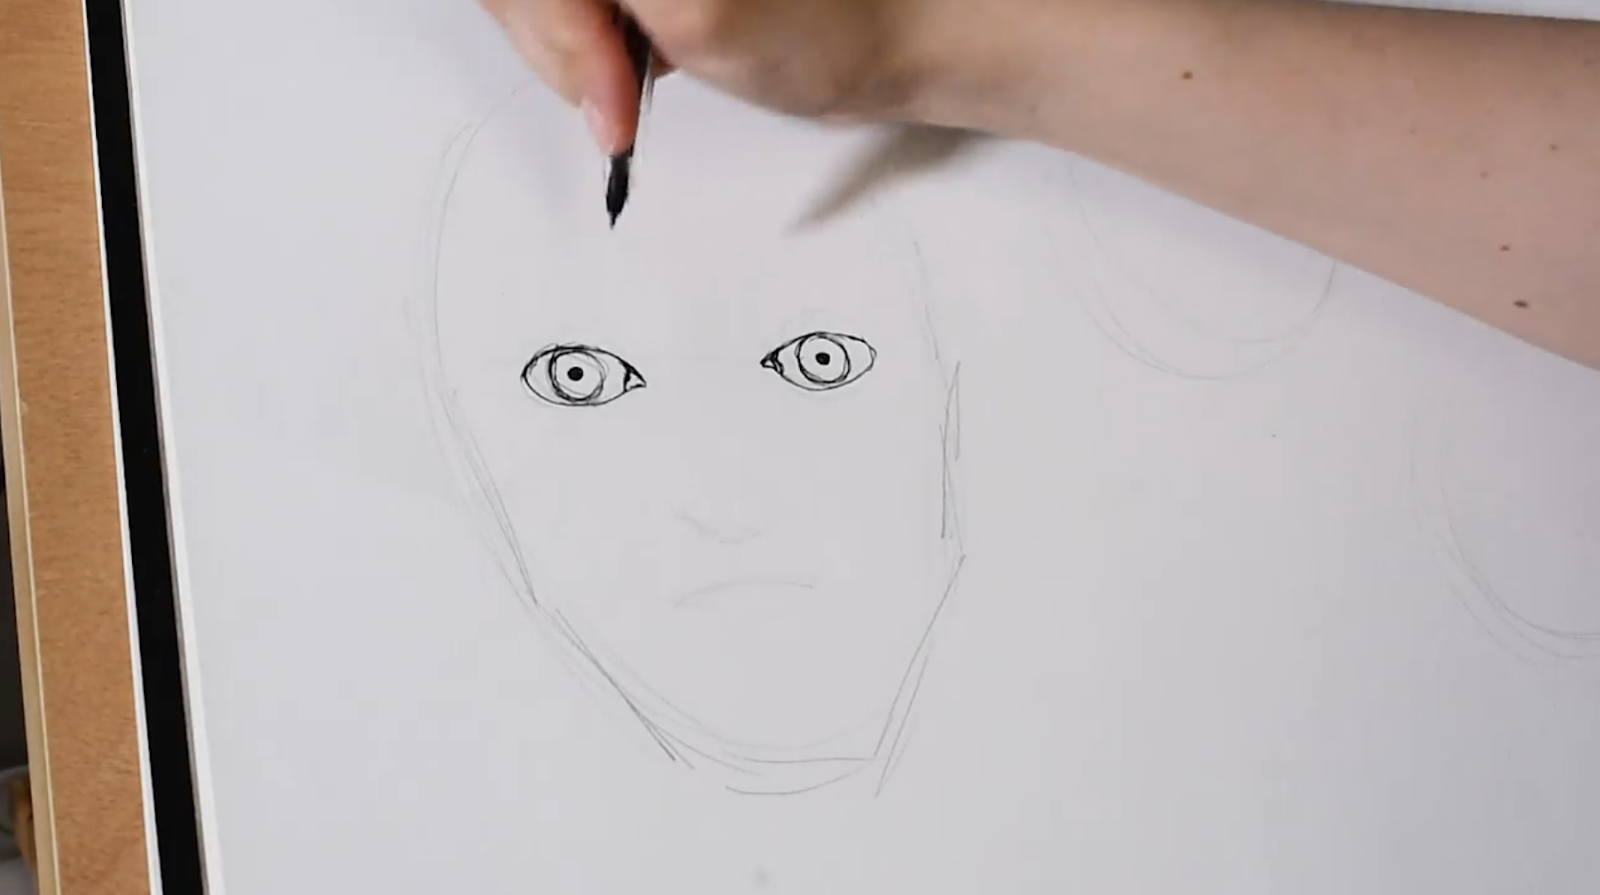
Step 1: The Eyes
If you want to learn how to draw a scared face and the rest of the emotions that live beside it—surprise, worry, shock, and horror—a useful trick is to add more white around the dilated pupil and play with how much of the iris is covered by the top and bottom lids.
Step 2: The Eyebrows
The brows are lifted and furrowed, causing wrinkling in the center of the brow.

Step 3: The Mouth
In a fearful state, the mouth will usually open wide. However, changing it from an “o” into a more skewed shape will completely change the kind of expression you achieve. Feel free to play around!

Bring Your Characters to Life
Give Emotion to Your Characters: Drawing Expressions
Try Skillshare for free! Sign up for a 7 day free trial today!
Get Started- Unlimited access to every class
- Supportive online creative community
- Learn offline with Skillshare's app


