

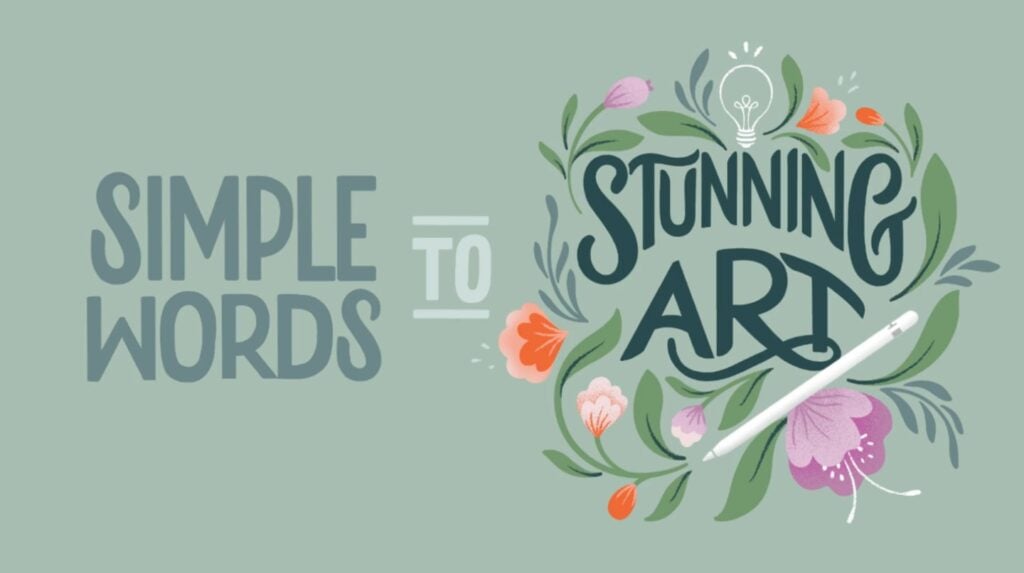
How to Curve Text in Procreate in 4 Steps
Discover how to curve text Procreate with our step-by-step guide. In just four simple steps, you can effortlessly elevate your digital designs.


Need to add a little creative flair to your Procreate projects? One effective way of doing so is by putting a curved spin on standard text.
Whether you're designing a logo, creating digital illustrations or working on a custom lettering project, curved text can add a dynamic and eye-catching element to your work. Explore the various methods you can use to curve text in Procreate and you’ll soon be enhancing your designs with elegant curves.
Why Curve Text in Procreate?
Curving text in Procreate serves as a versatile and creative technique that can add depth, dynamism, and aesthetic appeal to digital artworks. Here’s why you might want to curve text to make your Procreate projects pop:
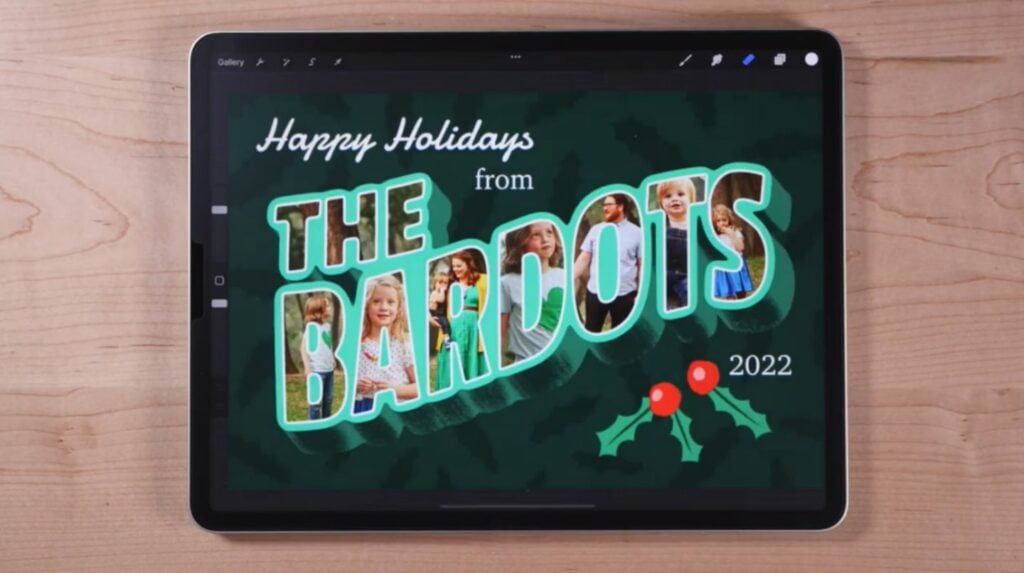
- Visual interest: Curving text introduces movement and flow to your designs, which can make them more dynamic and visually engaging. If you’re masking quotes on a photo, for instance, you can curve the text around the photo’s elements for greater visual impact.
- Logo design: If you’re designing a logo you want customers to recognize and remember, curved text can serve as a distinctive and memorable element.
- Typography exploration: Curving text adds a whole new dimension to all kinds of typography, from 3D text to hand lettering in Procreate, and can enable you to experiment with an array of new shapes and arrangements.
- Emphasis and hierarchy: By placing curved text in strategic locations, you can guide the viewer's attention and establish a clear hierarchy of information.
- Advertising and marketing: In ads and marketing materials both digital and physical, curved text can make messages more eye-catching.
Is it Easy to Curve Text on Procreate?
Adding text in Procreate is an undeniably straightforward process. With its user-friendly interface, the app makes it easy to incorporate text into your digital creations. Curving that text, however, might initially seem like a more complex task.
Fortunately, that’s not necessarily the case. Thanks to Procreate’s many features and tools, you have several ways to curve text in precisely the way you want. Want to curve text as quickly as possible? The Warp tool will be right up your alley. Prefer to have as much control as possible? You might want to manually place each letter instead.
No matter which method is best for you, it only takes a few simple steps to master Procreate’s text-curving functionalities.
4 Ways of Curving Text on Procreate
In Procreate, there are several methods you can use to curve text, each offering a unique approach to achieve the desired effect. Here are the different methods:
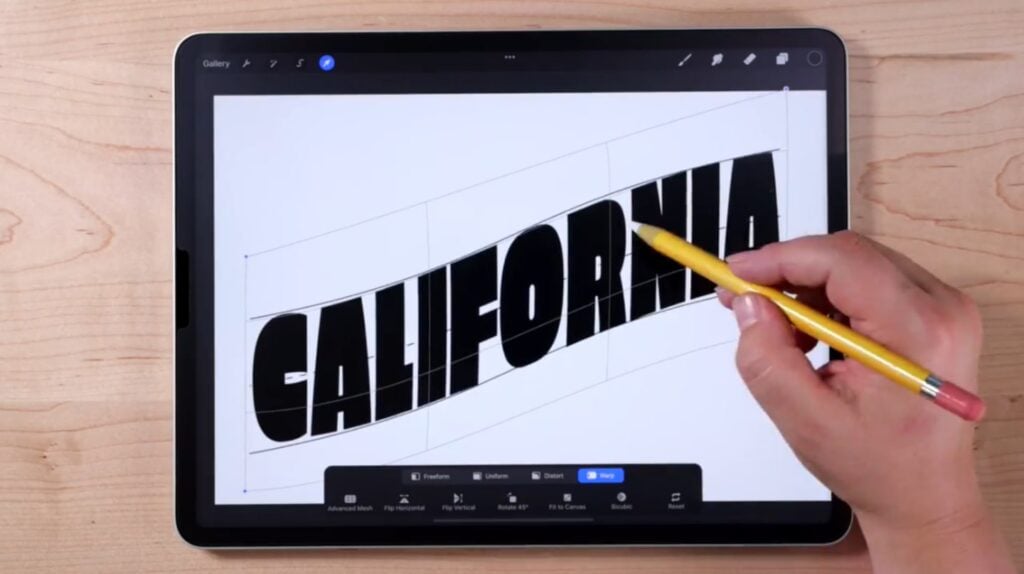
1. Warp Tool
- Create sketch lines and align the text: Before using the Warp tool, establish a guide by creating sketch lines to outline the desired curvature of your text. Align your text along these lines for a clear reference.
- Select the warp tool: In Procreate’s Transform toolbar, locate and activate the Warp tool. This tool allows you to deform and manipulate your text, giving it a curved appearance.
- Use the Warp tool to shape the text into a curve: With the Warp tool active, carefully drag and adjust specific points or sections of your text to create the desired curve. Experiment with different levels of distortion until you achieve the perfect curvature.
2. Liquify Tool
- Activate the Liquify tool: Select the Liquify tool by navigating to Adjustments > Liquify. This tool is ideal for adding organic curves to your text, and offers a more fluid and dynamic appearance than the Warp tool.
- Choose the best mode for your needs: The Liquify tool has six different modes to choose from—Push, Twirl, Pinch, Expand, Crystals, Edge and Reconstruct. Each imparts a different effect, but if you’re aiming for a curved effect, Push will likely be best for you.
- Apply the Liquify tool to shape the text into a curve: With the Liquify tool active and the Push mode selected, apply it strategically to different parts of your text. Try using small, gentle strokes to gradually shape the text into a curve that complements your overall design.
3. Create a Circular Guide
- Use the QuickShape tool to draw a perfect circle: Draw a circle, and keep the tip of your stylus held on the canvas. Once the Edit Shape button appears at the top of the screen, tap it and then select Circle.
- Adjust the circle’s shape and size: To change the circle’s shape, tap and drag any of the nodes that appear around it. Or to scale it up or down uniformly, tap and drag it at any point between its nodes.
- Add text: Insert your desired text, then use the Warp tool to align it with the circle’s curvature.
4. Manually
- Sketch guides and align the text: Begin by sketching guides that outline the curves you want your text to adhere to. Align your text along these guides to maintain precision throughout the manual curving process.
- Choose individual letters and modify snapping settings: Use the Selection tool to select individual letters. Be sure to modify the snapping settings to ensure accurate alignment—this step is crucial for achieving a seamless and professional-looking curved text.
- Adjust the position and rotation of each letter: With each letter individually selected, fine-tune their position and rotation. Carefully manipulate each letter until they collectively form a visually appealing and cohesive curved text.
Choosing the Best Method to Curve Text in Procreate
While Procreate makes the process of adding text easy, the ability to select the right method for curving text is what distinguishes a proficient digital artist. And with the various methods outlined above, you’ll always be able to choose the best method for your needs.
Looking to improve your Procreate skills further? With hundreds of online Procreate classes and free Procreate resources available 24/7, there’s no better place to do so than Skillshare.
Carrie Buchholz
Carrie Buchholz is a freelance writer who lives in Northern Colorado with her husband and dog.
Learn Procreate with Skillshare – Start Your Free Trial Now!
Explore classes- Unlimited access to all classes
- Hands-on classes with Procreate experts
- Project-based learning for all skills


