

How to Bake Textures in Blender
Learn how to efficiently bake textures in Blender with our detailed guide


When you make a 3D model in Blender, you can use 3D geometry to create unique patterns with textures to bring your designs to life.
You can choose to either import these textures or make your own by using meshes. No matter which option you go for, it takes a lot of computing power to render this level of detail in other applications. That means that for real-time experiences, like video games or virtual reality, you have to find a way to export your work without killing performance.
The way around this is to bake textures before you export your design.
Sound confusing? Read on to learn more about the baking process and get tips on how to make this part of your Blender workflow.
Understanding Texture Baking
What is Texture Baking?
In Blender, you can transform a high-resolution model into a lower-resolution one with texture baking.
When you bake textures, you essentially turn the bumps and shadows of your 3D model into a flat image texture that can be applied to the lower-resolution model.
Why is Texture Baking Important?
Texture baking is essential for real-time applications that require high performance, like video games or virtual reality experiences, to avoid any lagging or glitches.
By reducing the complexity of your 3D model and exporting it into common image formats, you also expand its compatibility with other game engines.
There are other benefits when you bake textures, too, including improved workflow efficiency. By baking elements like a procedural texture or ambient occlusion into your base image, you can speed up your texture painting or use it as a base for further edits.
Types of Texture Baking
Texture baking works for procedural textures and shader details, and there are five common types:
- A diffuse map bake (also called albedo bake) preserves the base color of a high-poly mesh and can be combined with other textures to create a more complex material. For example, you’d use this to add roughness to a map and create the look of flaking paint.
- A normal map bake turns refined details such as bumps, wrinkles, and grooves into a grayscale layer that interacts with the light. It helps make objects appear more realistic.
- A specular map bake captures the glossiness of details like shiny spots and turns this into another grayscale image that reflects the light.
- A roughness map decides how rough a surface appears. When you bake this texture, you’ll get a greyscale image in which the white details relate to matte surfaces and the black pixels show where it’s shiny.
- Ambient occlusion bake maintains the way that light bounces around objects within a scene with another greyscale image texture. This technique defines which areas block light, for example, to give depth and realism to every corner of the scene.
Step-by-Step Guide to Baking Textures
It’s pretty straightforward to bake textures in Blender, but the process differs depending on the type of map you’re working with.
Be sure to monitor the render properties, as this will help you achieve high-resolution results. Check that the image size and samples are large enough, but be careful not to make them too big, as this could cause performance losses. Choose ‘box’ or ‘sharp’ filters to preserve sharper details, and consider the number of light bounces carefully because more complex lighting interactions mean increased baking times.
No matter what type of texture blending you’re about to do, you’ll need to prepare with three steps:
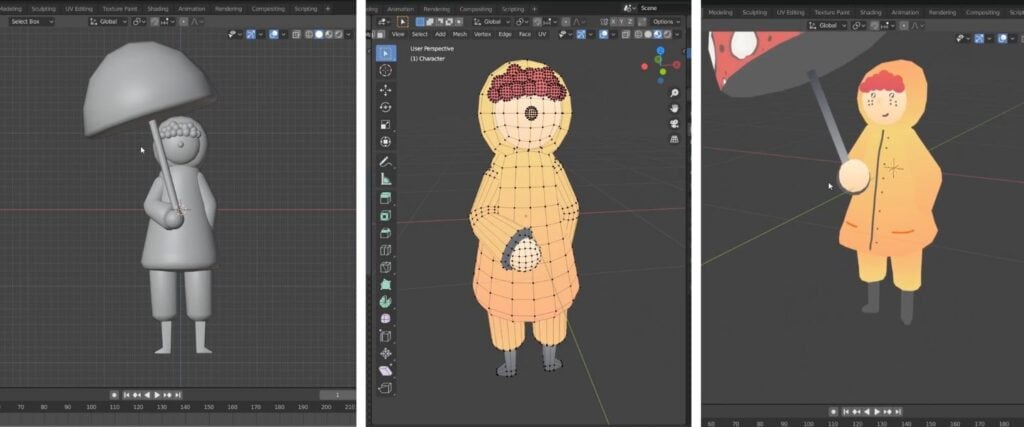
- Get your high-poly and low-poly model ready side-by-side.
- Make a 2D layout of your 3D model with UV unwrapping.
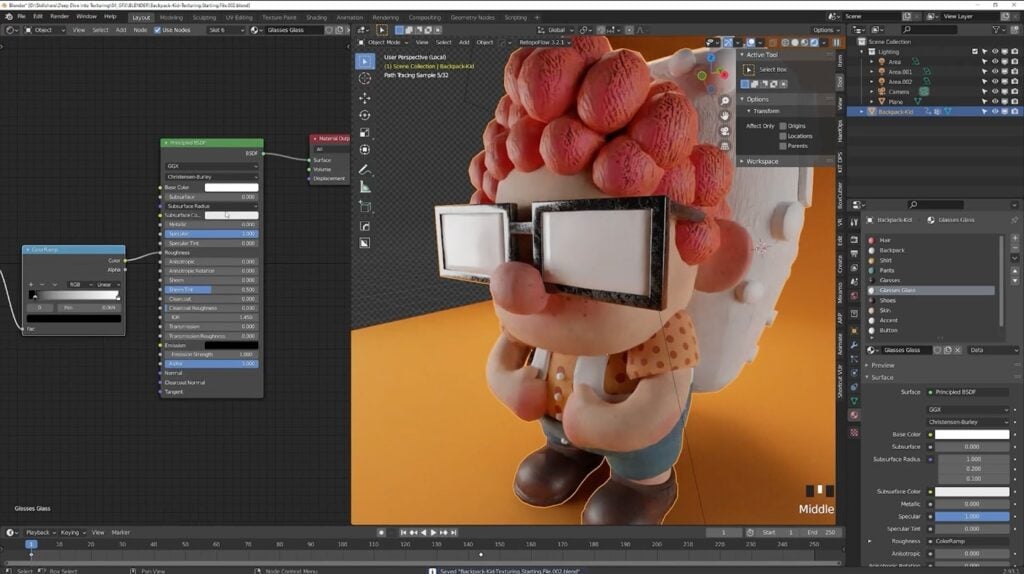
- Create a material for your low-poly object. It can be as simple as you like, but make sure you’ve connected it to the color output, texture (the normal map) and roughness to the ‘normal’ input of the principled BSDF shader node.
How to Bake Diffuse & Specular Maps
The process for baking diffuse and specular maps in Blender is the same:
- Select your low-poly model to ensure it’s the active object. Then, in the top menu, click ‘bake’ and then ‘bake’ again.
- When the bake panel opens, head to the ‘bake type’ section and select diffuse or specular.
- Under image settings, click the ‘new’ button next to ‘image’. This will create a new image texture for your diffuse or specular map.
- Go back to the ‘bake’ section and set the ‘target’ option to either ‘diffuse’ or ‘specular’.
- Click the ‘bake’ button at the bottom of the panel.
How to Bake Normal & Roughness Maps
Baking normal maps and roughness maps is similar to the above, but you need to switch your render engine first.
- In the scene properties panel, change your render engine to ‘cycles’. It’s not possible to bake texture with Blender’s real-time engine (named Eevee).
- Go to render properties and find the ‘bake’ section. Choose ‘normal’ for the normal map or ‘combined’ for the roughness map.
- For ‘target,’ click the small image icon next to ‘bake’ to create a new image texture. Remember to set the resolution.
- Give a value for the ‘ray distance’ option. It’s recommended you calculate the object’s largest dimension and multiply it by 0.01 to get a ray distance that’s worth trying.
- Click ‘selected to active’ to bake information from the high-poly object. When you’re ready, click the ‘bake’ button.
Baking Multiple Materials & Managing Complex Textures
When you’ve got to manage a variety of complex textures, the baking process might seem a little overwhelming. It could be easiest to bake individual textures instead of trying to merge multiple materials and shaders into just one texture map.
However, Blender’s cycles rendering mode lets you bake multiple textures at the same time. This advanced technique involves combining different texture layers in compositing software first, which can be challenging for beginners.
If you’re starting out with your 3D model work, it’s worth asking yourself if you really need to include all the detail that you want to. If the answer is yes, make sure you use clear and descriptive names for your baked textures so you can manage the myriad materials more easily.
Learn Blender & 3D Modeling Skills with Skillshare
Now you understand how Blender can bring your illustrations to life, and how baking those textures can improve performance and make your workflow more efficient, it might be time to think about other ways to enhance your 3D projects. For example, you could explore different baking techniques with Skillshare’s expert-led tutorials, focus on how to master the art of Blender animation or take a deep dive into texturing with Blender. If you find a class that inspires you, make sure you complete the projects so you can be on your way to becoming a 3D illustrator.
Related Reading:
Learn Animation with Skillshare – Start your 7-Day Trial Today!
Get Started- Hands-on classes with animation pros
- Unlimited access to all classes
- Browse a variety of animation platforms


