

How to Animate in Blender: The Ultimate Guide
Breathe life into your ideas with Blender animation. Discover how you can use Blender to create 2D and 3D animations, even if you’re a total beginner.


Blender, a versatile open-source 3D creation suite, is an animation powerhouse. For aspiring animators and seasoned professionals alike, mastering Blender animation makes it possible to bring abstract ideas to life with precision and creativity.
Delve into the intricacies of Blender animation, explore both 2D and 3D animation techniques, and learn about Blender’s best animation tools. Even if you’re a complete beginner, you’ll soon be ready to tackle your first Blender animation project.
Animation 101
Before diving into the nitty-gritty details of Blender's robust animation tools, let's clarify what Blender animation is all about. Animation in Blender involves giving life and motion to objects and characters in a 3D environment (sometimes with the goal of making them appear 2D, as we explain below).
It's the process of creating a sequence of images, each slightly different from the last, to create the illusion of movement. Blender provides an extensive array of tools to facilitate this process, and understanding how to leverage these tools is crucial for successful animation. So while Blender isn’t the only animation software available, it’s one of the most powerful (and it also happens to be free!).
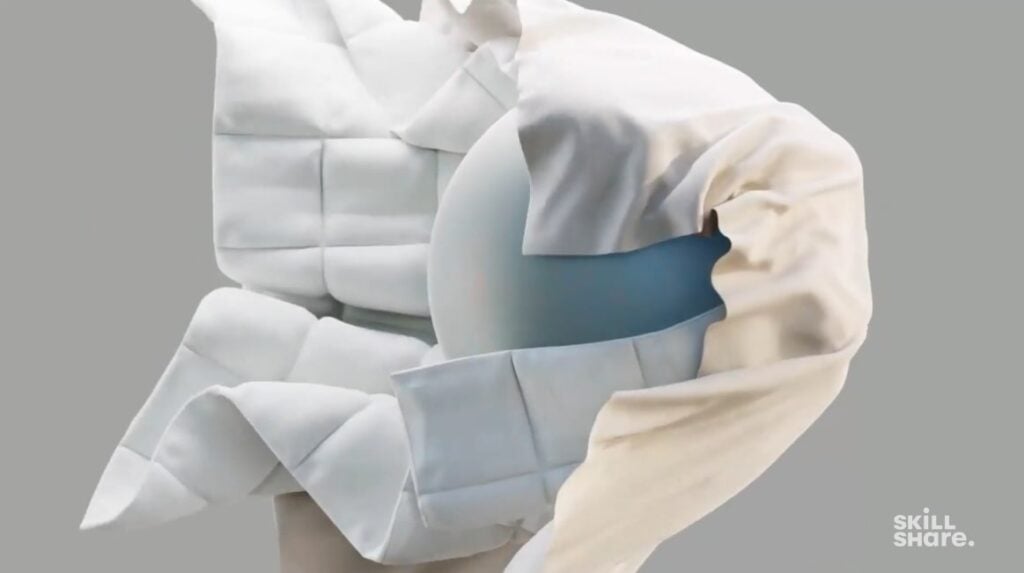
Blender animation can be applied to various types of subjects, from inanimate objects to cartoon characters to complex human forms. By mastering Blender's tools, you can gain the ability to manipulate, deform, and animate all your creations, whatever they may be. This skillset empowers you to tell engaging stories, visualize architectural designs, craft captivating video game characters, bring products to life and more.
Best Blender Tools to Learn About
To become an adept Blender animator, you’ll need to acquaint yourself with several of the program’s indispensable tools and features.
Some of the most useful tools include:
- Constraints: These allow you to set rules and conditions for how objects move and interact. For example, you can specify where it’s located, limit the degree to which it can be rotated, and more.
- Motion paths: Create predefined paths for objects to follow and simplify complex animations with the help of motion paths. They also allow you to quickly and clearly visualize the motion an object will take.
- Drivers: Control multiple aspects of an animation through a single parameter. For instance, the rotation of one object can be controlled (i.e. driven) by the location of another object.
- Shape keys: Morph an object between different shapes and poses with shape keys.
- Rigging: Skeleton-like structures that enable animations of 3D objects. With a human character, for example, rigging enables realistic animations in which the character’s joints bend in the right places and directions.
- Grease pencil: A versatile 2D animation tool that allows you to draw in a three-dimensional space.
- Keyframes: Record an object’s exact position and placement at a certain point in time by adding a keyframe to mark it.
Once you’re able to understand and use those tools, you'll be well-equipped to handle a wide range of animation-related tasks.
2D Animation in Blender Step-by-Step
Blender may be focused primarily on 3D graphics, but it can still be used to create stunning 2D animations.
Follow these steps to start creating 2D animations of your own:
1. Start a 2D Animation File
Click the “File” tab, hover over “New” and click “2D animation” to create a new file.
2. Create a Grease Pencil Object:
Switch to object mode by selecting it from the drop-down menu in the upper-left corner. Create a Grease Pencil object to serve as your canvas.
3. Enter Draw Mode
Go back to the drop-down menu you used to select object mode, but this time use it to enter draw mode. From here, you can use Blender’s built-in animation and drawing tools to start creating the foundation for your animation.
For example, the Draw tool will allow you to add strokes and color, while keyframes will make it possible to block out your animation’s sequence.
4. Prepare the Animation
Switch to edit mode and get your drawings ready to animate. Depending on the result you’re trying to achieve, this could involve creating a motion path for your object to follow, creating a new drawing for each frame of the animation, or manually moving your objects into position for each keyframe.
5. Preview Your Animation
To see what your animation will look like without taking the time to create a high-resolution render, click on the “View” menu and then select “Viewport Render Animation.” This will quickly generate a preview of your animation. From there, you can either make adjustments or move on to rendering.
6. Render Your Animation
Once you’re happy with your animation, follow Blender’s rendering instructions to finalize and render it.
Animating 3D Models in Blender
Not into 2D animations? No problem. Download any 3D model (or create your own 3D object, if you’re feeling ambitious) and you can animate it in Blender.
Follow these steps to put your 3D models in motion and create original 3D animations of your own:
1. Create a New File
Instead of creating a 2D animation file, create one for 3D animation by clicking the “File” tab, hovering over “New” and clicking “General.”
2. Import Your 3D Model
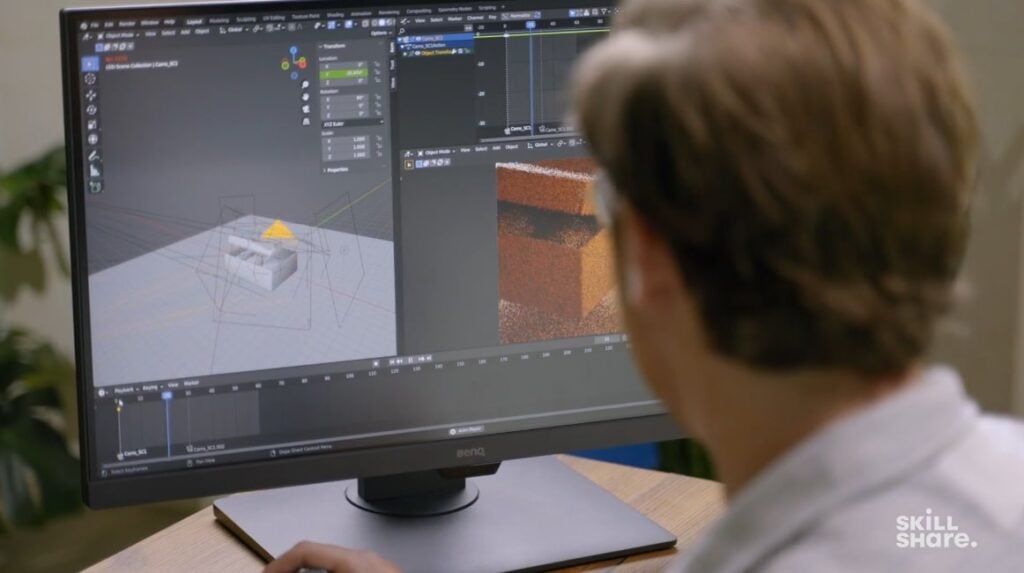
Next, import your 3D model into Blender by clicking “File” and hovering over “Import.” Select the appropriate file format (such as .obj), find and select the model you want to import, then click the “Import” button.
After doing so, you should see the model in the 3D space you’ve created. Import more models as needed to build your 3D scene, and use Blender’s built-in lighting tools to illuminate everything.
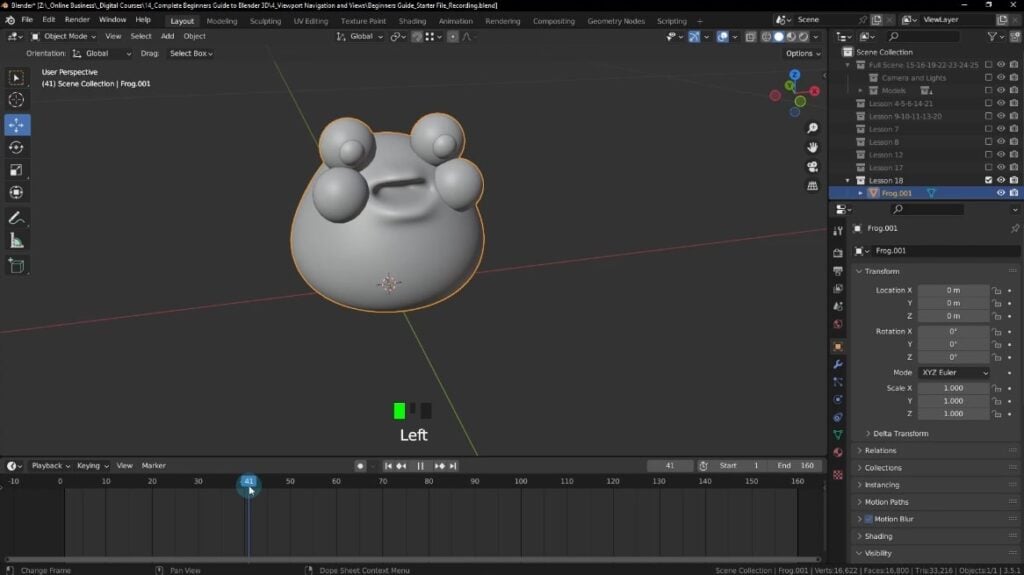
3. Add Keyframes
Use keyframes to set the initial and final positions and orientations for your 3D object. To insert a keyframe, enter object mode, then click “Object,” “Animation,” and “Insert Keyframe.”
Add as many keyframes as you need, and play around with your objects’ position and orientation in each one to create the effect you’re looking for.
4. Find References
As you’re working on your animation keyframe by keyframe, be sure to use references whenever possible. Doing so will help you create more realistic and accurate movements, whether you’re animating people, animals, plants, machines, or just about anything else.
5. Polish and Fine-Tune
Fine-tune your animation by adjusting keyframes and the interpolations knitting them together. Also take the time to animate small portions of your models that you may have overlooked while focusing on the larger motions, and remember to give some attention to your animation’s texturing too.
6. Add Sounds
If you want to enhance your animation with sound effects or dialogue, you can do so in several different ways.
For instance, you can add an audio clip directly into the 3D space by creating a speaker object. This can be especially useful for adding ambient background music and environmental sounds.
Alternatively, you can use Blender’s Video Sequence Editor to edit and fine-tune Sound strips. This can be helpful if you need to precisely match audio to specific parts of your animation.
7. Preview and Render Your Animation
As described in the steps for creating a 2D animation above, preview your 3D animation to ensure it looks how you want it to. Once you’re happy with the results, you can render it and see your final animation come to life.
Create Unique Animations with Blender
Mastering Blender's animation tools is a gateway to limitless creativity. From crafting 2D animations that tell stories or breathing life into 3D characters and objects, Blender offers a powerful platform for animators of all levels.
As you continue to explore Blender's animation features, remember that practice and experimentation are key. With time, dedication, and a deep understanding of Blender's animation capabilities, you'll be on your way to creating unique and captivating animations that truly stand out.
And if you need a little help along the way, remember that Skillshare’s library of Blender classes are available 24/7 for beginners and advanced Blender artists alike.
Carrie Buchholz
Carrie Buchholz is a freelance writer who lives in Northern Colorado with her husband and dog.
Learn Animation with Skillshare – Start your 7-Day Trial Today!
Get Started- Hands-on classes with animation pros
- Unlimited access to all classes
- Browse a variety of animation platforms


