

Here’s How to Make a Mockup
Learn how to make a mockup in Adobe Photoshop for websites, products, and more.


Before you get started on a new project, it’s always a good idea to map out exactly what you’re planning. With design work and prints, that’s even more crucial. After all, you don’t want to have hundreds of products produced, only to find that they don’t look quite right when you’re holding them in your hands. That’s where mockups come in.
In this tutorial, we’ll show you how to make a mockup, including how to make a product mockup in Photoshop, so that you can easily get started on your own designs.
What Is a Mockup?
The best way to think of a mockup is as a simulation of your design on whatever surface or material it’ll be appearing on. A digital mockup is essentially a photo or graphic of your final product, with the design mapped on top to look as if it’s been printed on the product.
Product-based businesses are some of the most common users of mockups. They’re a great way to pitch new ideas or even to simply brainstorm what a new design will look like in real life.
The best part of this is the minimal overhead spend. If you’re only working with one or two designs and you know they’ll be perfect straight away, it may not be as costly to get one or two sample shirts or mugs printed. But if you’re working with hundreds of different designs, or even just one design that’s a little complex and has room for error, you’ll find yourself having many samples made as you make updates or changes to the final look.
Mockups are also heavily used in client-focused industries—think graphic design agencies—and in website or app development. Having a mockup gives you, the designer, the ability to show a client what their final designs will look like on a digital platform, without having to invest time and money into actually building it. This gives the client room to make edits or changes before working on a build, and gives you the chance to see your vision come to life before you’re too far into a project.
Almost every industry that involves some kind of design element uses mockups. Engineers, for example, use mockups as they work with architects and scientists to build the latest technology or transportation devices. The mockup is often where the finer details are tested, before moving into the final production phase.
Ultimately, when you’re learning how to make a mockup, you should always ask yourself: Does this provide an overall picture of what the final product will look like? From here, you can move from mockup to tangible product.
Design Your Own Products!
Photoshop for Lunch - Create Mockups to Use and Sell
How to Make a Mockup in Photoshop
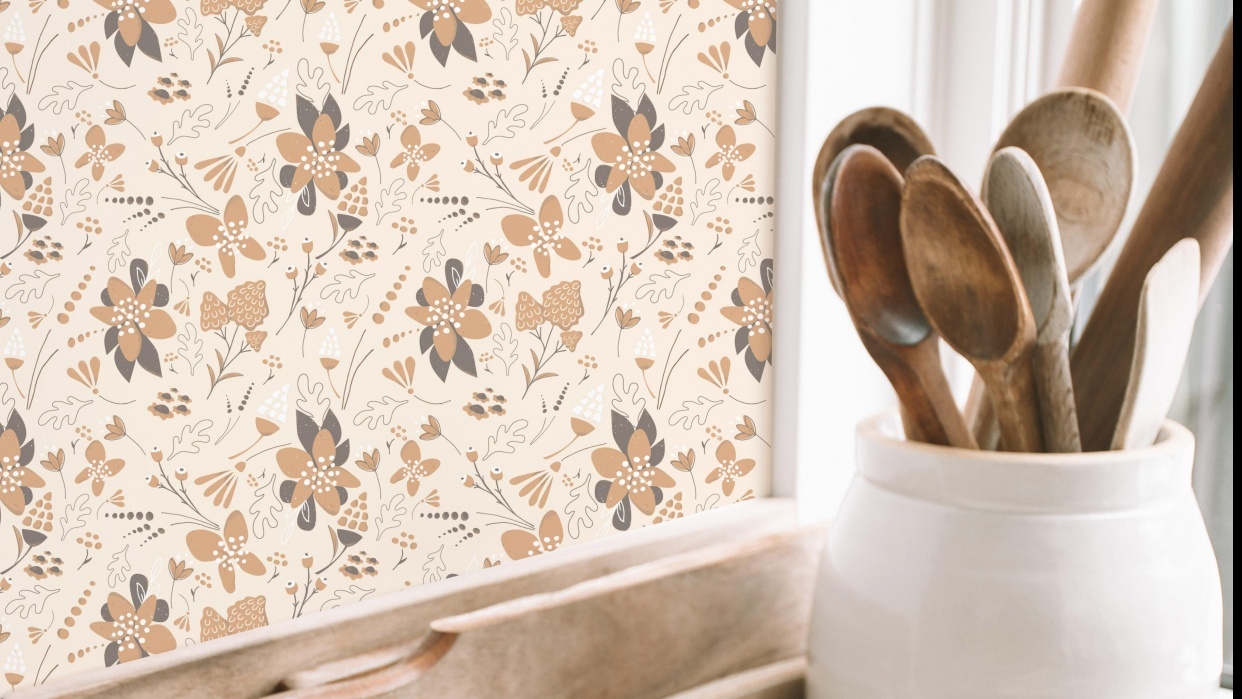
As we’ve seen, there are plenty of ways you can use mockups in your own work. But, let’s get a little more specific. In this tutorial, we’ll show you how to turn a hand-drawn pattern into custom homeware and bedding collections using Photoshop.
Step 1: Find Great Photos
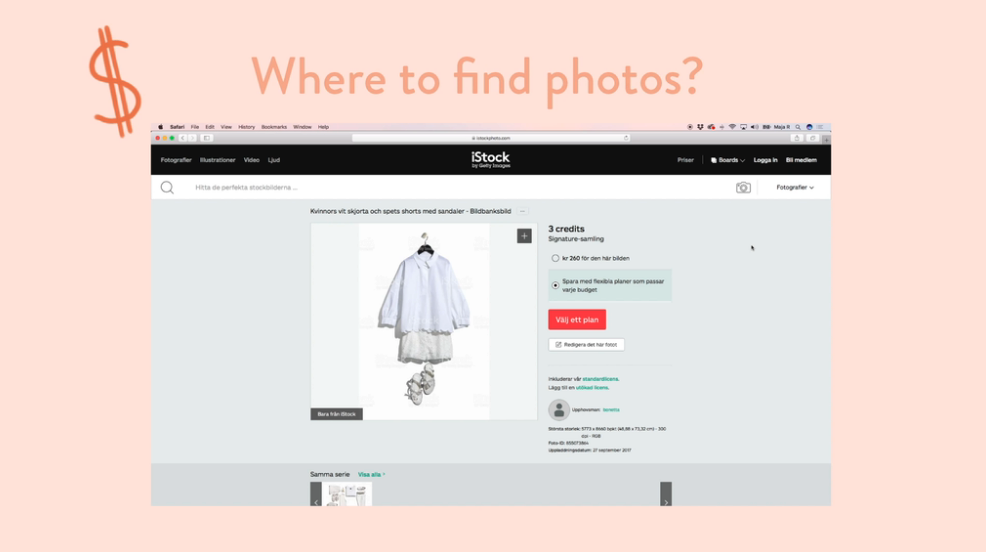
When you’re trying to showcase your work in the best possible way, you’ll want to find high quality photos to use for your mockups. There are plenty of sites out there that offer stock photographs of the surfaces you’re designing for—such as homeware, clothing, walls, and more.
Unsplash is great (and used by plenty of designers) as all of their images are copyright-free, meaning you don’t need to pay or provide an attribution to a photographer in order to use the photo. Paid sites like Getty Images and iStock are also good options, but can become pricey if you need a range of images to choose from.
Step 2: Prepare Your Artwork

Before starting on how to make a product mockup in Photoshop, it’s important to prep your graphic.
Open the photo that you’re using as your mockup base (for example, a pillow or bed as we’re designing a mockup for bedding). Using the “Selection” tool, create a square or rectangle that covers the section of the photo where you’d like your design to be used. In this tutorial, we’re grabbing a square that covers the entire bed in the photo. Copy this square into Adobe Illustrator as a compound shape. This will give you the correct size for your design to fill the object in the mockup image.
Fill the square with your pattern or artwork and save the design using the “Asset Export” function and a JPEG100 format, with baseline, optimized, and anti-alias art optimized settings enabled. This is important to make sure that you don’t have any white lines crossing your design and it saves as one continuous pattern to use in your mockup.
Step 3: Import Into Photoshop

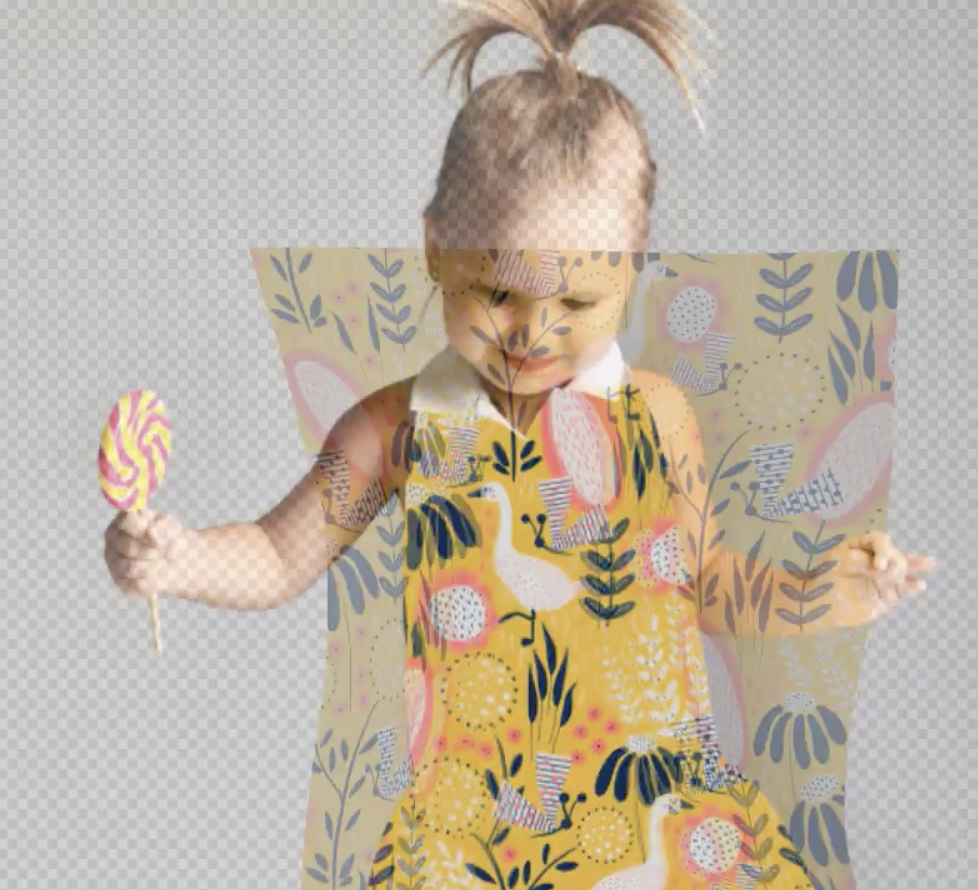
Now that your artwork is ready, you need to prep your mockup image. Find the section of the image where you’d like your artwork to go and, using the “Magnetic Lasso” tool, move along the edges of the section to highlight that area.
Drag your new artwork JPEG into the selected area (so that the box covers everything you want to feature the design) and click on “Convert to Smart Object” in the pattern layer panel. From here, use the “Select” menu and “Load Selection” to use the lasso to highlight the object you’d like outlined. Click on the small rectangle with the circle in the layers panel and your pattern will automatically fit to the object.
Don’t worry if it appears a little flat at first. To fix this, make sure you have the layer mask for the image selected and change the blending mode from “Normal” to “Multiply.” This allows the design to blend more seamlessly with the object you’ve selected for the mockup.
Step 4: Adjust the Perspective
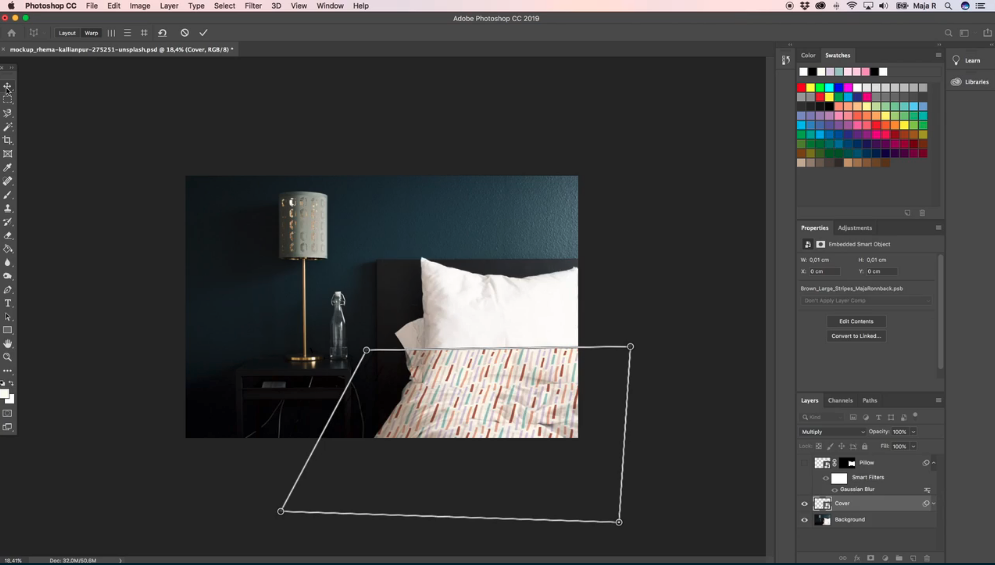
If you’re working with a product that has some kind of perspective, the design will need adjustments to prevent it from looking too flat.
For example, when you’re learning how to make a tshirt mockup in Photoshop, the perspective of the design will look very different depending on the overall image of the mockup. A flat shirt with no model or a shirt on a person facing directly forward will give a different look compared to a more “movable” mockup, where the model may be taking part in some action and creating lines or creases in the shirt.
Like you did before, you’ll use the “Magnetic Lasso” tool to select whatever part of the mockup image you want the design featured on and drag your artwork into Photoshop. Click “Edit” > “Perspective Warp” and drag this over the pattern area. Choose “Warp” from the top panel and then “Multiply” on the layer. You can then drag the corners of the design until you have the perspective that you’re looking for.
How to Make a Website Mockup
Mockups aren’t only for physical products. Designing digital products, like websites and apps, requires careful planning and detailed visuals before going into production. Take a look at these simple steps to create a website mockup.
Step 1: Set Up Your Workspace

When you’re working in web design, the first step is adjusting your Photoshop workspace to the correct size. Photoshop’s defaults are typically configured to more print-focused work, so go into “View” > “Rulers” and change the settings to pixels for both “Types” and “Rulers.”
Step 2: Plan For a Responsive Website

You’ll also need to keep in mind that, when building responsive web designs in Photoshop, you won’t have a scalable image as you would in the final website build. You’ll want to mock up different views of the same design for all size options (desktop, tablet, mobile) so that the web designer knows exactly how everything should fit together during the build. Adobe Device Preview is a helpful tool for testing this out!
Step 3: Use Line Guides
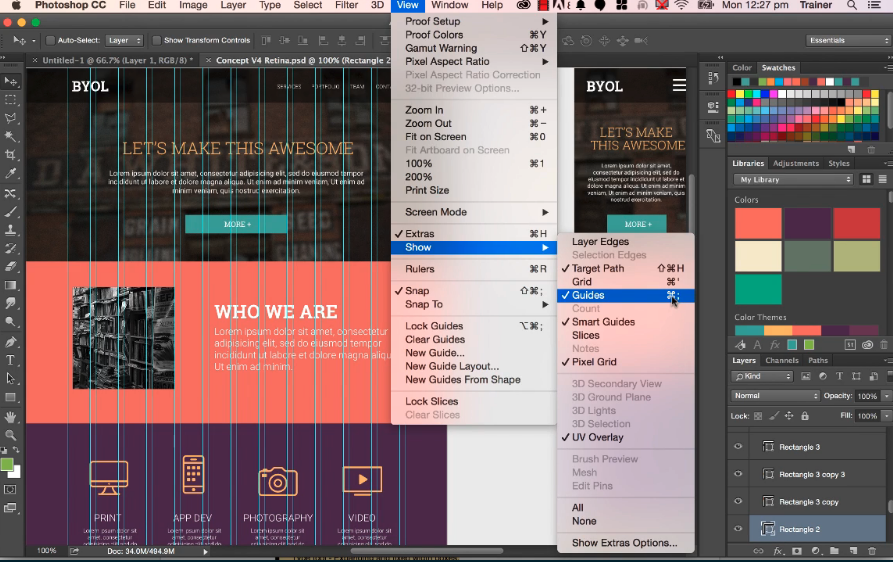
Line guides will display light lines over your mockup, and you can find them in the “View” tab.
Using line guides is useful for aligning key elements like your logo, main navigation, and content blocks throughout the page to create a balanced final look. The lines are especially important when working on responsive sites, as they help to ensure that the spacing proportions are correct across both desktop and mobile versions of your site.
Step 4: Add Placeholders
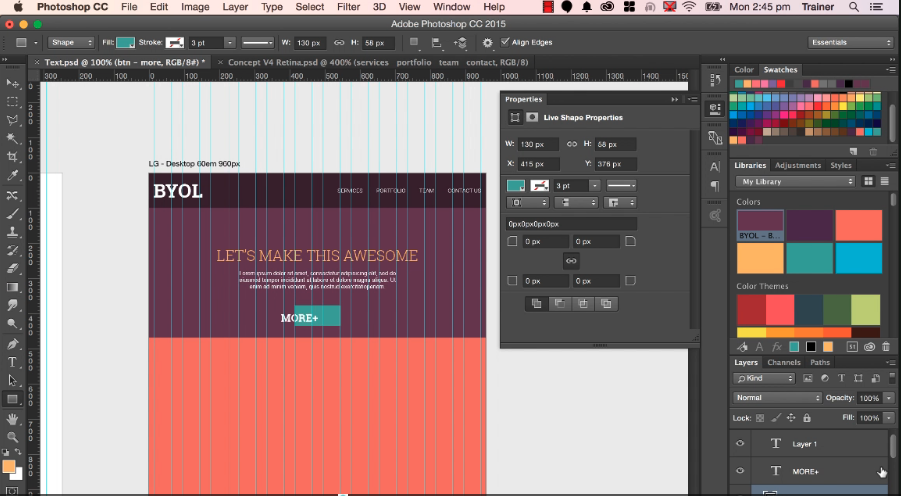
Using vector tools and the “Text” tool, start building out each element of your web page. Use Google Fonts to ensure that whatever you’re using is safe and accessible for the web, and start inputting any text or visual elements you want to include in the design.
Finally, replicate your design over to the tablet or mobile view, or desktop if you decided to work on mobile first. Once your designs are completed (and signed off on by your client!), you can hand everything over to a web developer for the build.
Turn Your Designs Into Real Products!
Create Realistic Mockups to Showcase & Promote Your Designs
Try Skillshare for free! Sign up for a 7 day free trial today!
Get Started- Unlimited access to every class
- Supportive online creative community
- Learn offline with Skillshare's app


