

Here’s How: Learn Character Rigging
Learn animation character rigging in this guide and step-by-step tutorial that walks you through the process.


Some of the world’s most beloved television and film characters are animated, but how did they go from a static image on paper or the screen to a walking and talking figure? It’s all down to a visual effects technique called character rigging.
In this tutorial, we’ll show you the ins and out of character rigging, walk through a step-by-step guide on how to get started on your own projects in animation software like After Effects, Blender, and Unity, and even how to get a character rigging job.
What Is Character Rigging?
So what is character rigging in animation? The easiest way to think about this if you’re new to animation or design is to imagine a puppet on invisible strings. Rigging is the process of building all of the connecting points at the end of those strings—the digital bones of a character.
It’s the wireframe that ultimately allows an animator to program that character’s movement in any way they’d like. Rigging is what the graphics team works on to create the overall skeleton underneath the final animation.
We as the audience will never see what’s “inside” the character and the rigging structure that allows them to move, but it’s all there behind the scenes. The rigging should be flexible enough to allow for free motion (depending on the type of character) but with the structure needed to give the animators enough control over what the character can do.
Once the rigging is in place, the three-dimensional outer layer, which is what the audience sees, is then built on top to mirror the new “bones” underneath.
What Does a Character Rigging Artist Do?
Now that you can answer the question “what is rigging a character?” you might be wondering what exactly a character rigging artist does and how they’re different from other animators and designers.
Also known as technical artists or technical animators, the sole job of a character rigging artist is to create the 3D digital skeletons of computer-generated characters before they can be passed along to the final animation team.


Character rigging artists will take the static image from a modeller to then create separate rigs for each part of the character, such as their facial expressions and limb movements. They’ll also make sure that all of the different rigs work together, collaborating with animators for any changes or adjustments needed before the final designs are made.
If you’re thinking about how to get a character rigging job, there are a few core skills that you’ll need to have before you start looking for work, whether that be an in-house position in an animation studio or as a freelancer. Of course, a knowledge of animation and having an artistic eye for movement is essential for any position like this.
Knowing and understanding different 3D animation programs is helpful, as well as some coding languages like Python to be able to automate the rigging process. If you’re just starting out in the industry, don’t feel like you need to know every piece of software that exists, but having a good grasp of the most commonly used tools is necessary.
There are plenty of great academic programs that you can take to get a degree in animation, but it’s not always necessary if you have incredible skills and a strong portfolio. Network as much as you can within the industry and keep building your skills to make you a standout candidate when jobs in character rigging come up.
Build a Rig For Your Own Characters!
Motion Essentials: After Effects Face Rigging
Animation Software to Use for Character Rigging
Using the right software is essential for character rigging artists to do their job effectively, but there are plenty of tools out there that even amateurs can get started with for simple animation projects.

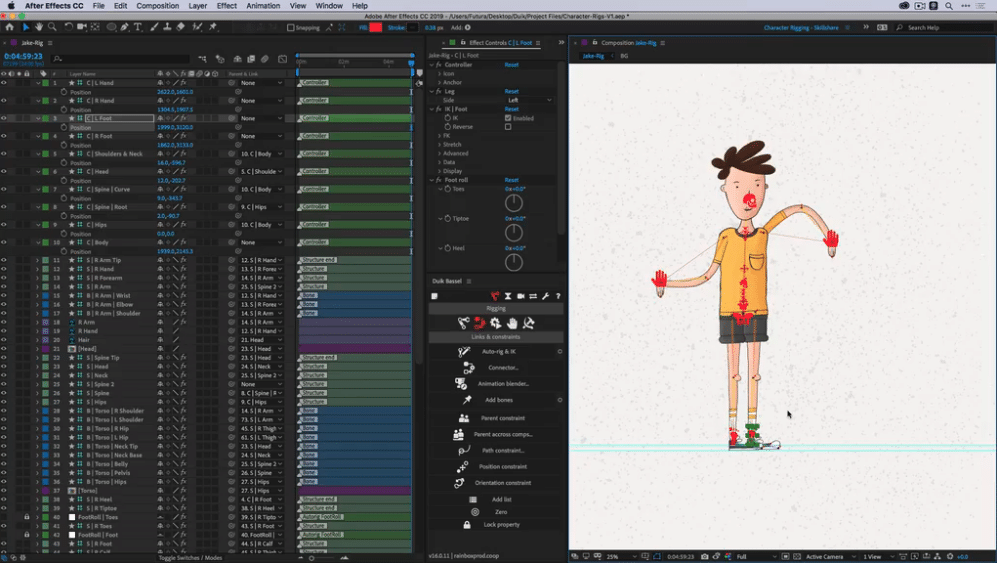
Adobe tools are some of the most commonly used when you’re getting started, and After Effects character rigging is perfect for both beginners and more experienced animators.
If you’re still working on your skills and don’t feel confident enough to start from scratch, there are plenty of scripts that you can download for free and use within After Effects that should give you the features you need to work on your animation projects. Before you start working on character rigging in After Effects though, you should take a few Skillshare classes to get to know the basics of the software first.
Blender is another great free tool that animators all over the world use for their character animations. Skillshare instructor Derek Prinzi has a great class that walks you through what the software can do and how to work on Blender character rigging for your own animated characters. There’s even a subsection on how to rig human faces, a more complex technique that you may want to save for a later.
Wondering about how to set up character rigging for Unity? This software is a little more advanced than either After Effects and Blender, but is a great free option if you’re dabbling in these types of projects. The software is built specifically for 2D and 3D animation work, as well as virtual reality, so there’s plenty that you can test out your new character rigging skills on.
4 Steps to Character Rigging
Step 1: Design Your Character
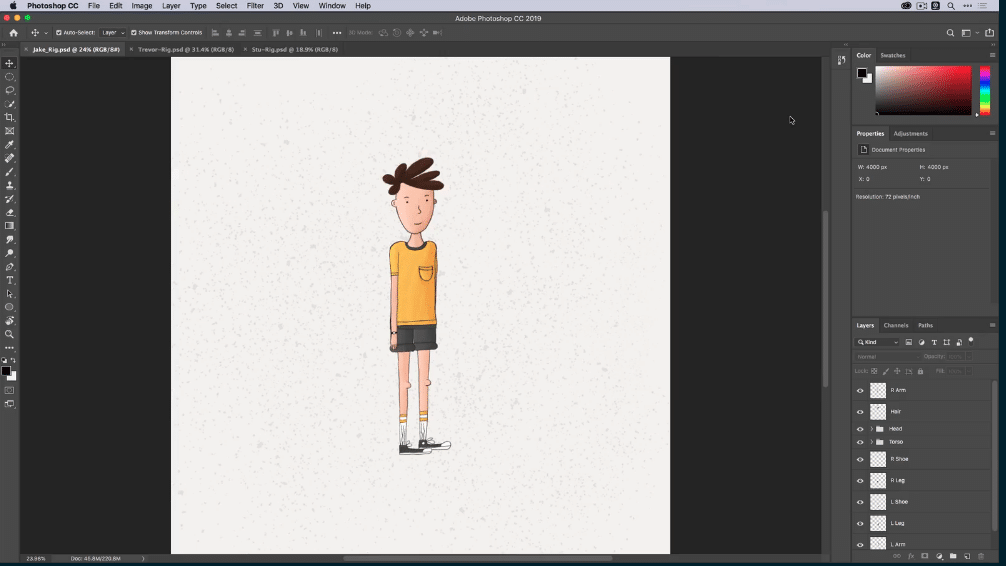
Before you can think about animating anything, you need to design your character! There are plenty of options for you to do this, but Procreate and Adobe Illustrator are the easiest to use if you’re creating something from scratch.
Whether you’re working on a human-like character or something entirely different, the best place to start is in mapping out where your movable joints are. At each joint location, use the circular tool in software like Photoshop to create a new layer.
From here, you can import your hand-drawn character into your software of choice. Character rigging in After Effects works well if you’ve been using Procreate or any of the Adobe tools for your prepwork, so keep this in mind as you work on your static image. Once you’re ready to import, be sure to double-check that you’re importing with the layers separated rather than as one layer. You’ll need to be able to edit each section of your character when it comes to building their individual rigs.
Step 2: Add Rigging Points to Joints
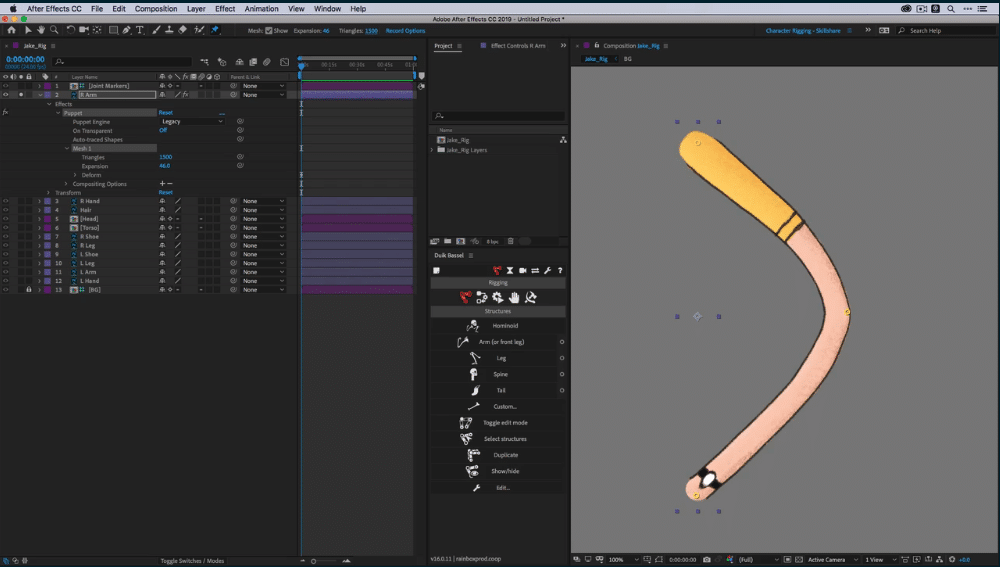
Now that you have your character in After Effects, Blender, or whichever tool you’re using, you can start working on making them move.
If you’re using the After Effects DUIK plugin, you can use the Puppet tool at each joint point to create a bending effect. This is helpful if you’re working on a humanlike character who needs to have flexible limbs. You’ll want to go through your whole character and every layer until you have puppet pins and rigging points at all of the individual joints.
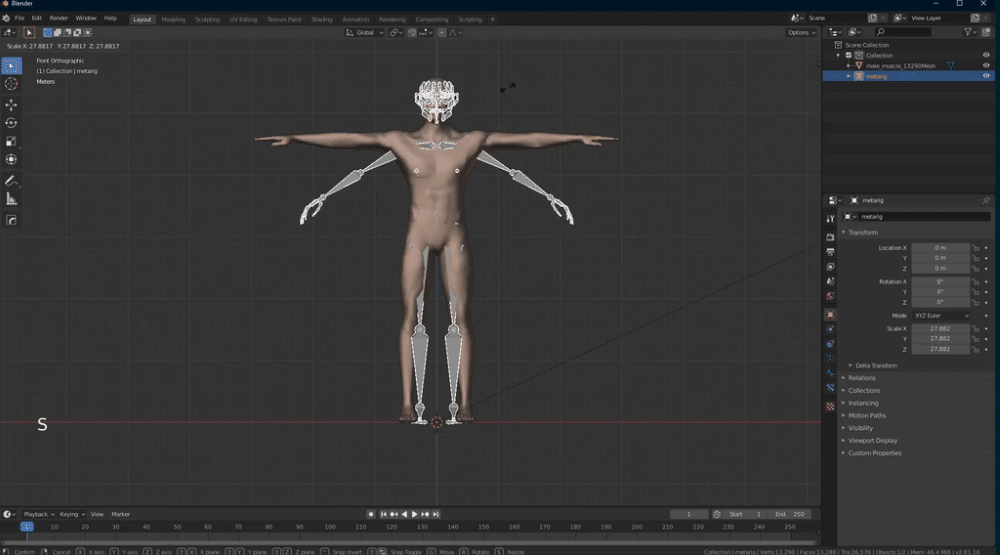
When you’re working on Blender character rigging, there are built-in tools that can help you create your overall skeleton. Using the Armature function, you can find a basic human structure that can be added to your character and scaled to size. From here, you can then adapt and move the rigging points for each joint to allow your character’s limbs to move in different ways.
Step 3: Connect Each Layer

The DUIK plugin for After Effects character rigging makes this process easy and straightforward, making it perfect for beginners. Start connecting different layers of your character to each other, with one as a parent to the connecting layer. You can easily do this by dragging from the parent icon in the After Effects panel to the individual layer.
Step 4: Set the Timing for Your Animation
Once everything is connected, you can change the rotation levels for each layer until you find the movement that you’re looking for.
Now that you have your basic rigging in place, you can start to adjust the frame timing of your animation. This is where you have complete creative freedom to make your character move however you would like! At this point, your rigging is complete and you can now work on the final animation effects that you might want to use in your finished project.
There’s so much that you can do with character rigging, no matter your skill level. Happy animating!
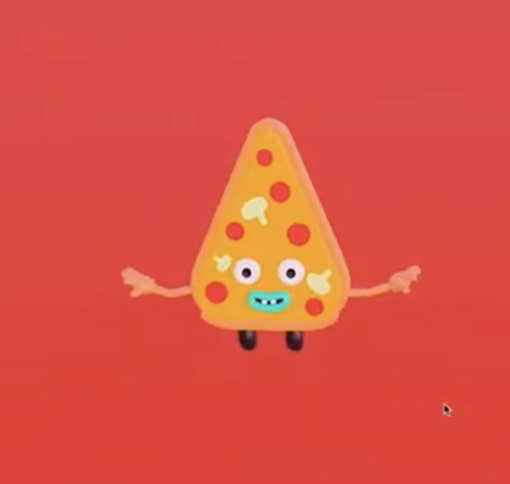
Bring Your Foodie Friends to Life!
Pizza Slice Character Rigging and Animation with Blender
Try Skillshare for free! Sign up for a 7 day free trial today!
Get Started- Unlimited access to every class
- Supportive online creative community
- Learn offline with Skillshare's app


