

Easy Step-by-Step Drawing for Beginners
No artist ever created a masterpiece the first time they put tools to medium. Following step-by-step drawing instructions can help you gain confidence.


You want to learn to draw or to improve your drawing skills, but every time you put pen to paper, you’re disappointed that what comes out isn’t quite what you imagined. Sound familiar? You’d probably benefit from following step by step drawing instructions.
Whatever your subject matter, the process of drawing can be broken down into digestible steps. If you follow steps methodically, you’ll end up with a drawing that’s more technically sound than one you could produce from just your imagination. Plus, once you’ve followed these steps a few times, you’ll gain the confidence to strike out alone in the future. Give these step by step drawings for beginners a go!
How to Learn Step by Step Drawing

The process of step by step drawing will depend on what you’d like to draw, and in which medium. Realistic pencil sketches of faces, for example, require a slightly different process than a pen-and-ink landscape drawing.
Below, we’ve included instructions for step by step drawings for beginners to break down three common types of drawing. Once you’ve practiced these, you can easily adapt them for a slightly different subject matter.
Develop New Habits
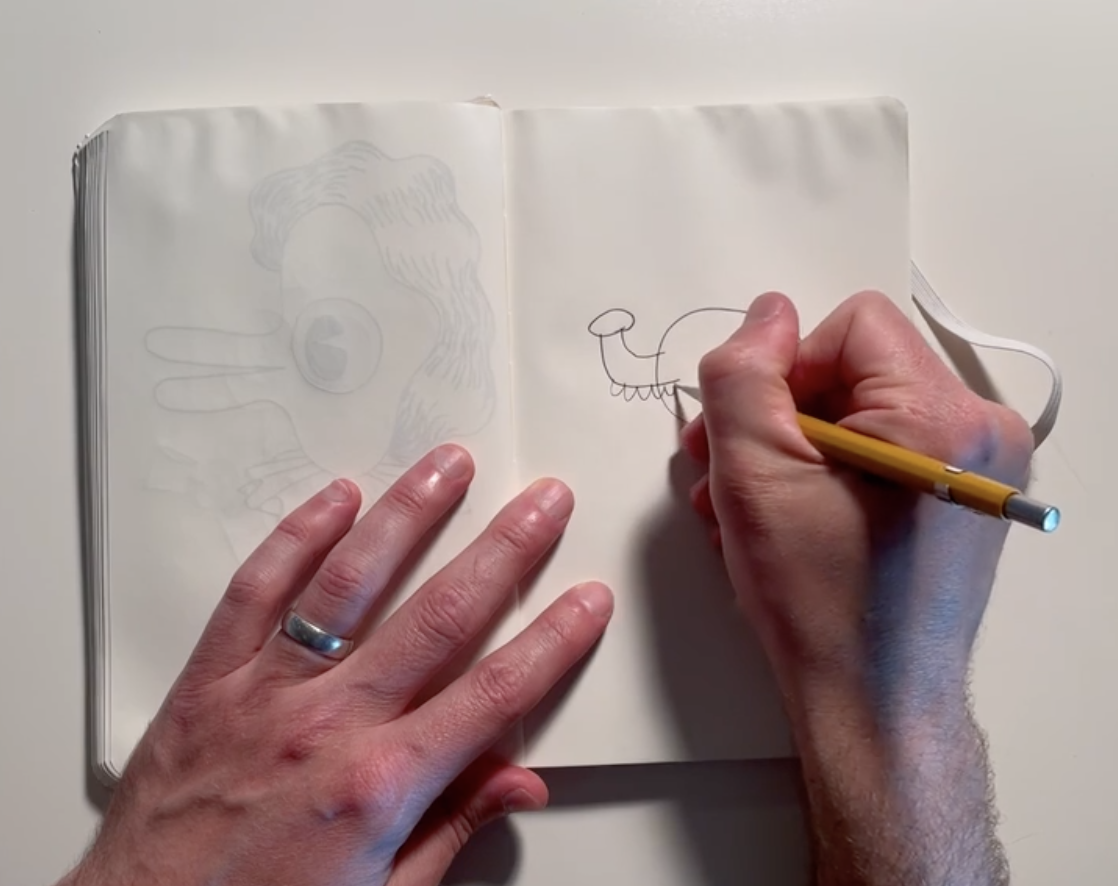
Use Your Sketchbook! Make Drawing an Essential Part of Your Life
Step by Step Drawing: Easy Pen Drawing
As Skillshare instructor Sam Gillett points out, drawing with ink pens comes with unique challenges: You’re limited to black and white tones (unless you draw with colored pens), and every mark you make is permanent, unlike when drawing with graphite pencil.
Start by approaching pen drawing in layers. Begin with pencil, making darker lines and shading as you go. These can always be erased if you’re unhappy with them, or if a mark goes astray.
Step 1: Choose a Reference Photo

Following a reference photo will help you identify darker and lighter areas and places where you need texture. You don’t need to copy the photo exactly (unless you want to), but can use it instead as a visual reminder.
Step 2: Plan Your Composition
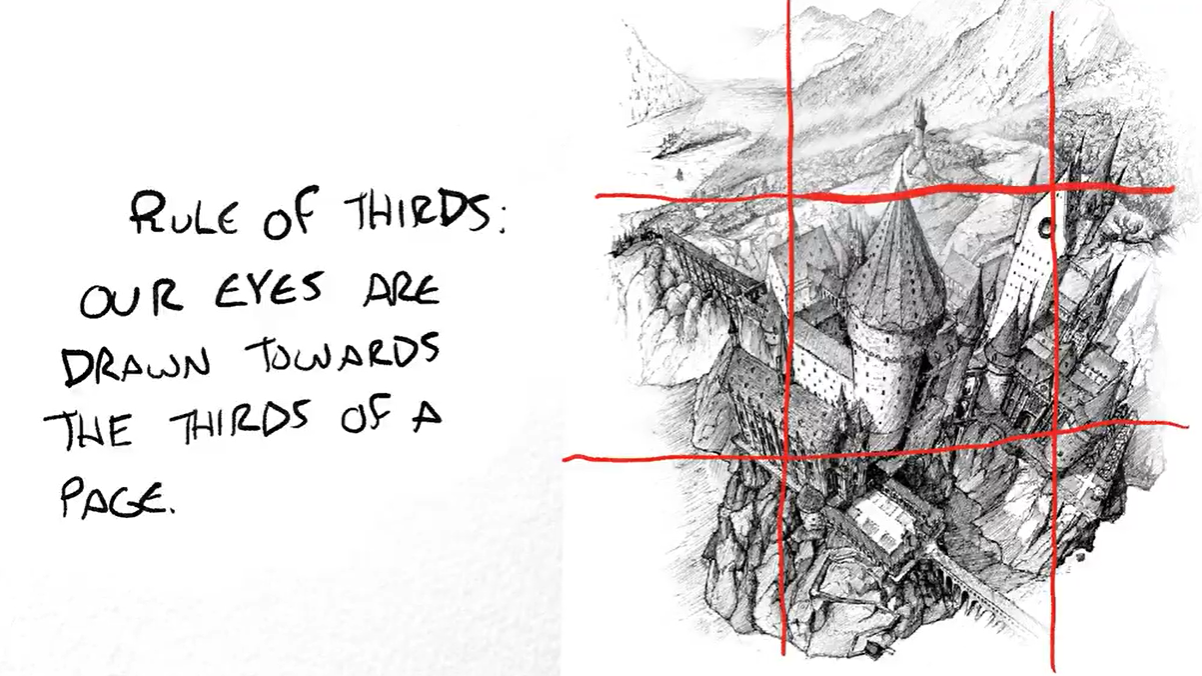
Composition is how you arrange the objects in your drawing. The three main rules you need to plan around are the rule of thirds, focal points, and framing.
With the rule of thirds, imagine that a grid has been drawn over the picture, as in the image above. Naturally, the viewer’s eye is drawn to the points where the lines of the grid meet; this is true whether you have a grid drawn over the page or not. Plan to place points of interest around these intersecting lines.

The focal point is the part of your drawing that’s most important. Where you place the focal point within the imaginary grid will determine the rest of the composition, as you want the viewer’s eyes to be drawn to the focal point, not distracted from it.
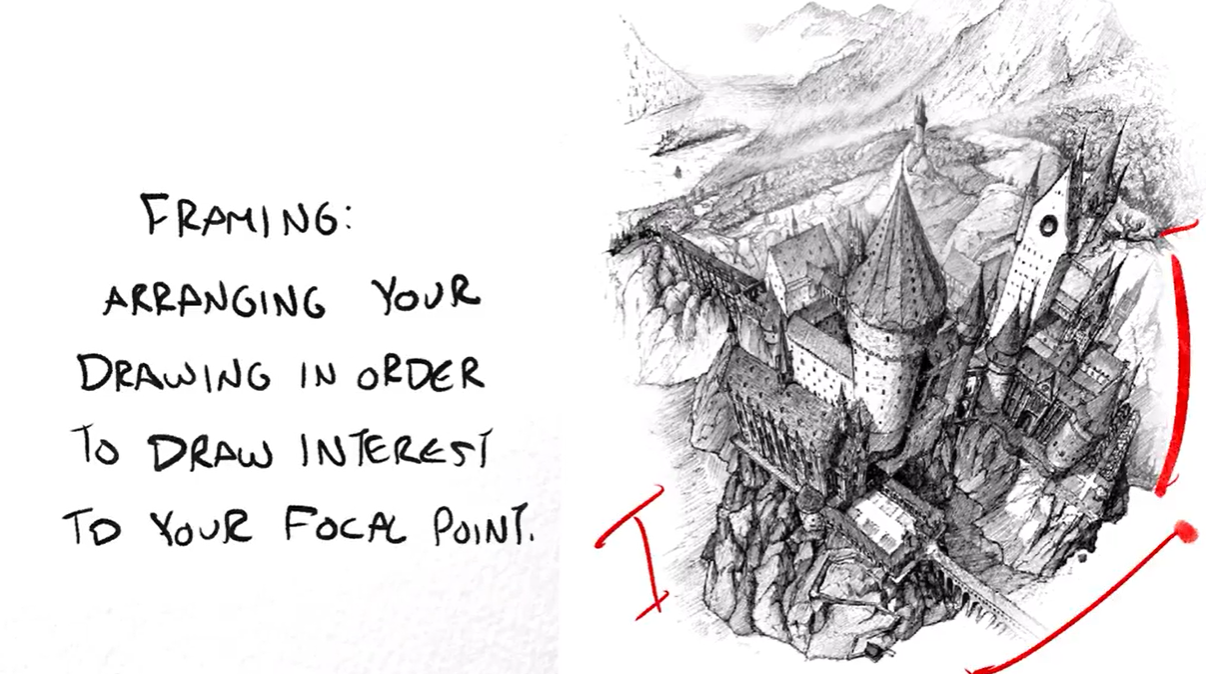
The third rule of composition is to create interesting framing that draws the viewer’s eye into the focal point.
Step 3: Sketch Pencil Outlines
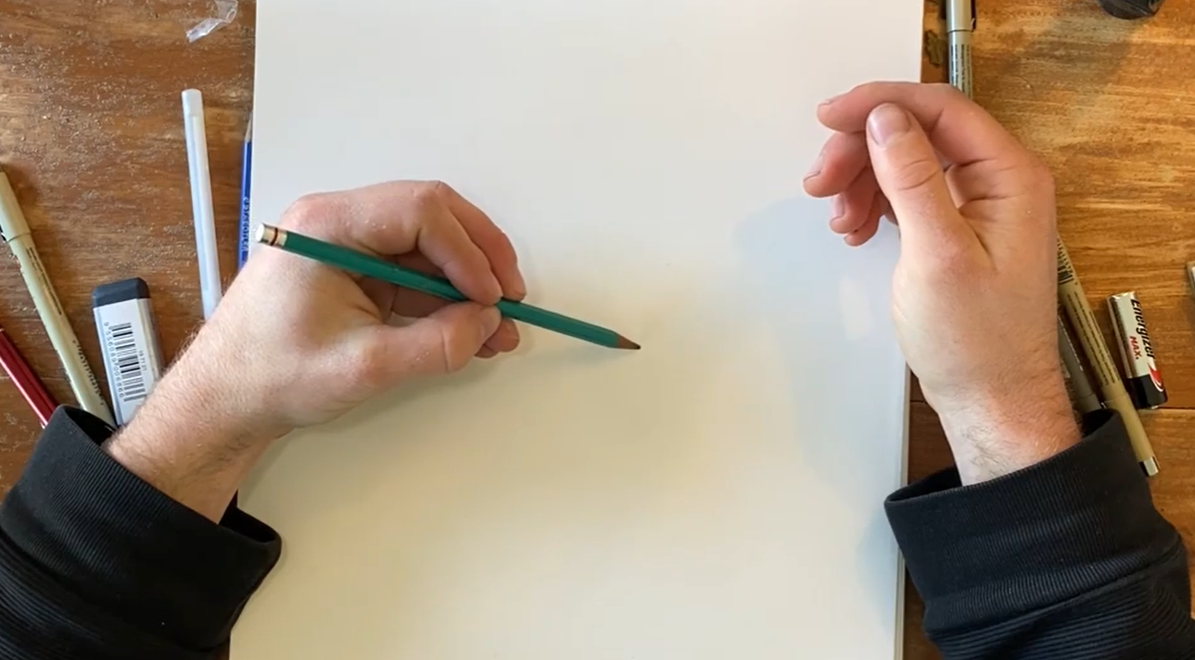
Before putting pen to paper, pick up a pencil. This way, you can play around with elements of composition and detail without having to commit to the permanency of pen.
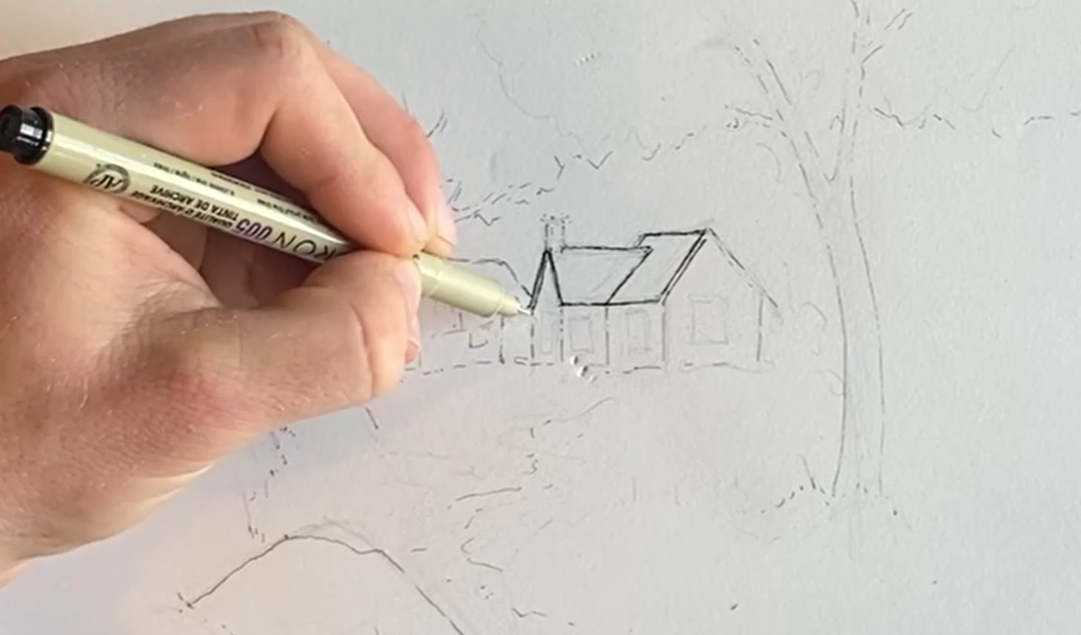
Step 4: Draw Guidelines in Pen

Once you’re happy with your pencil sketch, take out the pen and begin drawing in some guidelines. These are dotted, broken lines that you can build on later with more solid lines.
Step 5: Layer Shapes With More Weight
Once you’ve dotted your outlines, go back and draw in the main shapes in your drawing in pen. You can still start light, using a thinner pen, and then make them darker and bolder later.
Step 6: Add Texture and Details
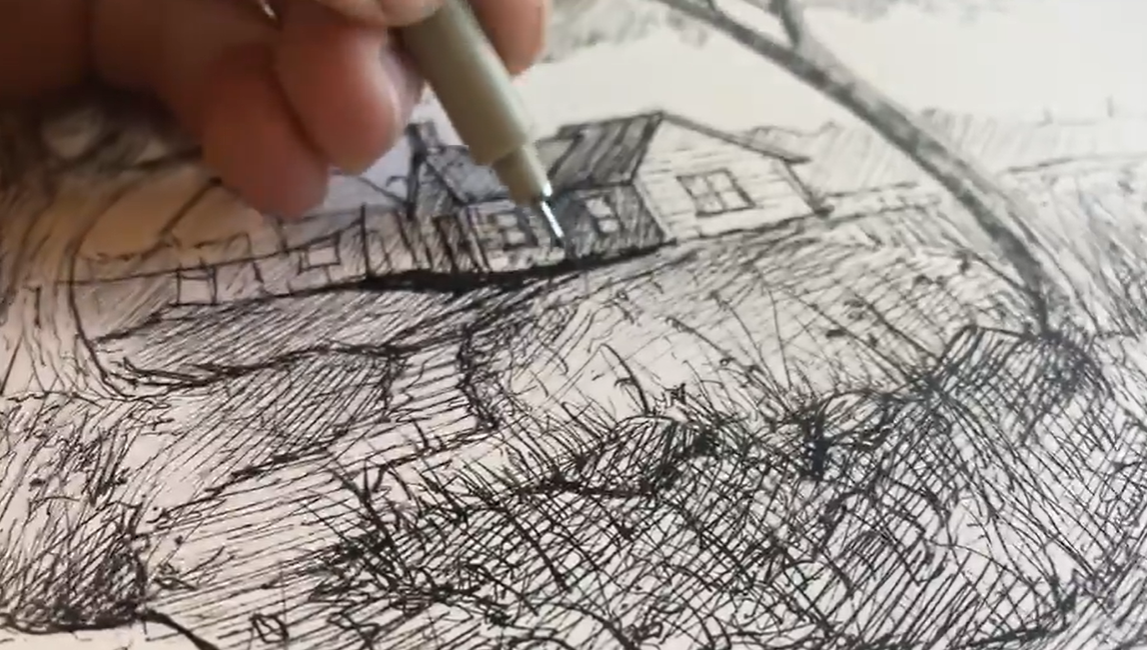
Adding textures and details is what really adds interest to your pen drawing. In his class Pen Drawing for Beginners: Permanency, Texture, and Composition, Gillett teaches some of the most useful techniques for drawing texture.
Step by Step Drawing: Simple Realistic Portraits

If you love the idea of drawing realistic portraits but don’t think you have the talent or experience to pull one off, simple step by step drawing instructions for realistic drawing are just what you need. Skillshare instructor Nadia Dias T. thinks that beginners are often scared to draw realistic faces, so she guides students through the process in a simple way that’s easy to follow, using a reference photo.
Step 1: Gather Your Materials
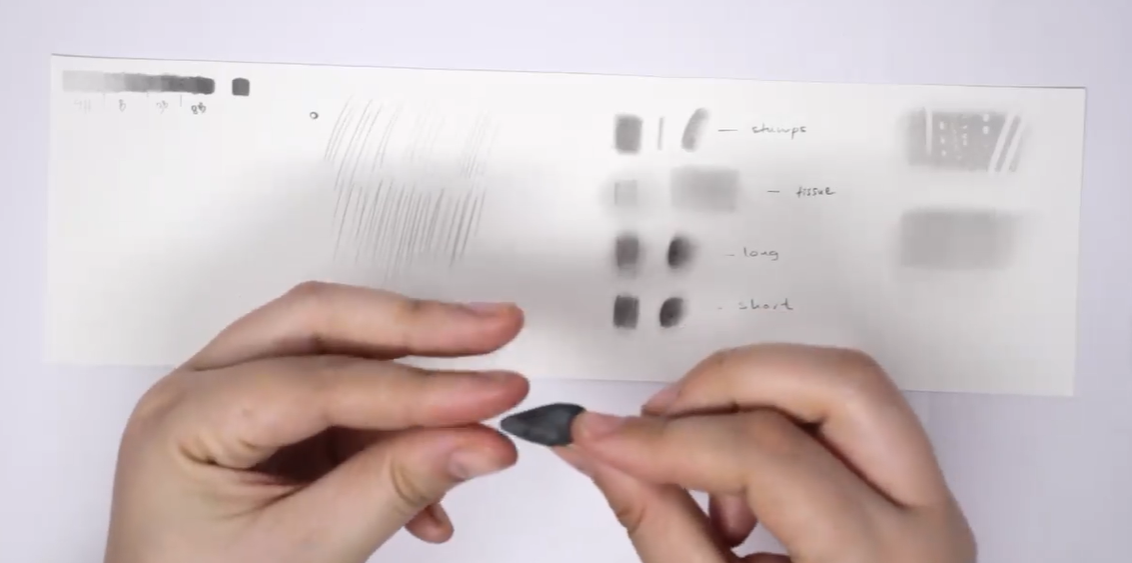
Drawing realistic portraits requires some materials that you might not already have lying around at home. In addition to regular drawing pencils ranging from 9H to 9B (very hard to very soft) and a mechanical pencil, you’ll also need paper stump blenders, paint brushes (also for blending), and a range of different erasers, including a pencil eraser and a kneaded eraser. Powdered graphite can also be useful for shading large areas, especially when you have a bit more drawing experience.
Step 2: Draw a Grid

Correct proportions are essential when drawing a realistic portrait. Establish these by sketching a grid on top of your reference photo and on your blank paper. Space the lines about one inch (two centimeters) apart, measuring with a ruler to ensure accuracy.
Step 3: Sketch the Outline and Facial Details
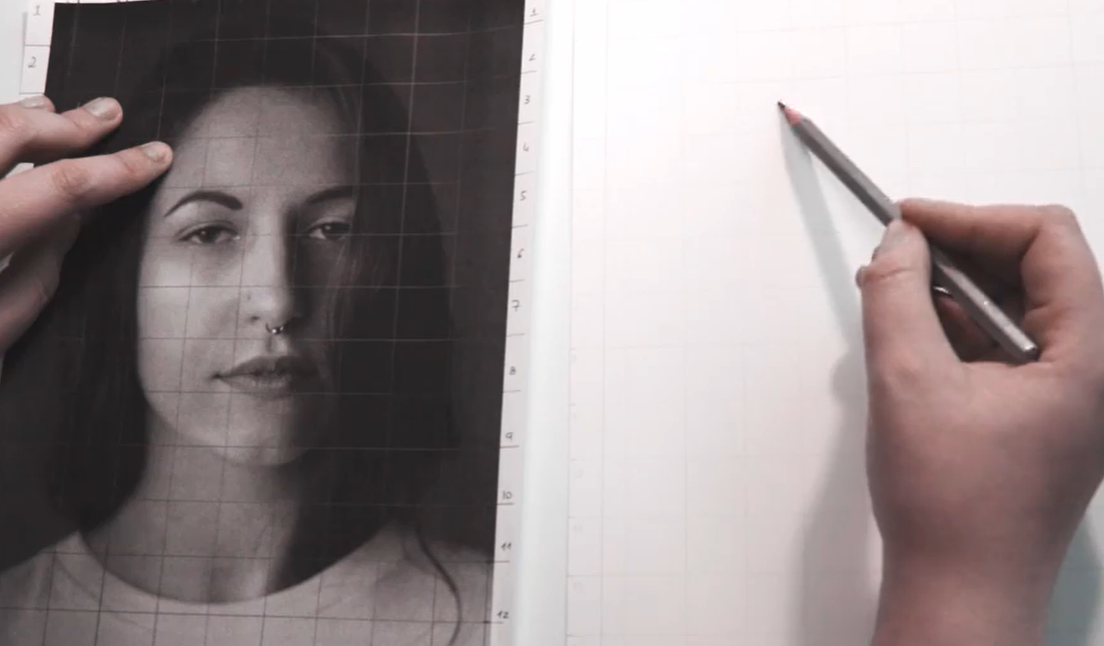
Referring back to your reference photo, sketch the outline of the face, making sure that the squares on the grids on your photo and the blank paper correspond.
Step 4: Mark All Dark Areas

When drawing with graphite pencil, the difference between light and dark areas is central to the way the finished picture will look and how realistic it will be. Once you’ve completed your outline, add the darkest shades first.
Step 5: Shade the Light Areas

Using a lighter pencil, shade the lighter areas of the face. Then, using a piece of tissue over your fingertip, blend the lighter areas thoroughly. This is an essential part of realistic drawing. Keep adding layers of pencil until you achieve the desired shade, but keep blending! Eventually, if you’ve added layers to the correct areas, you’ll end up with the impression of volume. As Nadia Dias T. says, “This is a constructive process, and patience is your best friend!”
Step 6: Add Hair and Eyebrows

Use a fine mechanical pencil for this step, so that you can create the impression of individual hairs with fine pencil strokes. Follow the natural flow and direction of hair when drawing it. For highlights in the hair, sharpen your pencil eraser and rub out fine sections to lift some of the graphite.
Step 7: Add the Finishing Touches

Adding finishing touches to the eyes, lips, and nose will make your drawing much more realistic. Using layers, blending, and the pencil eraser, you can add necessary details slowly and step by step, so you don’t overdo it at the first go. Take your time: Realistic drawing is a slow process!
Step by Step Drawing: Beginners Guide to Fashion Illustration

Fashion illustration is a particular subset of design that requires specific drawing skills and techniques. To draw fashion illustrations, you’ll need to be able to draw stylized figures, faces, hair, and clothing, with its key details and draping. You’ll also need to feel confident adding color to your drawings. Here’s a guide to simple step by step drawings for fashion illustration.
Step 1: Measure Out the Proportions of the Body
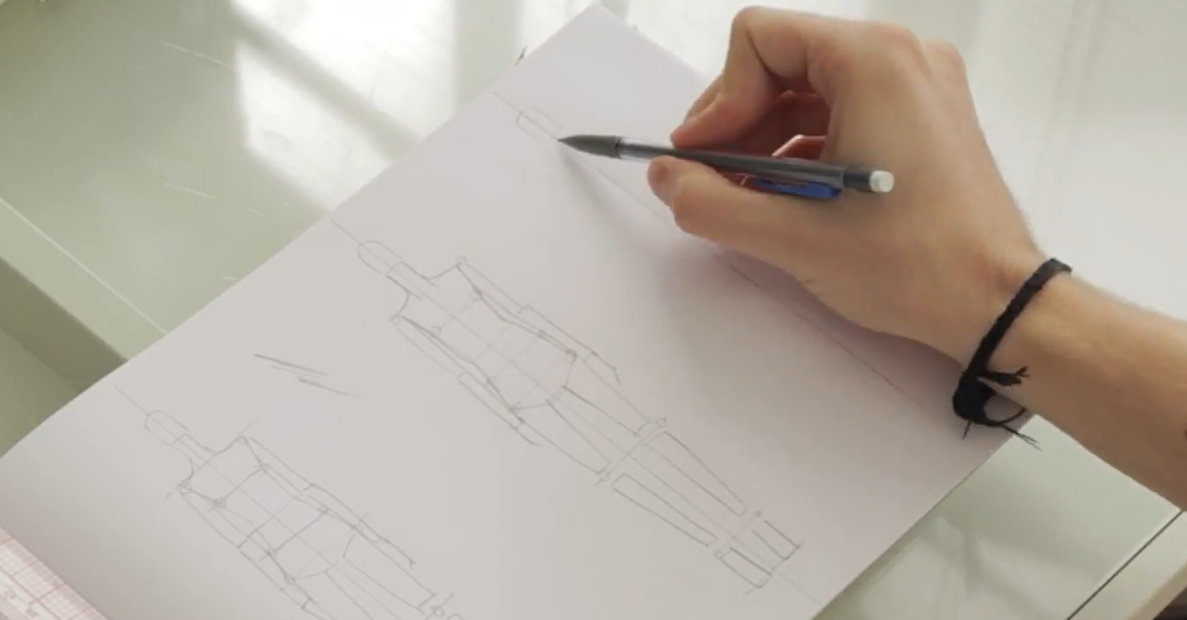
Using a ruler, draw a vertical line down the page. Begin by sketching out a rectangular shape for the head, a horizontal line for the shoulders, trapezoidal shapes for the torso and hips, and long rectangles for the limbs. Skillshare instructor Nolan Bellavance, in his course The First Steps of Fashion Design: From Concept to Illustration, guides you through the process of sketching out the foundations of the body and the recommended proportions for each.
The idea in this step is to draw a template for your fashion figures that you can trace over later, again and again, rather than having to slowly draw and measure a figure each time.
Step 2: Define the Body
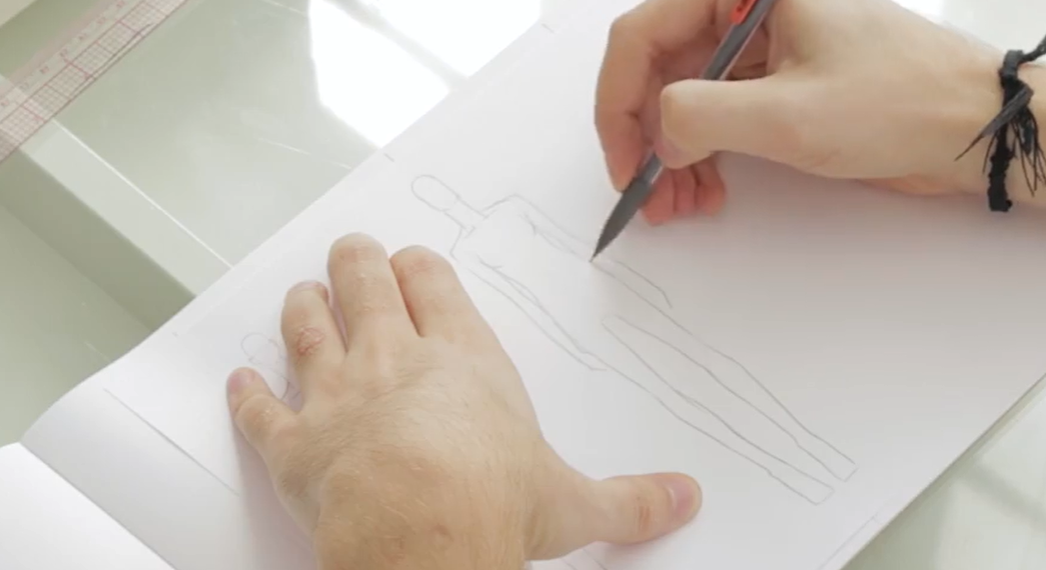
If step one was drawing the skeleton, this second step is like putting meat on the bones. Take a second piece of paper and place it over the template you created in step 1. When tracing the basic figure outline from the template below, try to add curves and more natural lines to the body.
Step 3: Finish the Feet and Hands

Aim to draw gestural feet and hands rather than totally realistic ones. Hands and feet will be small components of an overall fashion illustration, but getting them wrong can make the whole illustration look a bit alien-like!
Step 4: Add Facial Features and Hair
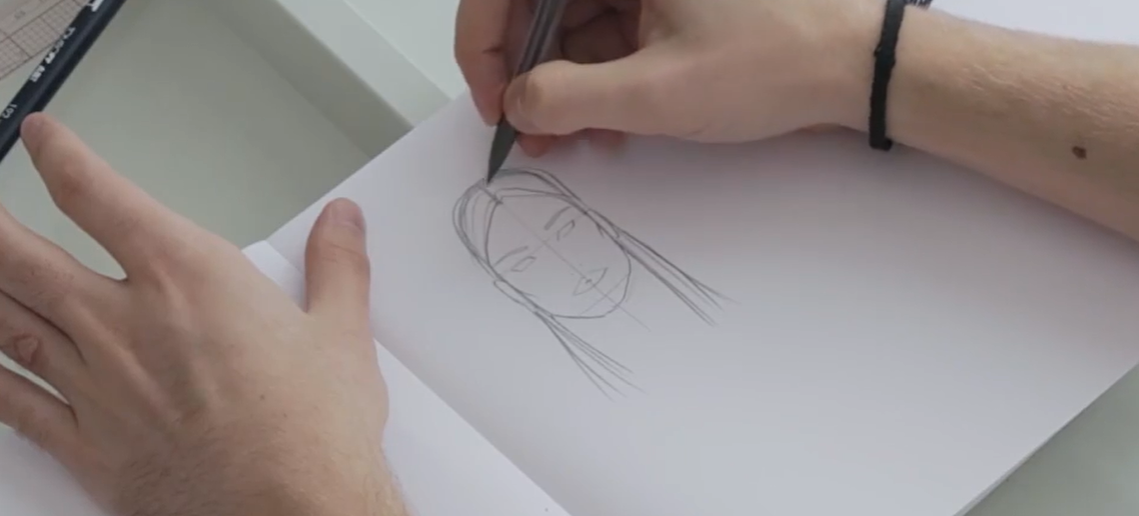
This step is essential for developing the personality of your fashion figure, which can help convey the overall attitude of your design.
Add one vertical line through the center of the face and two horizontal lines: one at the eye level, just above the top of the ears, and one at the chin level. This will help establish your proportions and help you place the eyes, nose, and mouth in the right places.
Step 5: Add Clothing
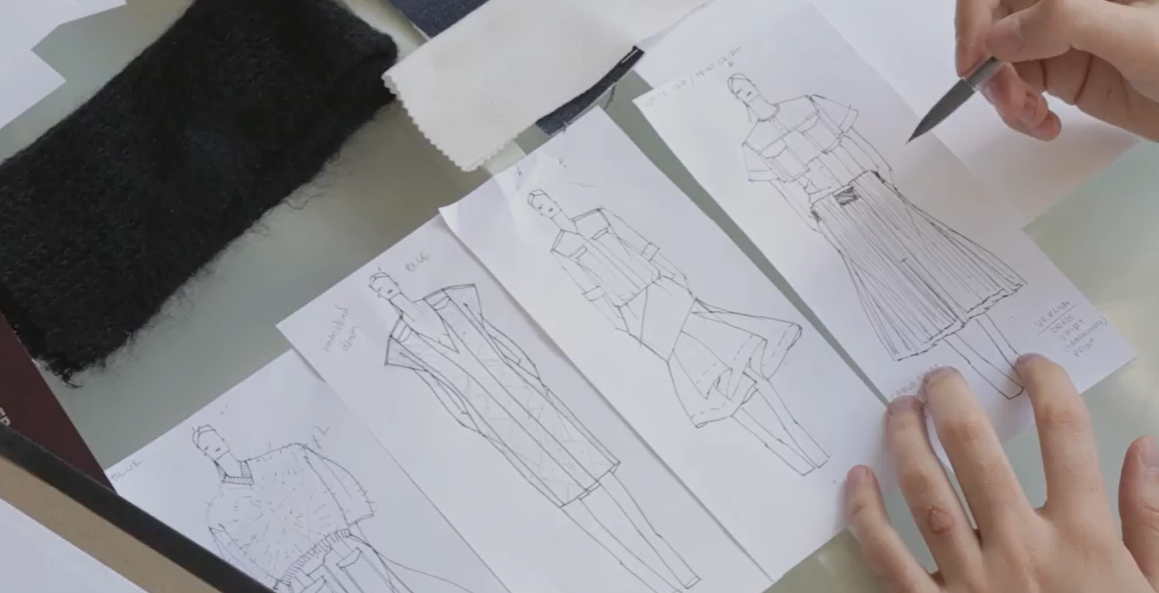
Different fabrics behave differently when they’re worn as clothing: Some are shiny and stiff, others are sheer and flowing, and these qualities need to be conveyed in your illustration. Bellavance suggests having snippets of material in front of you when drawing clothing onto your figure.
Step 6: Finish With Color
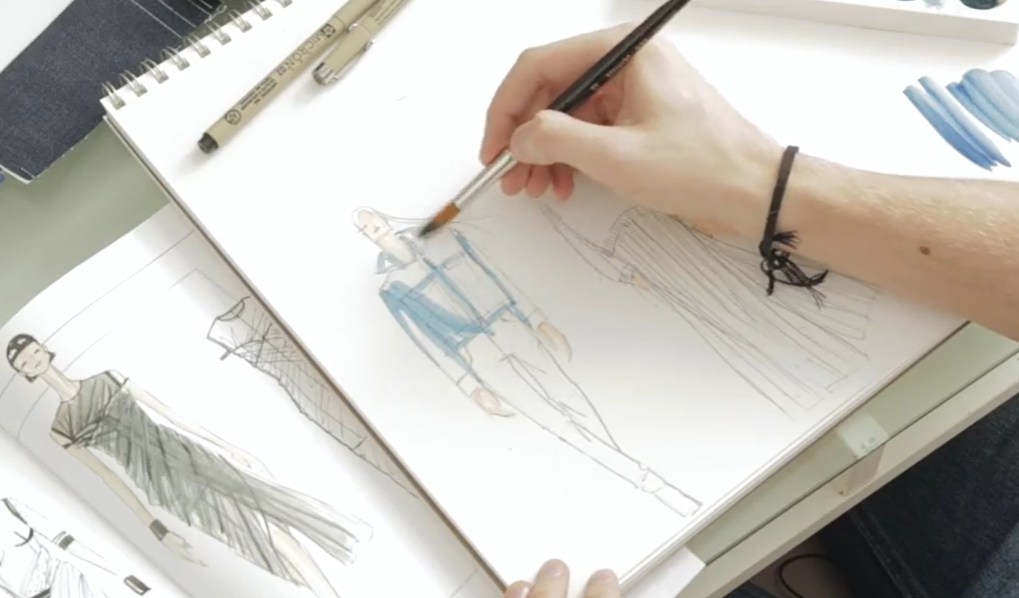
A fashion illustration isn’t complete without a touch of color! Colored pencils or watercolor paints are ideal ways to add color as they’re not too dense and you can add lighter and darker tones where needed.
Get Started With Step by Step Drawing

Here, we’ve shown you three very different approaches to drawing that are suitable for beginners. Pick one or try all three—you’ll definitely learn skills that can be transferred to your favorite subject. Once you’re confident following these steps, you can adapt them to suit your own artistic process and the needs of the subject. Have fun!
Create a Sketchbook to Be Proud of
Always Drawing: 7 Creative Exercises to Jumpstart Your Sketchbook
Try Skillshare for free! Sign up for a 7 day free trial today!
Get Started- Unlimited access to every class
- Supportive online creative community
- Learn offline with Skillshare's app


