

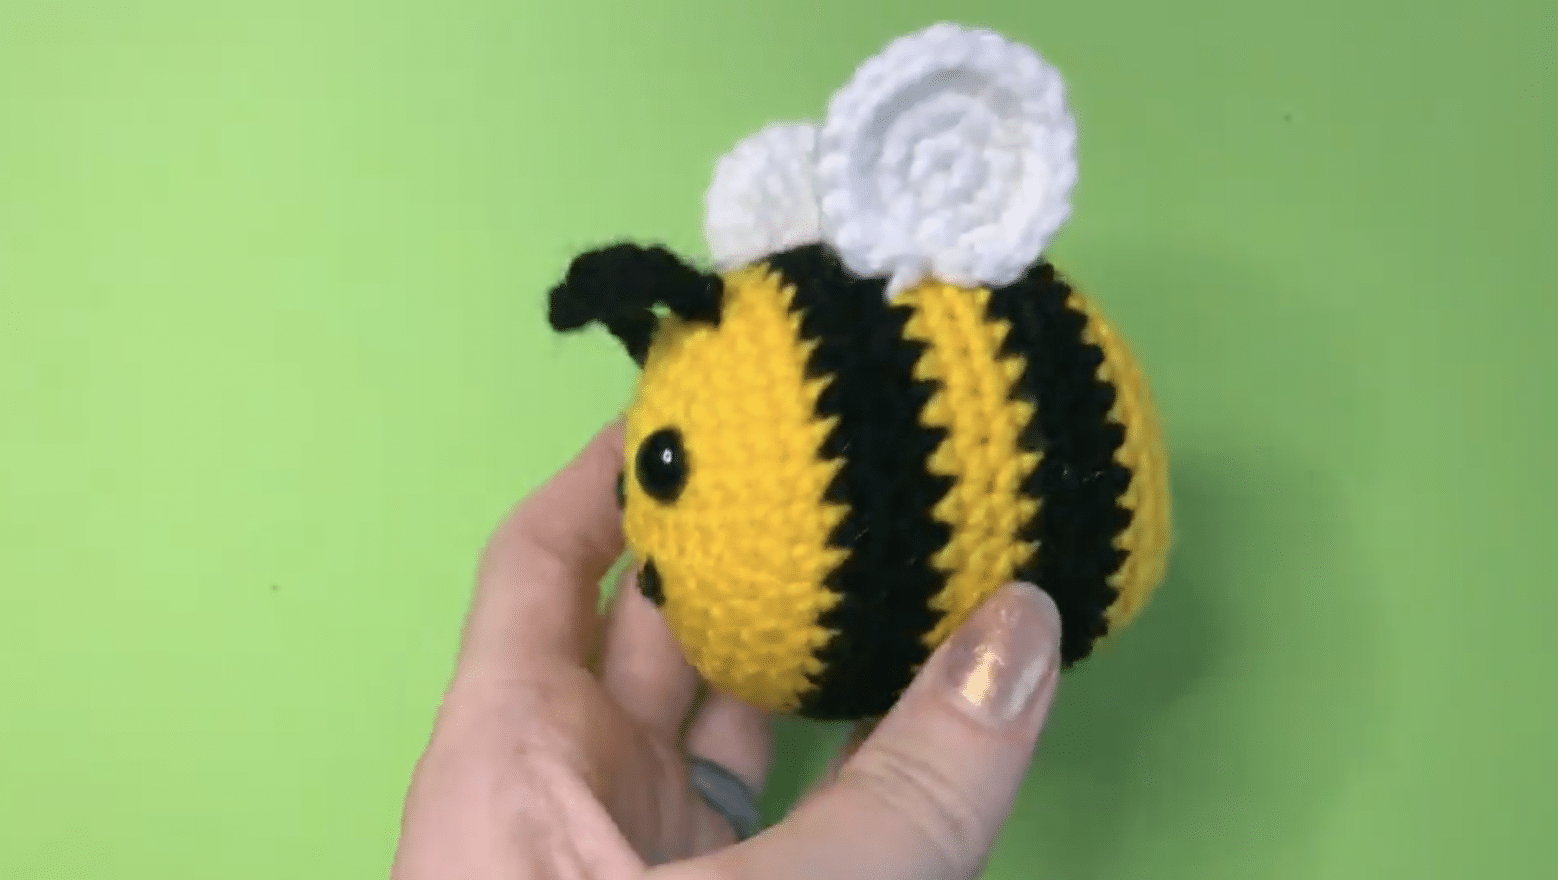
Crochet an Amigurumi Bee
Love bees but allergic to flowers? Crochet a bee, or even a whole colony, and you can enjoy those fuzzy little guys without the sneezing.


If you want to dip your toe in the art of amigurumi—the Japanese craft of crocheting small, stuffed creatures—a bee is a great first project. An amigurumi bee is simple and round, and it doesn’t involve many separate pieces. Plus, it’s a great way to practice essential crochet skills like changing colors and advanced stitches like double and treble crochets.
Want to learn how to crochet a bee and get started on your amigurumi journey? Learn from this tutorial.
Quick Links
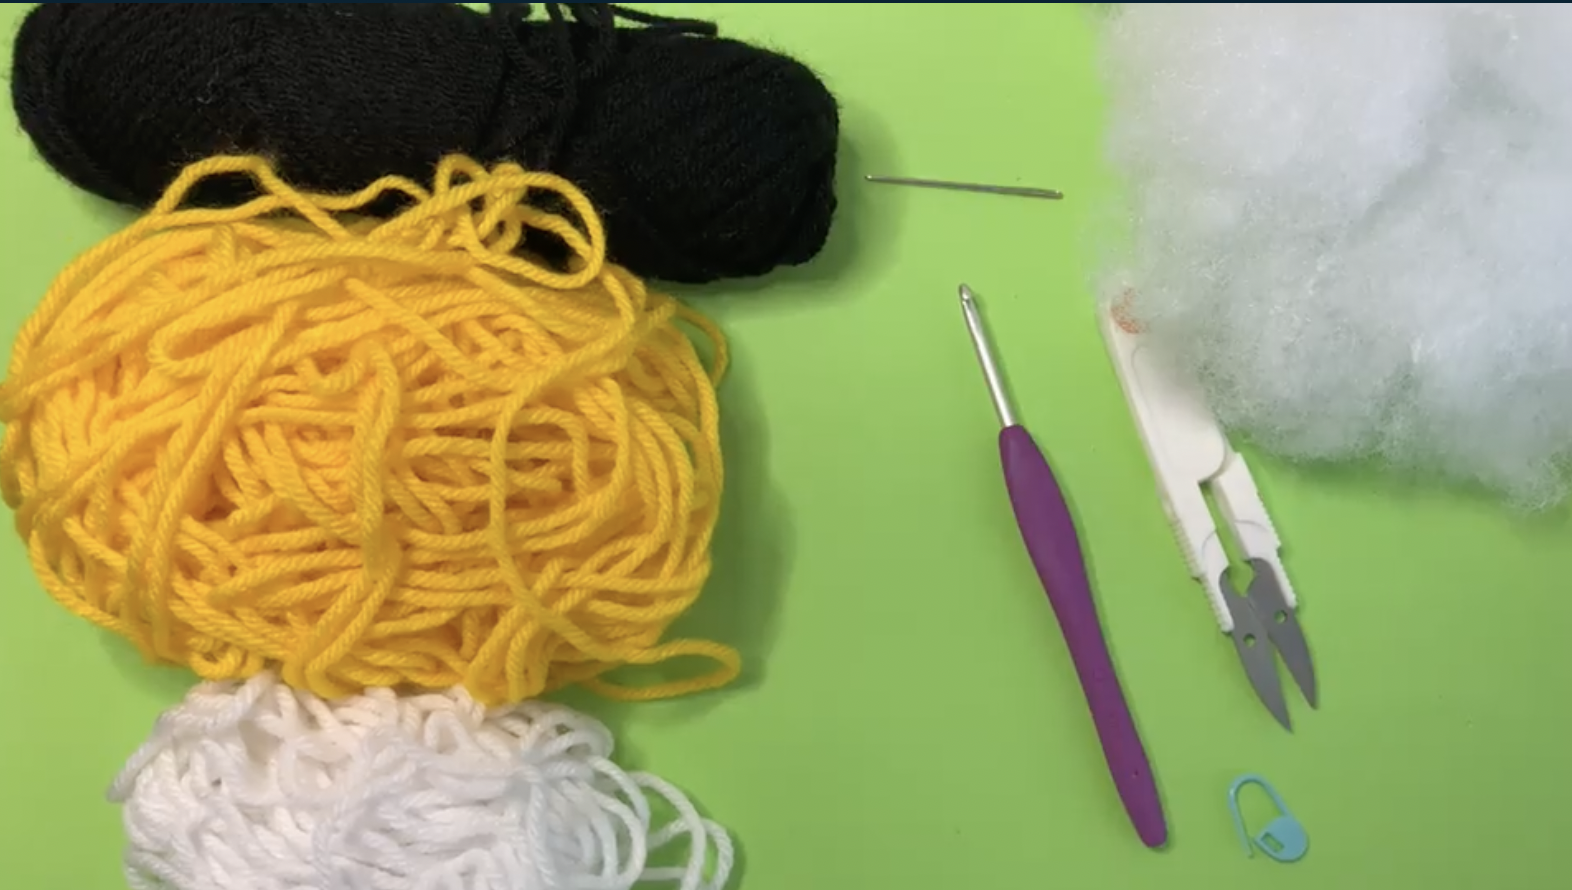
Tools and Supplies to Crochet a Bee
If you want to learn how to crochet a mini bee, you will need a few basic crochet supplies:
Pattern
Following a pattern will make sure your bee has the right shape, size, and proportions. You can find free amigurumi bee patterns online, as well as classes that guide you through the entire crochet process.
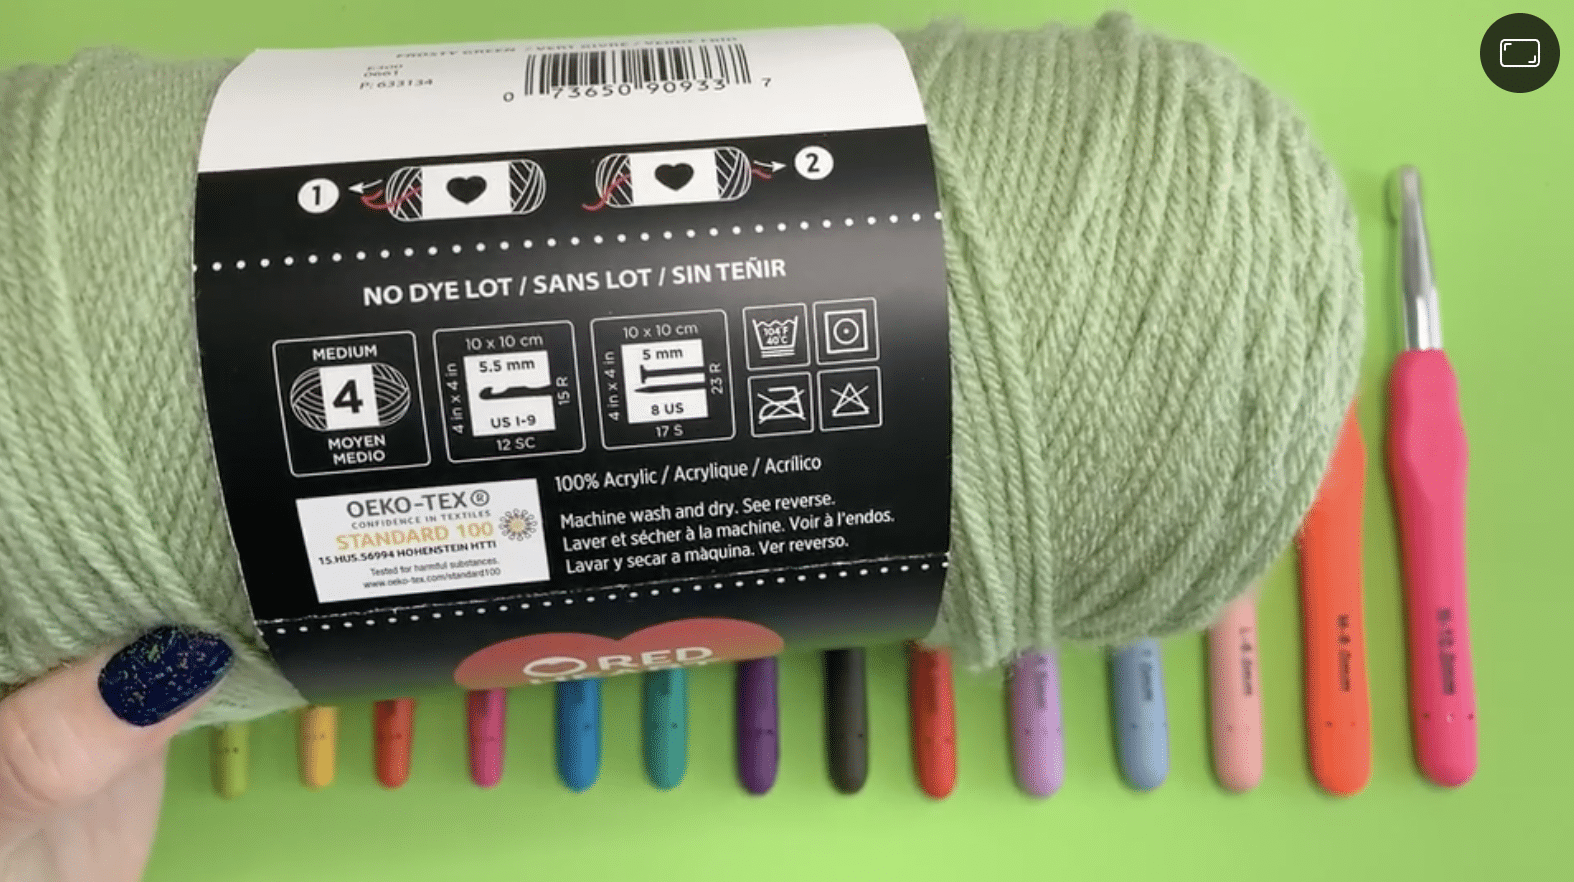
Yarn
To crochet a bee, you will need three colors of yarn: yellow, black, and white. Choose a worsted weight yarn, which falls in the middle of the yarn weight scale. The skein will be clearly labeled “worsted” or will display a number four.
Build a Solid Crochet Foundation
Modern Crochet: Essential Skills for Getting Started
Crochet Hook
Just like yarn, crochet hooks can range from tiny to jumbo. For most crochet projects, you will choose a hook size based on the type of yarn you’re using and how tight you want the stitches to be. For amigurumi, it’s generally best to choose a three- to five-millimeter crochet hook. However, also check the label on your yarn, which should specify a hook size recommendation.
Tapestry Needle
A bee is one of the simplest amigurumi creatures you can create, but it does require you to use a tapestry needle to attach a couple of separate pieces—the wings and antenna—to the body.
Stuffing
Stuffing the amigurumi bee will allow it to keep its shape. You can buy fiberfill stuffing online or at a local craft store—or use something you already have, like material scraps from a previous project.
How to Crochet an Amigurumi Bee
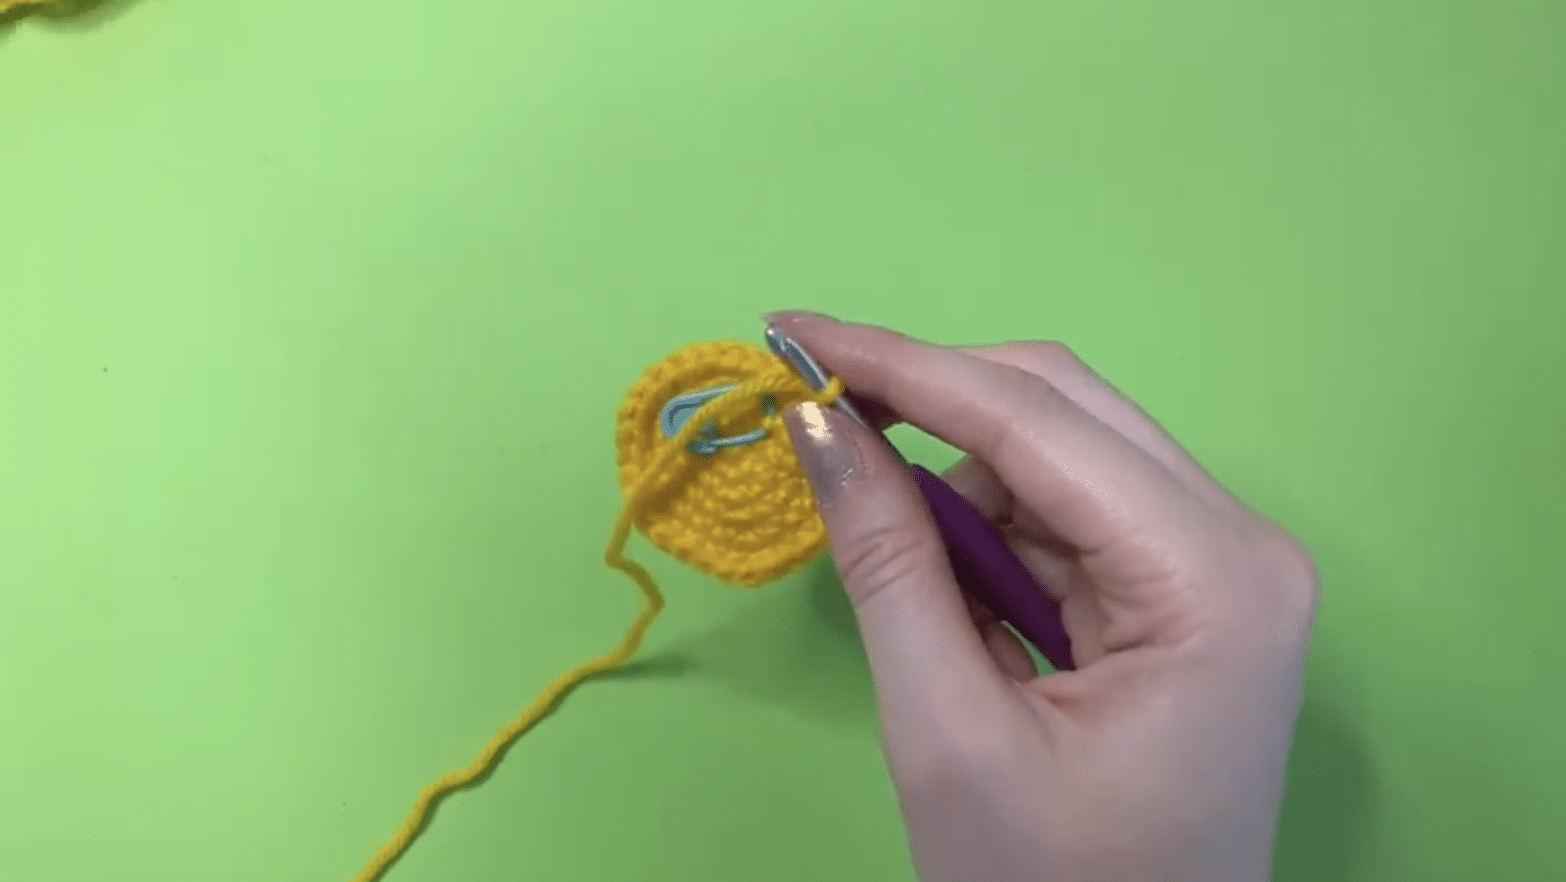
Step 1: Start the Body of the Bee
Starting with your yellow yarn, create a slipknot. Then, either crochet a magic ring or chain two stitches followed by six single crochets. From there, follow your pattern, working in a series of single crochets and increases. The piece will get wider, eventually creating the round bottom of the bee’s body. Pro tip: To avoid losing your place, try using a stitch marker to indicate the beginning of each row.
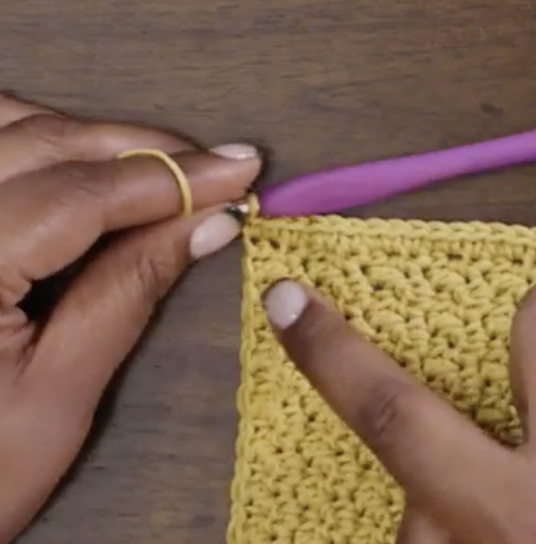
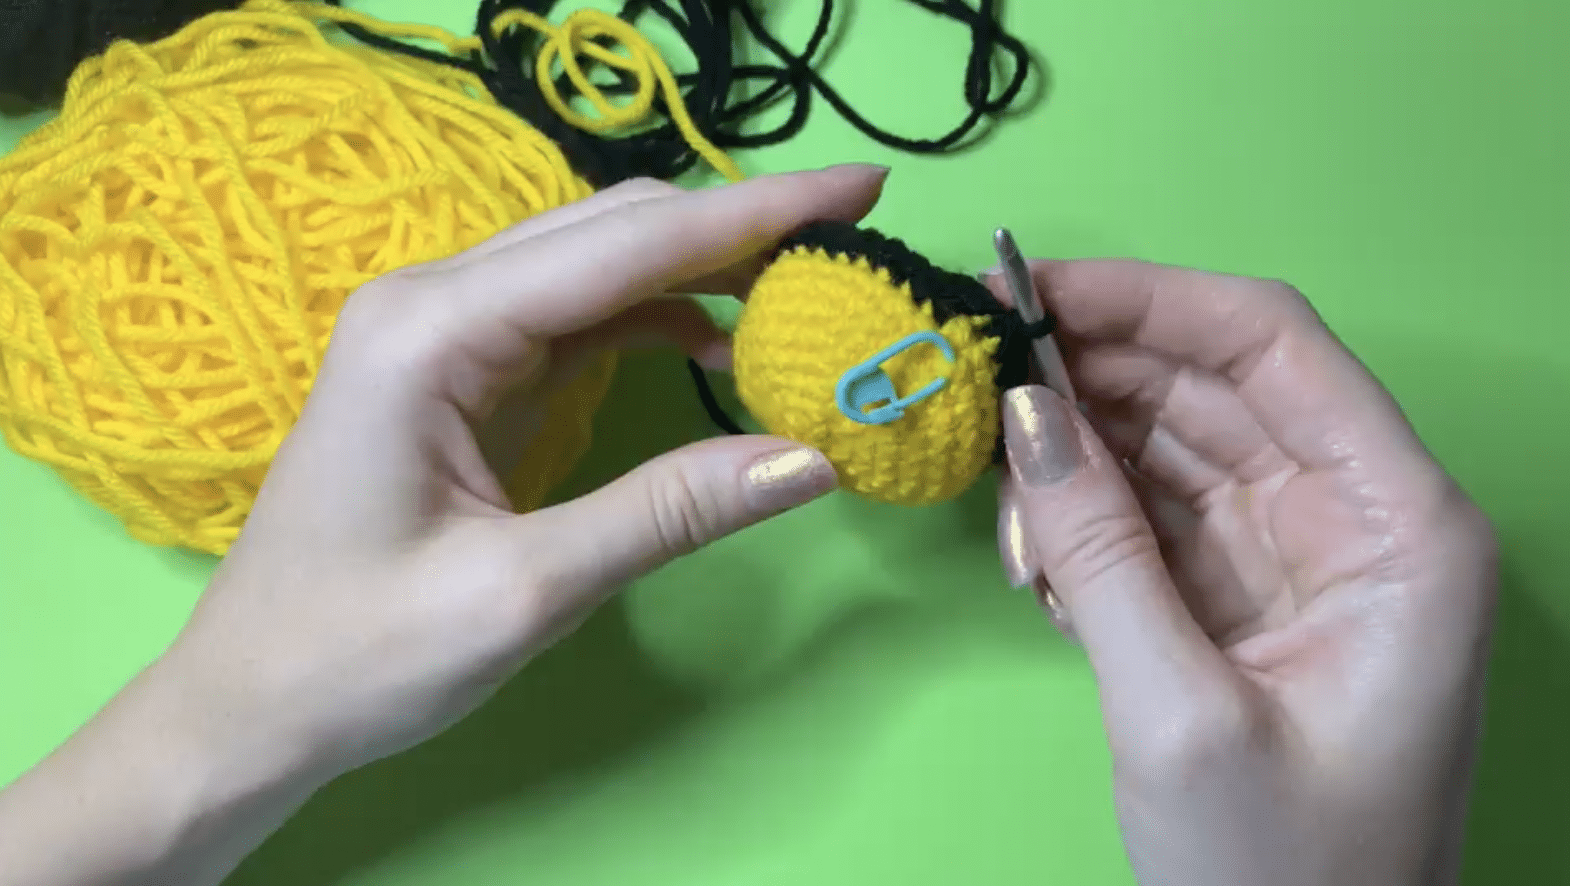
Step 2: Change Colors to Create a Black Stripe
To create the first black stripe, you first have to switch from yellow to black yarn. Start by leaving two loops of yellow yarn on your crochet hook. Then, use your crochet hook to pull the black yarn through the yellow loops. From that point, simply use the black strand to continue with the pattern. Use the same method to switch back and forth between colors to create the bee’s distinctive stripes.
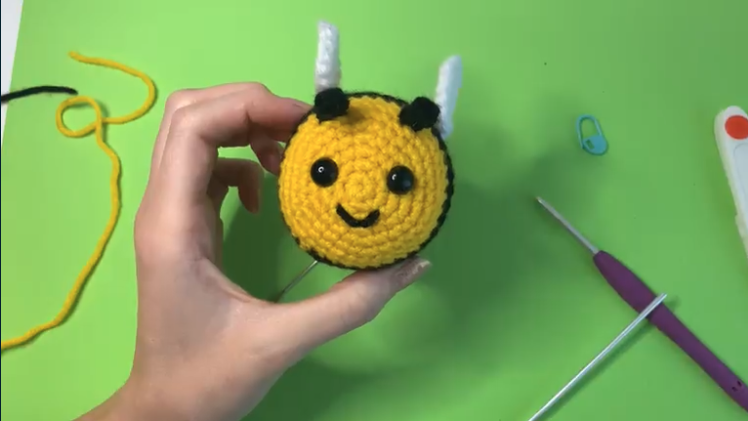
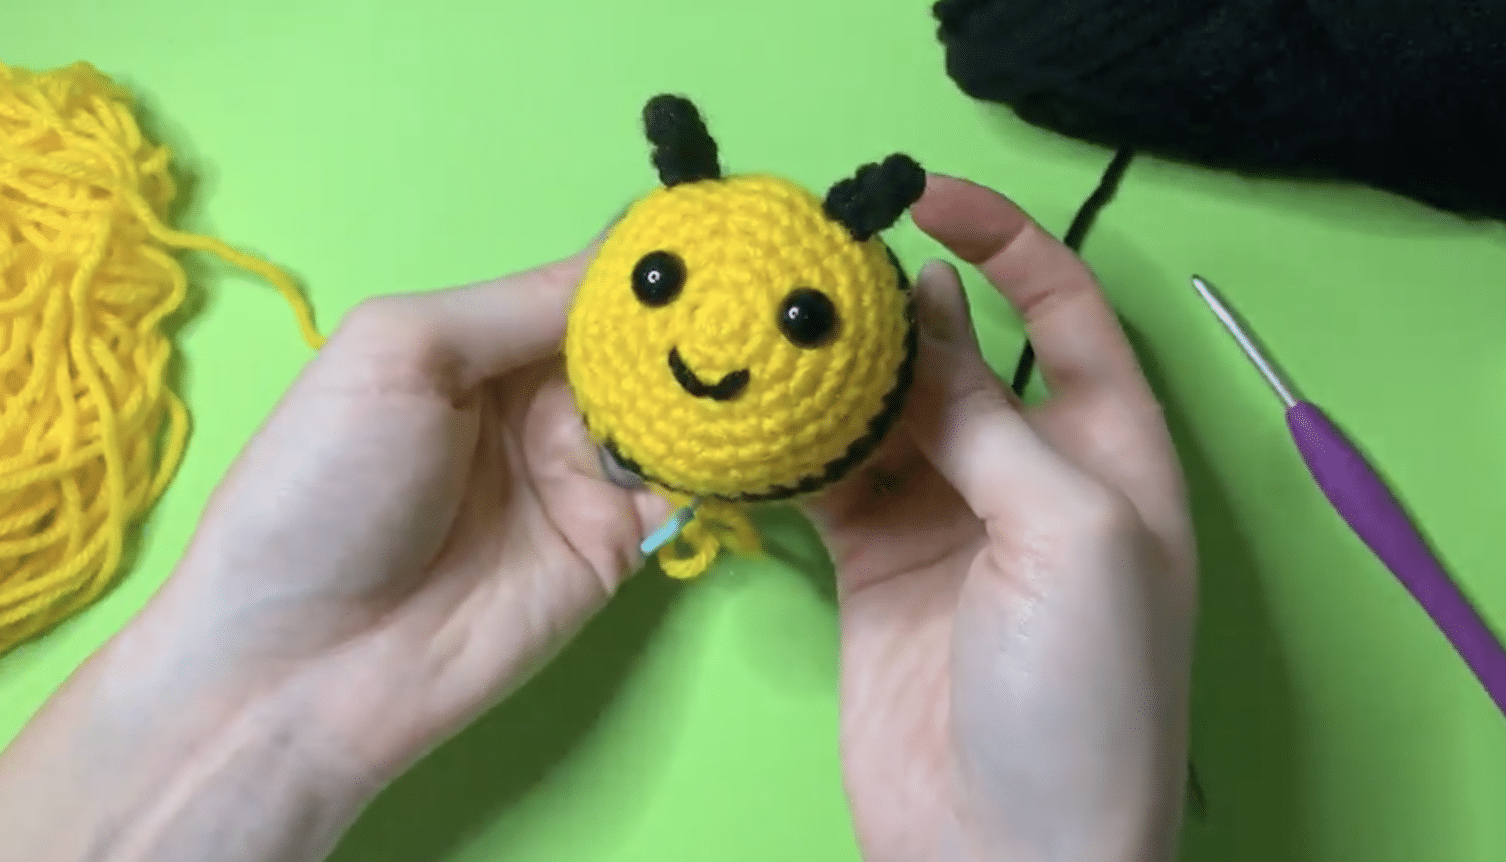
Step 3: Add Facial Details
Before you finish the bee’s body and stitch it closed, add details to the bee’s face. Start by inserting two safety eyes through the front of the bee and adding the safety washer to the stem of the eye from the inside of your fabric. To add a mouth, thread your tapestry needle with a piece of black yarn and use a series of short stitches to create a simple curved smile.
Then, create the bee’s antennae. For each, use a piece of black yarn to create a slip knot, chain five stitches, and then single crochet four stitches. Attach it to the bee by pulling the free ends of the yarn through your fabric with your crochet hook, and secure with a knot.
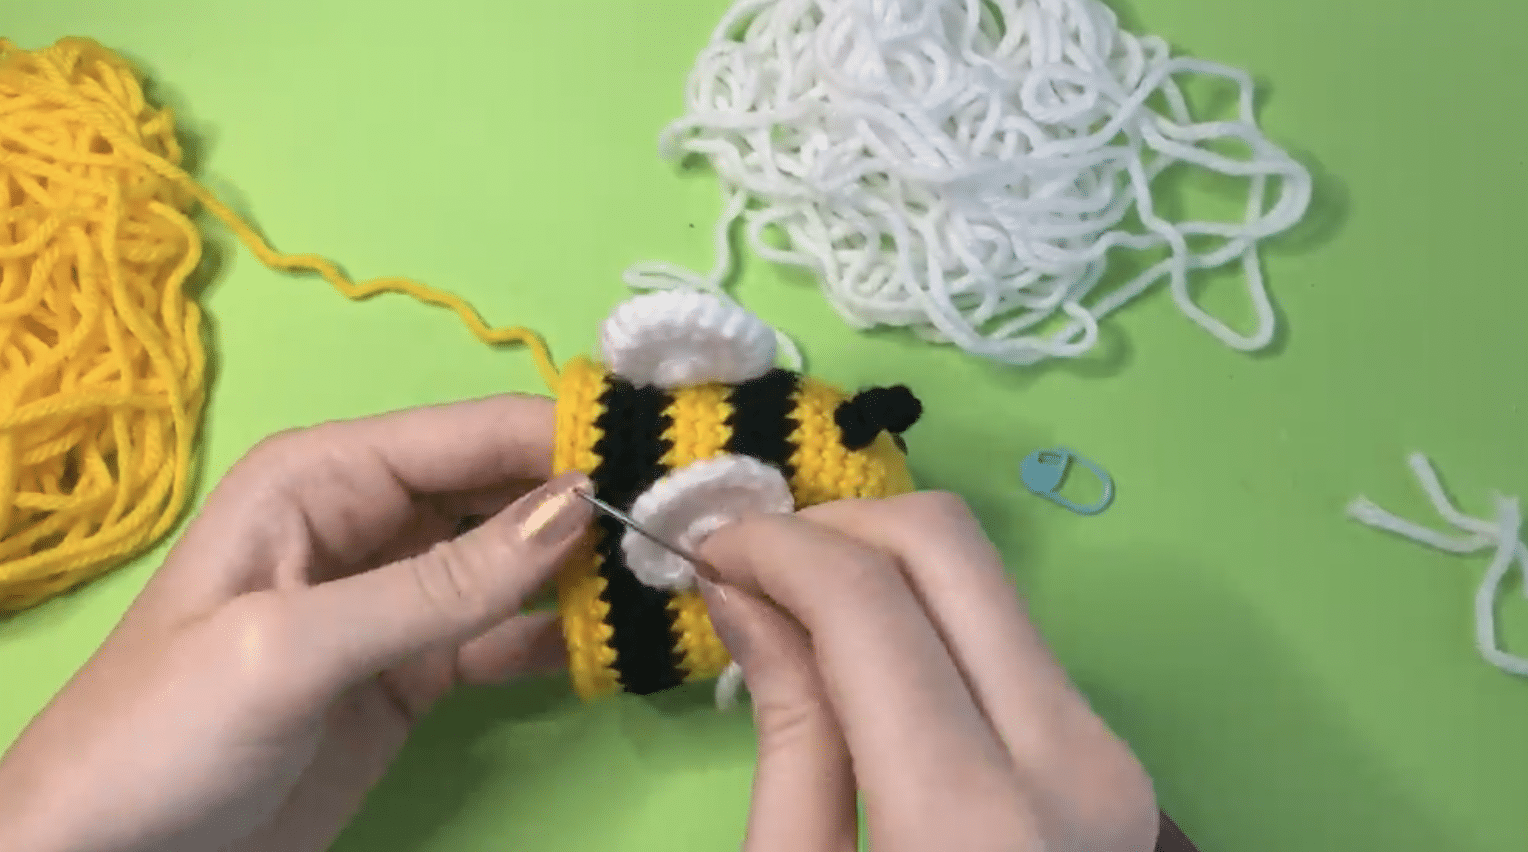
Step 4: Crochet and Attach the Wings
With your white yarn, crochet two wings. Just as you did for the body of the bee, start with a slip knot, and then either create a magic ring or chain two stitches, followed by six single crochets. Follow your pattern, building the wing with a series of single crochets and increases. Thread your tapestry needle with white yarn and stitch each wing to the body of the bee.
Step 5: Fill and Finish
Pick your yellow yarn back up and continue following the pattern, working in single crochets and decreases to start closing the body. Before you reach the very end, use fiberfill to stuff the bee. Those finish the bee, weave the tail of the yarn into your last stitches and pull it as tightly as you can to cinch it closed. Tie a small knot and push the end of the yarn into the body of the bee.
Start Your Hive
Learning how to crochet a bee is just the beginning. Once you understand the fundamentals of making a simple amigurumi bee—like following basic patterns and stitching pieces together—you will have a solid foundation to create any animal you want!
Amigurumi Tips and Tricks
Beginner's Guide to Amigurumi Crochet
Try Skillshare for free! Sign up for a 7 day free trial today!
Get Started- Unlimited access to every class
- Supportive online creative community
- Learn offline with Skillshare's app


