

A Guide to Making a Digital Collage
Learn how to make a digital collage whether for personal photos or an art digital collage with this step-by-step guide and tutorial.


When you picture a collage, do mood boards made from early 2000s magazine cutouts come to mind? While those are definitely collages, and might be the first ones you ever made, a collage just means combining many different images into one visual graphic. It actually comes from the French word “coller” which literally translates to “paste.”
While we’re not physically pasting anything in a digital collage, the sentiment remains the same—splicing together different elements to create one cohesive image.
What Is a Digital Collage?
Much like its paper counterparts, a digital collage is created by layering together virtual images from various sources into a new piece of art. Digital collage art is everywhere; you just might not notice. When an image is imposed onto a background, that’s a digital collage. When text is placed over an image, that’s a digital collage. When multiple images are layered together, that’s a digital collage.
Just like with any art form, digital collages vary in difficulty, size, color, and style. Before you start to create your own, check out some examples of digital collage art to get an idea of what you might want yours to look like.
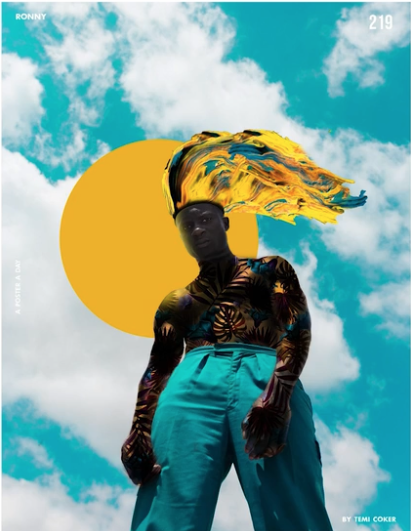
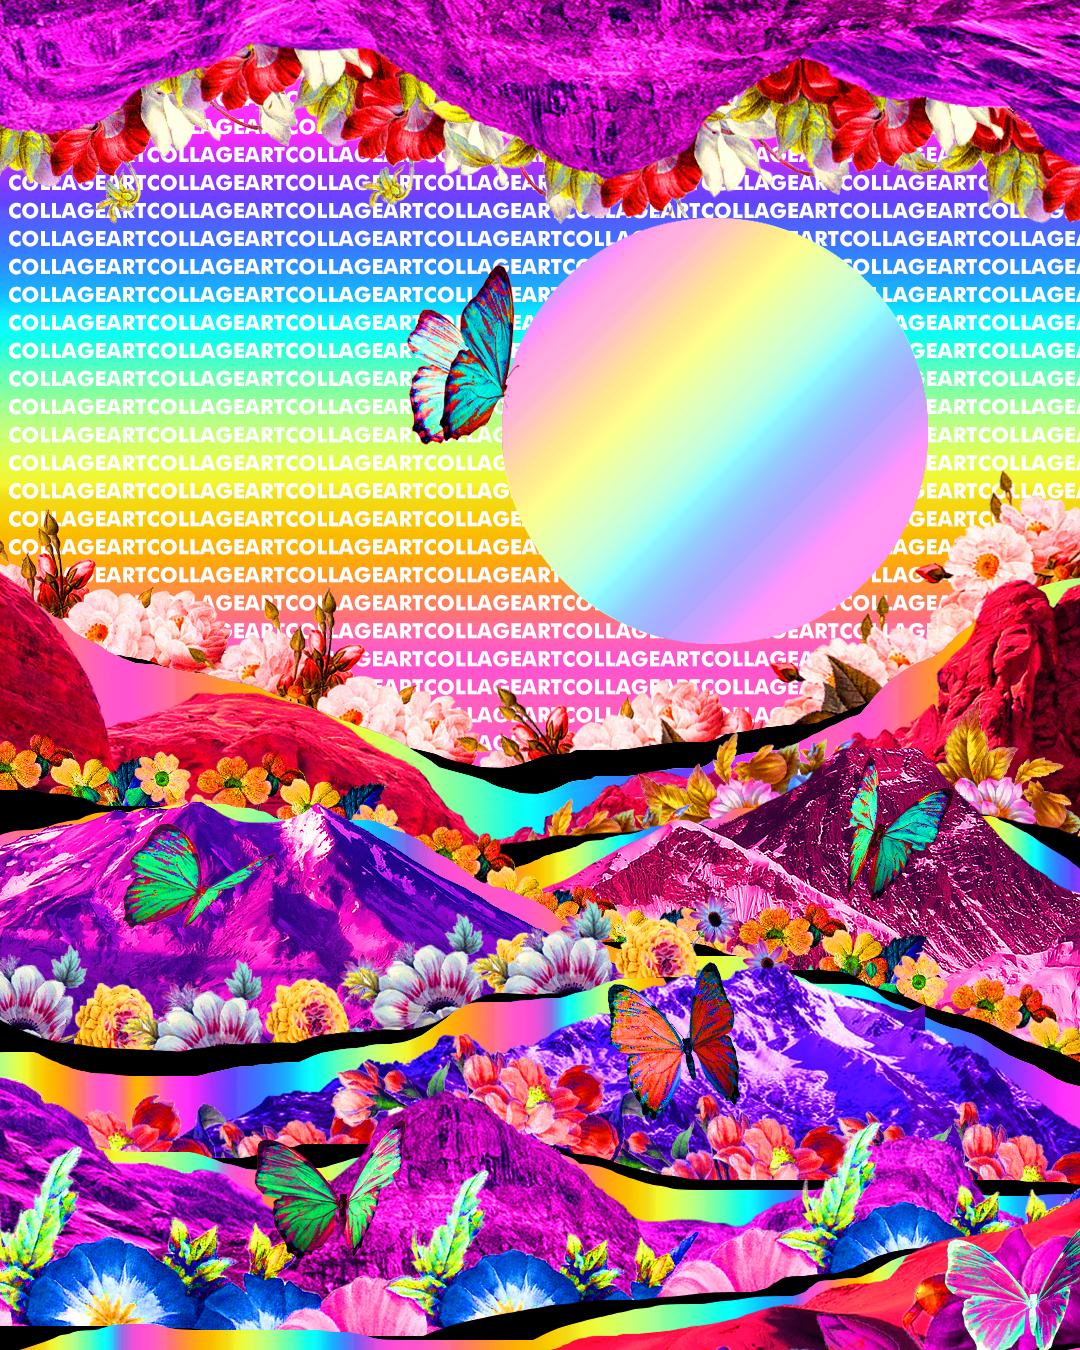
Examples of Digital Collage
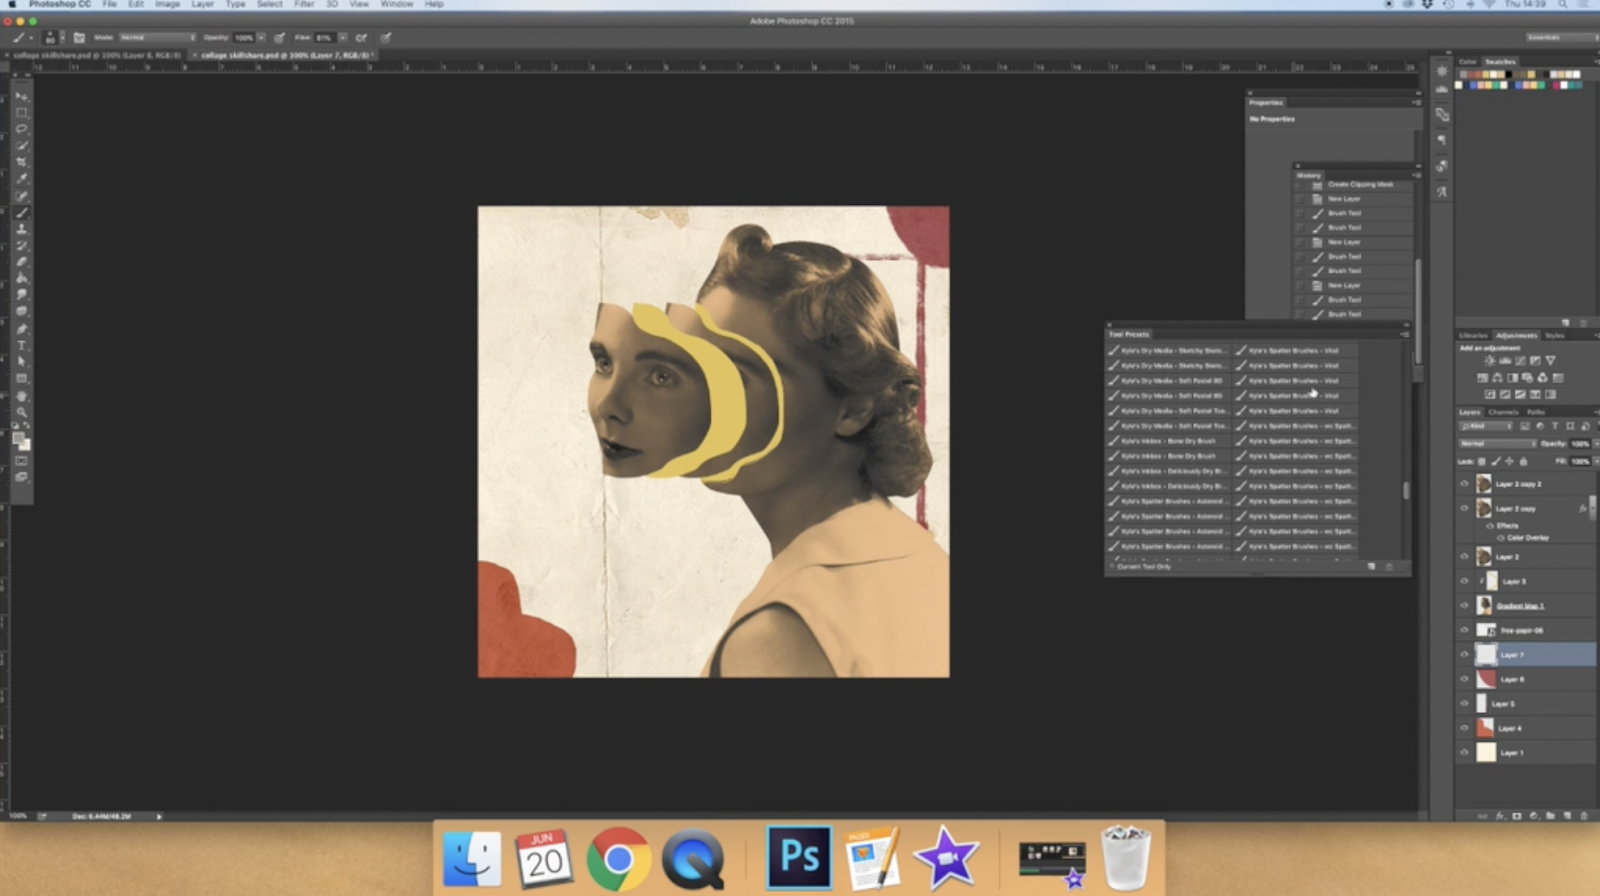
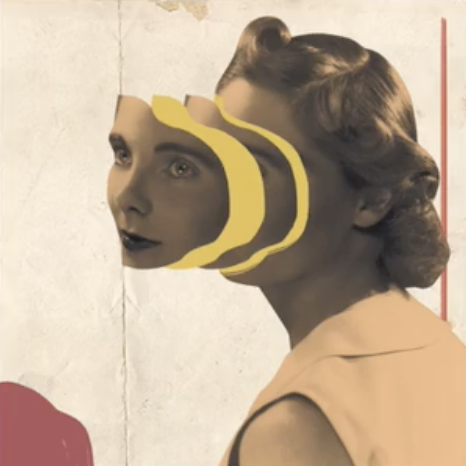
Photoshop is the most popular digital collage maker, followed by Procreate. Most designers are already very familiar with these tools, so it makes sense to create digital collage art in the same software. Here are a few examples:

How to Make a Digital Collage

So, have you thought about what you want out of your digital collage? The options are endless, but it’s an important consideration so your digital collages are sized accordingly.
A few common ways to use digital collages are:
- Social media posts or banners
- In email newsletters
- E-cards
- Online posters/brochures
Once you’ve got your end product in mind, here’s how to make a digital photo collage of your very own.
Step 1: Collect Your Images
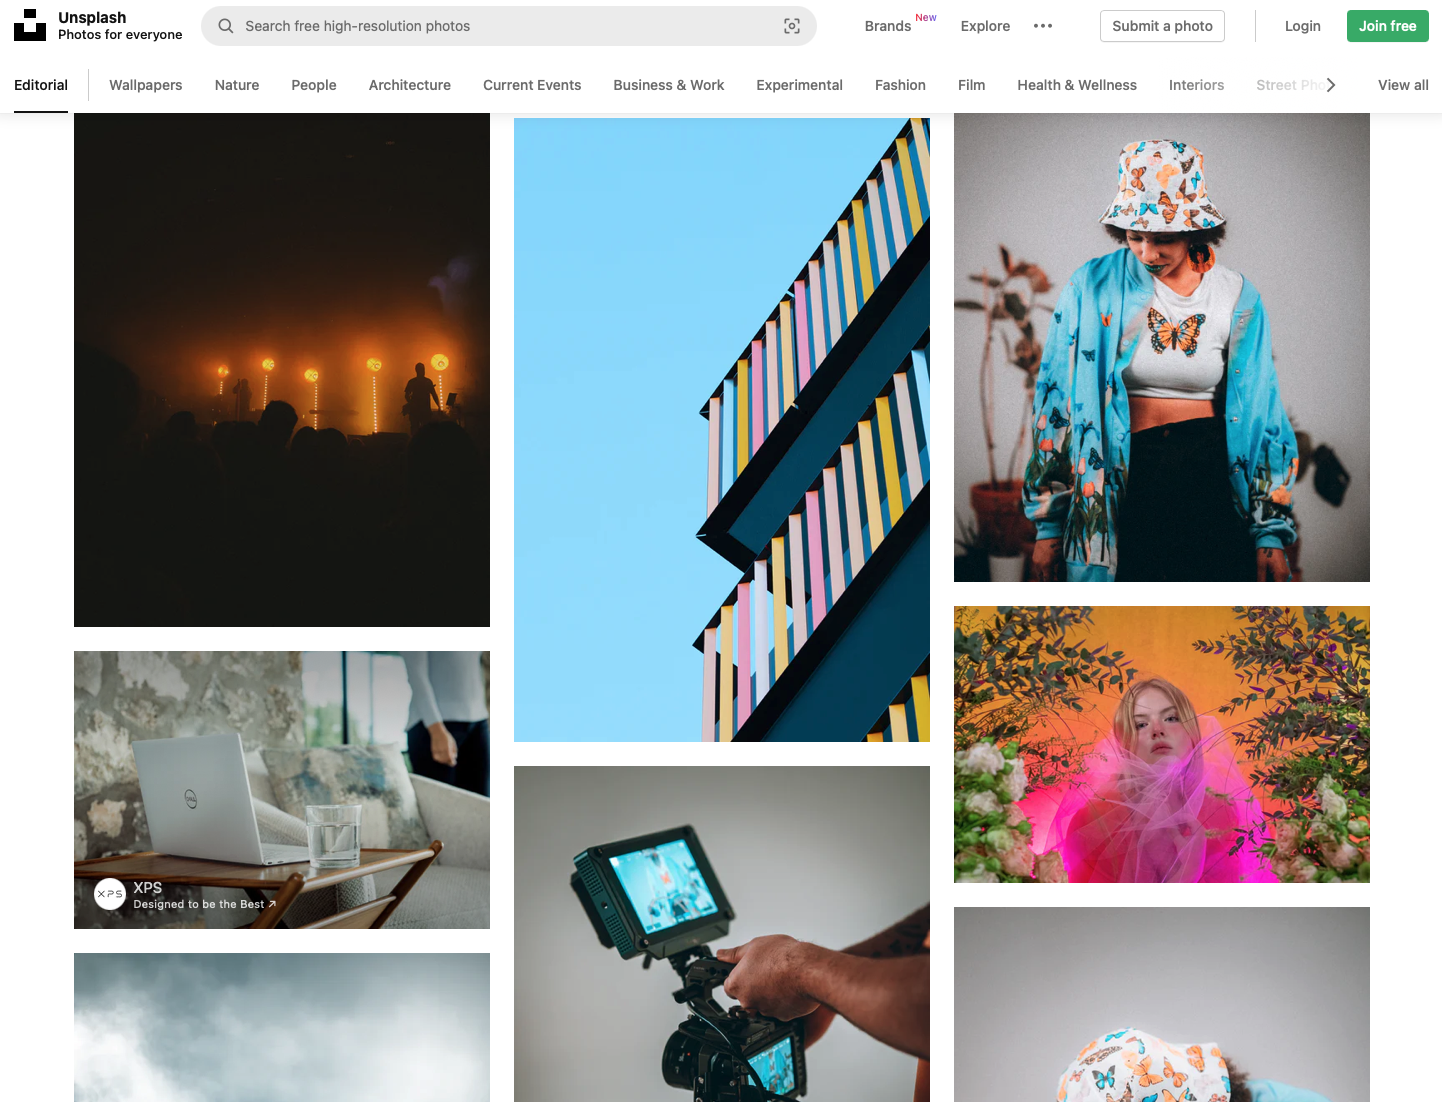
First, collect your images. These could be images you own or images in the public domain you source online. If you’re sourcing images online, be sure they are also free of any copyrights and able to be edited.
Save your images to one folder for easy access.
Step 2: Set Up Your Document
Open Photoshop and start a new project. Input your required dimensions and use a resolution of 72dpi if the collage is going to be used online. For reference, a Facebook cover photo uses 820x312 pixel dimensions, while a typical 8x10 print is 900x720 pixels. Do your research beforehand so you create the correct size background for your project.
Step 3: Cut Out Your Images

Much like you would in a paper collage, you need to assemble and cut out your images from their backgrounds. In Photoshop there are a few ways to do this. For a more automatic way, try the magnetic lasso tool, which uses the contrast between the subject and background to cut out the background. However, the pen tool gives you the most control over what you remove—that’s what we’ll use here.
Select the pen tool and start at an endpoint on your subject—you’re essentially tracing an outline of it. Clicking points along the image will give you a straight line, whereas clicking and dragging will allow for a curved line. Follow your subject as closely as you want using straight or curved edges. Once you’ve made your way around the entire subject, connect back to your first anchor point—on your pen tool, a circle will pop up to indicate you’re back where you started.
Then, go to Paths on the right-hand side of your screen and select the circle on the bottom of the panel (it’s usually the third one in from the left) and click command+J to open your selection in a new layer. Click the eye next to the background to remove it and then delete it.
Repeat this process for as many images as you need for your final collage. By the end of this step, you should have multiple images cut out and ready to be put together in a new way!
Repeating can be an important part of the collage process. Discover how to create repeat patterns to use in your collages with this helpful guide.
Step 4: Assemble Your Creation
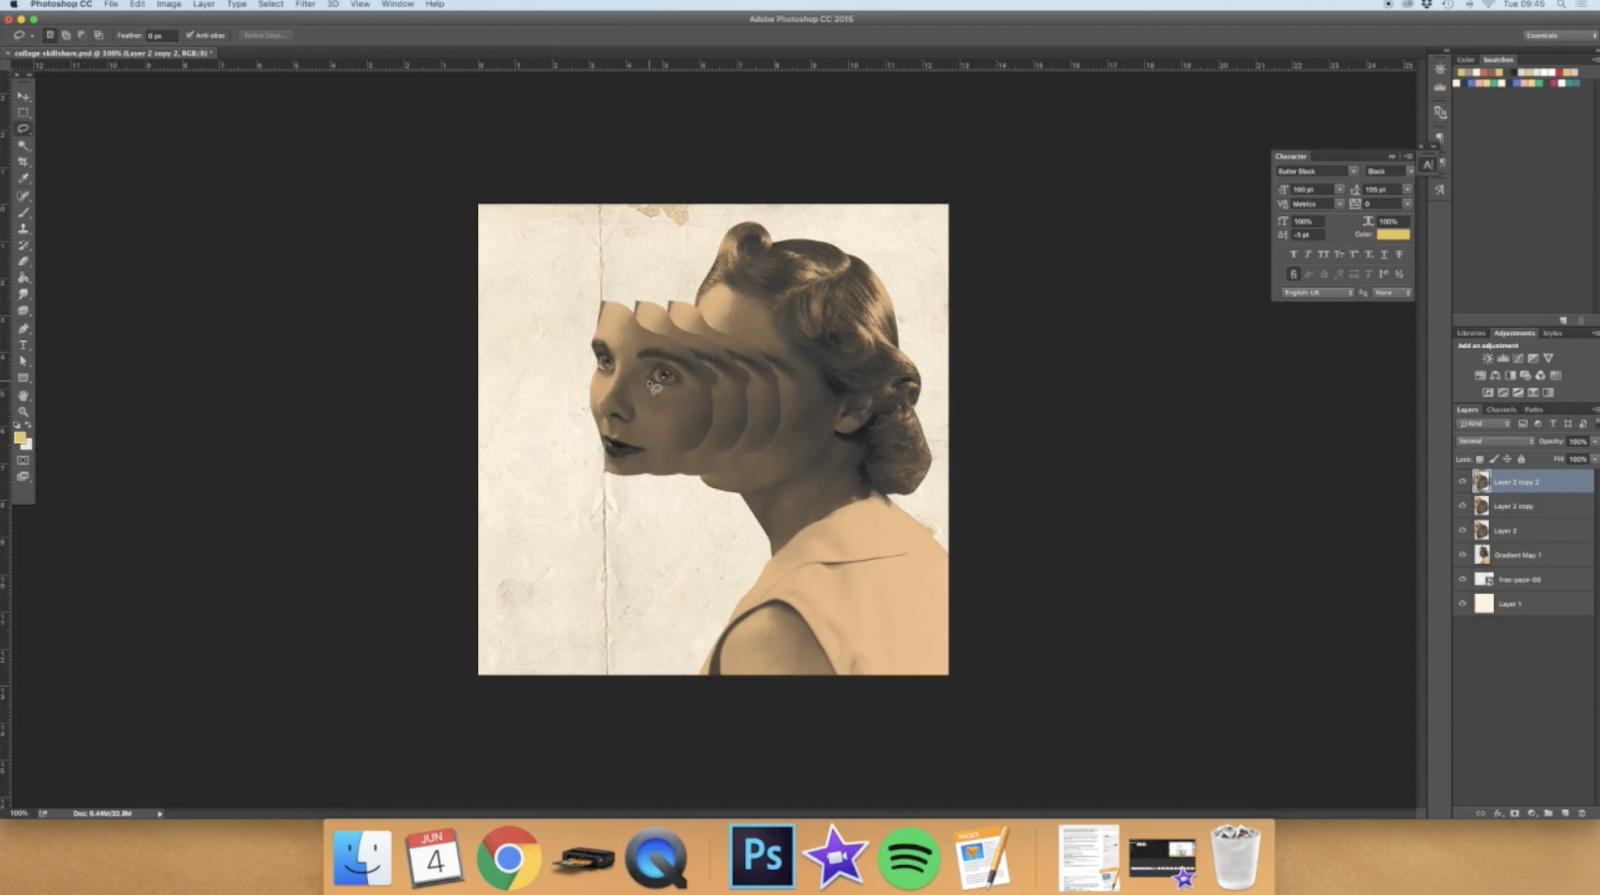
Now that you have your images saved across multiple layers, make sure they are all imported into one document. Then, start to play around with the spacing, overlap, and general layout. The eye next to each layer allows you to hide that layer, so you can build your layout slowly and position each element without clutter.
Step 5: Add Final Touches
When you’re happy with how the images are positioned, add text, shading, or other elements to complete the image. Remember the days of cutting out individual letters to create a funky title font? You can emulate that in Photoshop, too, or go a more traditional route. Other colors or shapes can also be added to balance or bring out certain colors in the collage. The choice is yours!
Step 5: Save and Use!
After you’ve successfully added all of the elements you want to your digital collage, save it as a PSD file and then again as a JPEG or PDF, depending on where you plan to use it. The PSD file allows you to edit it in the future, whereas many sites require a JPEG file for image uploads.
How to Make a Digital Collage for Free
If you don’t have access to Photoshop or a similar tool, Canva is a free online tool you can try. While much less robust than Photoshop, you’re able to add multiple images and text to your document. If you’re just getting started creating digital collages, Canva is an easy way to try your hand at it without investing in buying and learning more advanced programs.
Become a Digital Collage Pro!
How to Master Digital Collage in Photoshop
Try Skillshare for free! Sign up for a 7 day free trial today!
Get Started- Unlimited access to every class
- Supportive online creative community
- Learn offline with Skillshare's app


