

7 Amazing Drawing Exercises For Beginners
Whether it’s blind contour drawing or mixing up your materials, try these fun and inspiring drawing exercises for beginners.


Drawing is a simple creative act that is distinct to our species—one that some might argue humans are hardwired to do. But drawing well is a skill that takes time and practice to develop, and in the beginning, it’s as much about honing observation skills, improving hand-eye coordination, and understanding your artistic tools as it is depicting a specific subject. If you’re just starting to pick up drawing, you’ll have an easier time learning to use perspective, proportion, shading, contour lines, and patterns if you shake off the pressure of drawing “the right way” now.
Here, we’ve rounded up seven drawing exercises designed to help you let go of performance anxiety, connect with your creative side, and develop some basic artistic techniques. Learn to appreciate these practices, and you’ll find that more complex concepts will start to feel like the natural next step.
1. Get in the Right Mindset.
A lot of people approach drawing to create something perfect or visually pleasing, only to feel overwhelmed by fear that they won’t succeed. If you haven’t drawn in in a while (or ever), don’t worry. Take a moment to get into the right frame of mind, and you’ll have an easier time tapping into your creative impulses and feeling satisfied with your artistic progress.
Before you begin drawing, take a deep breath and clear your mind of any pressure you may feel to create something that fits a particular standard of “good” or “right.” Making art should be a fun process, not a scary one. Think of your drawings as a series of experiments: Whether or not you like the final product should be an afterthought. Instead, focus on trying something new. You may be pleasantly surprised with what you can create along the way.

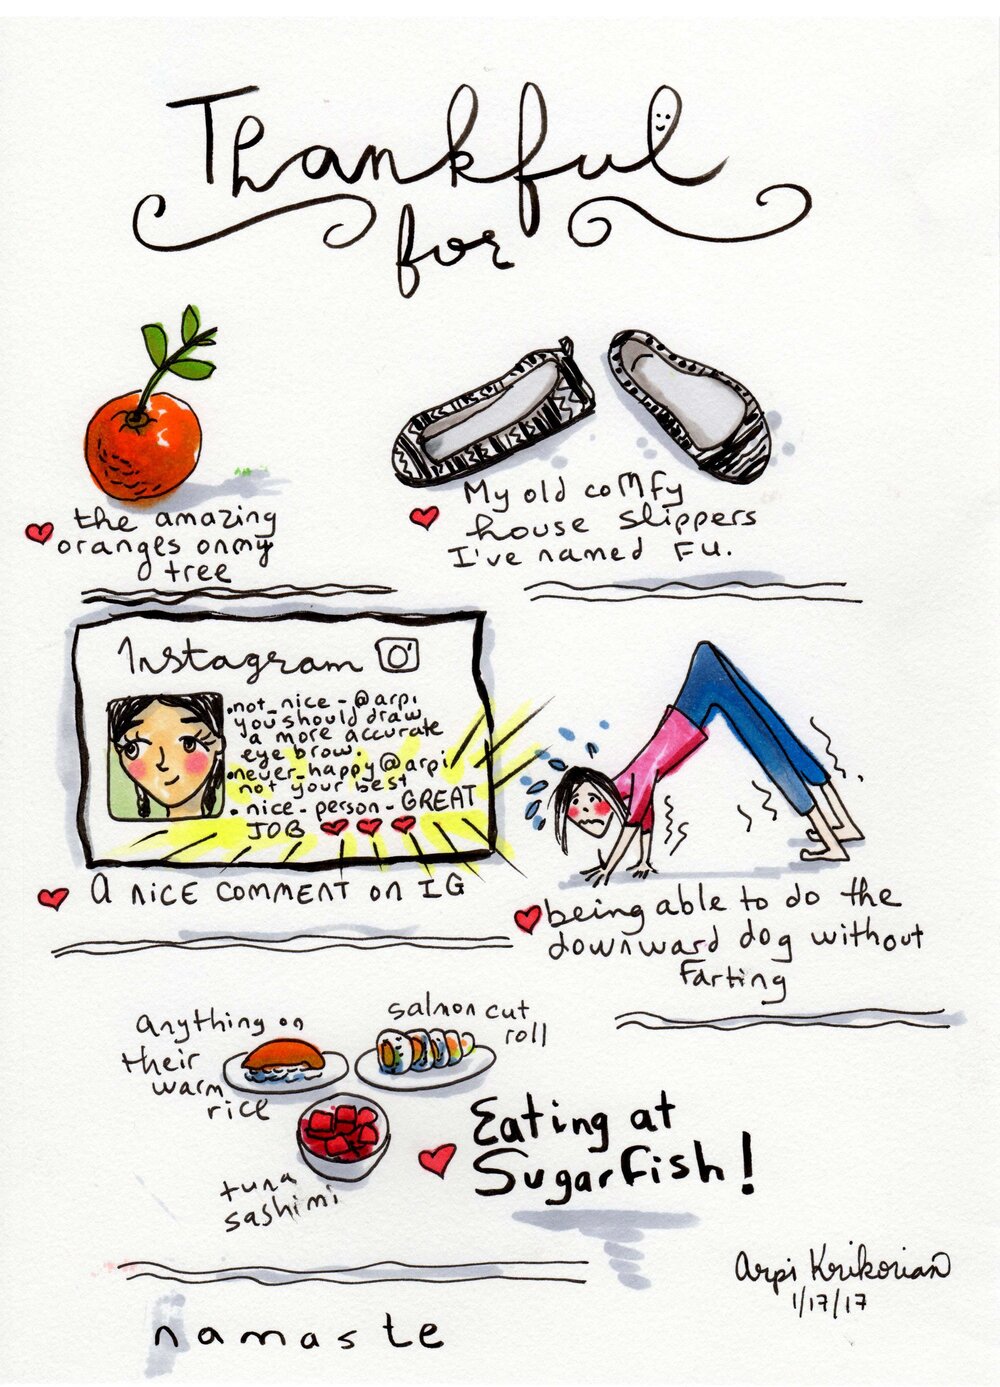
Drawing as Self Care
Use art as a tool for healing with illustrator Mari Andrew, who guides students through expressing their feelings through pie charts, illustration, gratitude lists, and more.
2. Test Your Materials.
Before you begin any artistic practice, take a moment to acquaint yourself with the tools of the trade. In this exercise, you’ll handle different types of drawing implements and surface materials to see what you’re most comfortable using.
Start by gathering a few different kinds of pens, graphite pencils, artists’ charcoal, white chalk, markers, crayons, erasers, and/or colored pencils. You can gather as many or as few drawing tools as you’d like: The more varied your toolkit, the more effective this exercise will be. You’ll also need a few sheets of high-quality drawing paper: You might incorporate sheets with different weights or different teeth, otherwise known as surface textures, to see how those elements affect your drawing. And if you want to get experimental, try involving a surface like canvas or wood. There’s no wrong way to do this exercise, and every trial and error will teach you something new about your preferences.
Next, find a solid surface in a well-lit area where you can sit comfortably and draw for an extended time. Survey the materials you’ve collected and lay them out in front of you. You will be using each for a brief period to help you draw an abstract image.
Your drawing doesn’t have to look like anything in particular. The point of this exercise is to mindfully handle each of your pens, pencils, and other tools on all of your surfaces to see which elements speak to you and what kind of lines they draw. As you begin to mark your surface, ask yourself:
- Does this make a thick or thin line?
- Does this make a light or dark line?
- Do I like the way this marks my surface?
- How would this feel on a different surface?
- How does it feel when I draw with my wrist, elbow, or shoulder?
Experiment with your tools for as long as you’d like, and try to go with the flow. Repetitious and abstract drawing helps you develop your hand and create muscle memories that will be useful when you want to develop interesting patterns and textures down the road. The more fun you have, the better you’ll become
3. Draw Blind Contour Images.
Blind contour drawing is a classic way to loosen up creatively and hone your observation skills. In this exercise, you’ll begin to shake up the idea of drawing what you think something should look like.
First, pick an object with a particularly interesting outline. It could be a small branch of leaves, a children’s toy, or even your hand. Situate yourself so that you have a good view of your subject and can draw comfortably. Set a timer for however long you’d like, and commit to drawing continuously for that increment of time.
Now comes the tricky part: You are going to attempt to draw your subject without taking your eyes off of it, and without lifting your pen or pencil until you are done.
Start slowly, and pay close attention to the outline of your object. Try to incorporate as many details as you can. When the timer buzzes, look at what you created. Sometimes the results of blind contour drawing exercises can be downright funny, but the more time you spend closely observing your subject, the more you’ll train your eye. Soon, you’ll be confident creating the kinds of lines you’ll need for more advanced contour drawing.
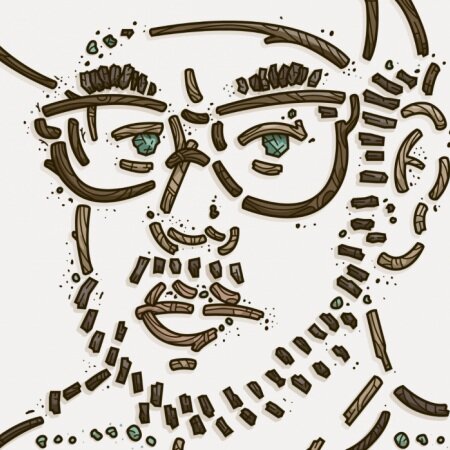
Explore Blind Contour and More
Allow illustrator Ryan Putnam to guide you through quirky—yet effective—artistic exercises.
4. Draw Upside Down.
It may feel a little bit silly, but drawing upside down is another way to shut down the part of your brain that has expectations about what your subject should look like and fire up the part that observes what is there.
First, pick a photograph of an object or person. It should be large enough to have some detail: You want more than just simple geometric shapes, so pick an image that is a little challenging to depict. Set up your image so that you have a good view and can still draw comfortably—the same way you set up your object in exercise three. Then, turn the photograph upside down and start to draw it as if it existed that way. Incorporate as much as you can and take as long as you’d like. Don’t turn the photo (or your drawing) to be right-side-up until you are sure that you’re finished.
Did you spot elements that you might have missed if you weren’t working upside down? Shaking up context like this can train your eye to notice details—and your hand to follow suit. Strengthen your basic techniques with this exercise now, and you’ll recognize your progress when you begin to tackle more complex tasks like one-, two-, and three-point perspectives.
5. Draw with your Nondominant Hand.
In this exercise, attempt to draw with your non-dominant hand: If you are right-handed, draw with your left hand, and vice versa.
Find a small object that you want to illustrate. Try to choose something that has interesting shapes and shadows, but isn’t too complex: a few pieces of fruit, a bowl of eggs, or simple flowers in a vase would all be excellent options.
Set up your subject in a well-lit place where you can observe it closely and still work comfortably. Then, take your non-dominant hand and, taking careful note of the lines, shapes, and shadows that you see, begin to draw your subject as realistically as you can.
Remember: It’s supposed to be hard. The point of this exercise is to stimulate your brain with a new challenge and jump-start your curiosity, visual acumen, memory, and creativity. If nothing else, it’ll certainly help you shake off the pressure of perfectionism.
How to Draw A Face
Learn the basics of drawing eyes, noses, mouths, and other facial features.
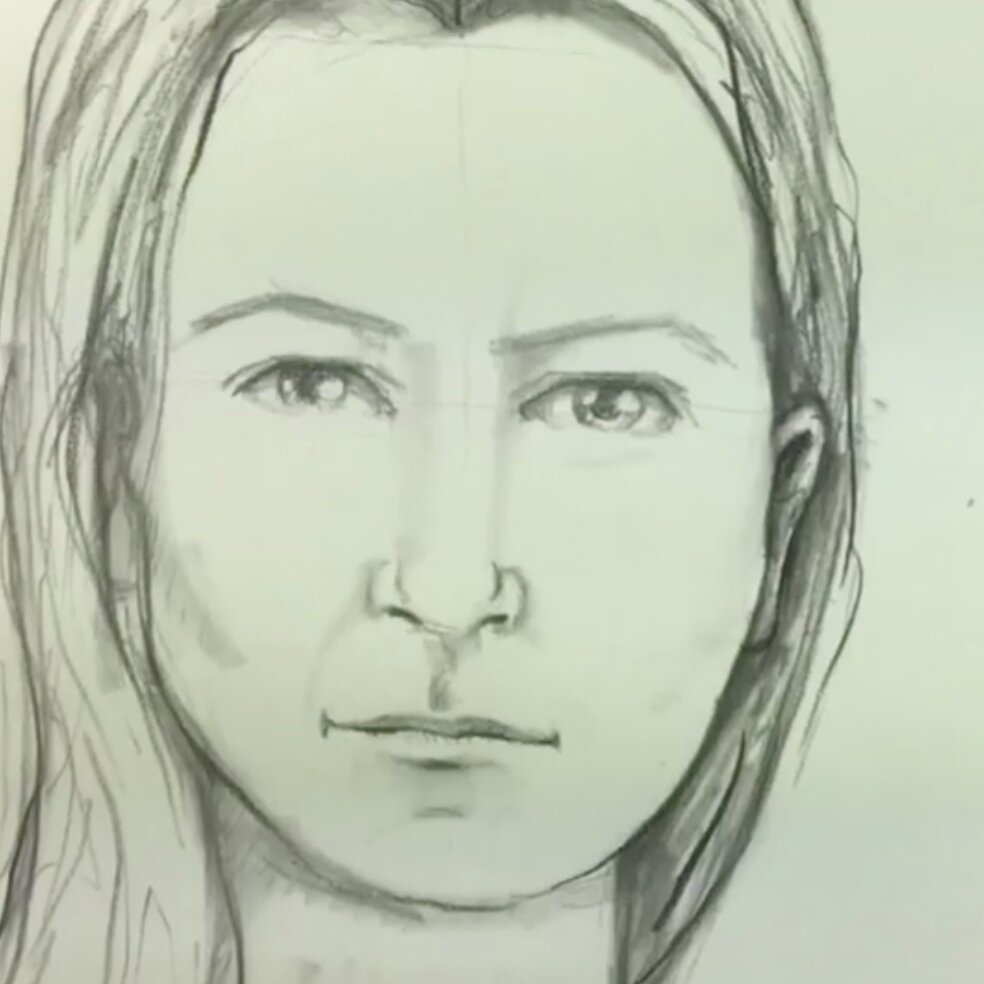
6. Draw a Self-Portrait with Your Eyes Closed.
Find a comfortable chair where you can work. Sit up straight, connect your pen or pencil to the paper, and close your eyes. With your non-dominant hand, touch your face. Feel the different textures that make up your cheeks, the skin around your eyes, your eyebrows, nose, mouth, and chin. Think about how each aspect of your face relates to one another. How much space do you have between your hairline and the corner of your eye? Is your jawline square, round or pointy? Is it wider or narrower than your cheekbones? Is it wider or narrower than my forehead?
Now, with your non-dominant hand still exploring your face and your eyes closed, begin to draw a self-portrait without lifting your pencil or pen from the paper. Don’t open your eyes or lift your drawing implement until you are confident that your work is finished.
Do you recognize yourself? It’s okay if your drawing doesn’t look realistic. Drawing your self-portrait with your eyes closed helps you to better understand the proportions of your face, a key way to improve your ability to draw realistically as you develop as an artist.
7. Explore Negative Space
For this exercise, you’ll need a soft graphite pencil or piece of artist’s charcoal, some large paper, and a rubber eraser. You’ll also need a small object, like an egg, and a bright light, like a flashlight, that you can use to “spotlight” your subject.
Take your graphite pencil or charcoal and “shade” your paper by dragging it in wide, overlapping stripes until the entire page is light to mid-gray. Next, turn off most of the lights around you, keeping only enough light for you to see the paper. Turn on the spotlight and position it so that it hits your subject in an interesting way. Then, take a moment to look at how the light pools and spills around your subject. Ask yourself: Are some light areas brighter than others? Are some shadow areas darker? Does the light land in one particular spot, or highlight multiple parts of the object’s surface?
Render all of the light you see by “drawing” with your eraser on your graphite-covered page. When you finish, you should have a collection of light spots that realistically depict the brightest parts of the subject you’re working with. Now, take the charcoal or pencil and add more shading to the very darkest areas of your subject. Be careful and observant—you only want to add shadow where it really exists, not just where you think it should.
This exercise helps you learn about highlights and shadows as well as negative and positive space. This understanding will be important as you begin to render objects in three dimensions and strive to create more interesting and dynamic compositions.
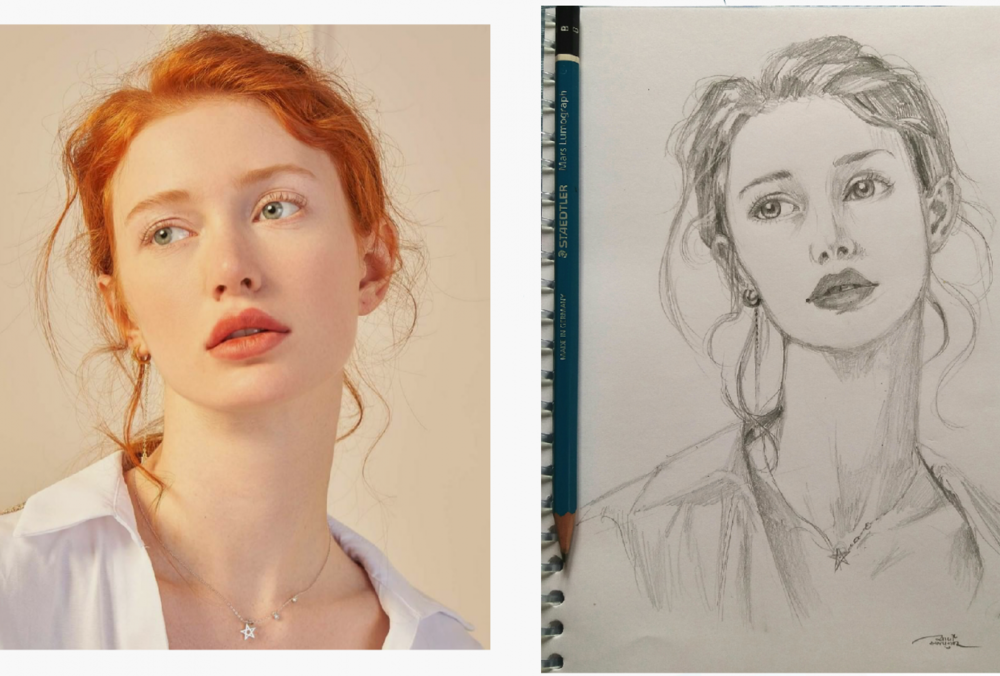
Negative Space, Drawing Shapes, and More
Join portrait artist Gabrielle Brickey as she walks through basic exercises for artists.
Continuing Your Art Education
Whether you’re a beginner looking to loosen up or an experienced artist hoping to shake off a rut, these seven drawing exercises will help you get creative and develop your skills. Keep these up, practice regularly, and enjoy the process. Becoming immersed in a creative task can clarify your thoughts, flood your brain with positive chemicals, and relieve stress or anxiety. That means that as long as your drawing practice is fun and interesting, you’re already well on your way to being the best artist (and human) you can be.
Try Skillshare for free! Sign up for a 7 day free trial today!
Get Started- Unlimited access to every class
- Supportive online creative community
- Learn offline with Skillshare's app


