You Little Ripper!
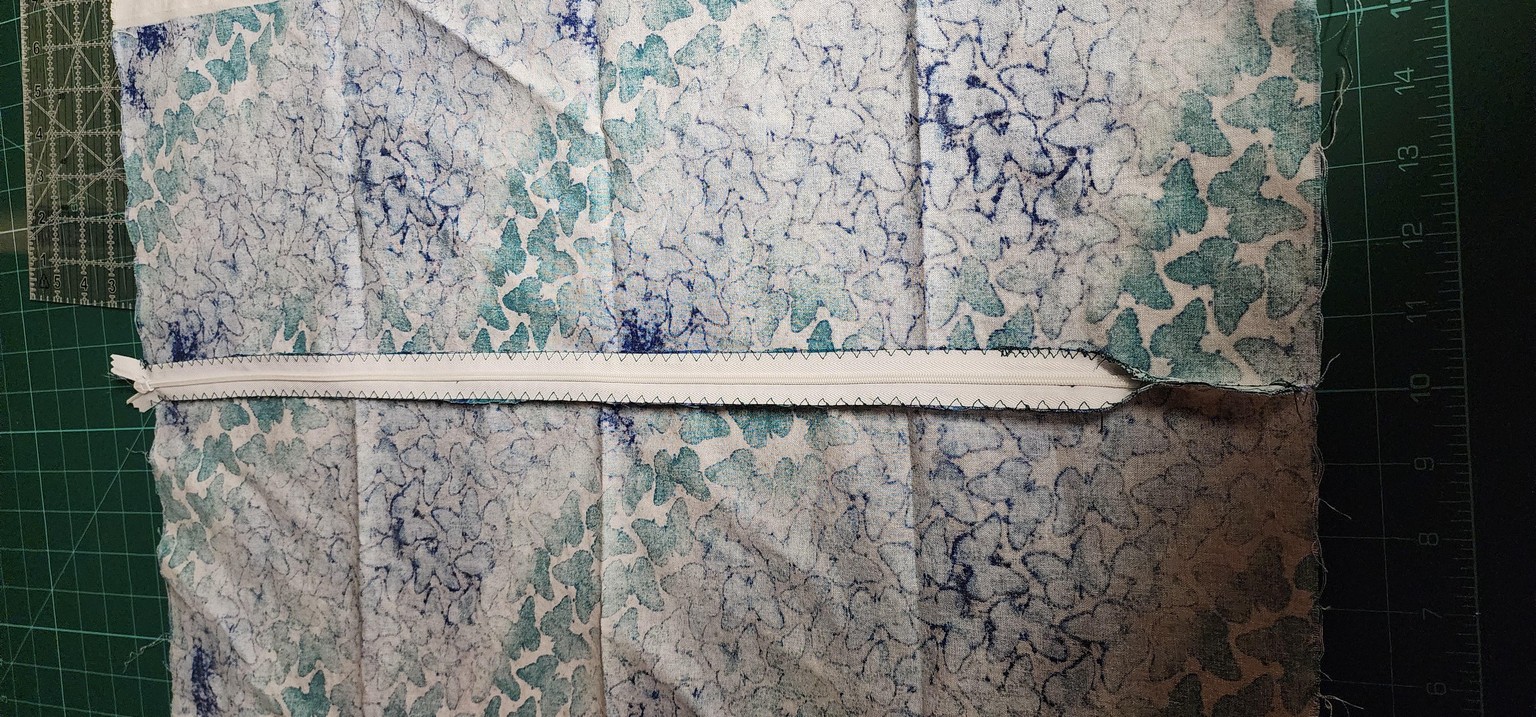
I have never been good at putting in invisible zippers, so this was a challenge for me right off the bat. Once I got it, I was fine, but it took me a minute to get there. My machine has an overcast stitch so that's what I used to finish the one.
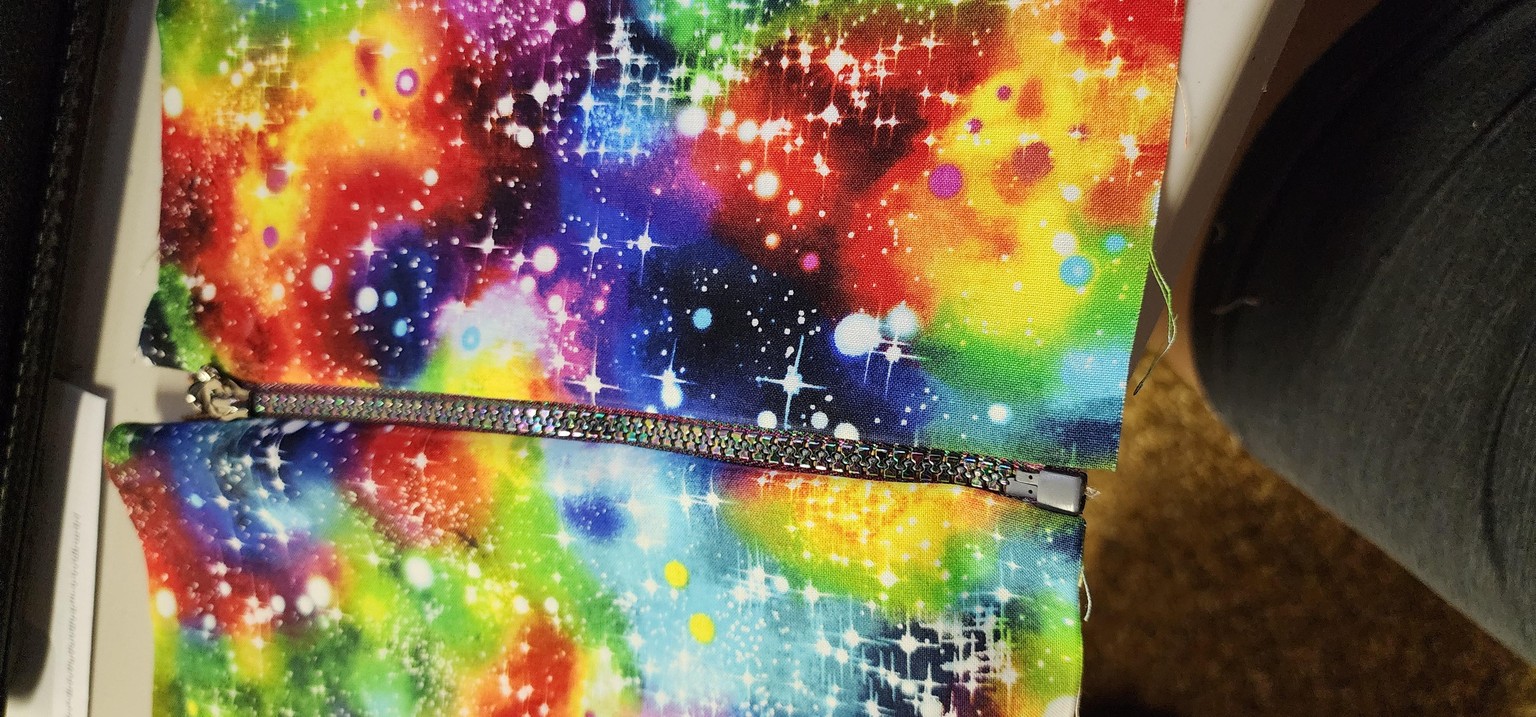
The dress zipper was also a challenge. I was taught to put them in another way, and admittedly, I like that way better. Of course, I tried this way to compare, but I think I will stick with the way I was originally taught. They get the same result, and I find that one a little easier to understand.
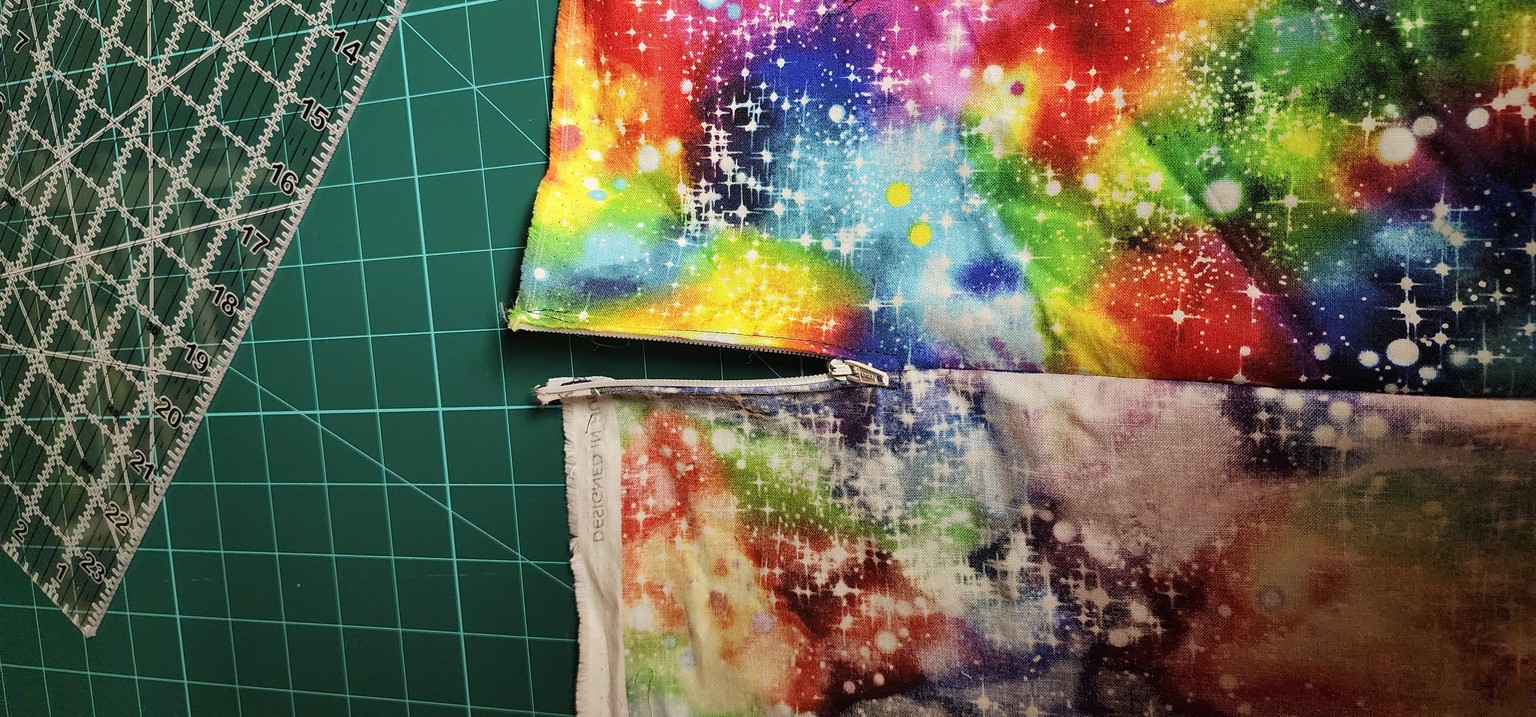
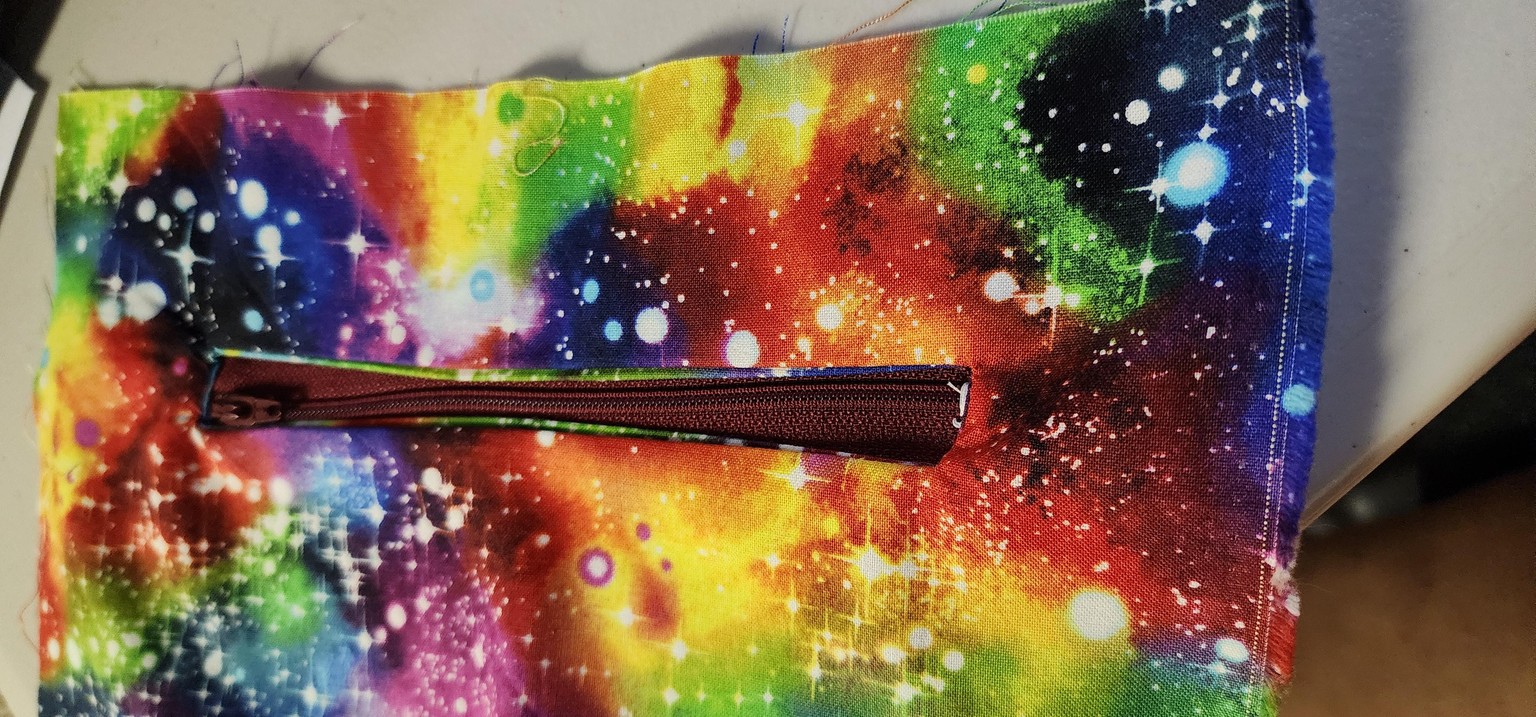
The open zipper is, I think, only the second one I've ever put in in all my time sewing! This one seemed to come pretty easy to me, thank goodness! My stitches were...less than straight...and that seems to be a running theme. I don't use zippers a lot, so I'm going to be coming back to this tutorial a lot in the future just to practice putting them in.
I had pre-folded bias binding, so that's what I used to finish the edges. I don't even know where I got it from or how long I've had it, but it did the job!
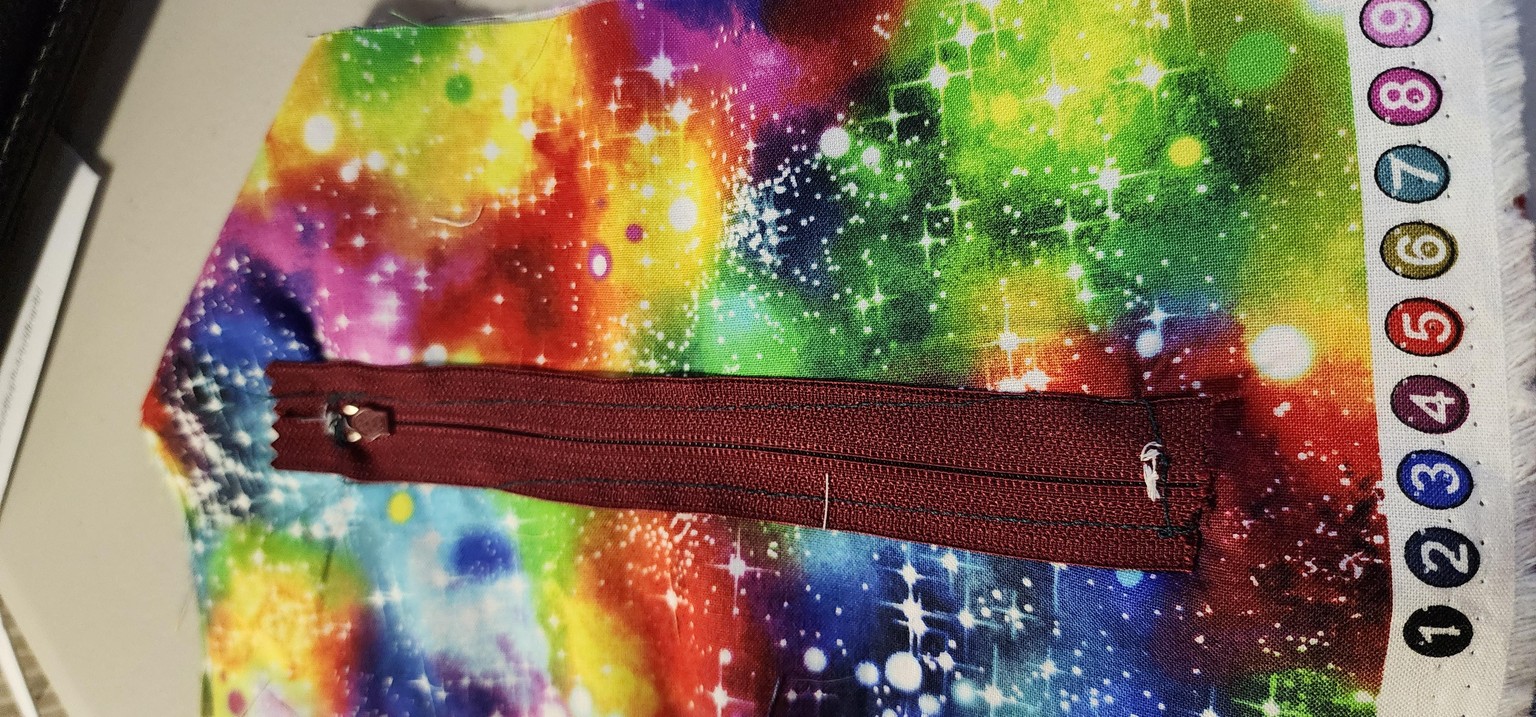
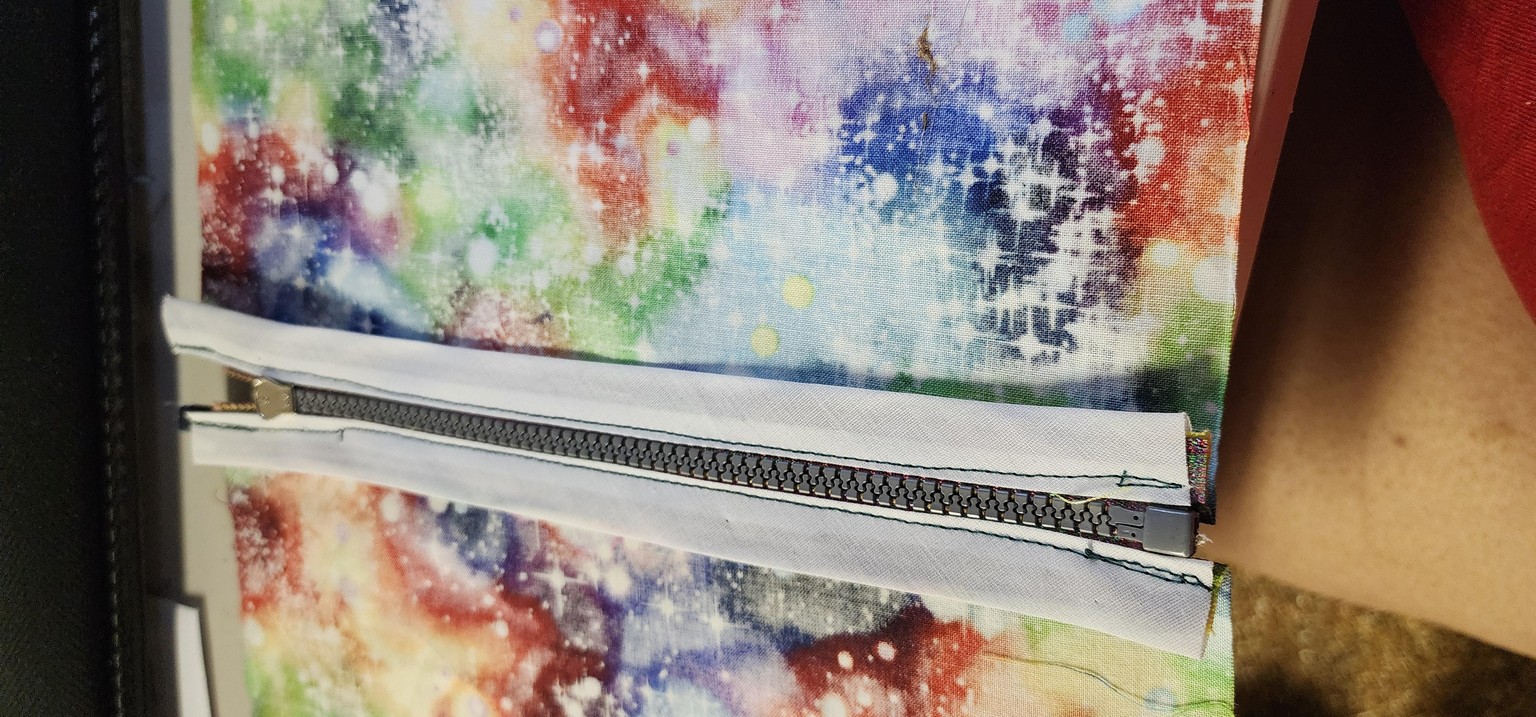
The pocket zipper was a disaster! I can honestly say that I've never put one in before, so I knew it was going to be less than perfect. I could've ripped it out and done it again and again, but I purposely chose to leave it as is as a way to show my progress as I practice more. This was a very first attempt. I think I should leave it in its messy state so I can show where I came from.