Watercolour Travel Kits (DIY)
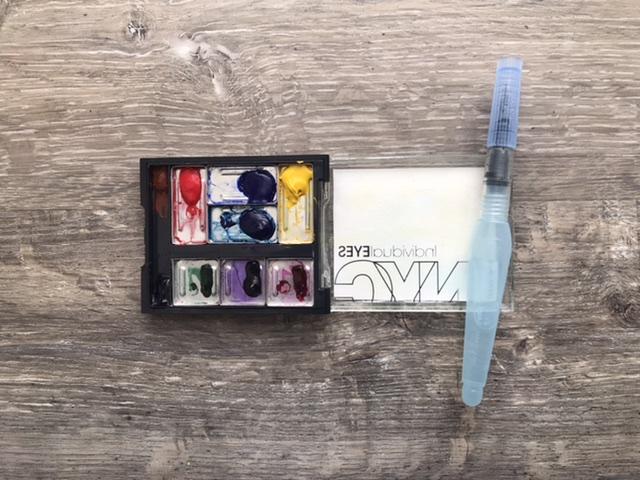
Really enjoyed this class Chris, thank you! I made two different travel kits. I did not fill up the smallest one with paint all the way, as I wasn’t sure how well it would work. So before I load it up with professional paint, I’ll try it out a few times first. This one is (obviously) made from a makeup palette. I went into a pharmacy and bought it for such a sale they practically gave it to me. :) Then I dumped the makeup and the rest is history... I chose some of my favourite mixing colours and added a couple of convenience pigments because I had the spaces to do so. I have allowed it to dry for a few days so that it’s safe to carry around. I have added just enough paint to try it out a bit... The painted swatches I have taped to the top, so it provides a white background for my mixing area.
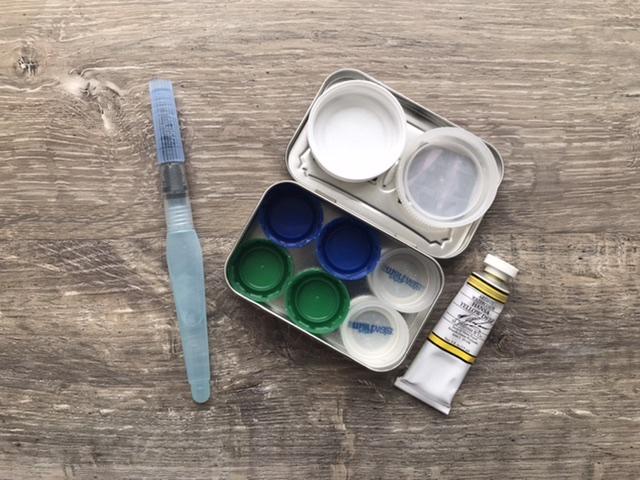
My second kit was based more off of yours, but I haven’t been able to find the altoid mini tins locally, so it’s a regular sized altoid tin. As I didn’t have enough extra half pans, I tried some bottle caps and they fit in so well I don’t even need to glue them in or anything! I really like your idea with the mixing areas, so I tried that with some larger lids that I have attached with magnets. The mixing area lids are too big for the lid on the tin to close, but I can easily take them out when it’s time to go because of the magnets.
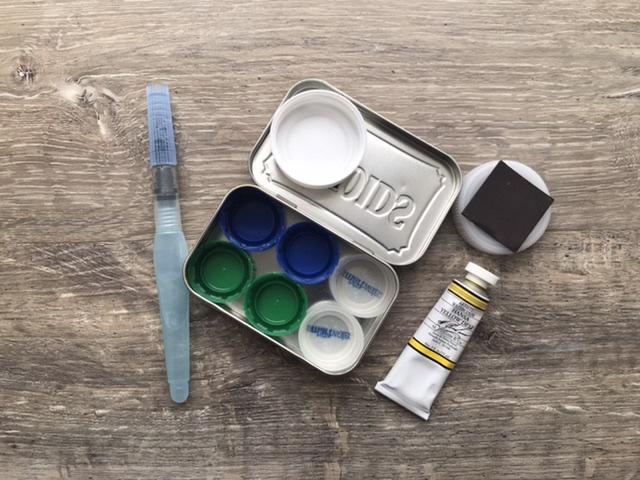
I wanted to do a little sketchbook too, and I will, but for now, here’s what I’ll be trying out. I am waiting on a couple of tubes of watercolour before I fill up my altoids travel kit. It will just be a split primary set. I think it will be fun!! I’m almost ready for the warmer weather! :)
Thanks again! :)