WIP: Loose Watercolor and Ink tomatoes
I've only completed the tomatoes part and already have been enjoying this class a lot and benefited from it. I have a hard time painting and drawing loosely and this was a big help.
Here is my tomato work:
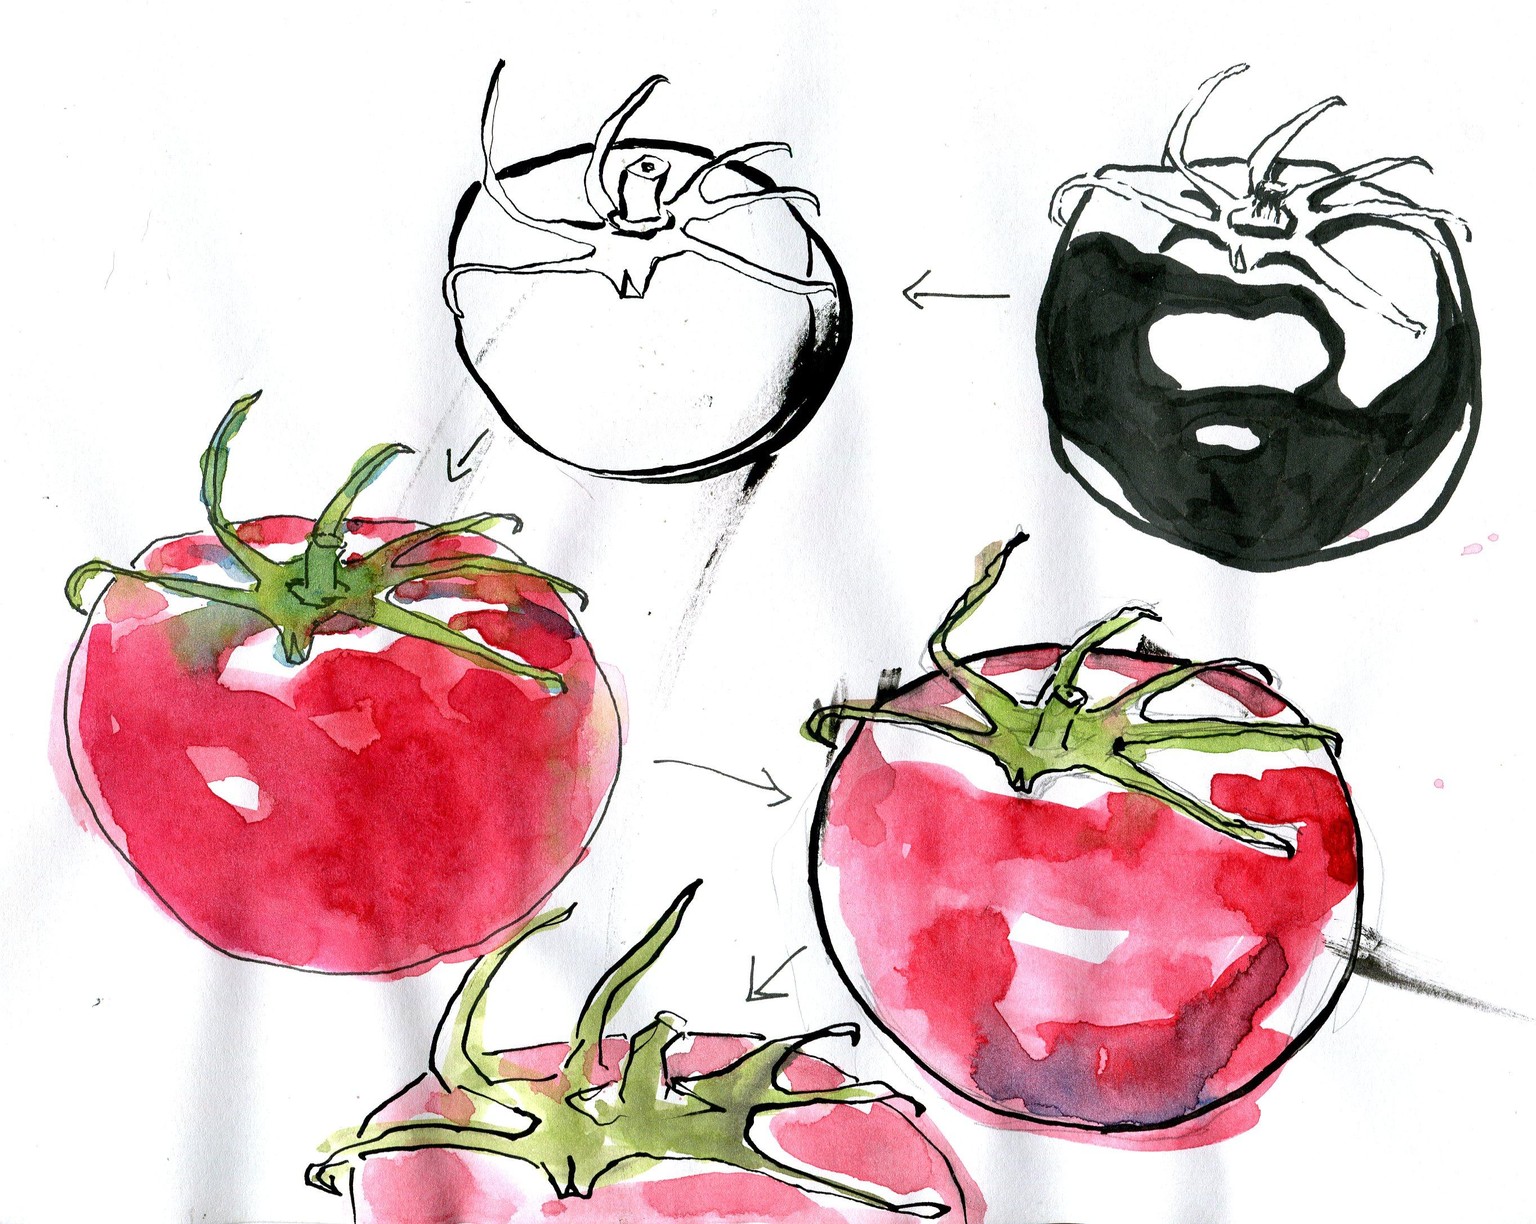
Practice Page 1 - plain printer paper
You can see the arrows indicating in which order I drew these.
The first one I did with a pentel pocket brush pen - it was hard to control and it bled quite a bit and I felt my drawing was tight.
The second one I did with a dip pen and as I was still getting used to it I smeared the ink...
The next three tomatoes (colored with watercolor on non-watercolor paper) are getting looser. One I did with a dip pen and two with a fountain pen with waterproof ink. The fountain pen is easier to manipulate and a much faster ink drying time but it doesn't give the same thick and thin lines as the dip pen. I felt I was getting looser towards the last tomato.
Practice Page 2 - plain printer paper
I tried drawing tomatoes with a dip pen from a reference with no pencil underdrawing. This was a bit hard for me to get the placement and proportions right so after this one I started with a loose pencil underdrawing.

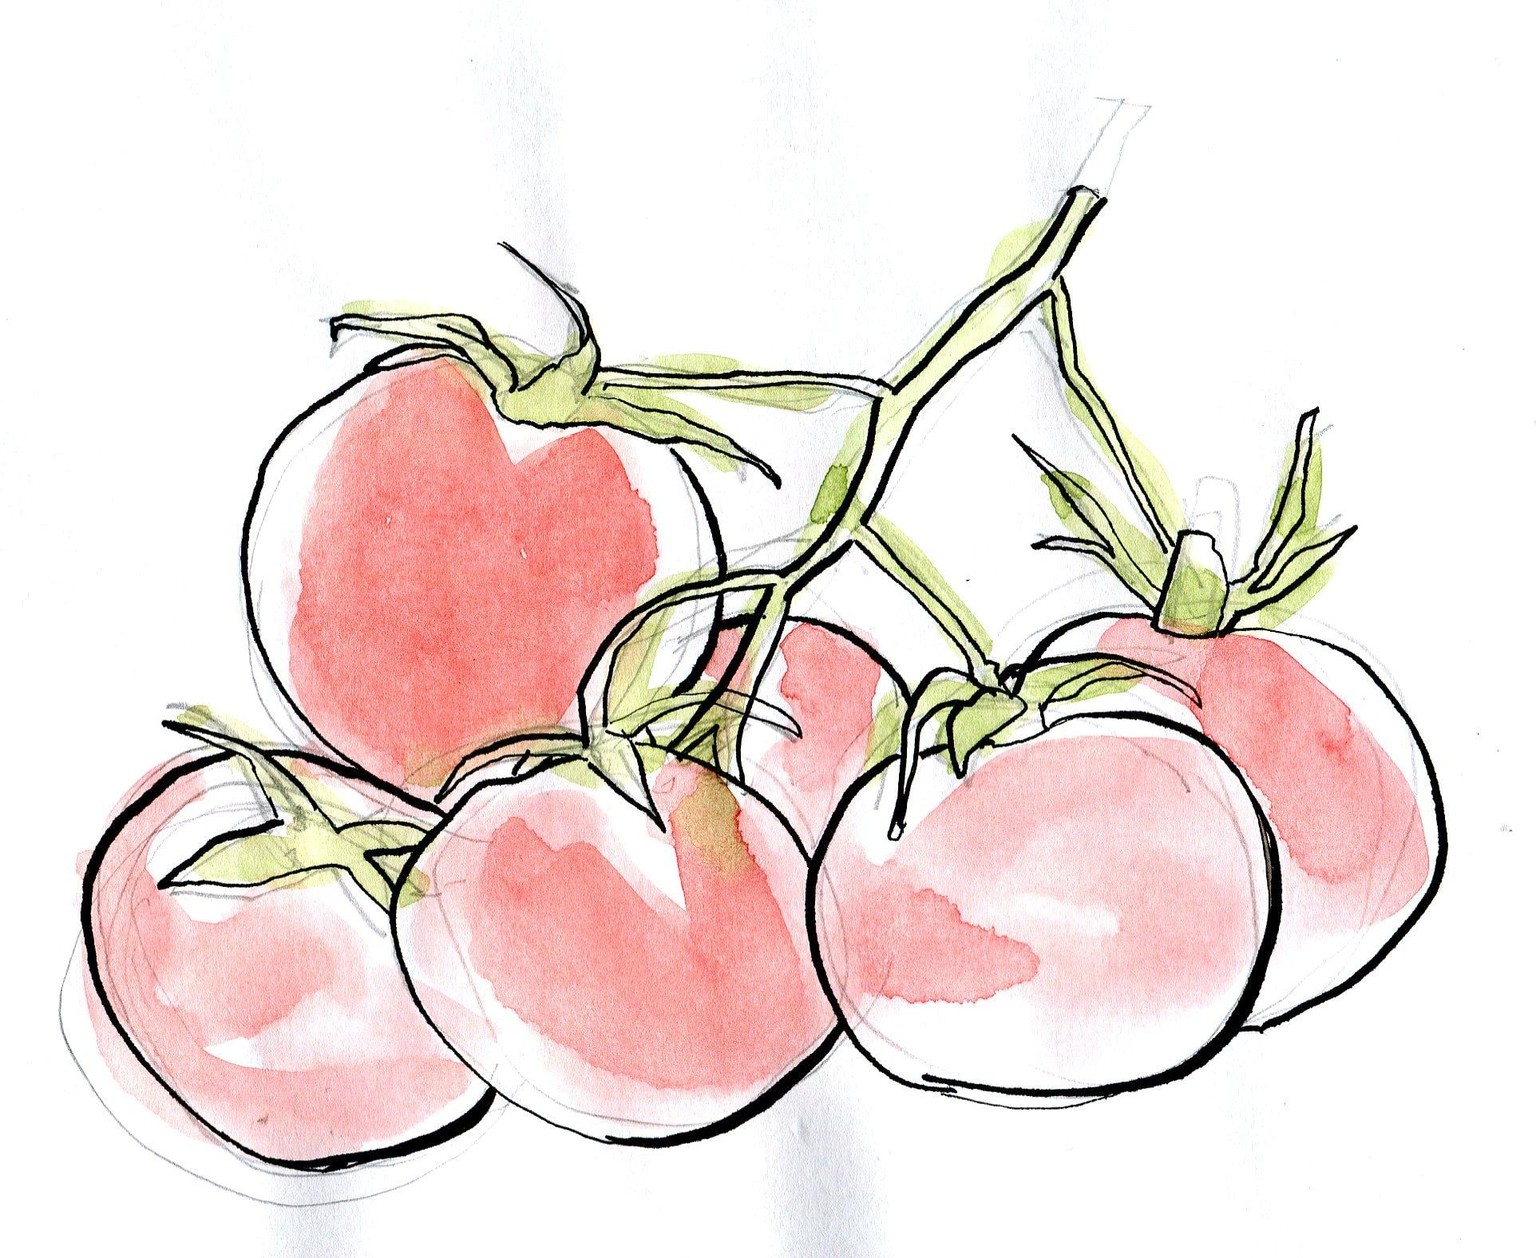
Practice Page 3 - plain printer paper
Same reference photo, but started with a loose pencil underdrawing. Then added some loose watercolor (this is not watercolor paper but I still like to add watercolor to my drawings). I started to get the hang of looser lines, thick and thin lines, and looser watercolor (not coloring inside the lines and not getting the darks/highlights precise). I was starting to be happy with it.
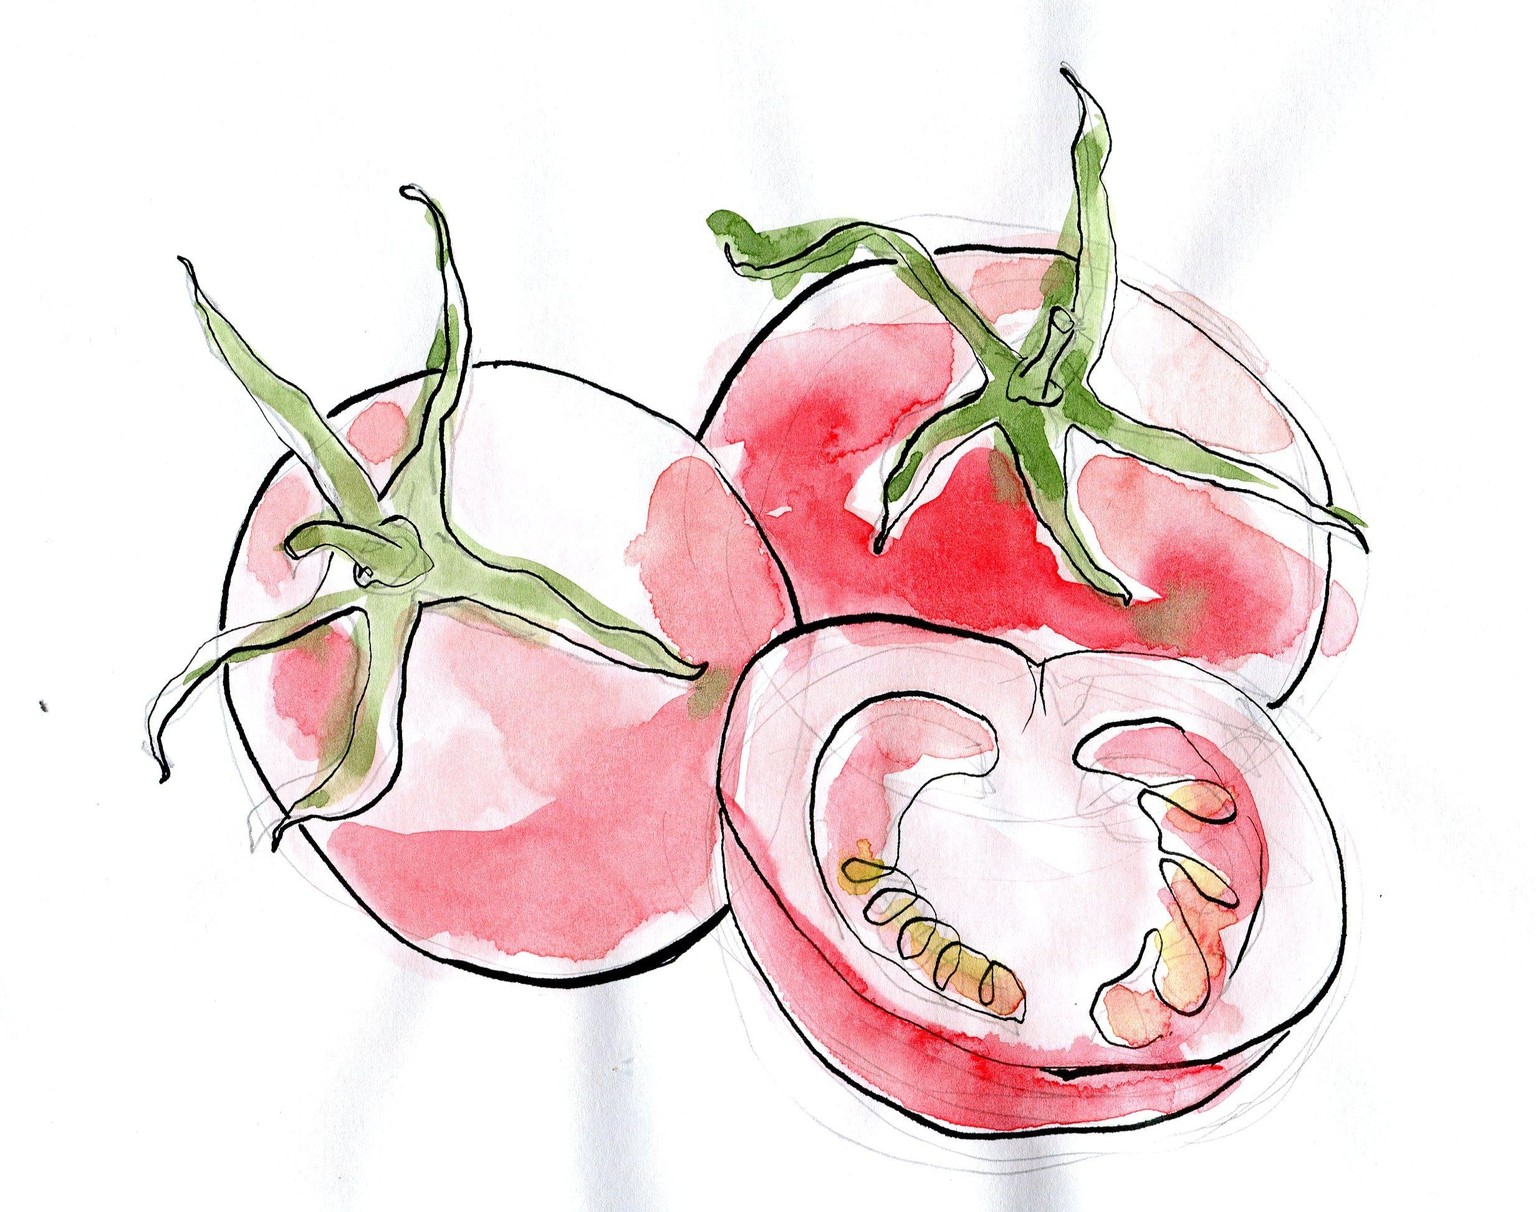
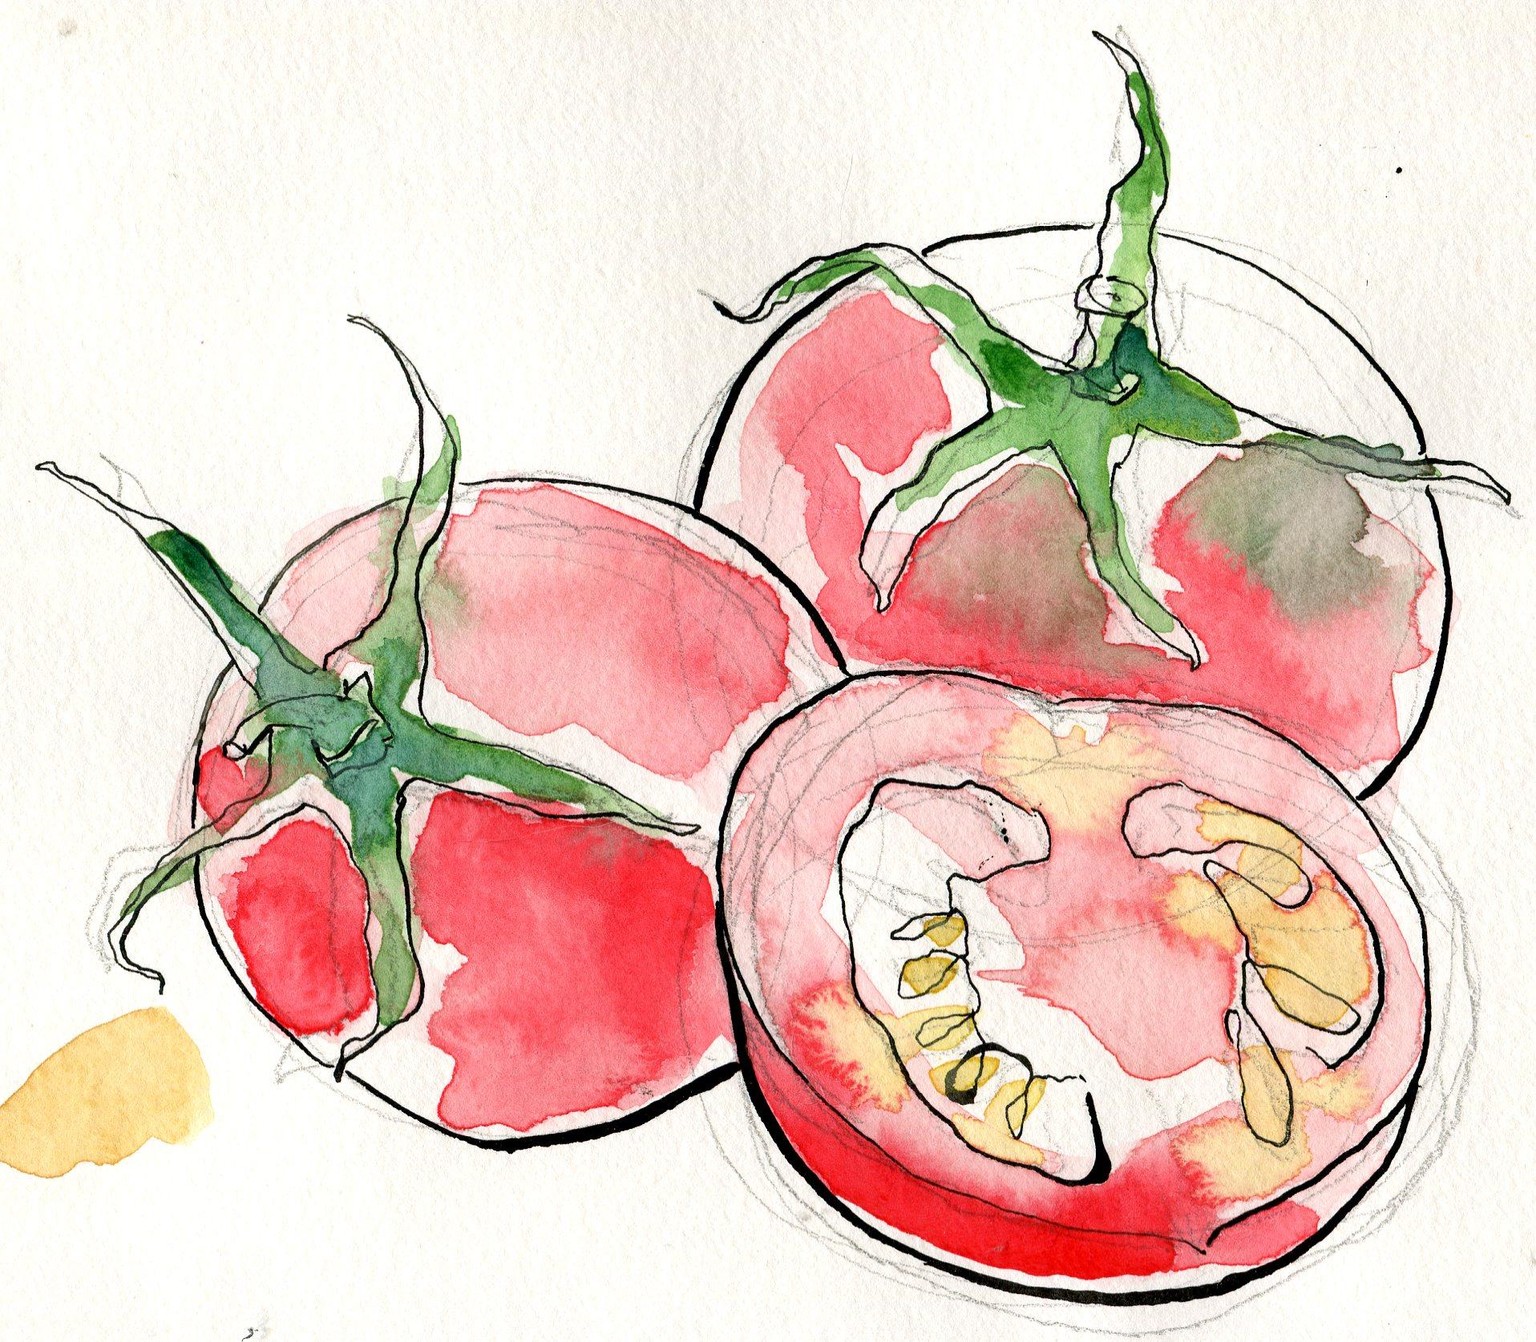
Practice Page 4 - plain printer paper
You can see here that the ink lines don't follow exactly the loose pencil underdrawing. I was really happy with the yellow parts in the cut-open tomato!
Practice Page 5 - plain printer paper
At this point I was feeling more confident and having fun with this. As before, loose pencil underdrawing, then loose ink lines (with a fountain pen, so no line variation), then watercolor. You can see how much the paper buckles but I don't mind. I feel a lot less stressed to practice on plain paper rather than watercolor paper. I also tried adding darker reds and greens in places.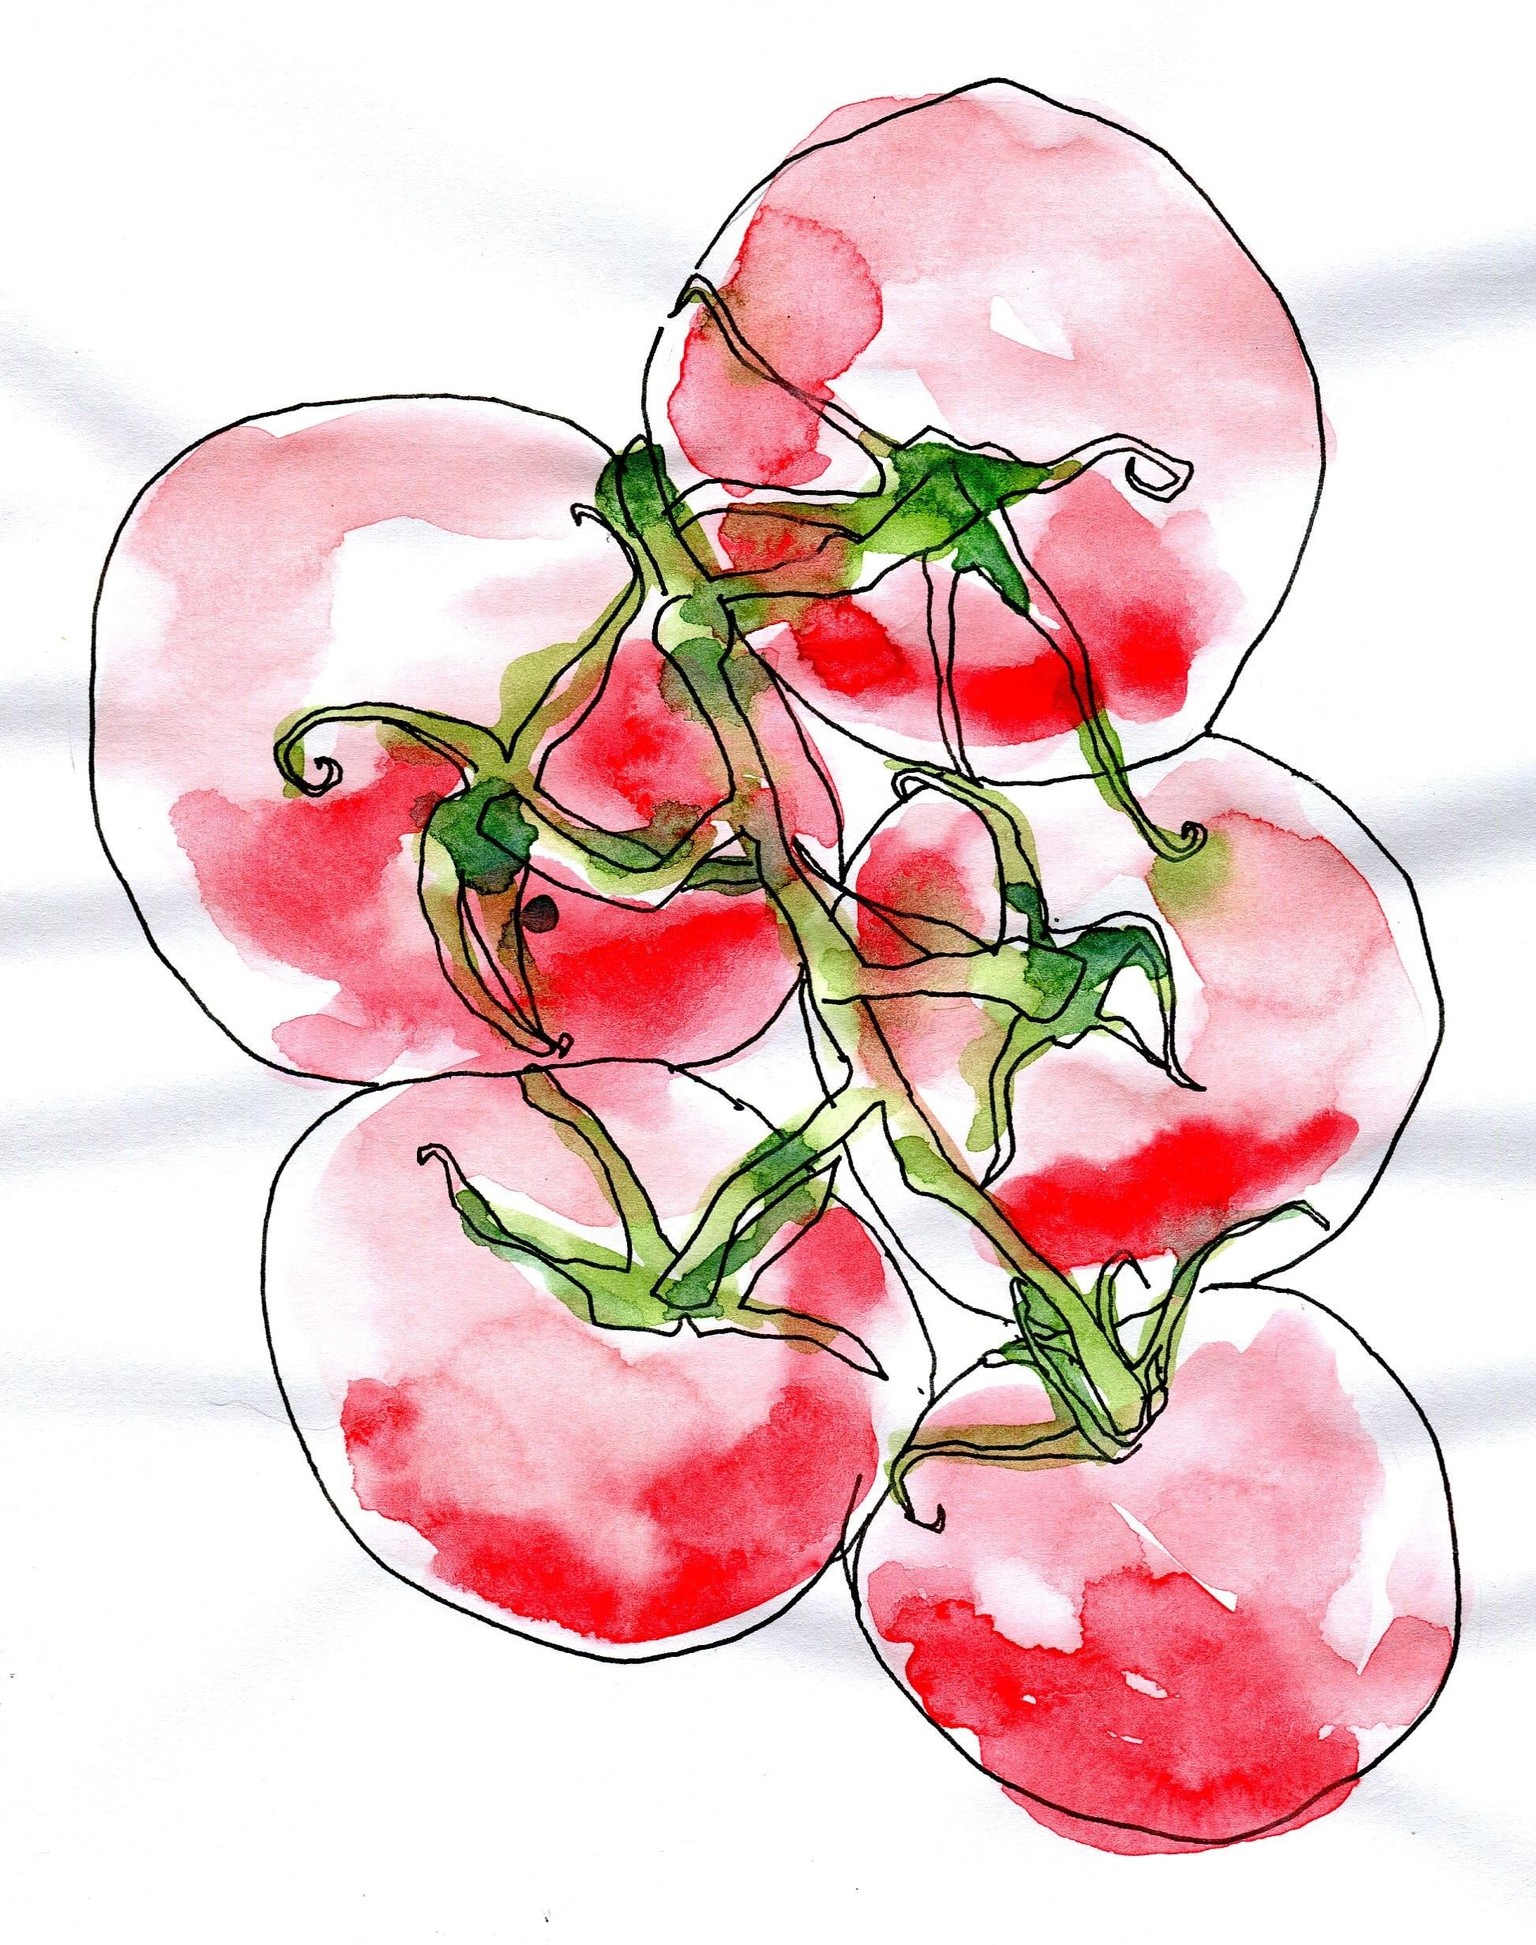
I did this one in pencil, then ink with dip pen, then watercolor, which is why everything is outlined. But I was pretty happy with it even so. Although there's room for improvement I think this is a great start and good progress for me in painting more loosely, working wet in wet, and just feeling more confident with the process.
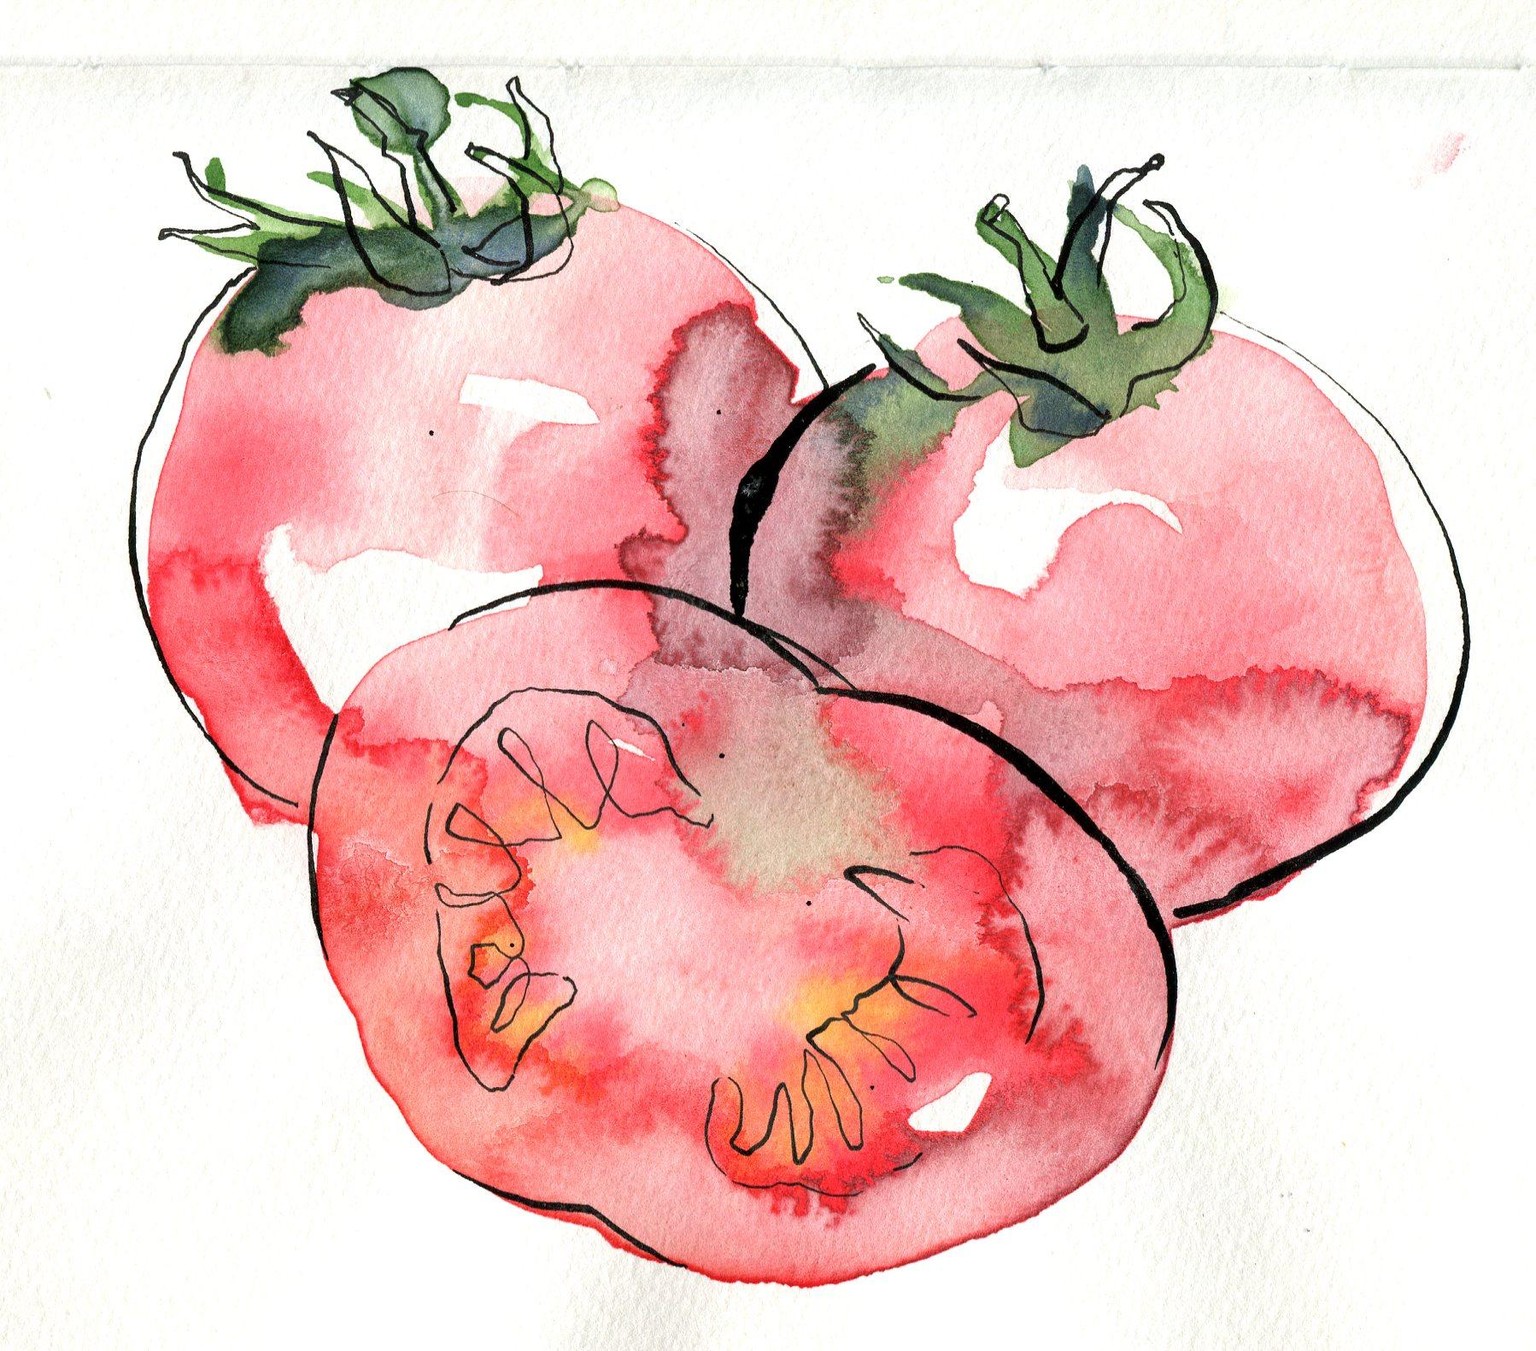
Practice Page 7 - watercolor sketchbook paper
This one I did as Ohn Mar demonstrated - watercolor, then some pen lines. I could probably have made less pen lines, and avoided blooms where I tried to add darks by using more concentrated watercolor, but I'm still pretty happy with it!
I love Ohn Mar's attitude of practice, not perfect. I had a great time and learned a lot and will update here with my progress with pears, etc. Thanks for a great class!