SCRIPT FOR MY FIRST OFFICIAL VIDEO: DIY GALAXY DRAGON BARBIE
INTRODUCTION:
Hi everyone! This is Ejaday1021, with a new video. Today, I’m gonna finish the process of painting my 2010 barbie doll. <show a quick video clip of me placing the doll on my work surface>
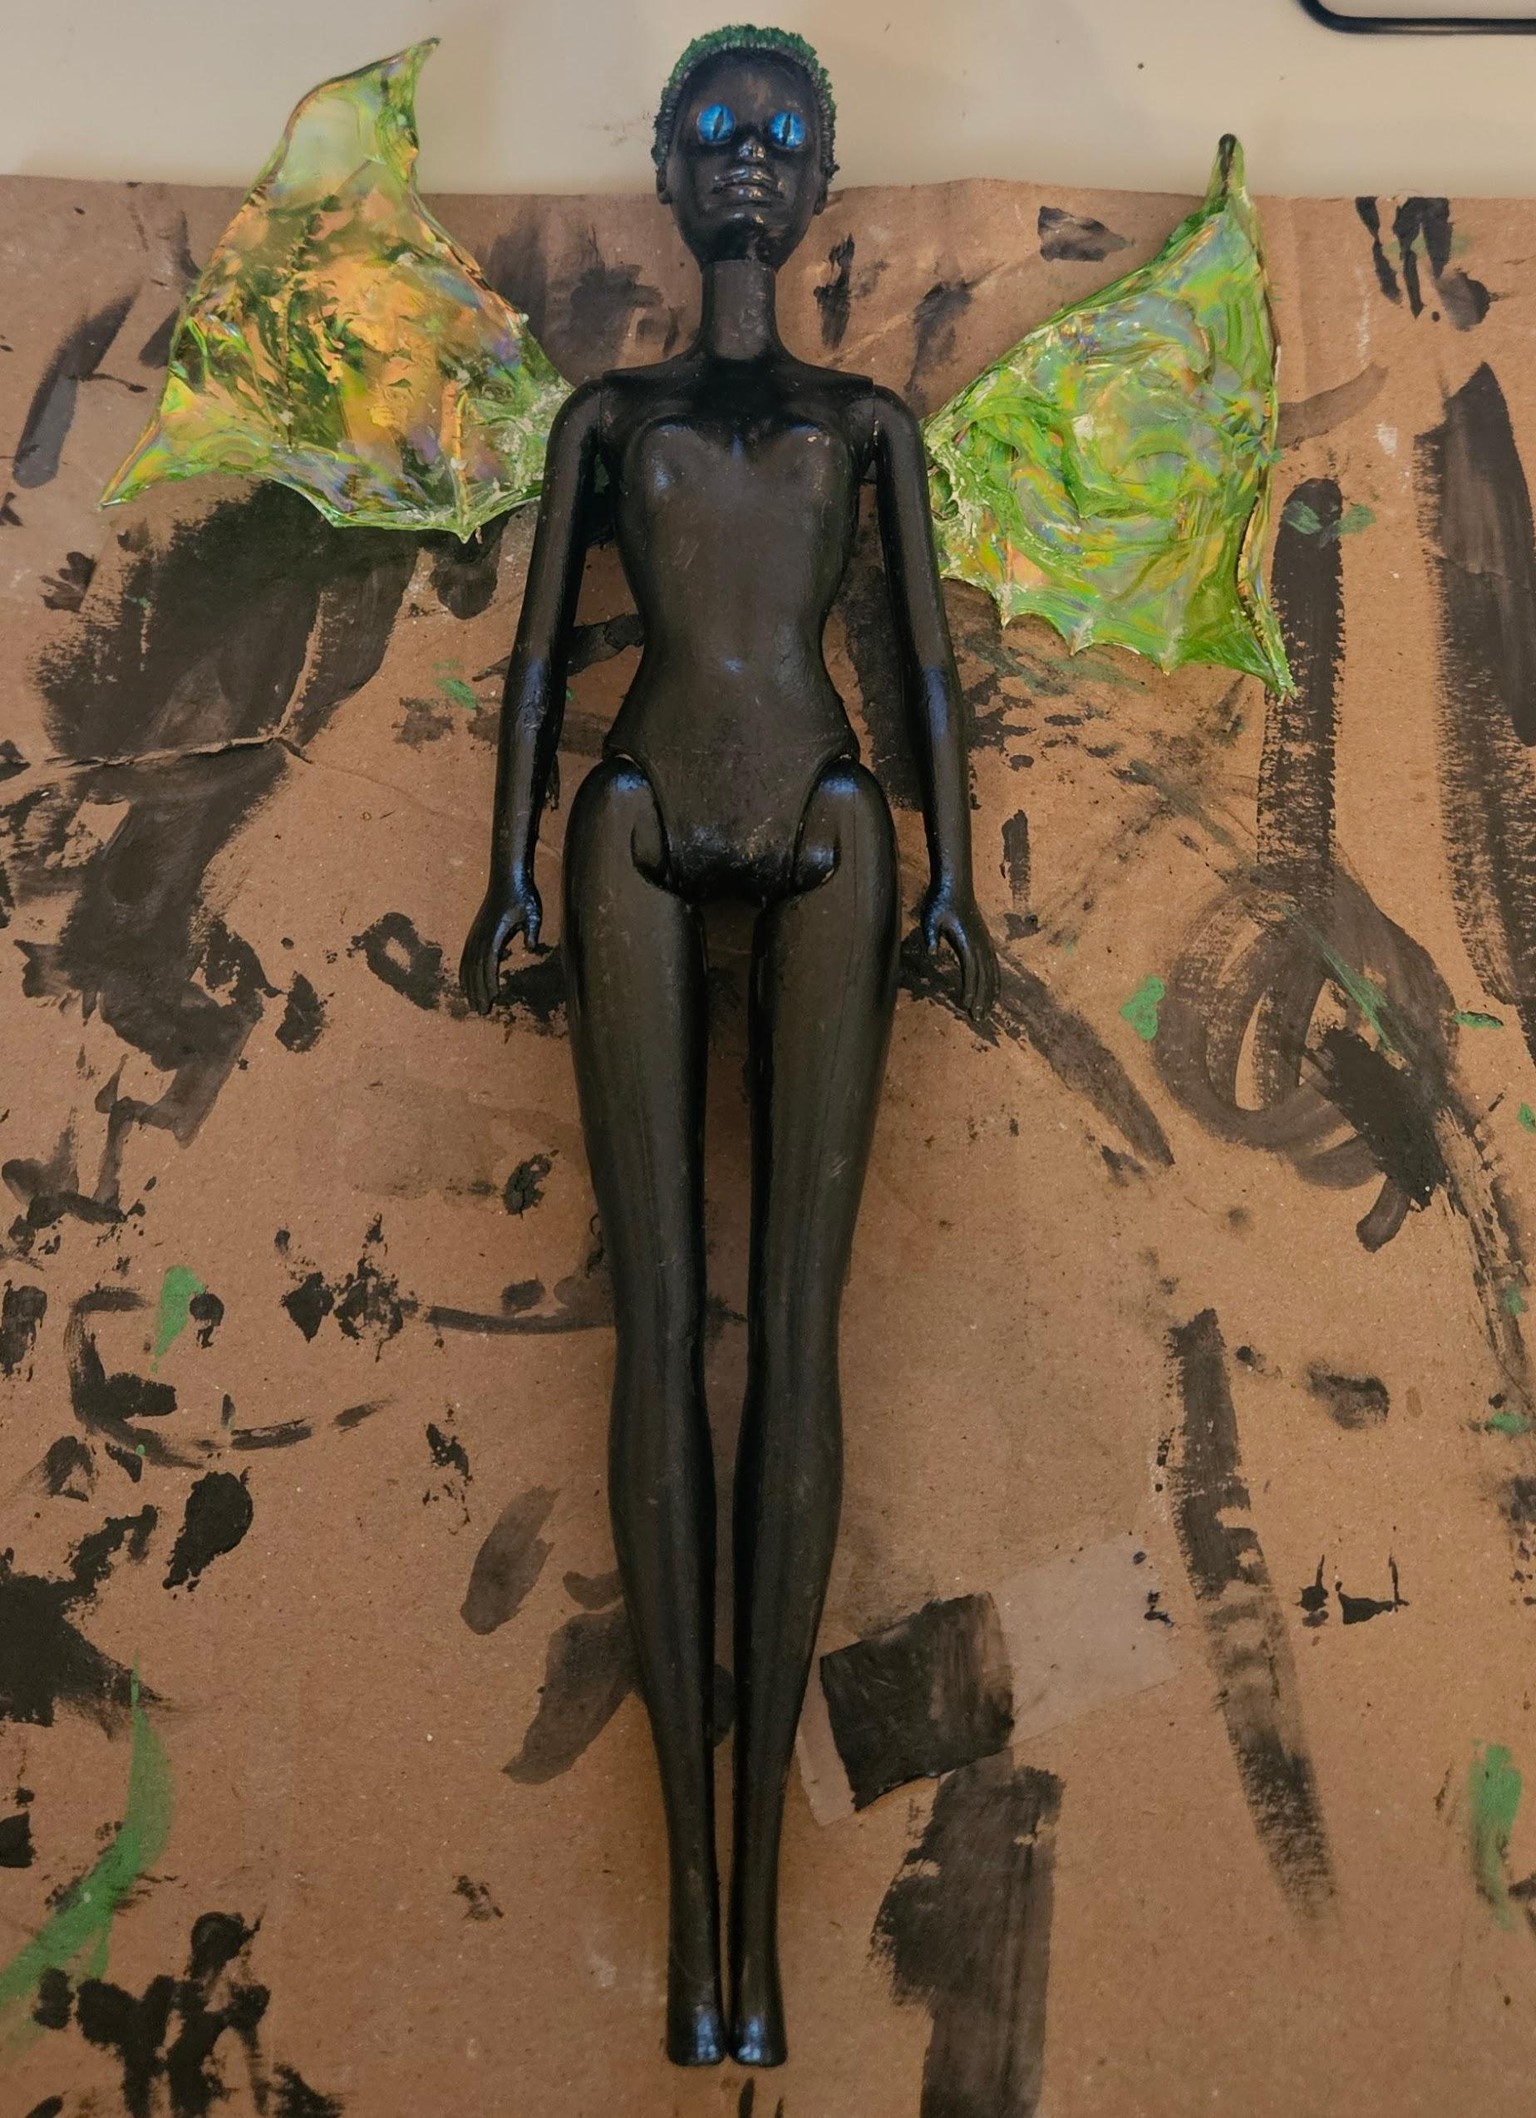
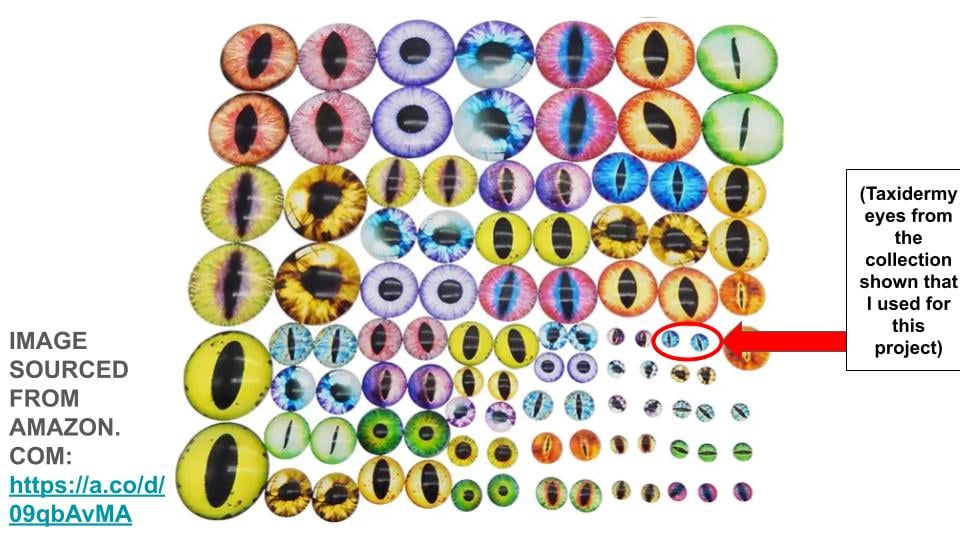
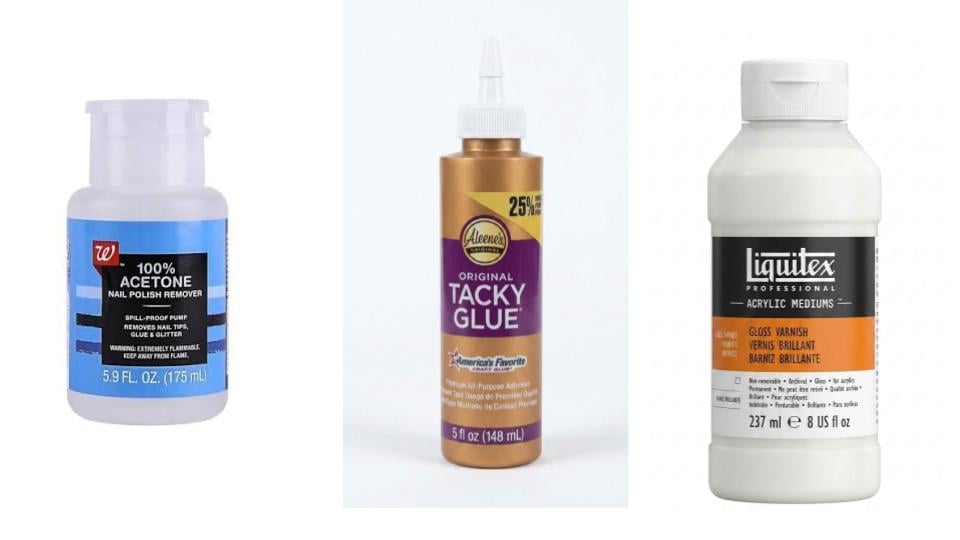
As you can see, I already added the base coat, and removed the painted eyes using a Q-tip dipped in Walgreens brand 100% Acetone liquid nail polish remover*. Finally, I attached the taxidermy eyes to the eye indent spaces left on the face using clear tacky glue <show tacky glue>, after avoiding painting the eye sockets. This is because the eyes wouldn’t have stuck as well onto the plastic with the tacky glue if I had painted behind them <show close up image of the doll’s eyes>
<SHOW NOTE BELOW AS AN ON-SCREEN TEXT SLIDE>:
(*NOTE: Acetone is a dangerous, highly flammable substance, and is NOT for kids! When using it to erase the doll’s original eyes with a q-tip, BE CAREFUL!)
MATERIALS I’LL BE USING (WILL SHOW STEP-BY-STEP AS I WORK)
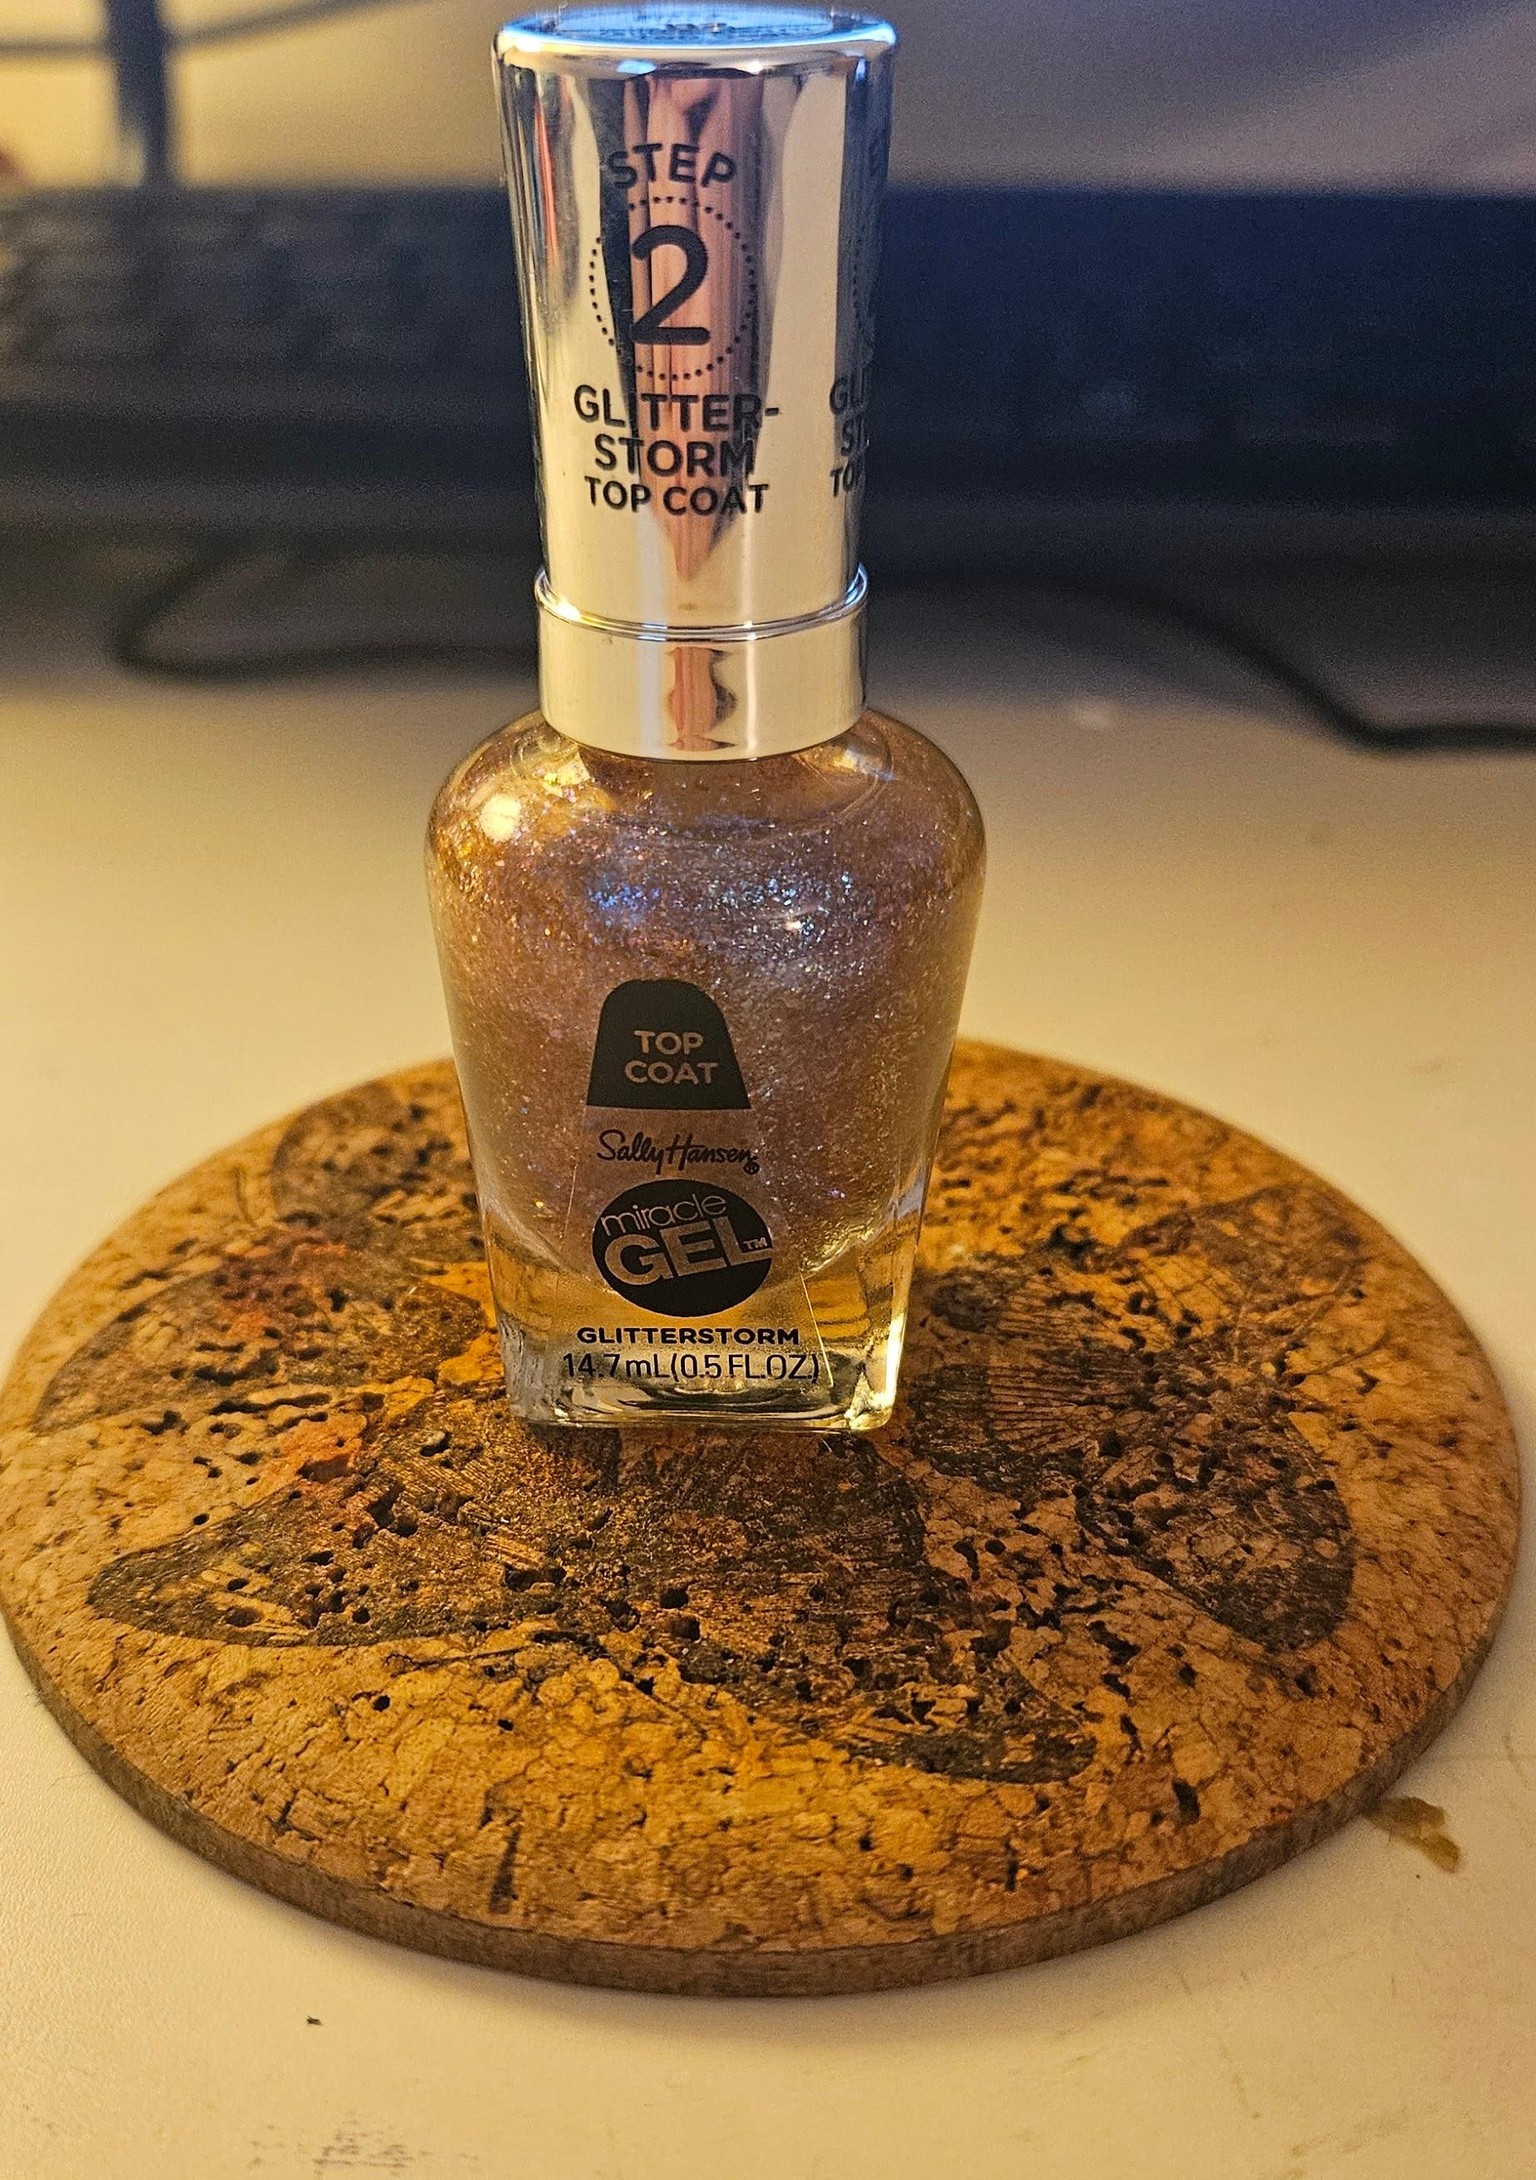
PART 1: ADDING MORE COLORS TO THE BASE COAT
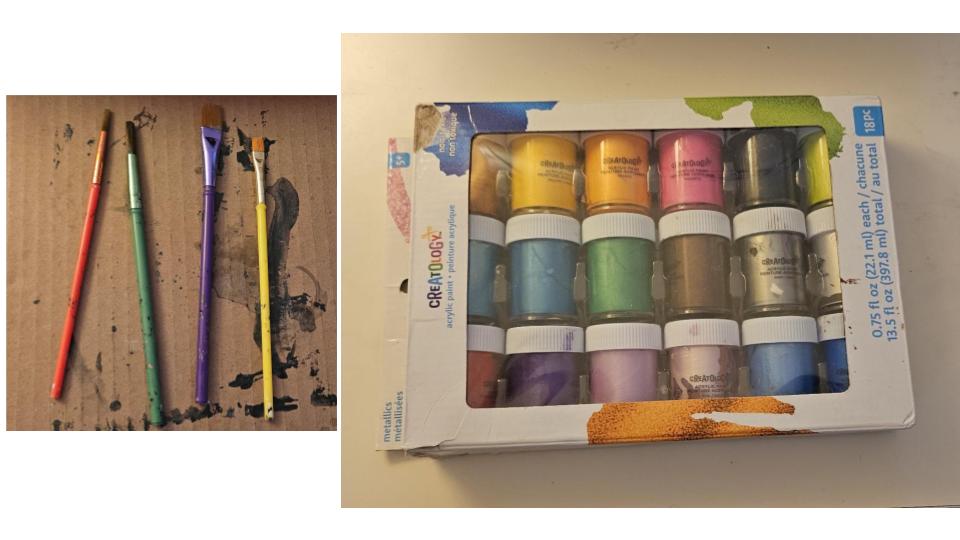
<Explanation>: Ok - here is what I’ve done so far <show doll>. I’m using creatology metallic acrylic paints <SHOW>, taxidermy eyes I ordered online <SHOW>, glitter storm top coat gel nail polish <SHOW>, and Aleene’s Original brand tacky glue <SHOW>.
<Continue speaking>: However, I think she needs more colors than just black skin with slitted blue eyes to add to her fantasy theme and make her look more like a galaxy-themed dragon-humanoid...
<Transition to next page>
<Show text slide>: LET'S GET STARTED!
<Show a compilation of close-range video shots of my hands working on painting/decorating the doll>
PART 2 - Tips for painting the doll <spoken as I'm working>:
<I WILL SHOW INDIVIDUAL SHOTS OF ALL OF THESE STEPS I’M DESCRIBING BELOW AS I’M DOING THEM>
-
I have to make the paint layers thin enough that they won’t bead/clump up or get sticky, and wait at least 24 hours for each added color to dry before I add another layer.
-
Now that all the colors I want to add are dry and in place, I will use a soft sponge brush to spread the gloss varnish over every inch of the doll’s skin - but only on it’s BODY. I will NOT cover its face with the varnish, because it will make the softer plastic of the head too shiny.
-
However, for the face, I *will* do just 1 layer of varnish in one quick brushstroke, but ONLY over the eyes to reinforce the glue.
-
I will attach the wings with sticky glue strips and add any other extra physical details/decorations LAST, only after every layer of color is 100% dry.