Rose Shape Study Progression - Nina Watercolour Lover
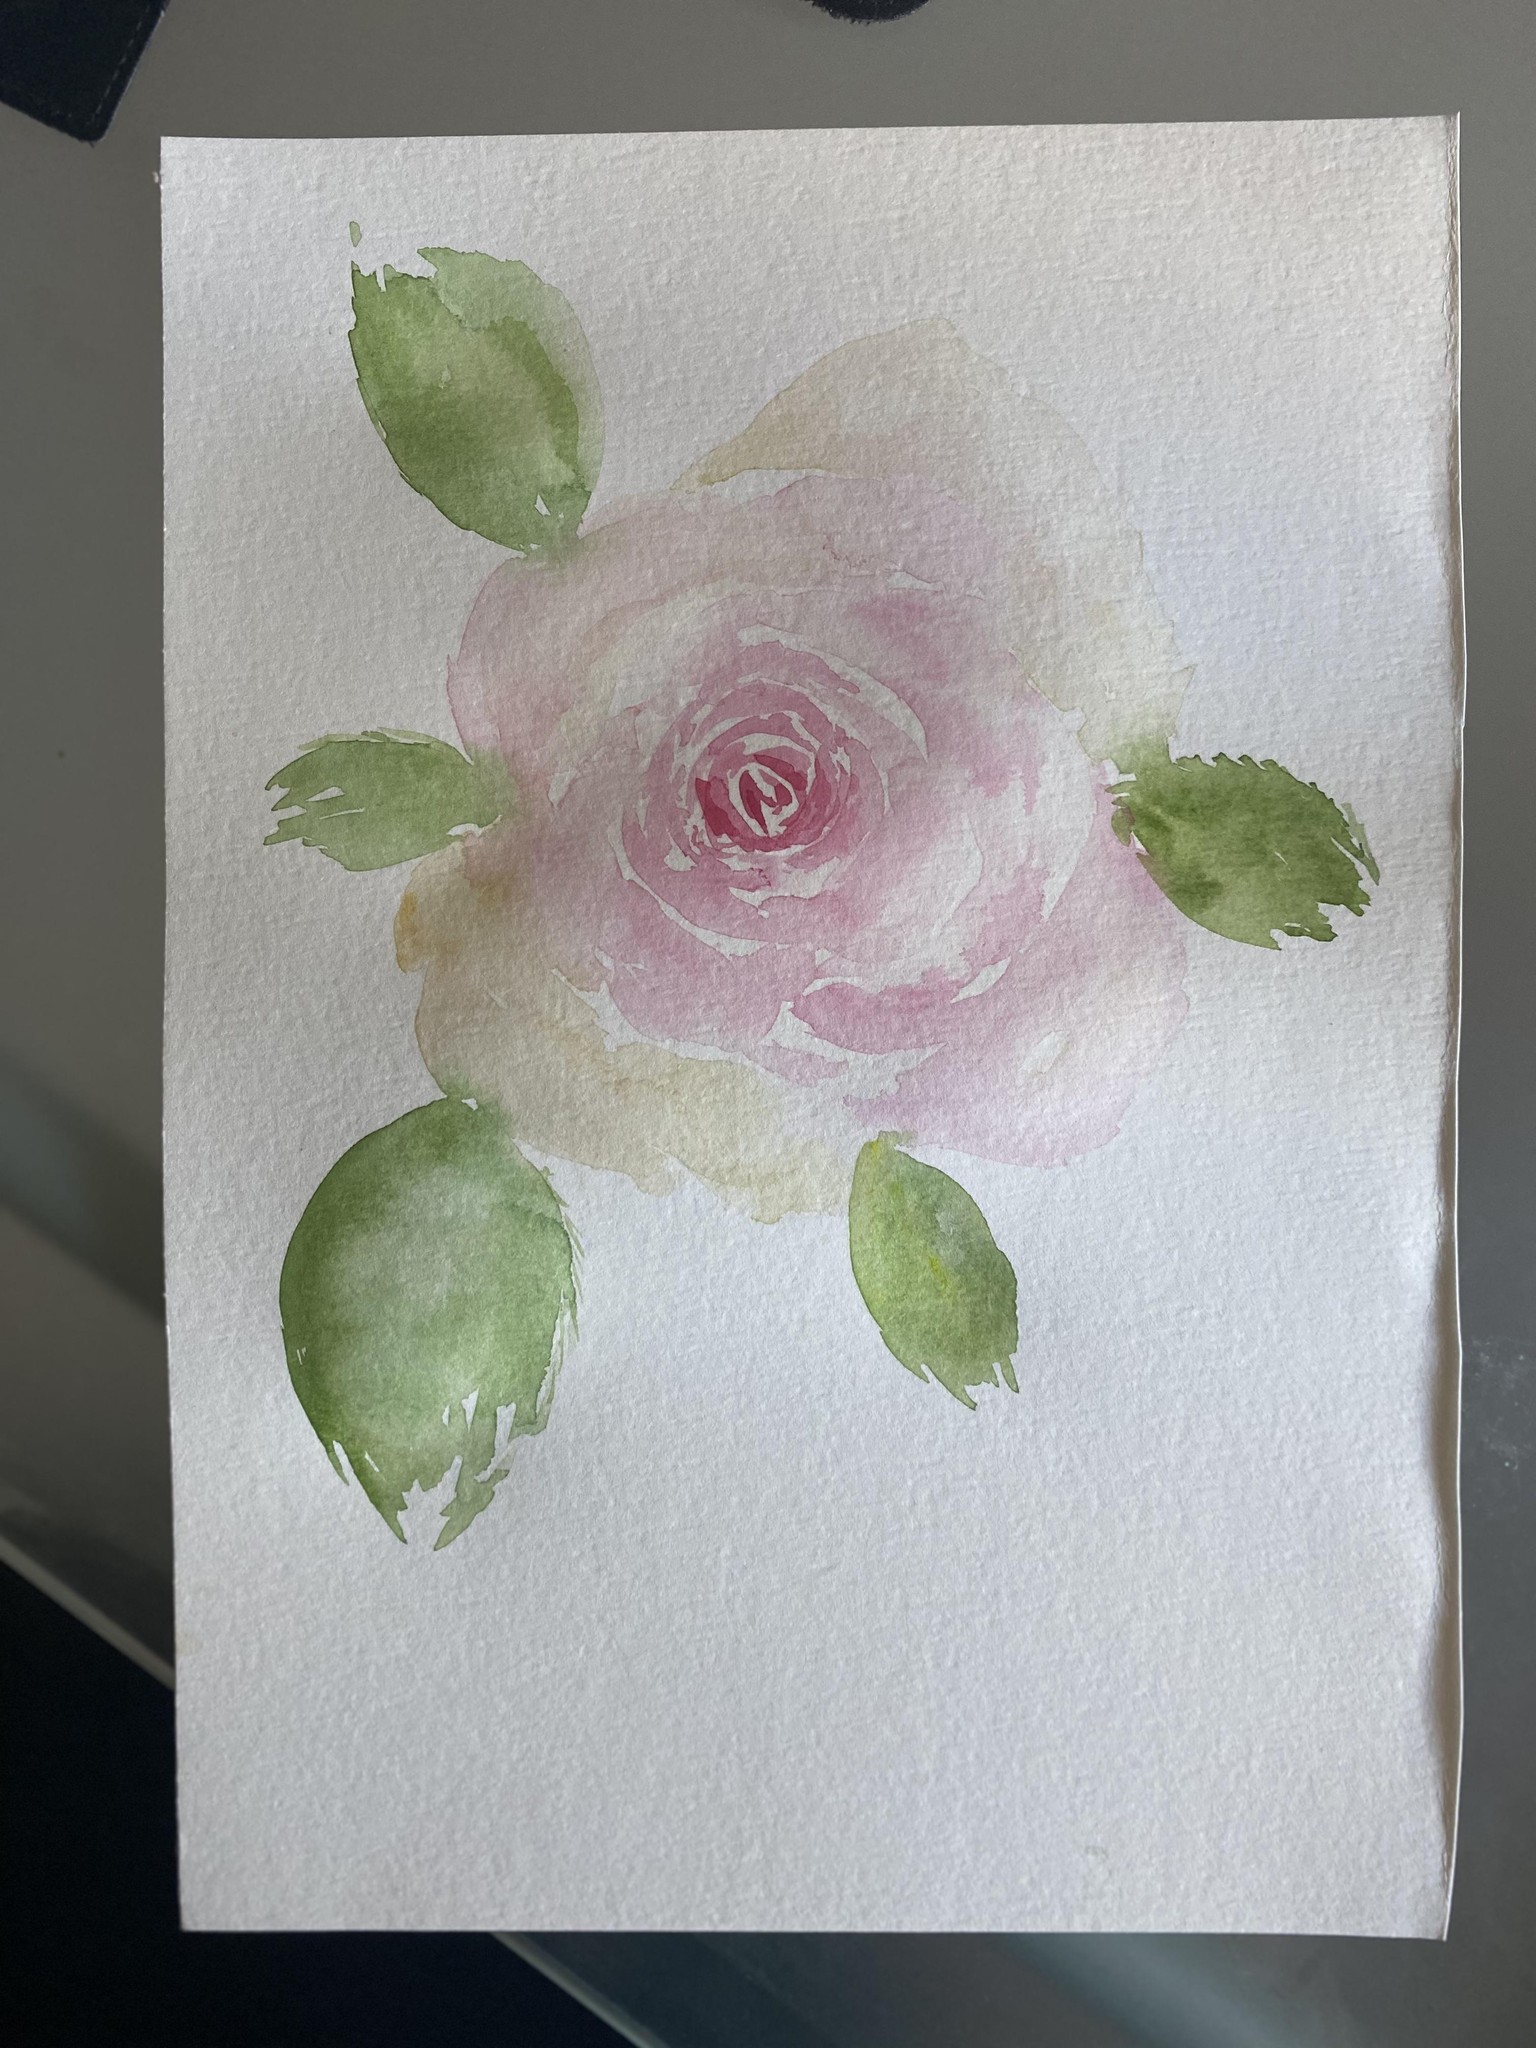
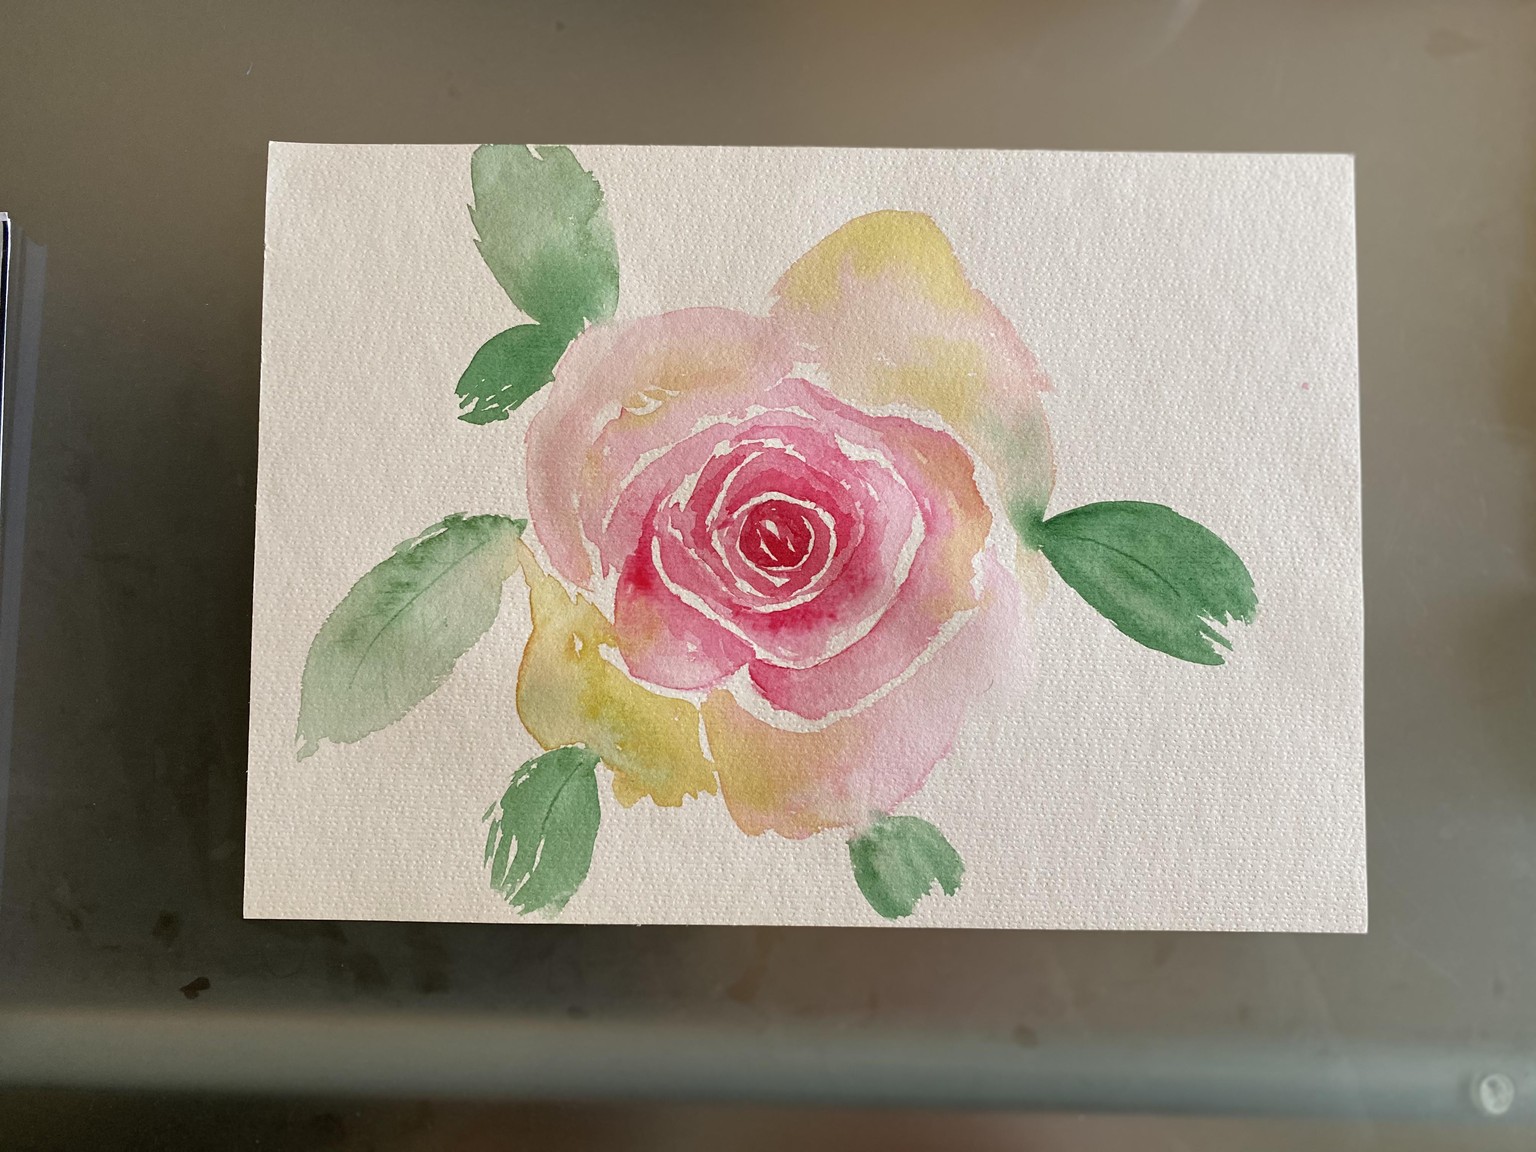
Thank you Nina for showing us your rose painting journey. It is very relatable. I also think your technique of roughly sketching the rose first before painting is really helpful. However for my first attempt, I was too lazy. I just used your reference photo and painted it free hand (see photo on cover image). Hence my first rose appears quite out of shape! In my 2nd attempt, I sketched the rose first and painted it later. I try to go for darker colour values in the for more colour contrast. But I was getting too used to painting more wet-on-wet style from other watercolour artists, and I was finding it really challenging to adapt to Nina's painting's style. In my 3rd attempt, I made sure I have a small batch of diluted soft pastel Permanent Rose for the petals and also concentrate Permanent Rose ready for dipping the tip of my brush. I did the same for the outer petals, mixing a small puddle of very diluted Sap Green and Cadmium Yellow Pale and have a very concentrate mixture of the two colours ready for dipping the tip of my brush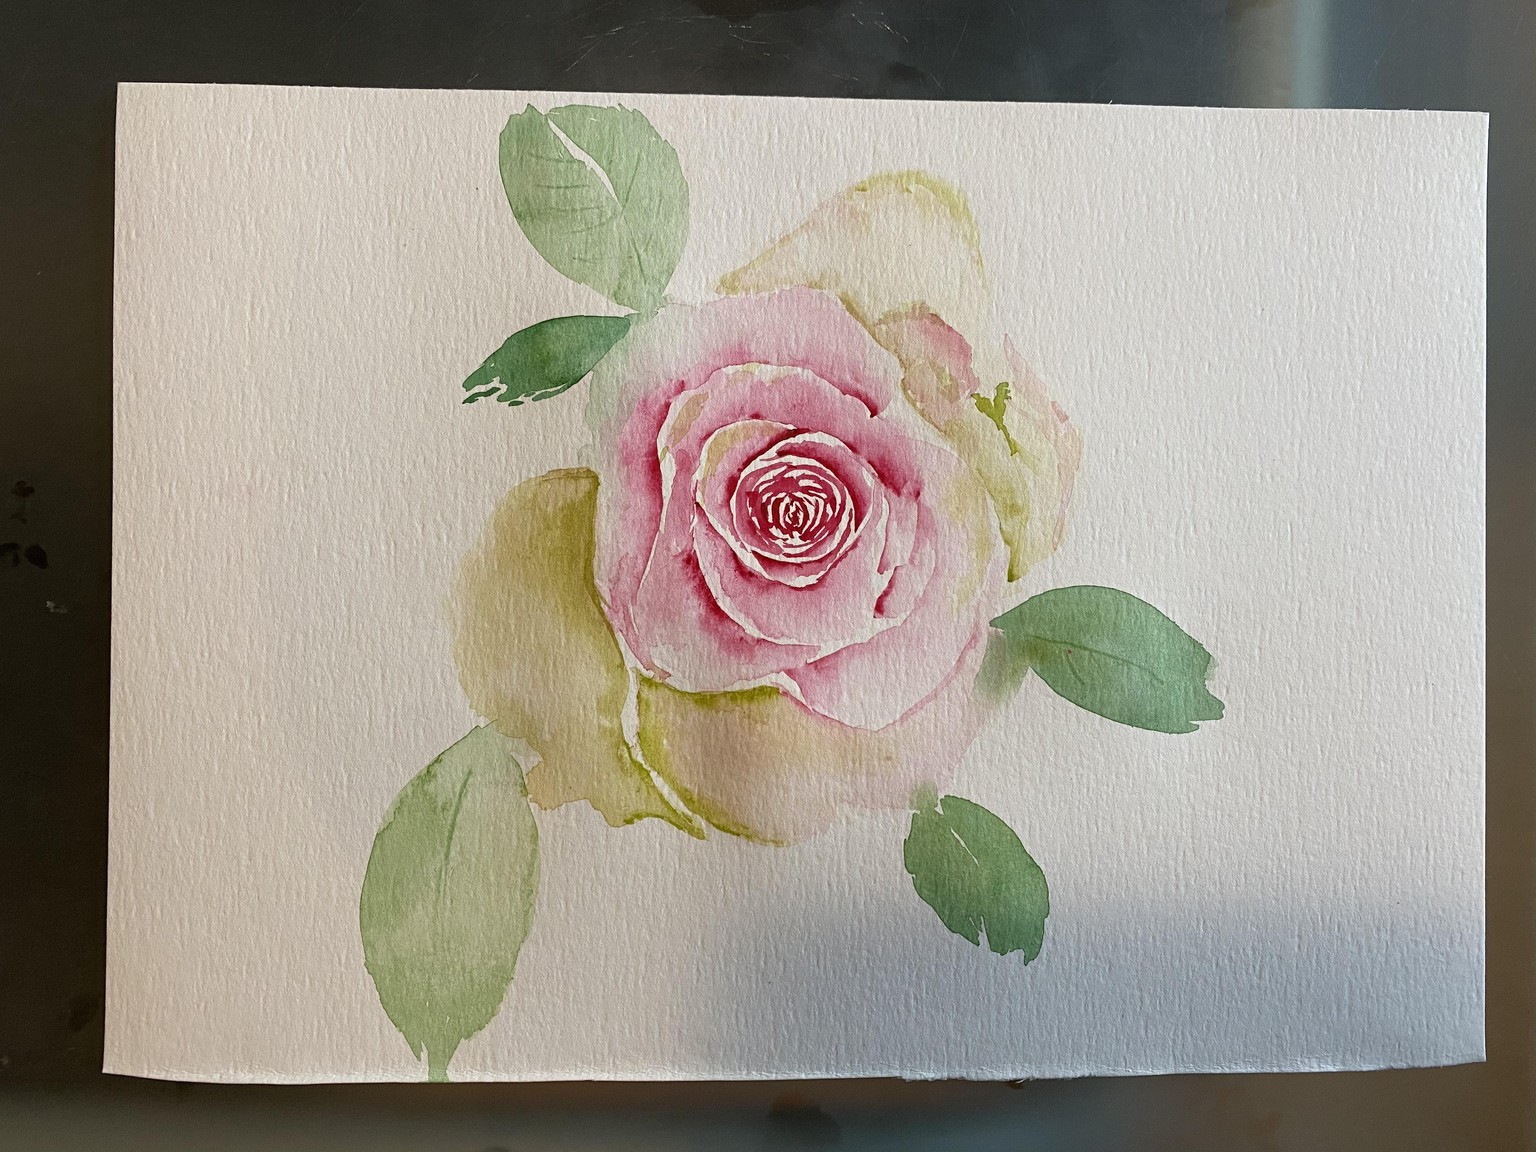 . The third rose has more depth and tone. But getting the shape of the rose right is still a work in progress. The last photo shows my pencil sketch, which helped me a lot in defining the shapes of the petals.
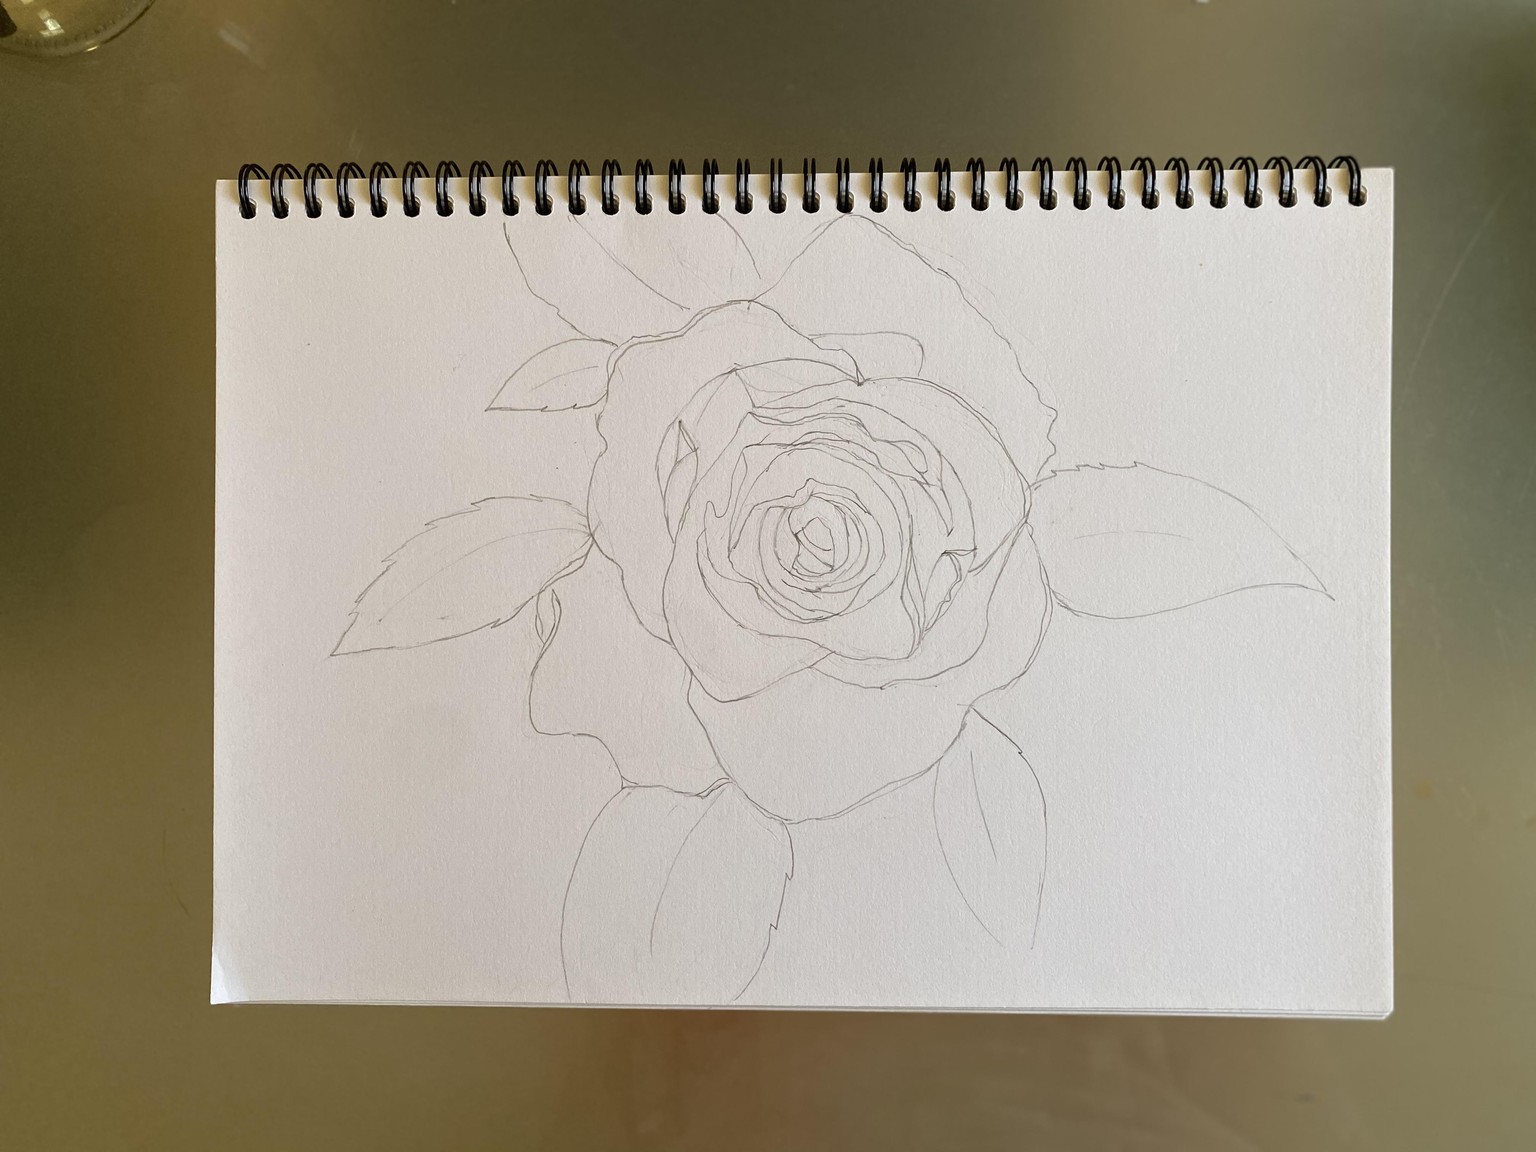
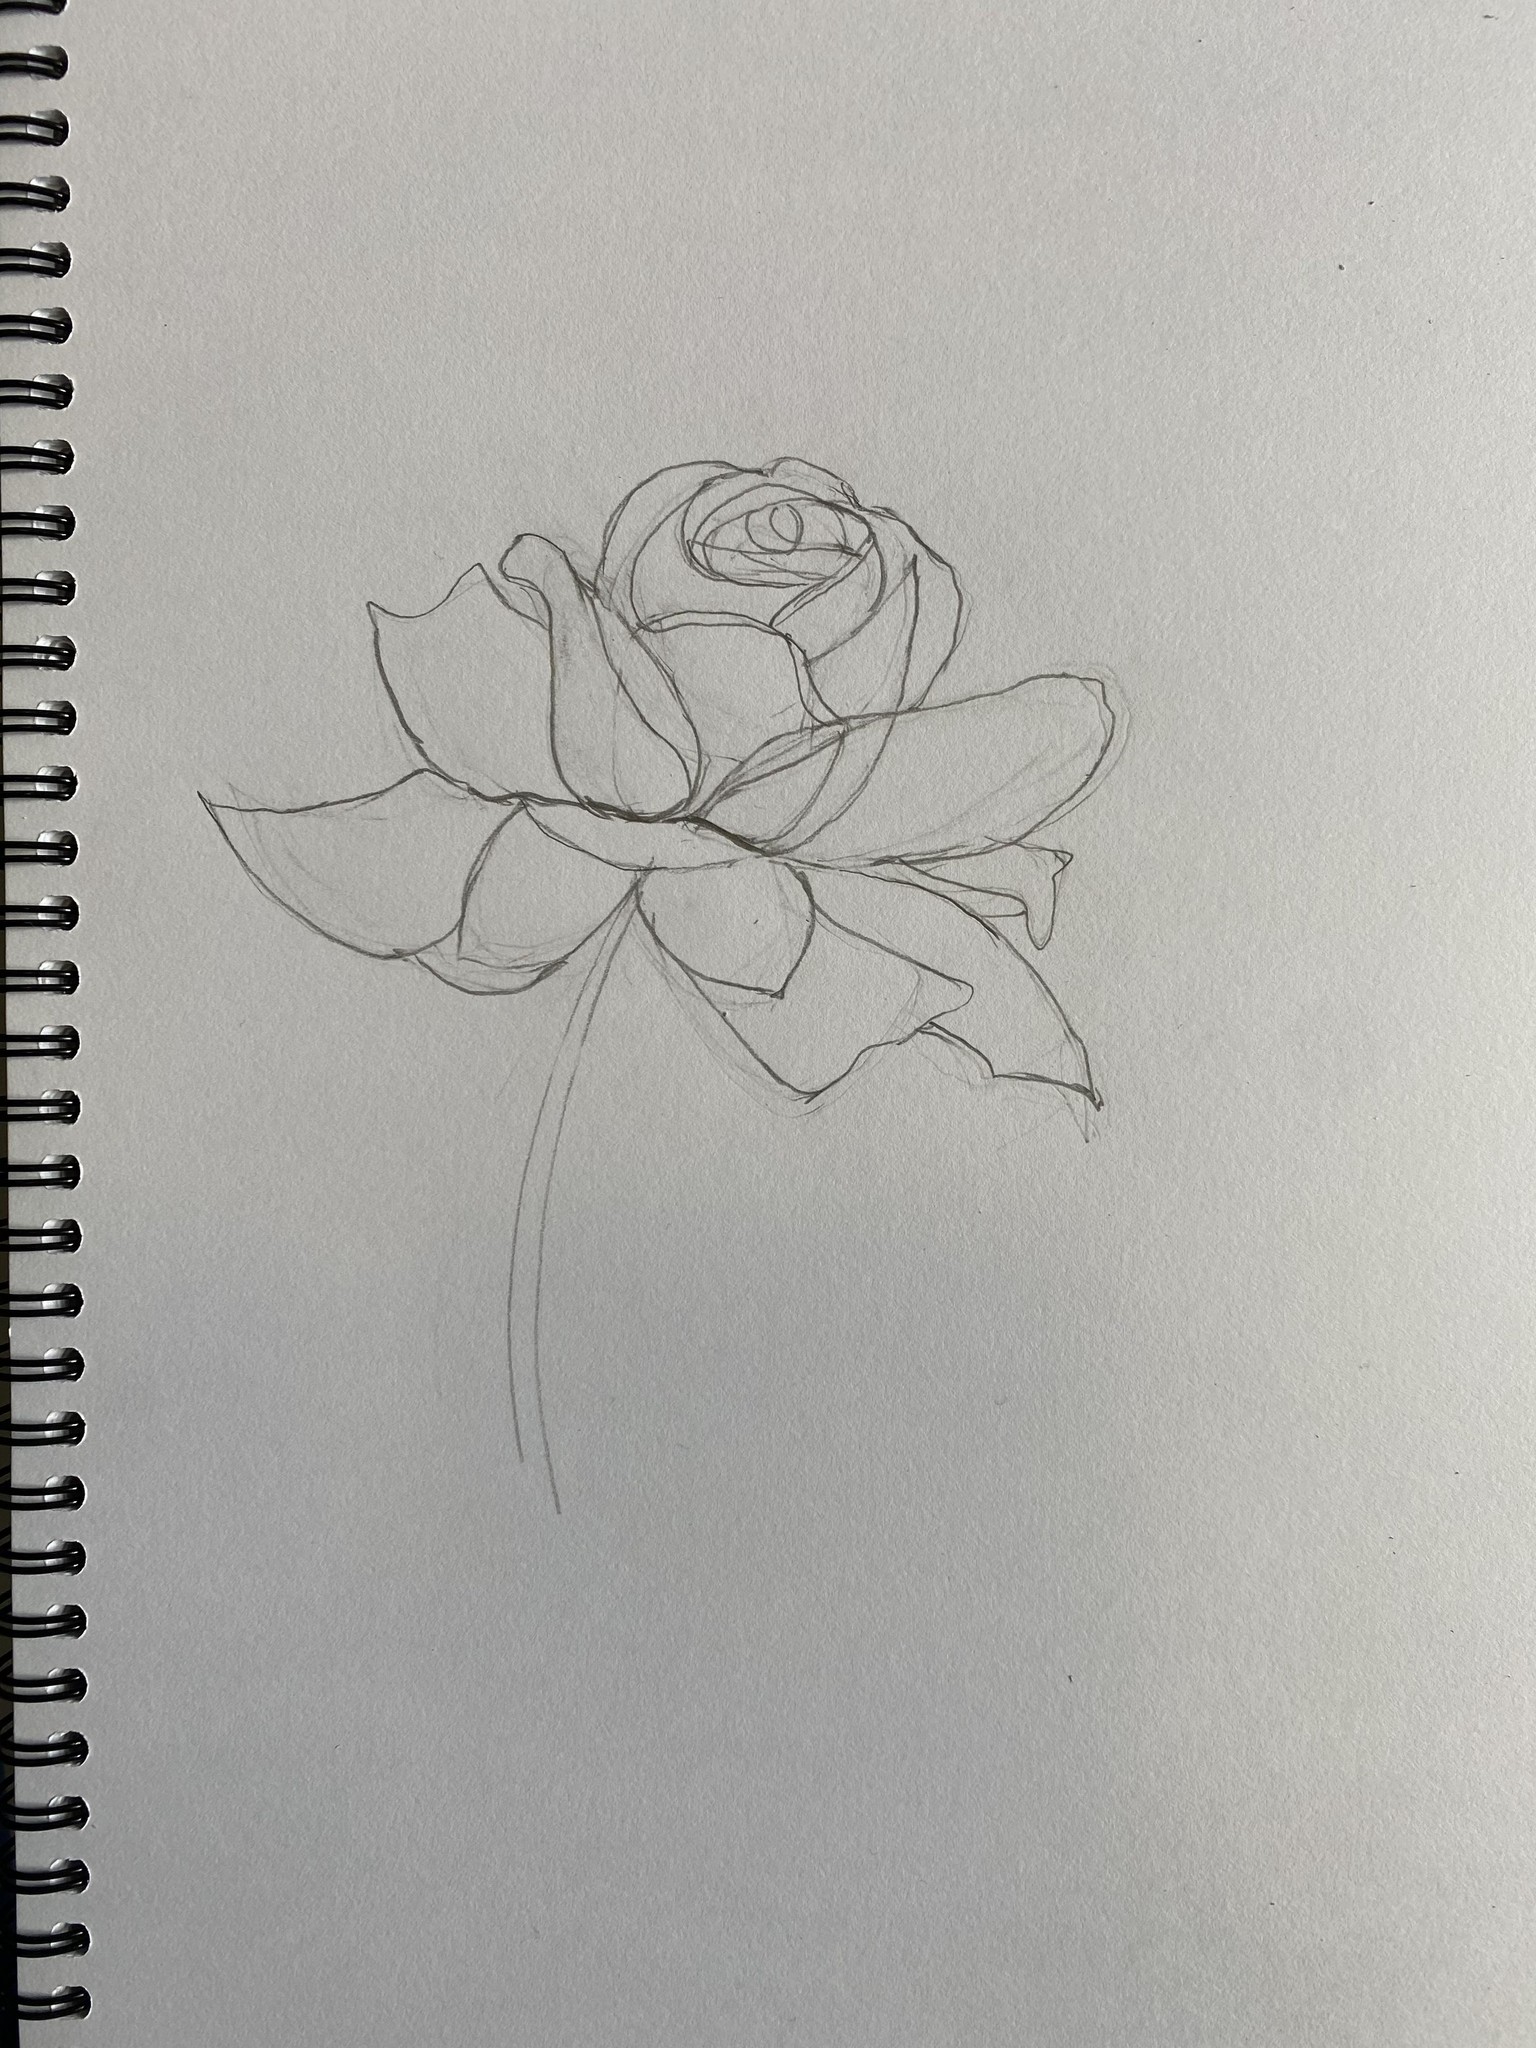
Now on to Side Rose Study. First is the rough sketch.
Next is the painting. Painting the shapes of the petals of side rose is trickier than I anticipated. Also I went too wet on the paint. 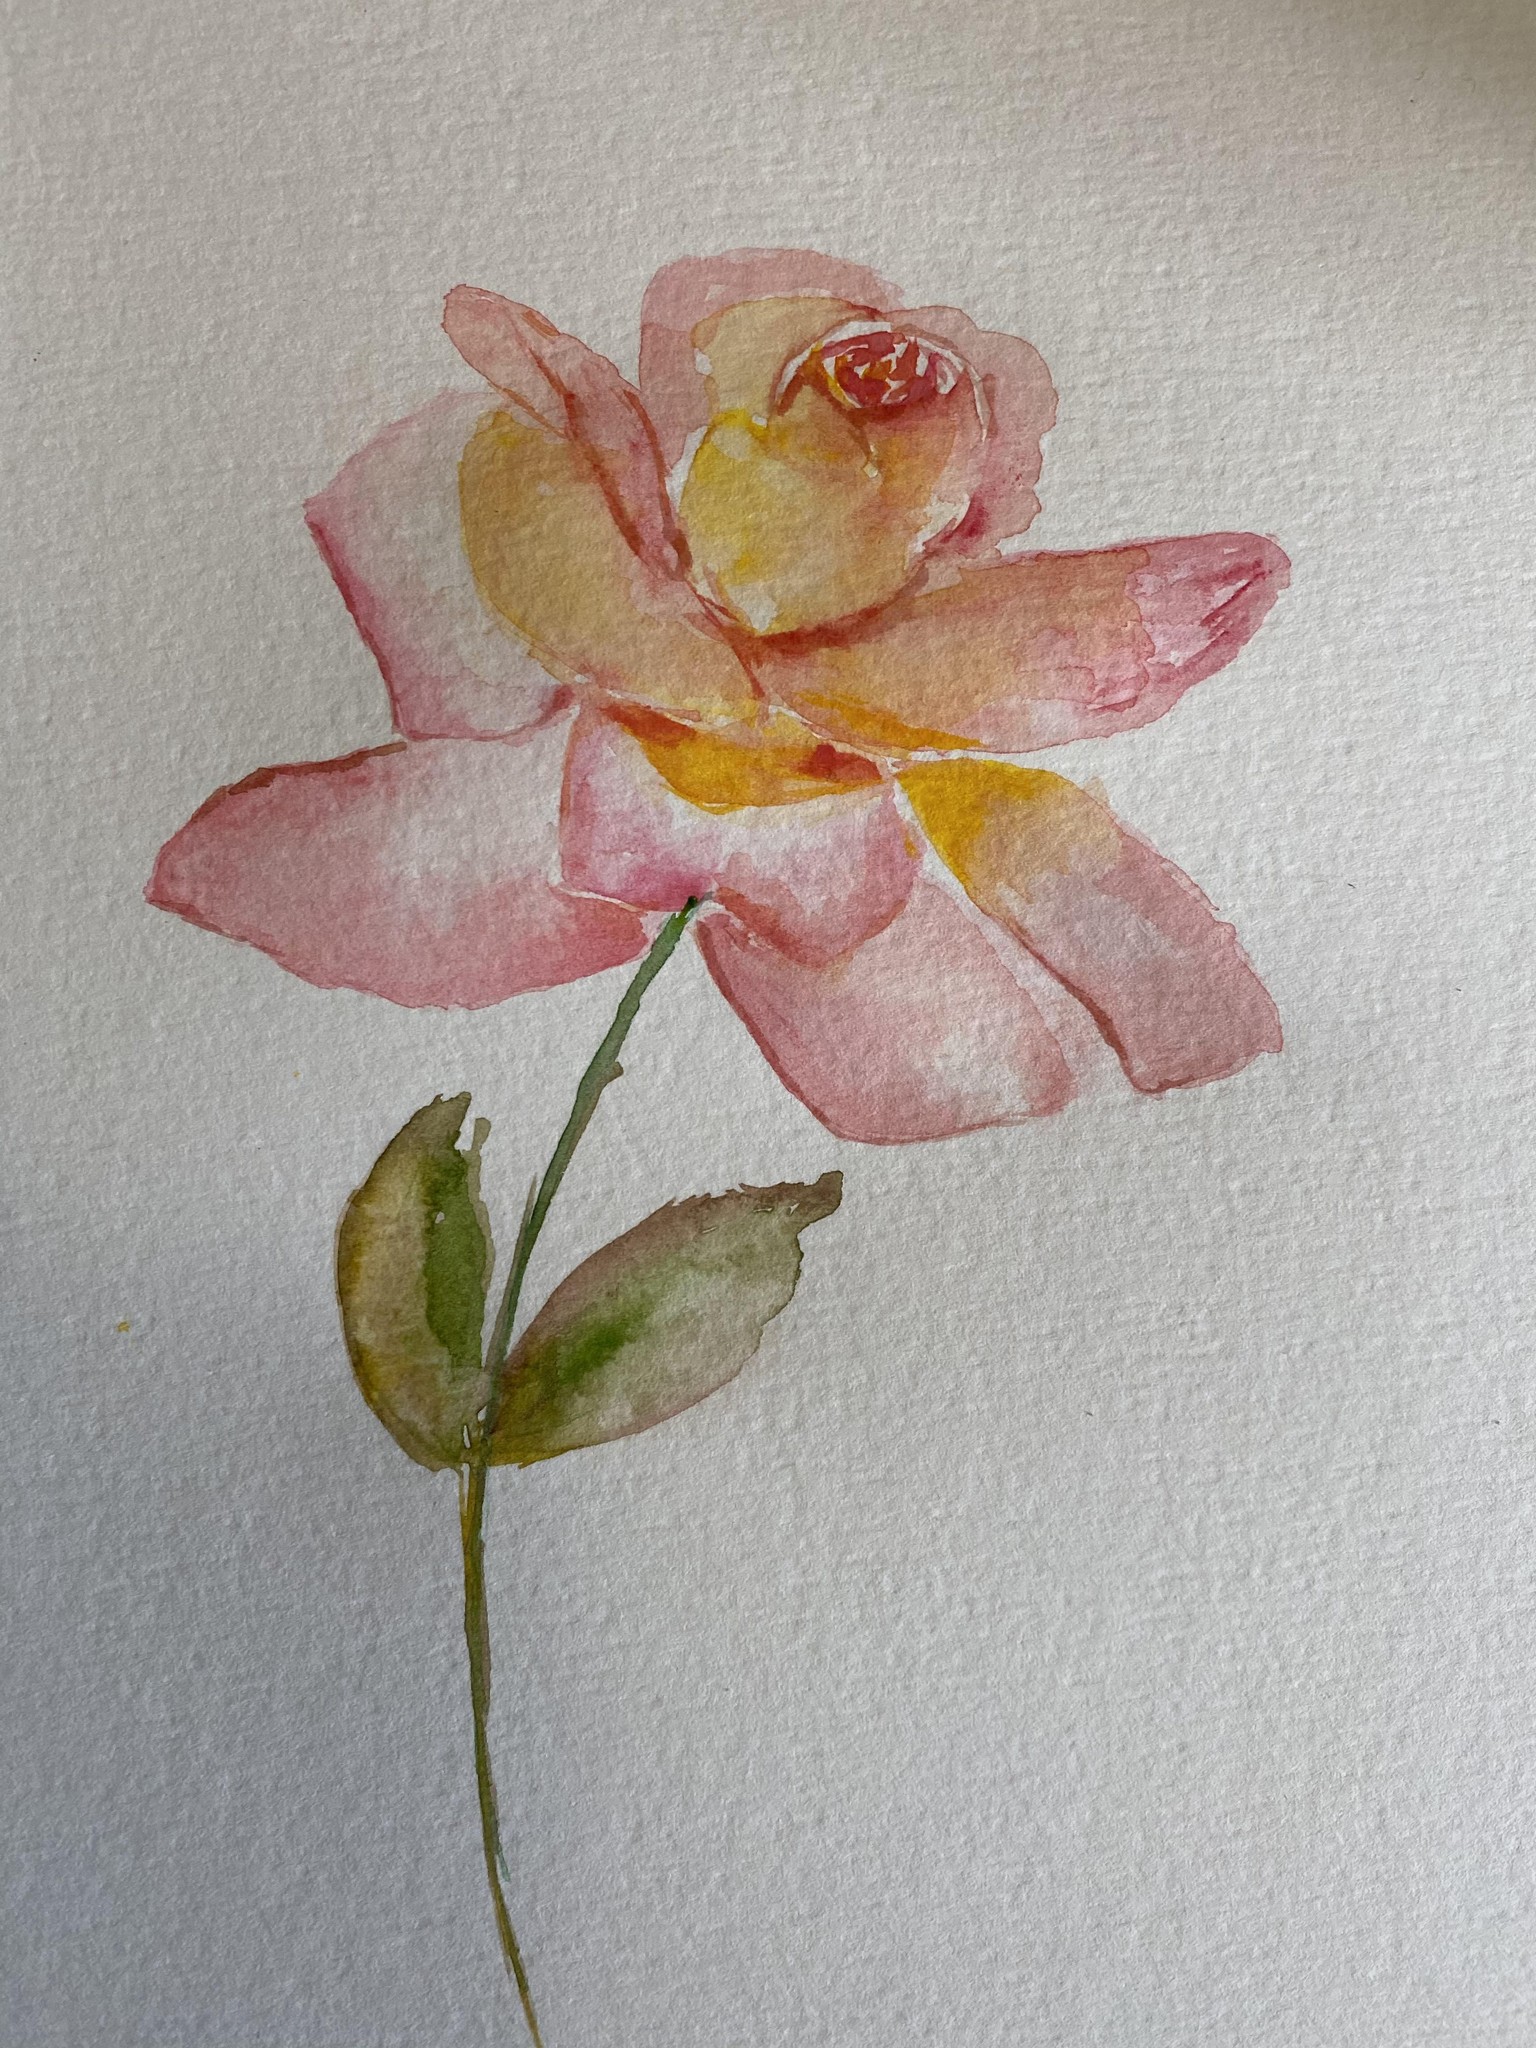
Next is some sketches of some rose buds. 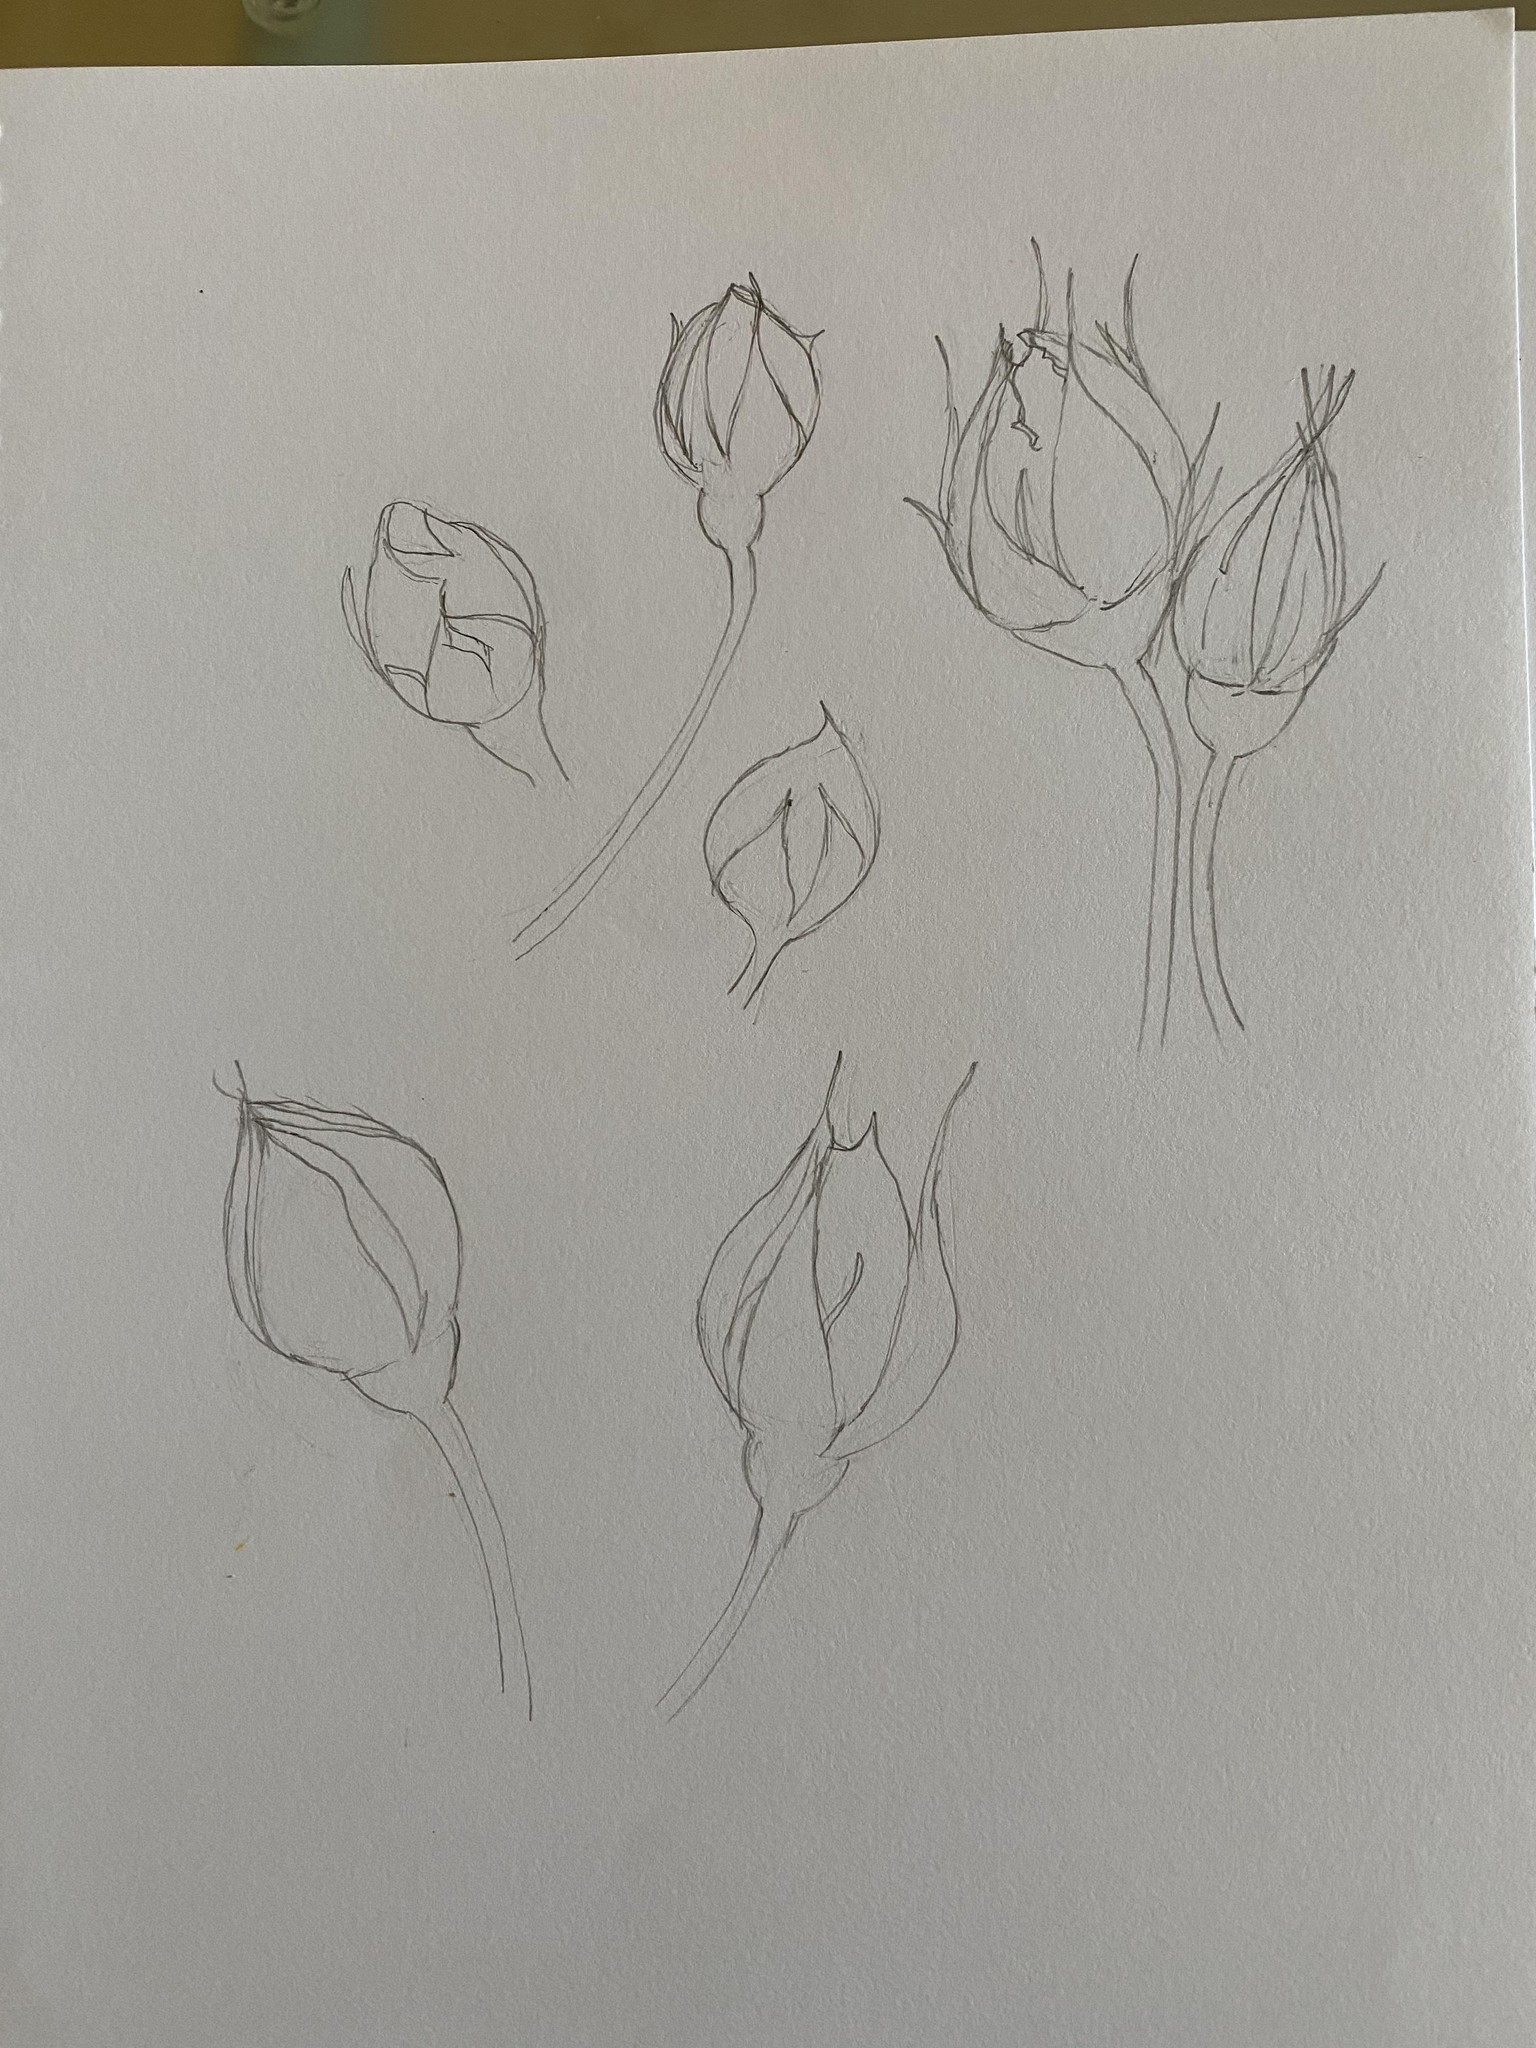
Finally a painting of a closed side rose, some rose buds and rose leaves.
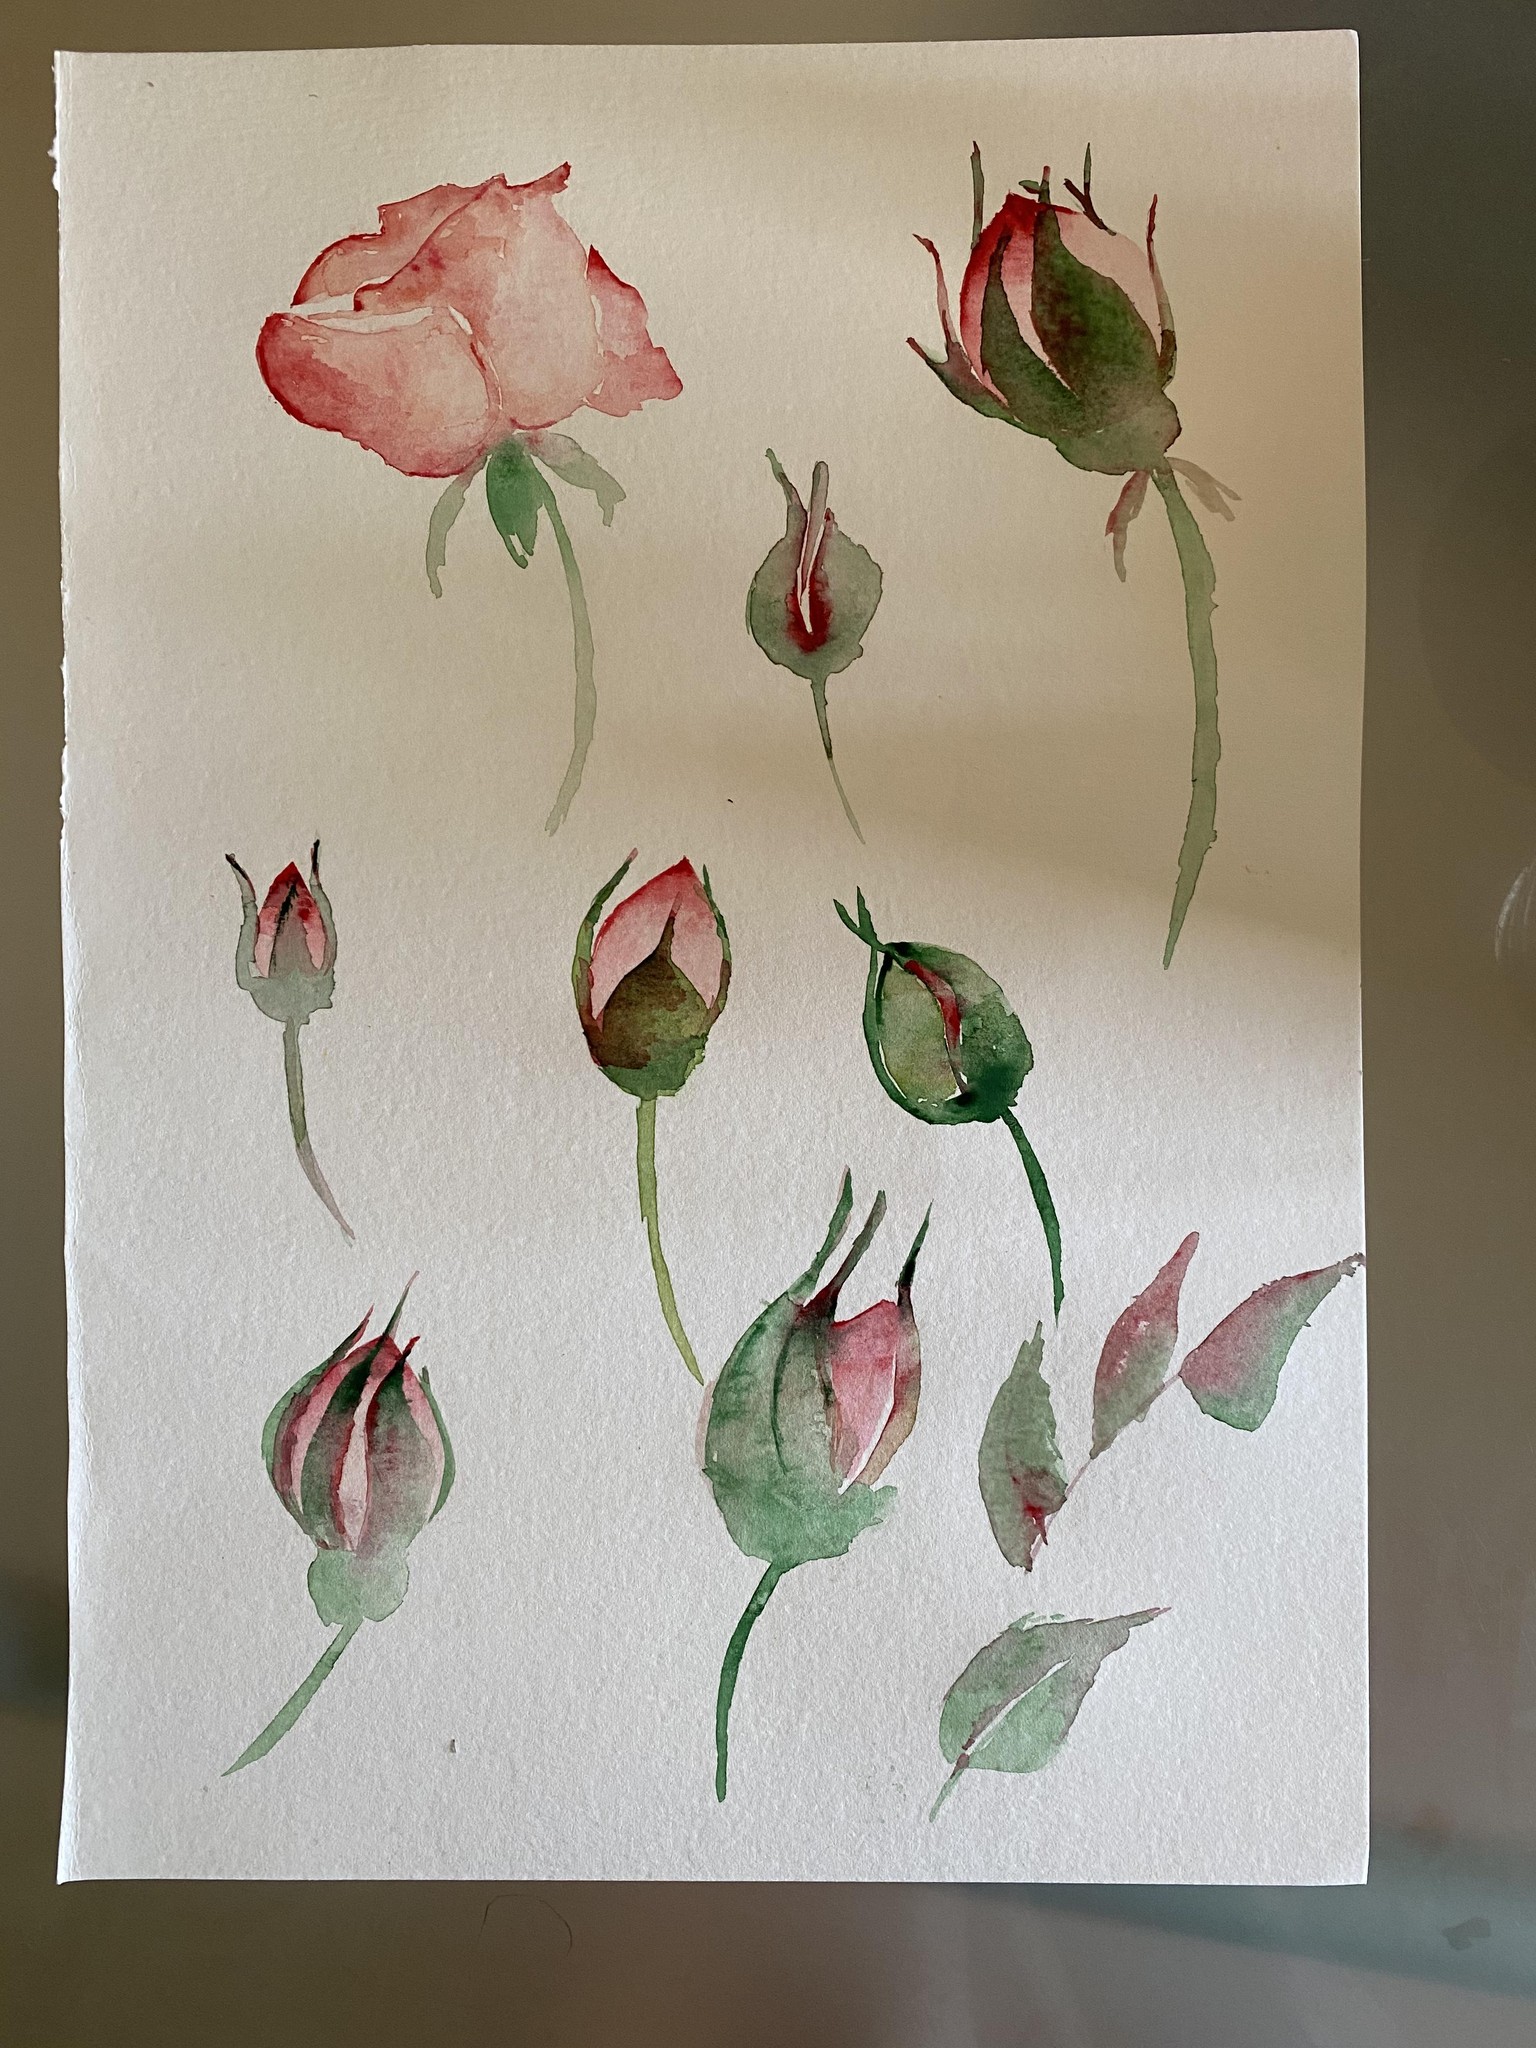
More rose study - sketch and painting.

