My Very First Few Illustrator Projects
Project 1: Simple Shapes
1) Sleeping Red Panda
2) Sleeping Fox
4th October 2019
ORIGINAL VERSION:

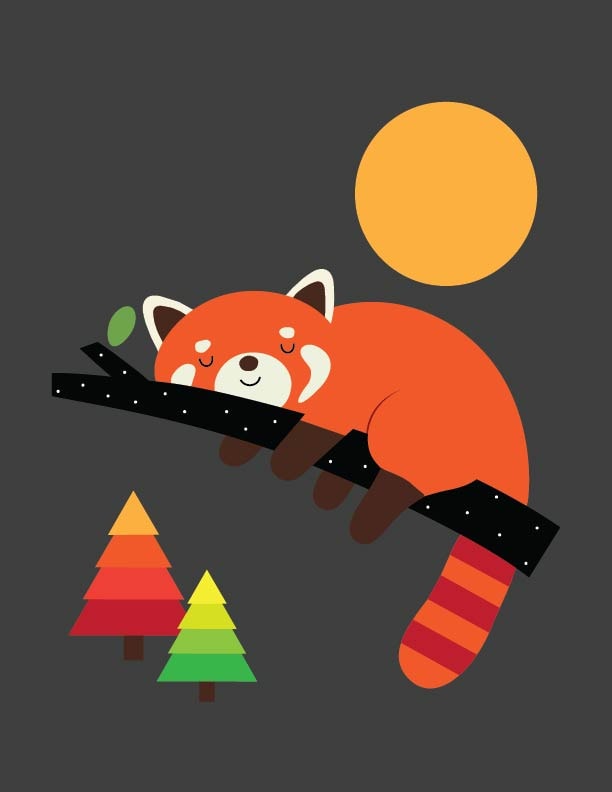
For Project 1 of Daniel Scott's projects (Tutorial #4), I choose to recreate this adorable sleeping red panda created by AndyWestface https://www.redbubble.com/people/AndyWestface
This sleeping red panda is so adorable! I've also choose this because it looks like I could practice creating images using shapes that I have learnt from the tutorial. I have never really use any software, neither have i created any art before, this is one of my few first! I am so excited to put to use what i have learnt! Thank you so much Daniel Scott!
I used a lot of shapes to create this sleeping red panda and lines like the curve lines for the sleeping eyes and mouth. I also needed to add anchor point on some shapes. I used triangles for the ears, which I thought would be quite easy but somehow I had to do quite some adjustments using anchor point tool and white arrow. Knowing the difference between black arrow and white arrow is really helpful.
Panda's body and feet are quite easy to make using the ellipse shape and rectangle shape although... I had difficulty with the curves on the hanging leg.... I used rectangle shape for the tree branch at first but I couldn't change the shape to curve properly. I then figured i should used line tool instead. And then I used anchor point tool to change the path of the line to be curvy.
I thought I could create the leave using an ellipse shape and the white arrow, but I guess I was wrong! I have no idea how to make the sharp ended shape at the two ends of the leaf at this point. I shall adjust it once i learn more. Maybe i'll change this leaf to a maple looking leaf!
I am looking forward to learn some texture later on to add to the moon! :D And I would like to add a different type of tree after learning more tutorials. I've made some changes from the original - i changed the colour because i'd like to have the autumn vibe in my picture. I'm not sure if i have made it look worse, but i hope not!
Update: 4th October 2019
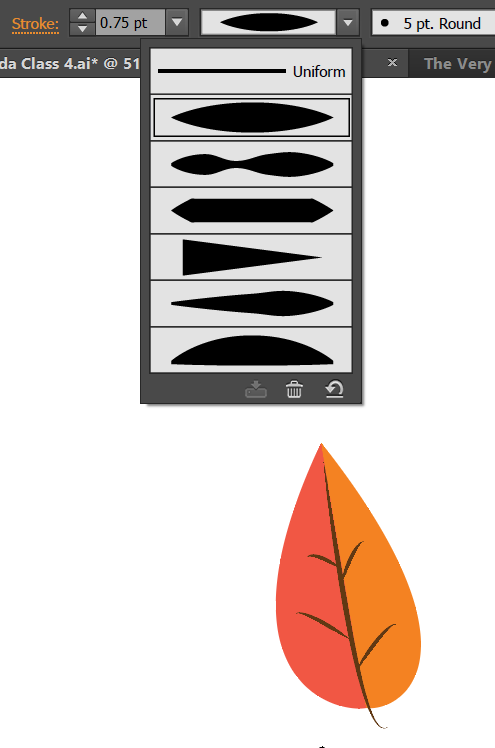
I found out how to make the leaf! I should have known :P
I used two arc lines and fill them with colour instead of using stroke. And then i changed the line pattern to make the veins for the leaf. But in the end i decided to not used this leaf as i found a way to create maple leaf using polygon shape.
This is how my sleeping red panda looks like now:

PROJECT 2: Shape Builder tool
1) Awake Fox
2) White Swan Meets the Colourful Parrot
6th October 2019
For Tutorial 5, I did both the sleeping and awake fox.
The sleeping fox was relatively easy after my first project. The only difference was that I used polygon tool with 7 sides and white arrow to create the grass instead of having to use a few triangles. I think it was slightly easier for me that way.

The Shape Builder tool was mind blowing! It's great to understand how to use such powerful tool. As I watched Daniel's tutorial, I did my awake fox at the same time. It seems easy until when I did the swan version.

First thing I've learnt from my mistake was that i need to make sure that the shapes intersect so that i can do the subtraction correctly.
I was quite confident initially but i got tangled up and confused when i used so many circles. I then cleverly colour code the circles so that i can see better which part to subtract.
At one point my illustration was like this:
Then i was so happy that my method worked and turned out like this after using Shape Builder tool! Until....

.........this happened when i excitedly try to fill in colours. I probably subtracted something that i should have added instead etc.. Not sure where it went wrong because instead of shapes, i have only path instead of shapes at this point.

Anyway, after many Ctrl + Zs.. I managed to get my Swan done. And it wasn't perfect of course, i had to do quite a number of adjustments and use the Delete Anchor Point tool.
Since I was so terrible at this than I realized at the beginning, i decided to check out for more images that uses Shape Builder tool. Eventually i get the hang of it and i think i improved a little bit better. Definitely still need more practice, but i had fun doing this project.
Here's to white Swan and colourful Parrot chilling during the day. I made the clouds and sea with just circles and Shape Builder tool. For the parrot i used more of ellipse, rounded rectangle and rectangle shapes. I have also applied the shadow technique for the colours on the wing. This time, with Daniel's feedback, i created the sharp edge of the wing by using curvature pen tool and double click on the corner of ellipse shape. Yay!

I recreated the parrot from Andy Westface's illustration:
PROJECT 3: Optical Illusions
9th October 2019
I followed Daniel's illustration for the triangle and i wanted to try out few more shapes so i manage to find this one from http://argon.pro-toptrendpin.club/?p=2789
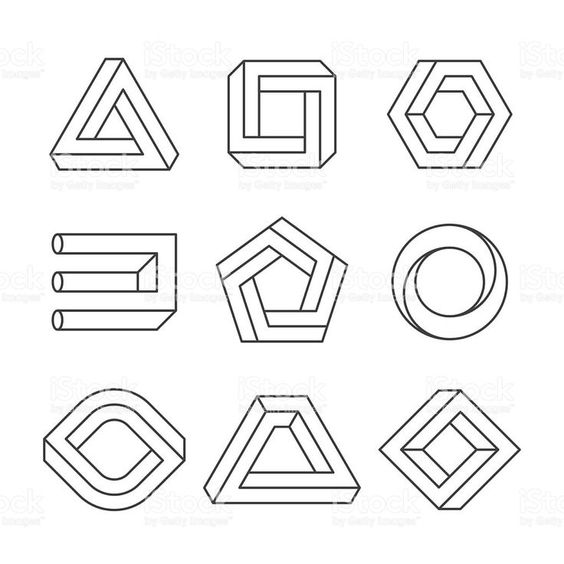
The rectangle one was almost the same as triangle so it is quite easy. My only problem is with intersecting the lines/shapes. Sometimes the Shape Builder tool doesn't work because I didn't place the lines accurately.
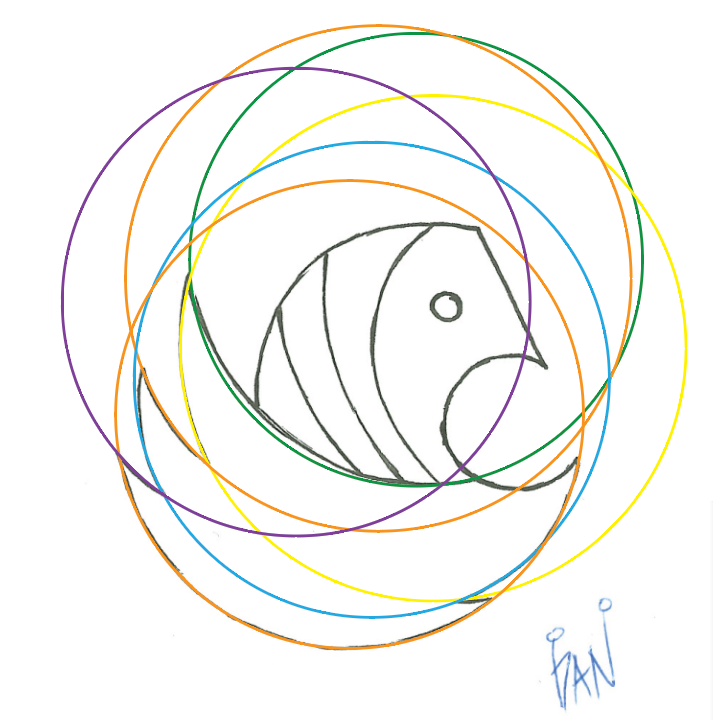
I thought I'd challenge myself so I tried the circle shape. I used two big circles and two arcs, adjusted the arcs using white arrow. I needed to make sure that the lines intersect in order to use Shape Builder tool. Then I use Shape Builder to subtract all the ends. But it still remained as a circle when I filled in colours. Then I used Shape Builder tool merge function to click on the area that I wanted it to be merged so that it becomes separate shape instead of one whole circle.
This is how i placed the lines.
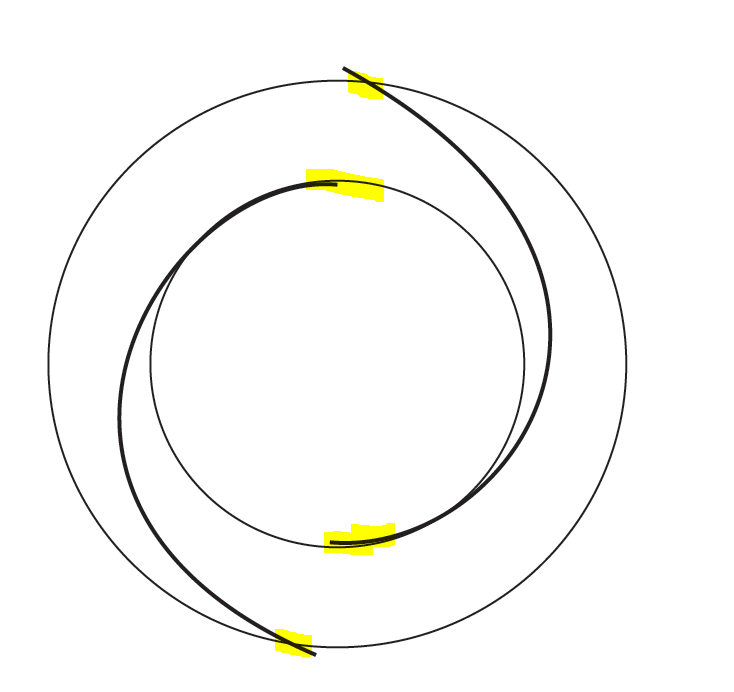
And it worked! I then adjusted the curves with white arrow.
After that I tried creating the oval shape. It took me a number of trial and error before i manage to figure out this:
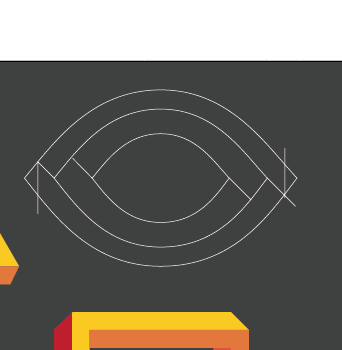
After using Shape Builder tool, it wasn't perfect but i am still happy that i could figure out how to come up with the shape in the end :D
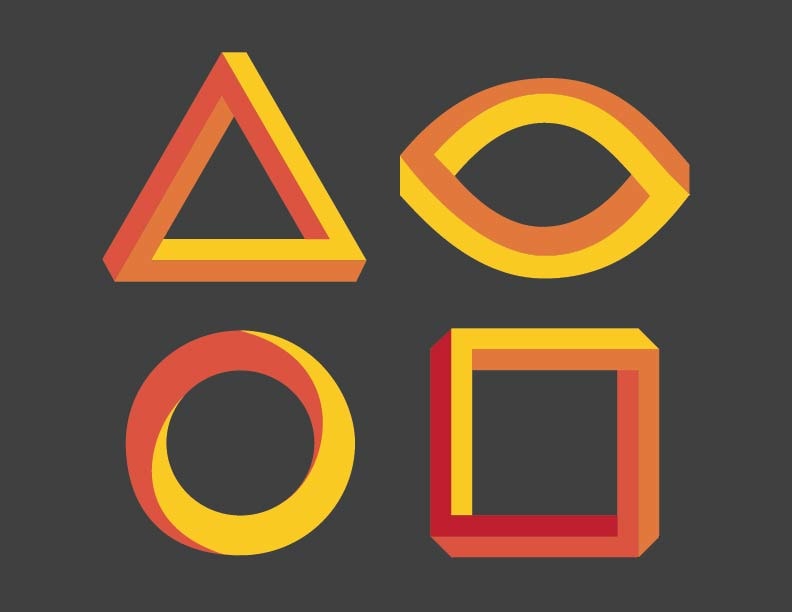
End product:
PROJECT 4: The Owl Found A Friend!
11th October 2019
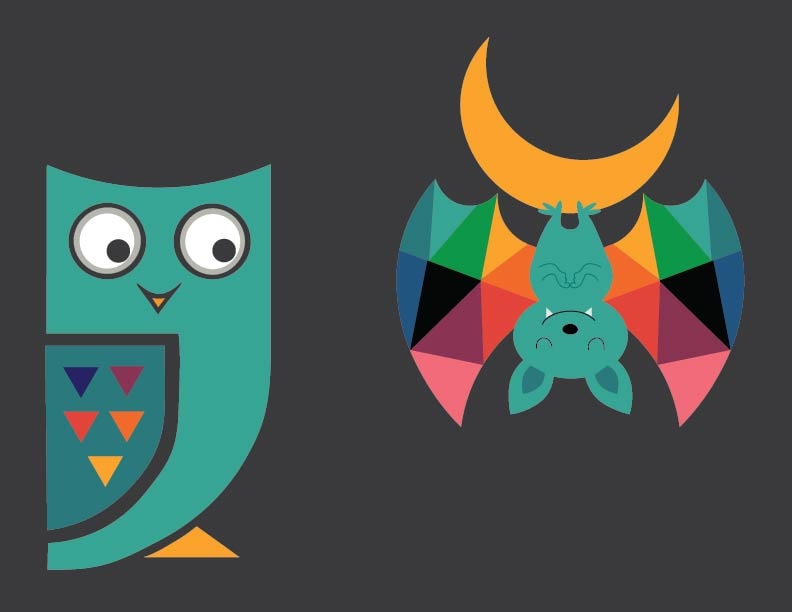
Recreated this owl with tutorial #7 by Daniel using Curvature Tool!
And this adorable bat is recreated from Andy Westsface's illustration: https://andywestface.tumblr.com/image/129838680536
Curvature tool for the owl was relatively easy to use, so i thought i'd attempt recreating this piece of illustration. For this one here I needed to use quite a number of different tools and it pretty much test my skills from all the previous tutorials by Daniel.
I had much fun! I didn't thought i could do this initially but I managed to come up with it in the end.
PROJECT 5: Pencil Tool
I didnt thought I would have fun with Pencil Tool because i'm bad at hands free drawing but I guess it didn't turn out too bad.... except that I don't know how to crop the original picture, hence the white part on the side... I only realised that when i tried to export the picture and I didnt want to spend more time readjusting.
Oh well. Yay, i know pencil tool now!

PROJECT 6: Width Tool
Wow, this is by far the hardest tool for me to use, surprisingly! I almost gave up on this one! It looked so easy when I watched Daniel doing it in the tutorial.
I just somehow couldn't figure out how the path behaves.... this is the best i could do.

PROJECT 7: Type Tool on Path
Typography is always something I have always wanted to learn so this was pretty fun for me! I didn't use only Type tool but also other tools like pen tool and white arrow.
For the word PET - i first go to Object > Envelope Distort > Make with Mesh. Then i could adjust the alphabets however I want.
For the B in Obesity - right click and "Create Outline", then the alphabets are separated. I can then use white arrow to manually adjust the shapes of the alphabets.

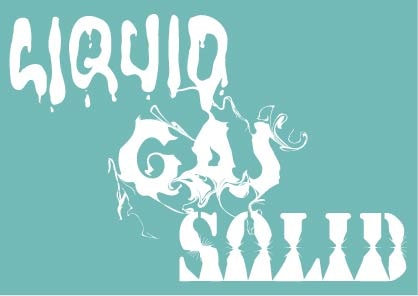
PROJECT 8: Another Typography!
This was pretty fun!
For "Liquid" I used Warp tool mostly (and of course i cheated and used Blob tool to add the dripping effect)
For "Gas" I used Twirl tool - i find this one really cool! It makes this smokey looking effect
For "Solid" I used Scallop and Pucker tool
PROJECT 9: It's NOVEMBER!
And here's something I did after learning Compound Shapes (Tutorial 21)
I have always wanted to learn paper cut illustration, so this was a very interesting tutorial for me!
Happy November, everyone!

PROJECT 10: Self Potrait
I decided to challenge myself and tried to illustrate a picture of myself and my boyfriend - I am quite happy that I at least could come up with something but i definitely need a lot more practice on this.. Could have been a lot better :P I am really bad at shading, something i definitely need to learn more on.
I used pen and pencil tool for this, as well as curvature tool. Surprisingly drawing wasn't the problem although i am really bad at drawing, but knowing where to shade and colour seems to be quite tricky.

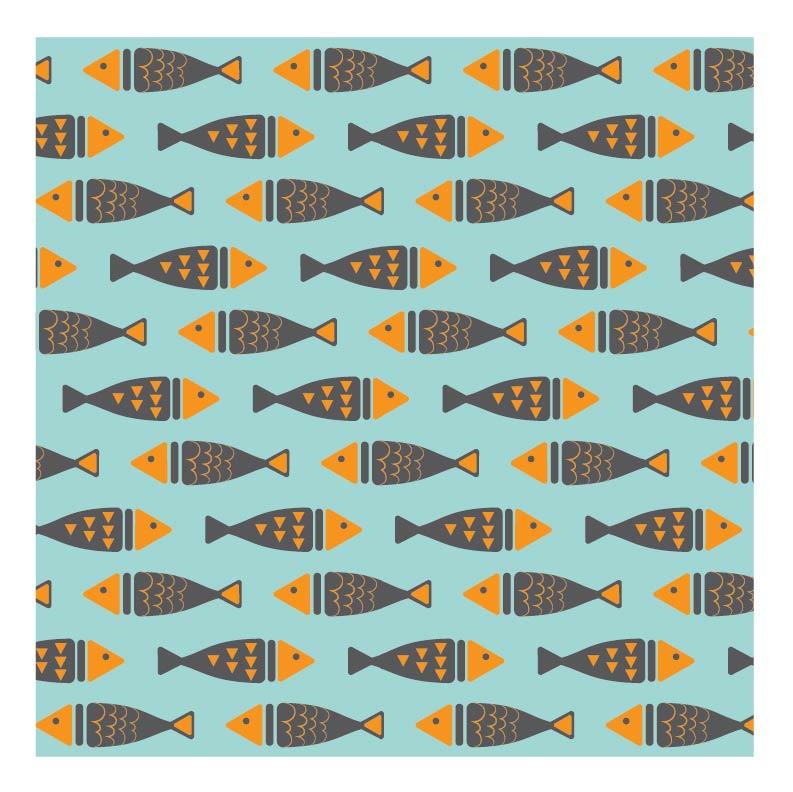
PROJECT 11: Repeat Patterns
Inspired by my pencil case! Just thought i'd do a simple one for this project.