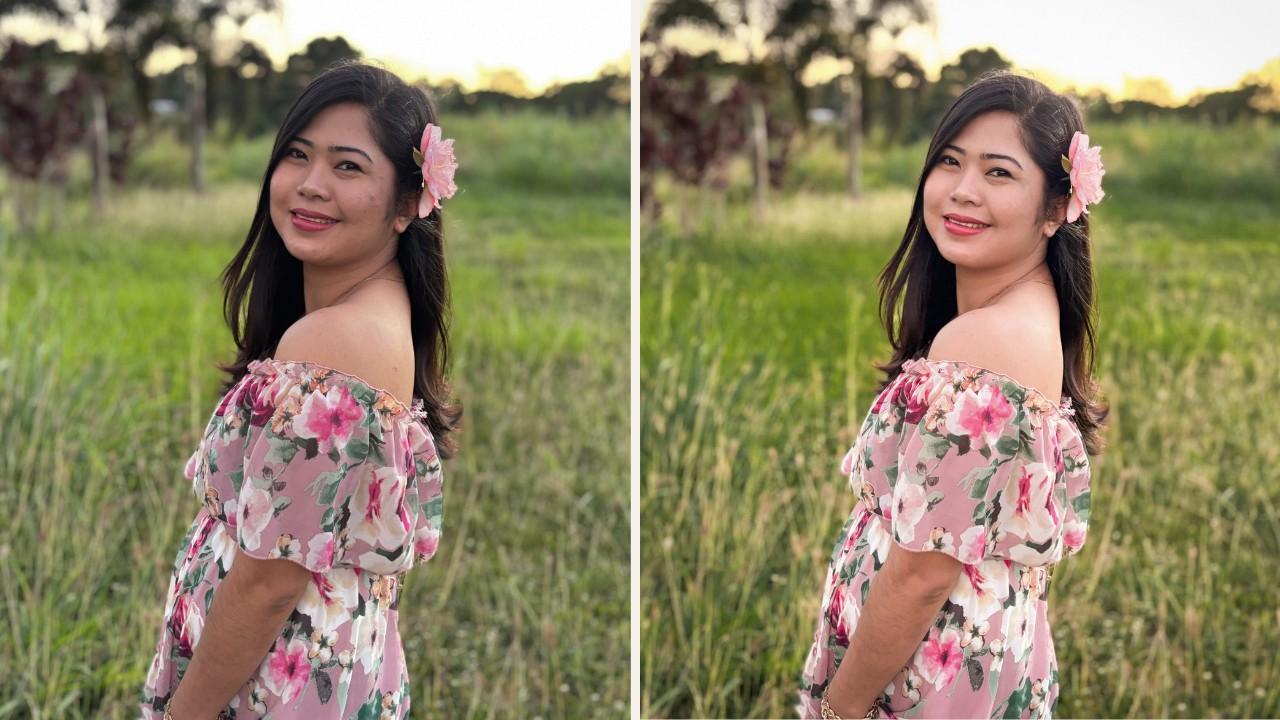
My Before & After Self-Portrait Using Only Lightroom Mobile
Step 1: Basic Adjustments, Starting with Light
Here are the exact slider settings I use:
- Exposure: +0.30 (if the image feels too dark)
- Contrast: +10
- Highlights: -30 (to recover details in bright spots like my skin)
- Shadows: +35 (to lift depth and softness in the darker areas)
- Whites: +5
- Blacks: -7 (to subtly deepen the tones)
Step 2: Color Enhancements: To Add Mood & Emotion
Here’s what I adjusted:
- Temperature: +12 (for that golden hour vibe)
- Tint: +4 (a gentle rose undertone that flatters skin)
- Vibrance: +15 (brings life to muted colors)
- Saturation: +5 (only if needed to lift the whole scene)
For the HSL sliders
- Orange (skin):
- Hue: -5
- Saturation: -10
- Luminance: +12 (glowy, peachy skin)
- Hue: -5
- Yellow (sunlight, dress details):
- Hue: -10
- Saturation: +10
- Luminance: +10
- Hue: -10
- Green (background foliage, if any):
- Hue: +20 (more minty/sage)
- Saturation: -30 (so it doesn’t compete with the subject)
- Luminance: +10
- Hue: +20 (more minty/sage)
Step 3: Sharpening & Detail – Refine and Polish
- Clarity: +5 (adds dimension without harshness)
- Texture: -5 (keeps skin soft and natural)
- Dehaze: 0 (not needed here)
- Sharpening: +10
- Noise Reduction: +10 (smooths subtle grain)
- Vignette: -8 (draws focus gently to the center)
And to really polish the photo, I adjusted the crop for a polished and stronger composition. Lightroom has a built in crop aspect ratio so I selected the most common 1x1 and adjusted it. Aligning the rule of thirds line to my smile to make it the focal point. Agin, Here’s my before and after class project.
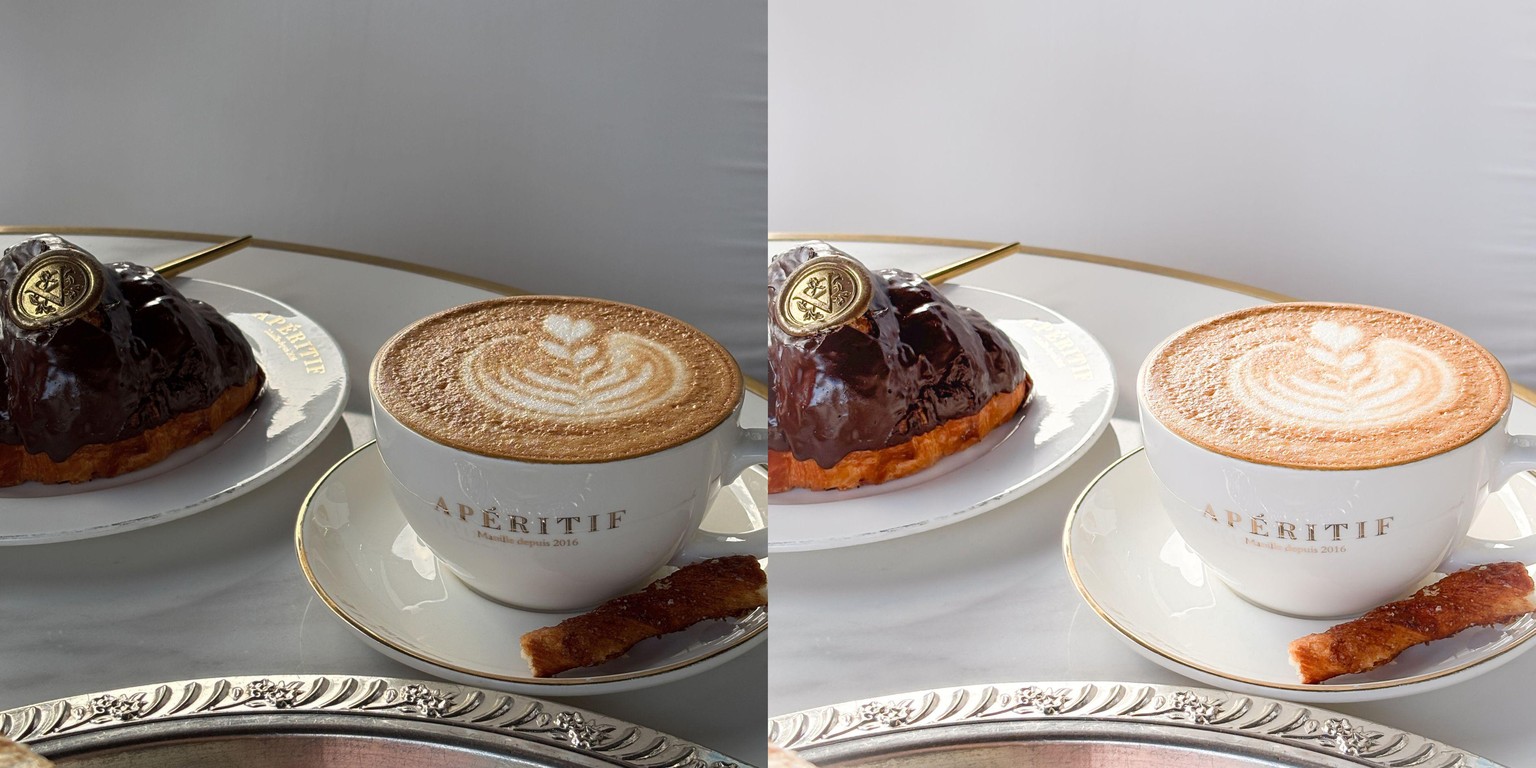
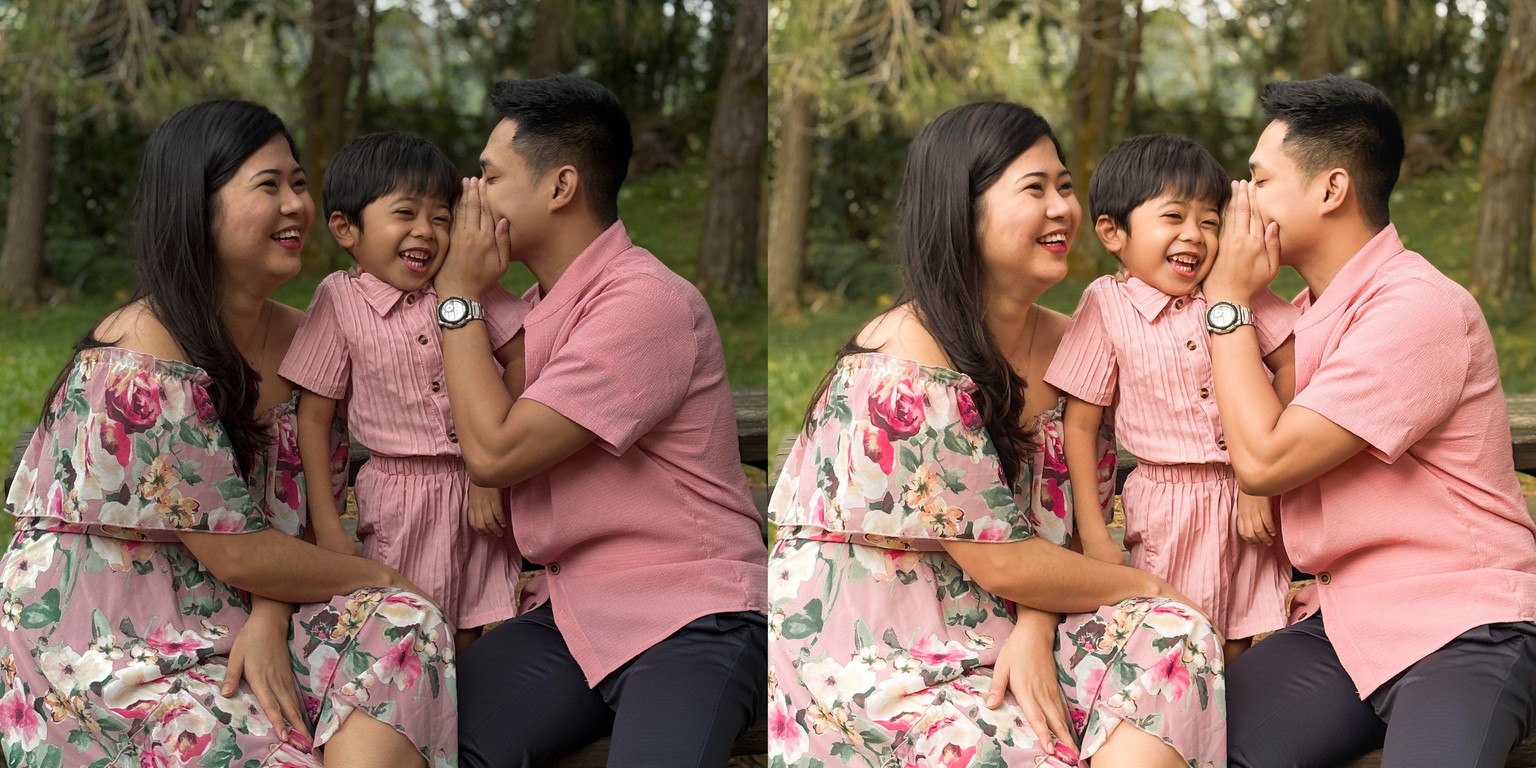
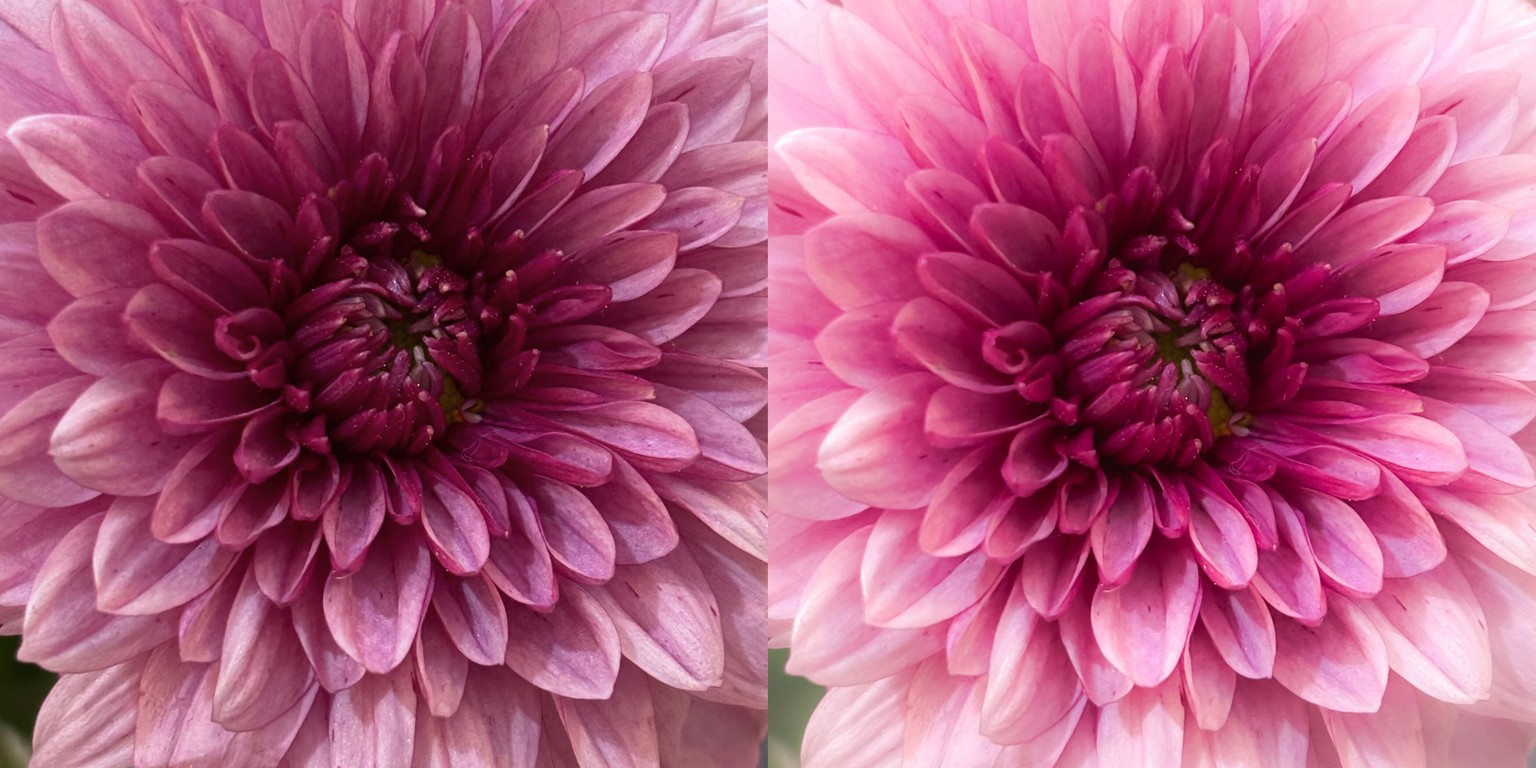
I also included my other before and after editing creations just in case you’re looking for inspo. If any of the edits caught your eye and you’d like to know what sliders I used or the creative vision behind them, feel free to ask! I’d love to hear which one resonated with you—and who knows, maybe I can create a little bonus tutorial if there’s interest.
Now it’s your turn! :)
Don’t forget to upload your before-and-after photos too. I can’t wait to see your magic and celebrate it with you. Let’s cheer each other on in the project gallery!