Learn Procreate: Sample Project
I created a finished painting using the single sketch of a goldfish. Check out the steps below to get a sense of how I used the tools in Procreate.
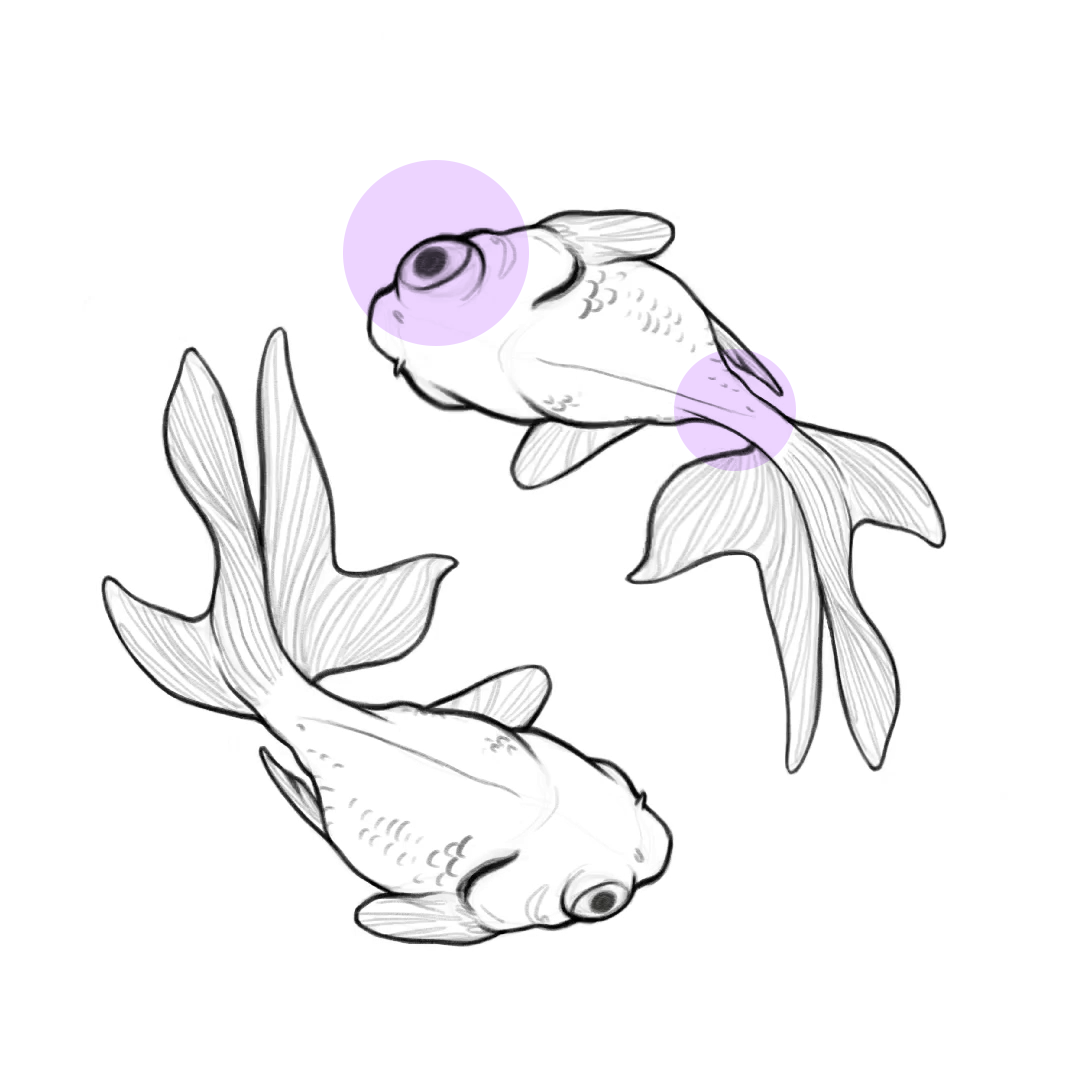
Step 1: Duplicate and Manipulate
I duplicated the sketch of the fish on a new layer and used the adjustment tool, liquify, to make subtle changes to the size of the eye, body, and curve of the tail (highlighted in purple).
Step 2: Base Colour
On a new layer, underneath my sketch, I used the selection tool (freeform) to quickly drop in the orange base colour of the new fish. I then used alpha lock on that base layer (you can find it in the layer options, see screenshot below) and painted in the red gradient onto that base colour.
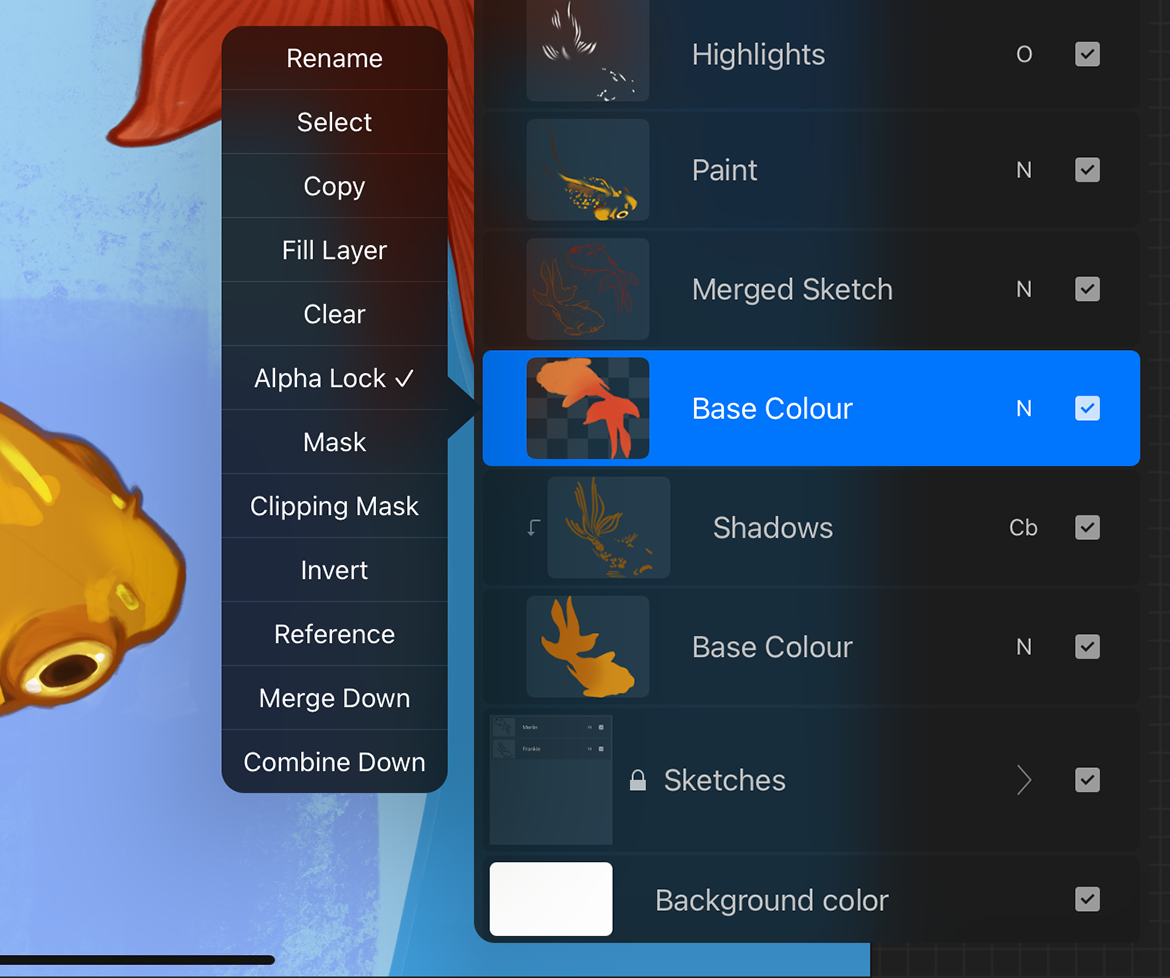
Alpha lock: turning this on will allow you to only paint on the objects that already exist on that layer. It's an easy way to paint within the shapes that you've already defined.
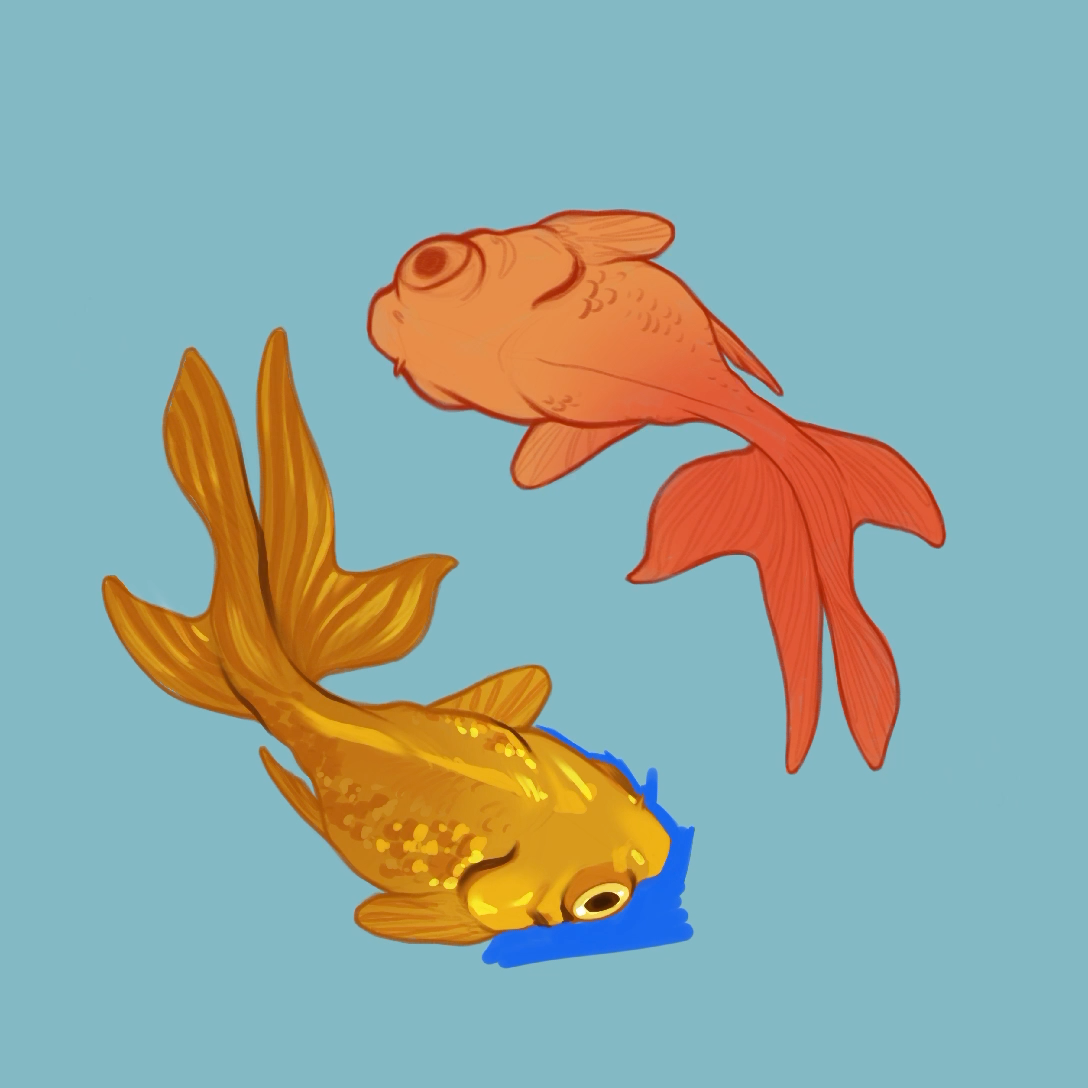
Step 3: Painting
Changing the sketch colour
I merged my two sketches, then used alpha lock on that new layer. Turning on alpha lock allowed me to paint over only the sketch, changing the pencil colour from black to orange and gold.
Adding another base colour
I started on the gold goldfish in the same manner as I did the orange. First I created a base colour, then alpha locked it so that I could add a gradient in the tail.
Painting
This is the part that looks like tv magic—we effectively skip the good stuff. I started painting the scales on the fish, the eyes, the gills. Typically I stick to just one paintbrush. On the nose you can see where I used the smudge tool to create a soft gradient leading to the head.
I separated out the highlights and the shadows (you can see this in the previous screenshot of the layers). On the highlights, I used the layer blend mode overlay. On the shadows I used colour burn.
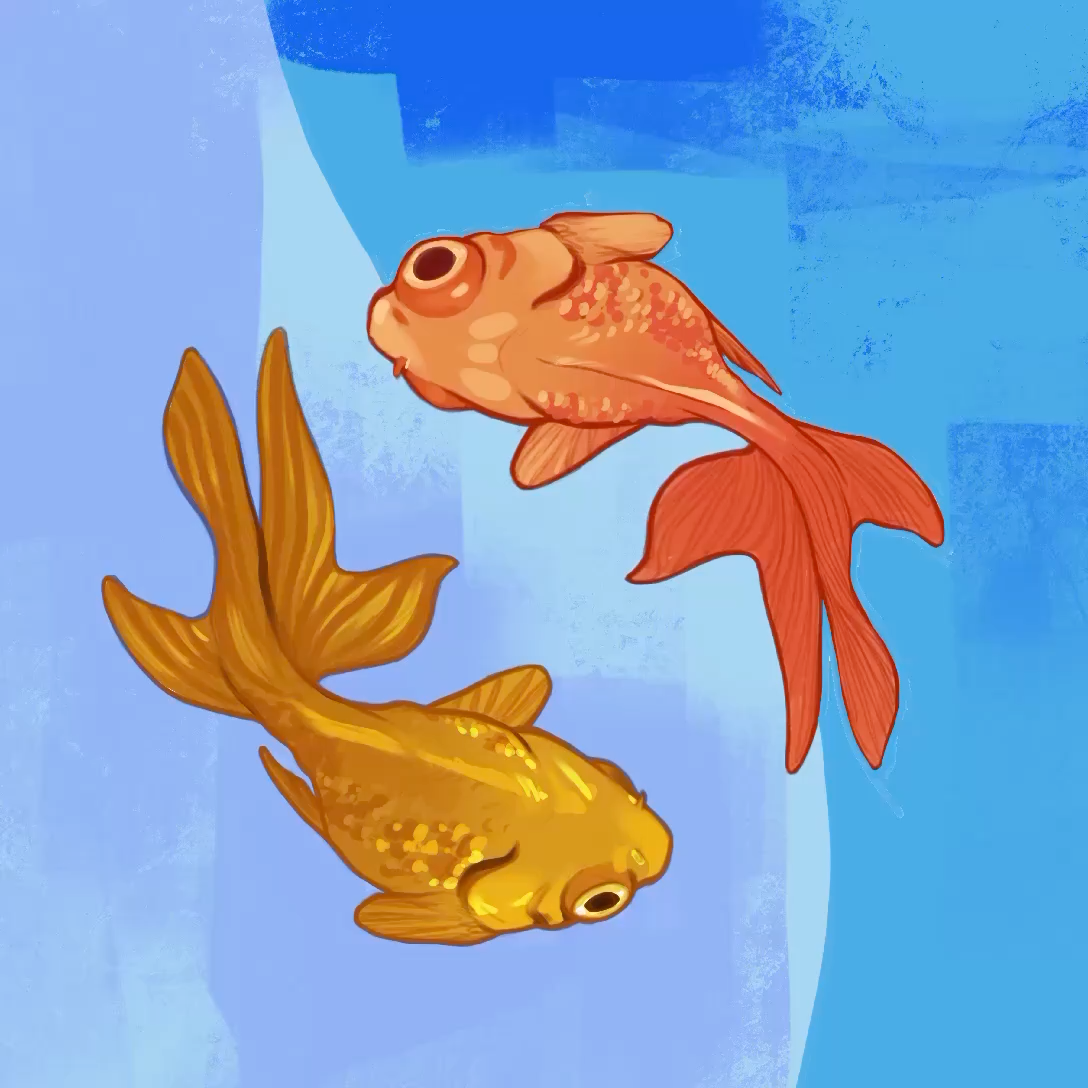
Step 4: Finishing Touches
I continued painting the orange fish in the same manor as I did the gold. I also painted in the background, as I wanted it to be more artsy and not just a solid colour. Since I painted in the background, I covered the background layer that procreate created for me by default. That means if I change that background colour, it doesn't really matter anymore—you won't see the change.
Exported Timelapse Video
I've exported the entire video. With all the bumps and kinks that happened during painting. When you watch it, you'll notice that I change my mind several times—the fishes started out as green and pink, the background colour was set to teal. I even took some time fiddling around with liquify when manipulating the initial sketch. That's all a part of painting! I hope you enjoy the video and can glean a bit of insight into my process.