Jill's Tulip Painting
Hi everyone!
Check out all the steps below for my project painting of some tulips.
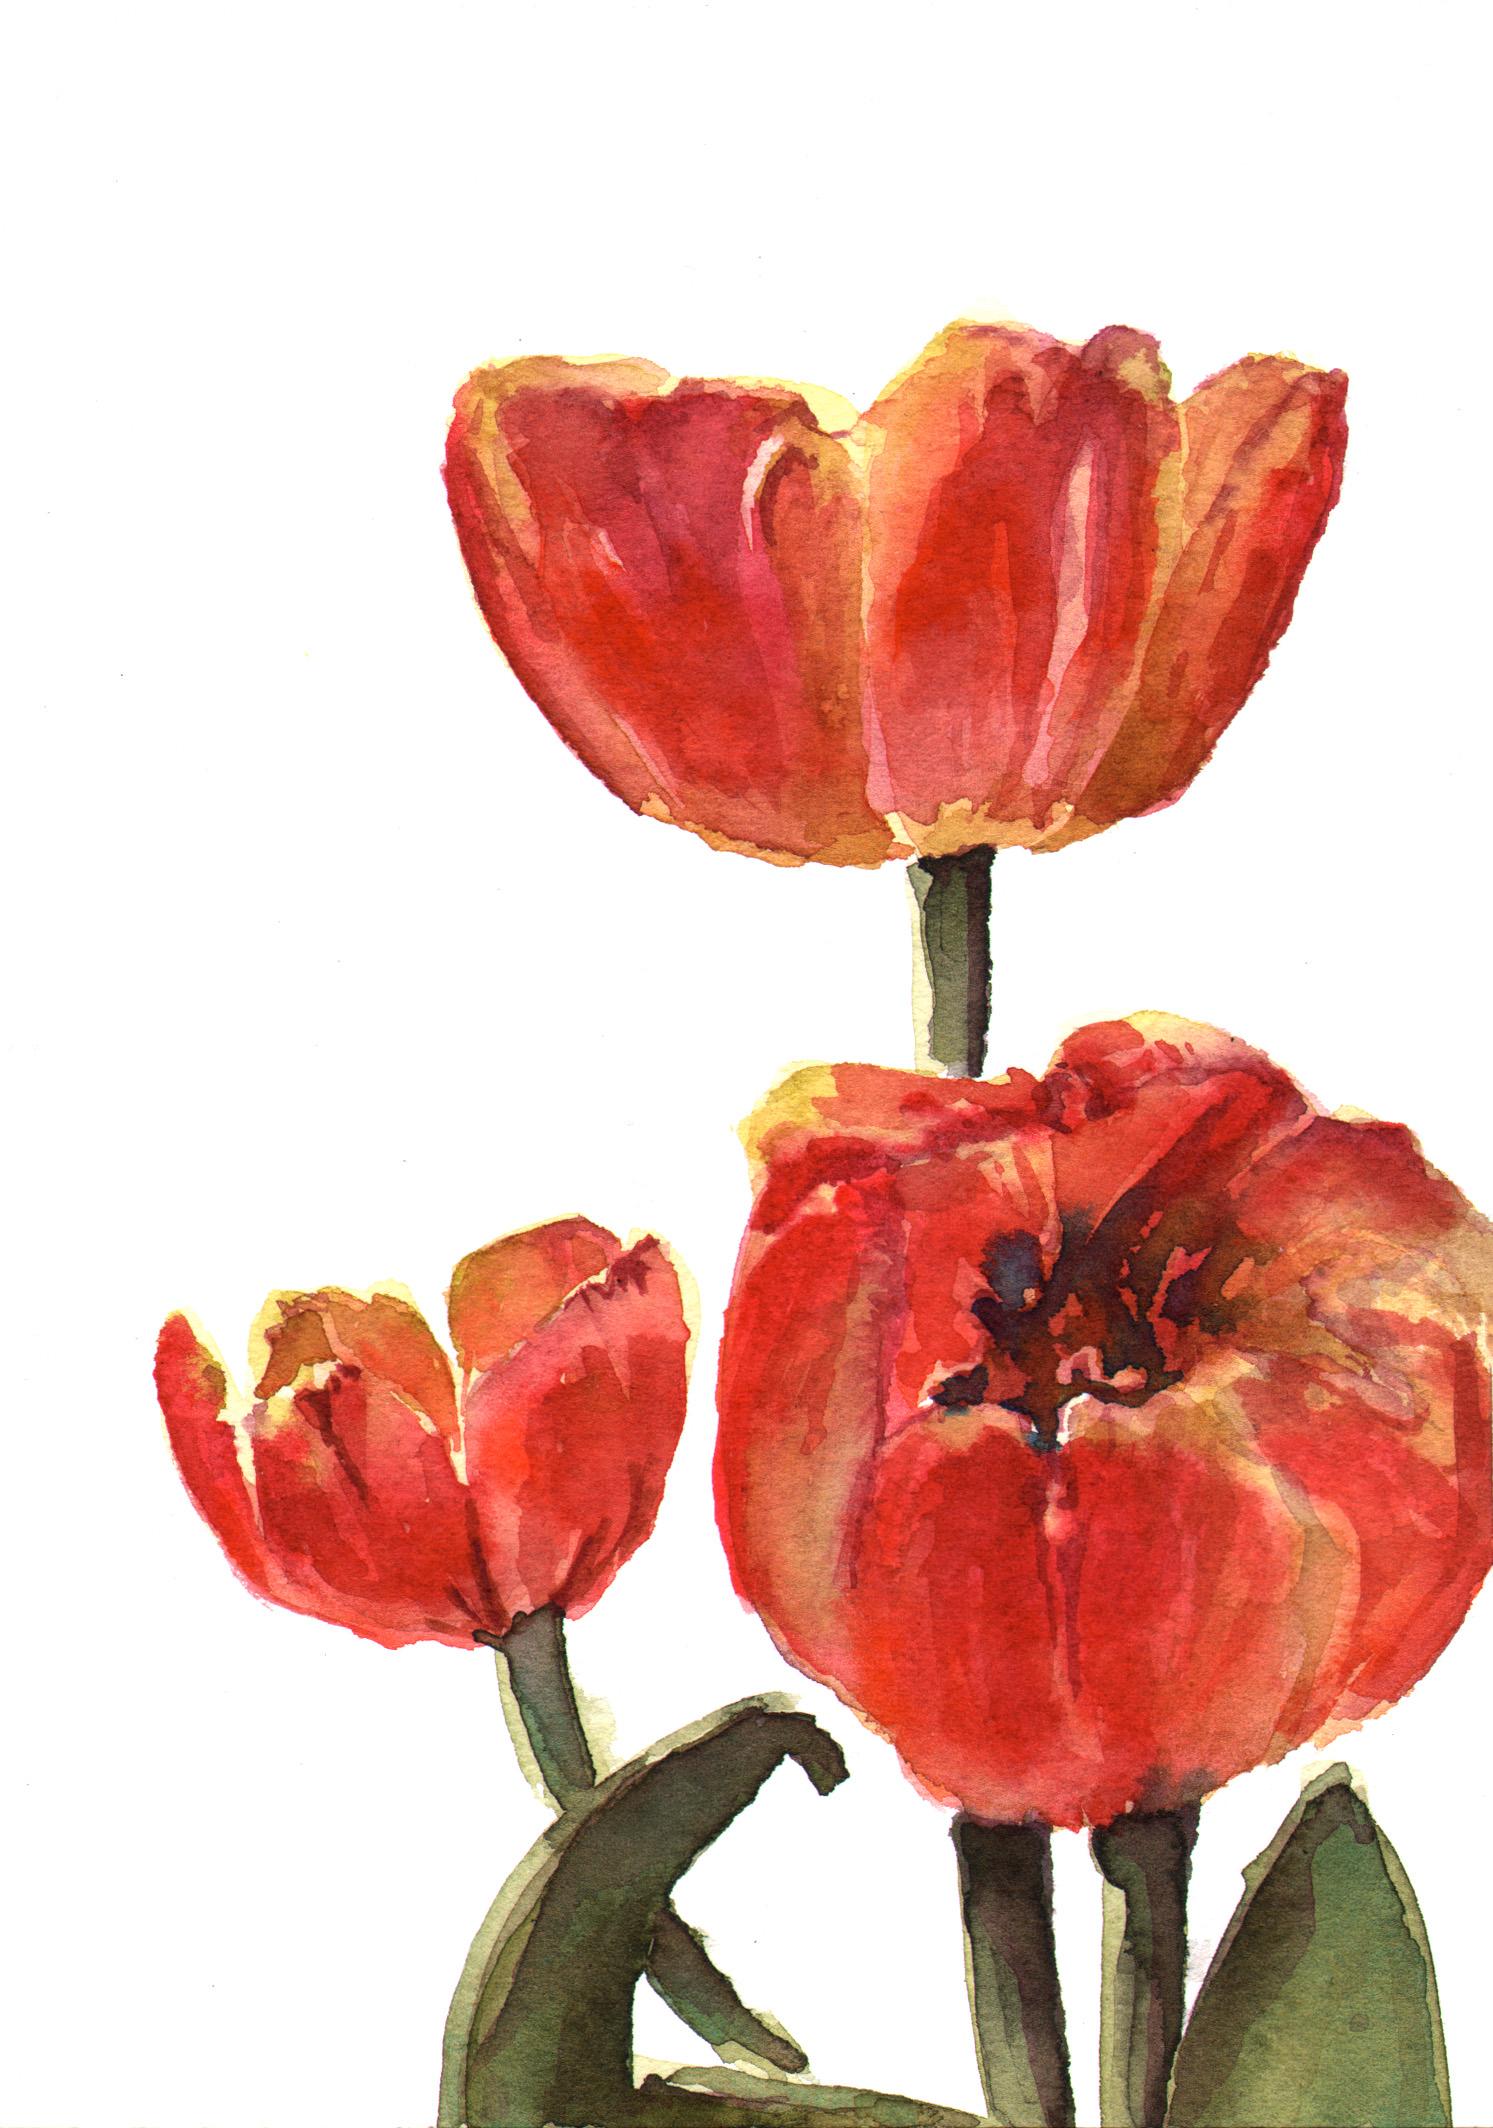
1. I started with a watercolor painting that had a white background. This is the easier way to use this masking process but you can definitely use it with an in-progress painting that is more complex!
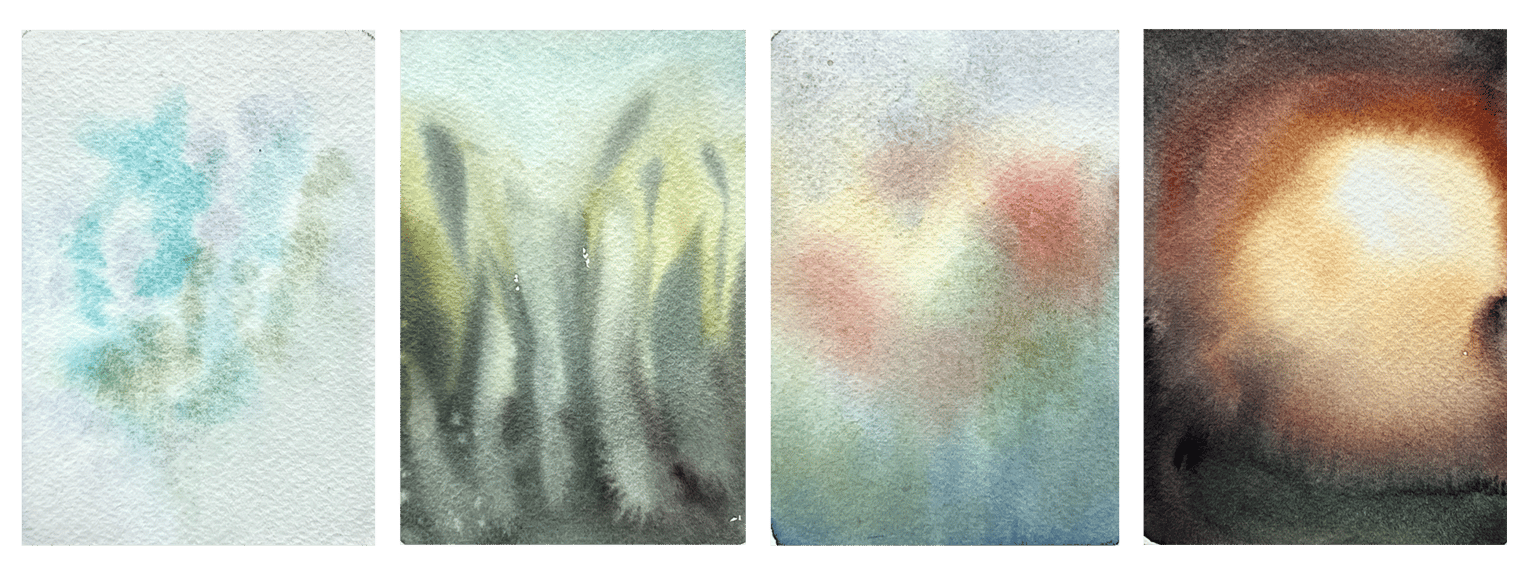
2. I did 4 thumbnails, also in watercolor:
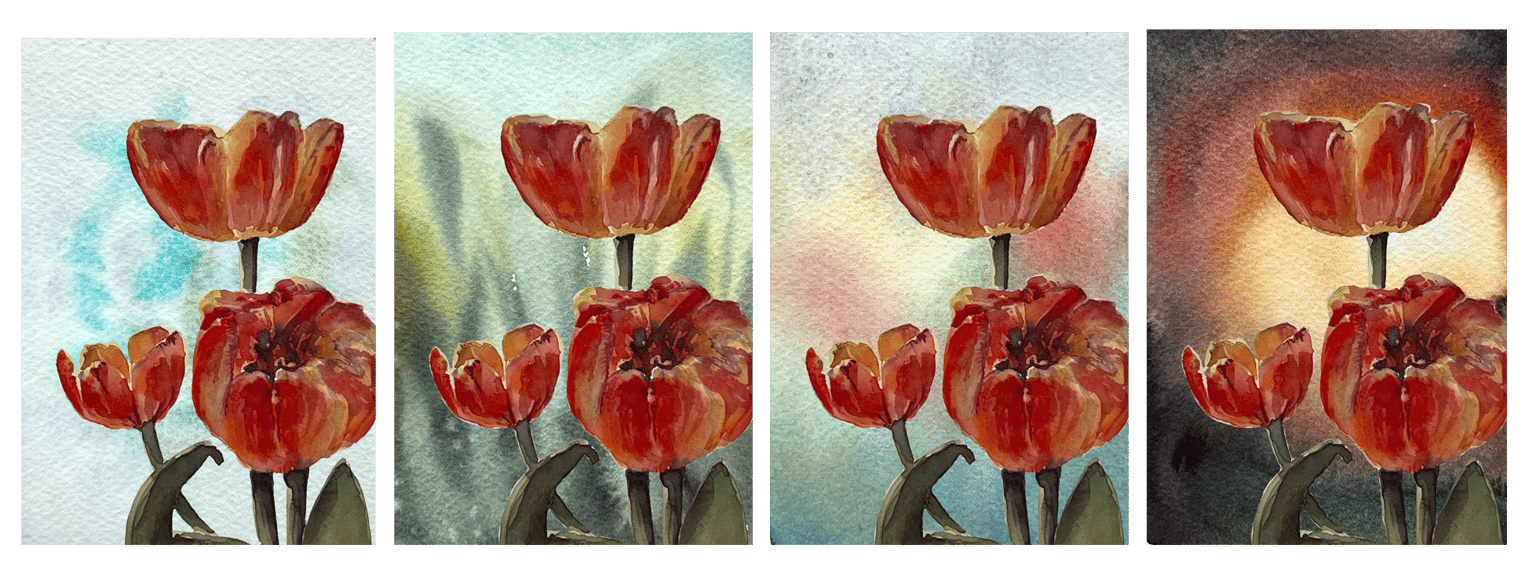
3. Using a layer mask I viewed how each looked with my subject:
4: Picking my favorite, I made additional adjustments using a clipping mask to add shadows to my subject and an additional layer of paint between my subject and background.
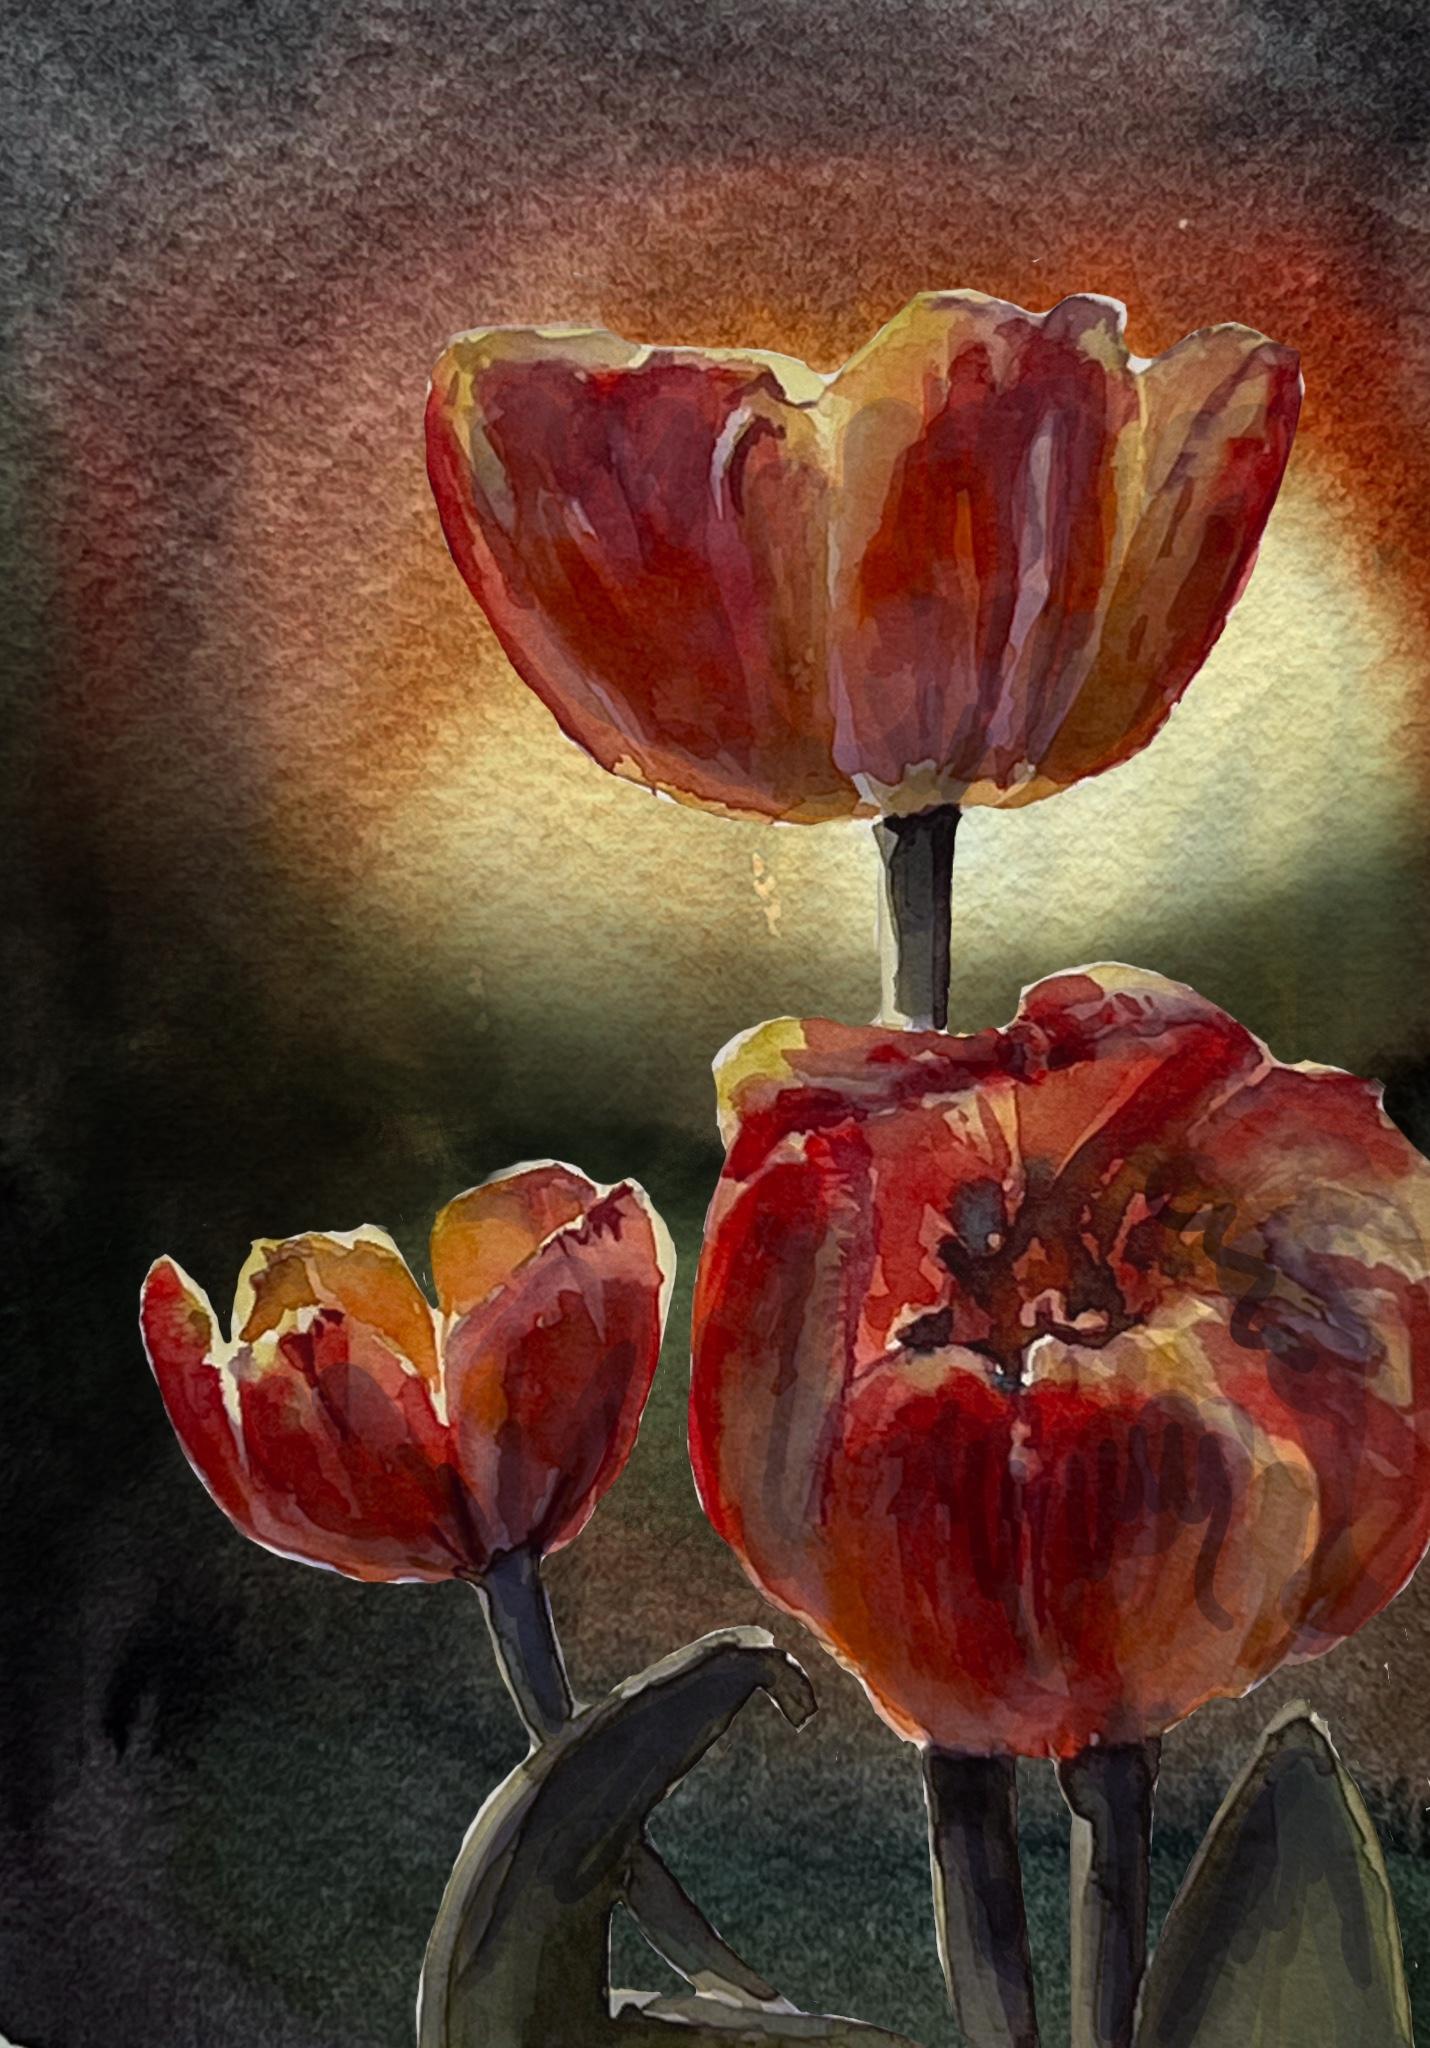
5. I used this exported mockup to reference while I added paint to my work in progress in real life!
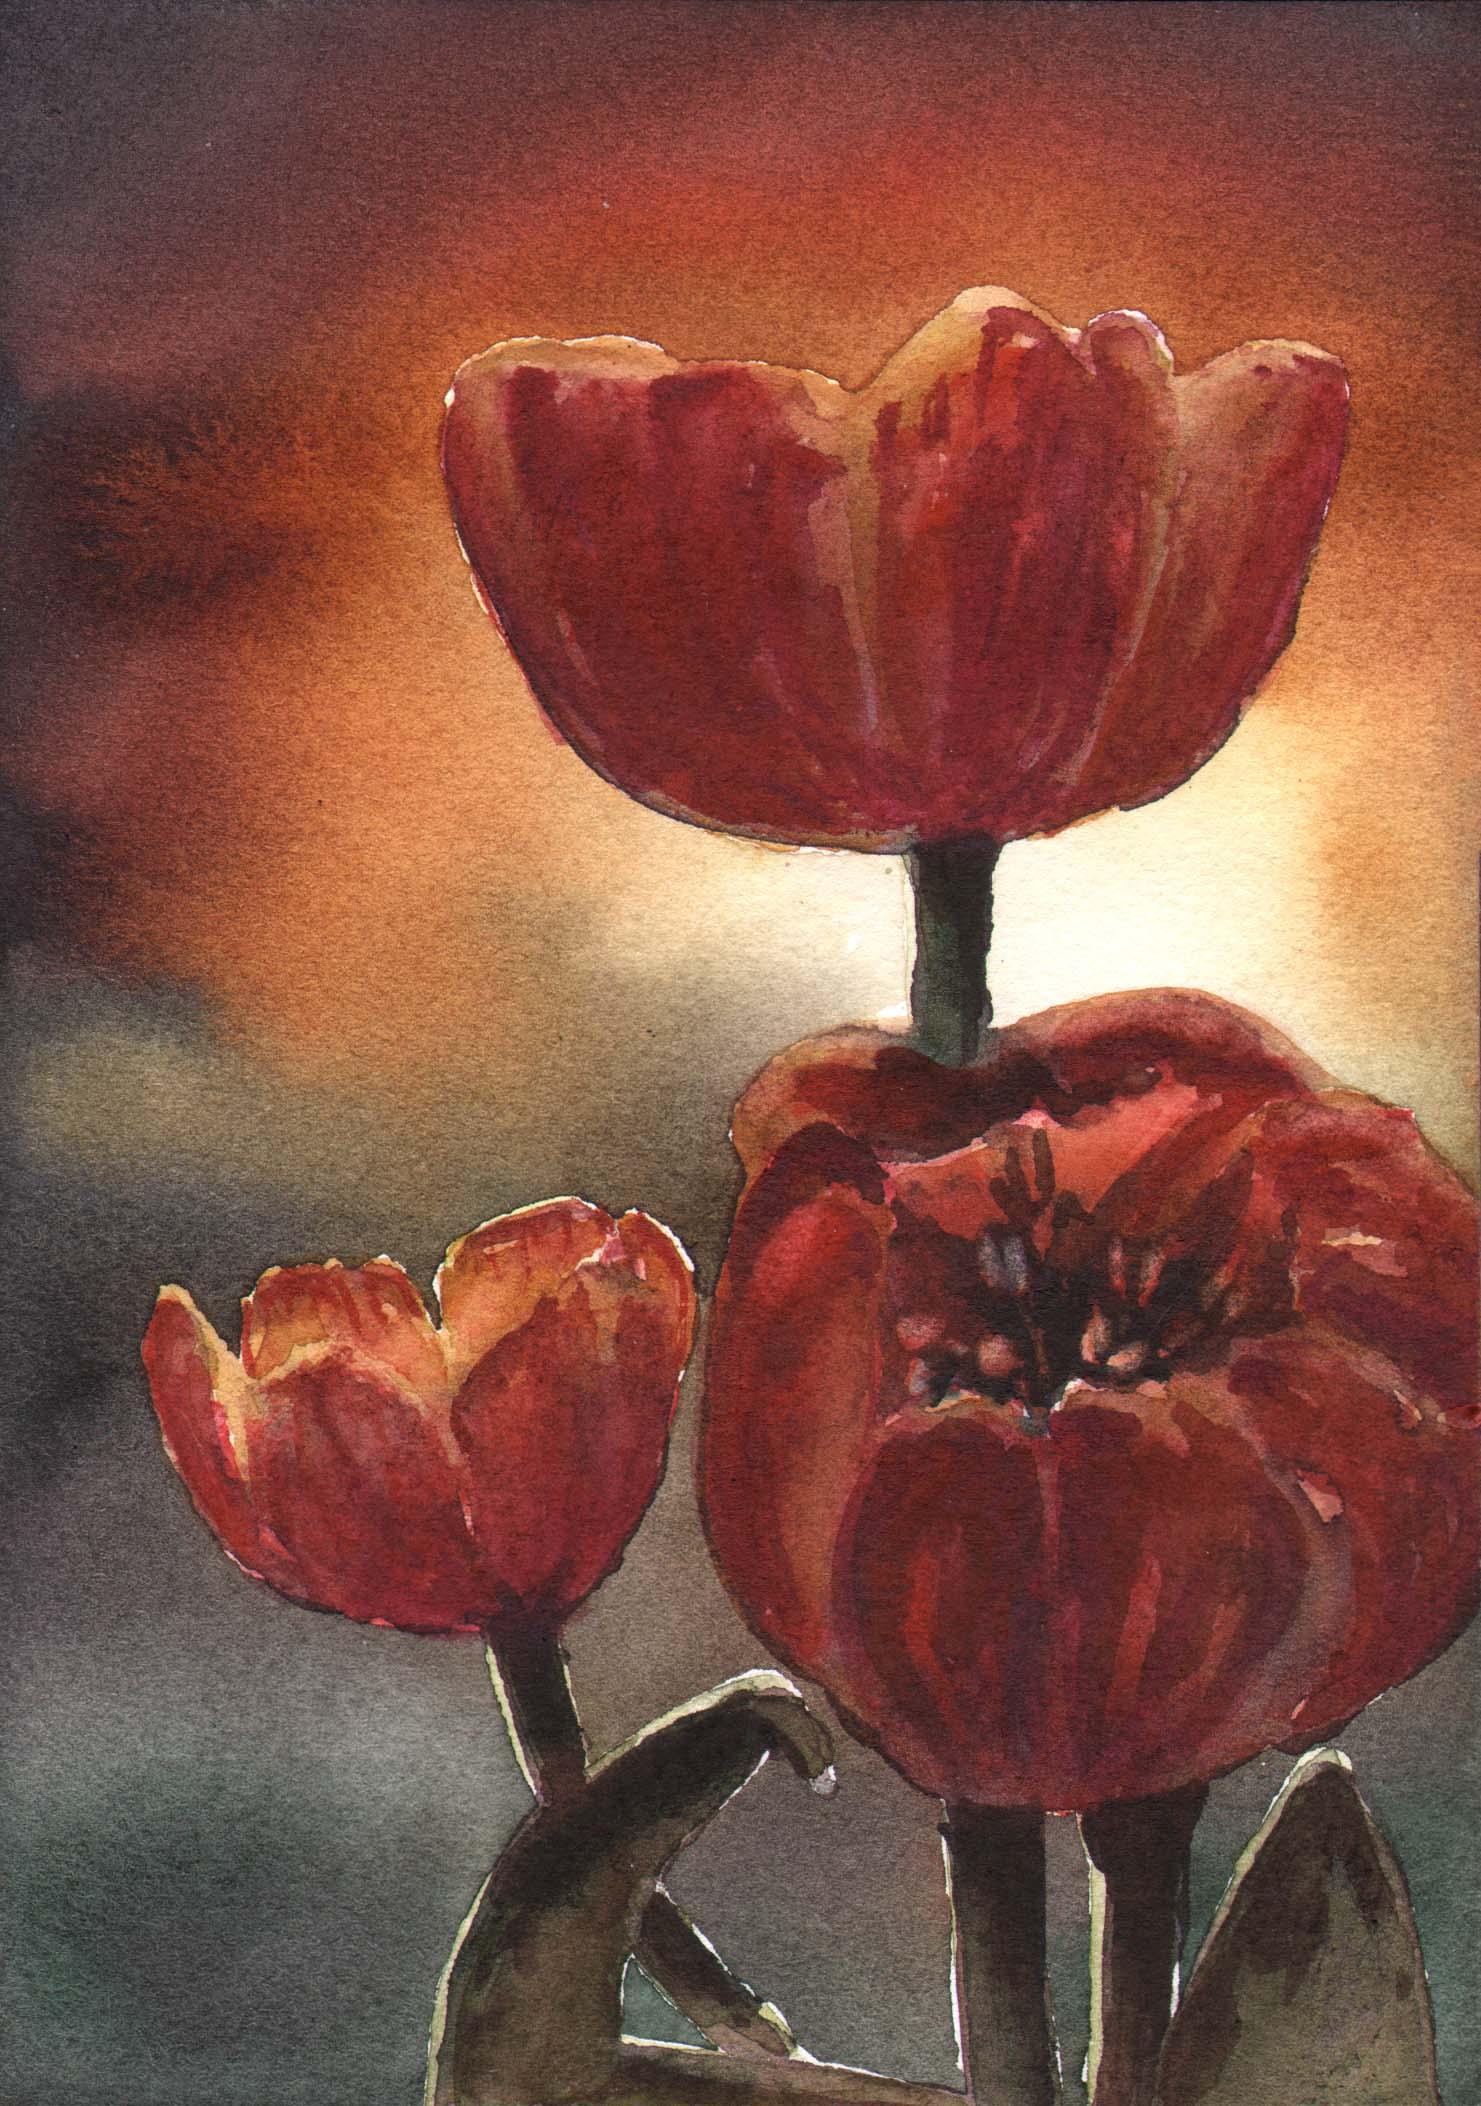
The process gave me the room to explore very different ideas for background options and I think I ended up with a choice that is uniquely my own!
Thanks again for watching the class, I hope this process helps you in your art practice as much as I've seen it help me!
-Jill