Here's a closer look at the paper illustration I made in my class!
Although working under lights and cameras was a very new thing for me, I loved piecing this illustration together - the pressure was quite good for me as it didn't allow for my perfectionist tendencies to creep out! 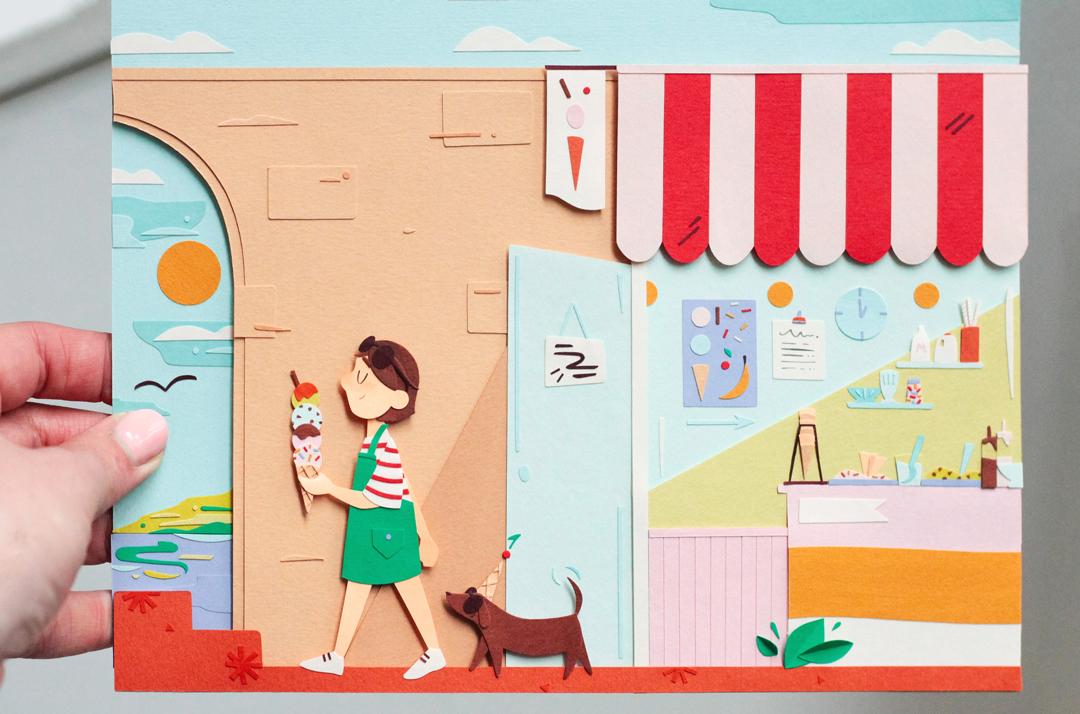
I added a few extra details in my spare time after the filming, mostly small details just to bring it to life a bit more. If I were to change one thing about this image I would probably create a greater contrast between the colour of the girl's face and the wall behind... it's okay when the shadow hits the right spot but it could do with being a bit more contrasted. But there's always something!
Here's the sketch I started with to show you the comparison:
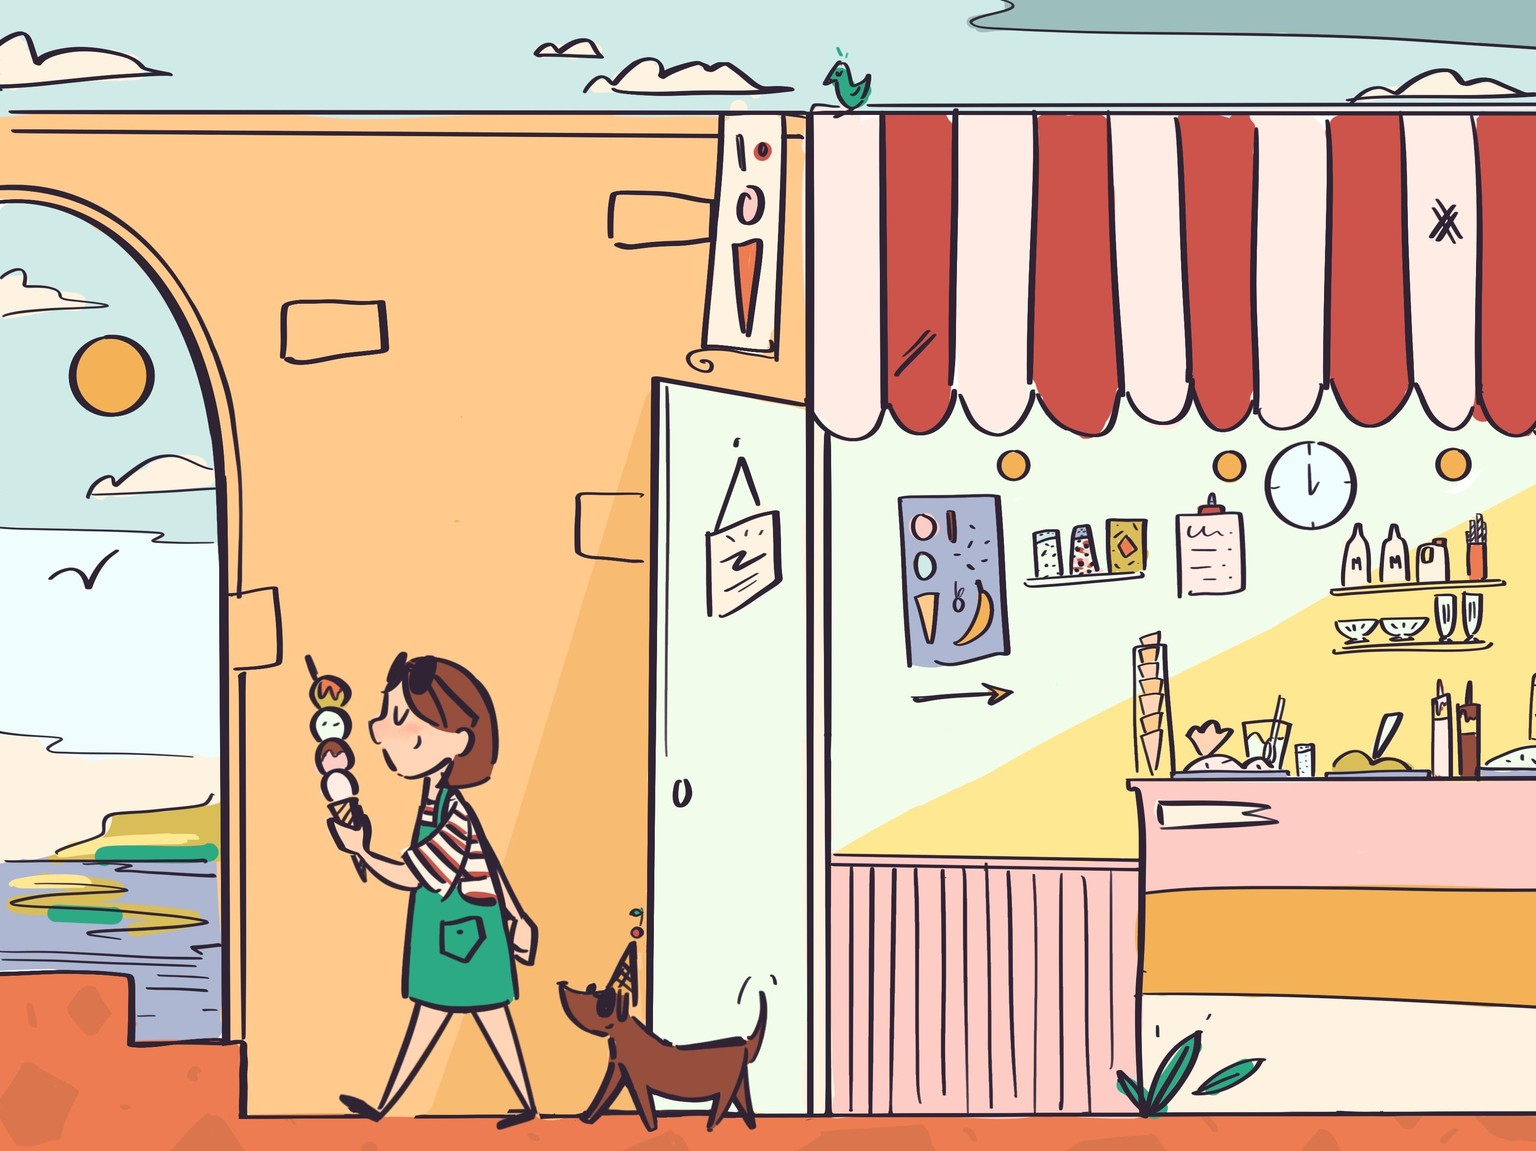
Remember not to get too bogged down in the sketch - you don't have to stick to it completely, it's just a guide. Trust your eyes and creative intuition and make what feels right. 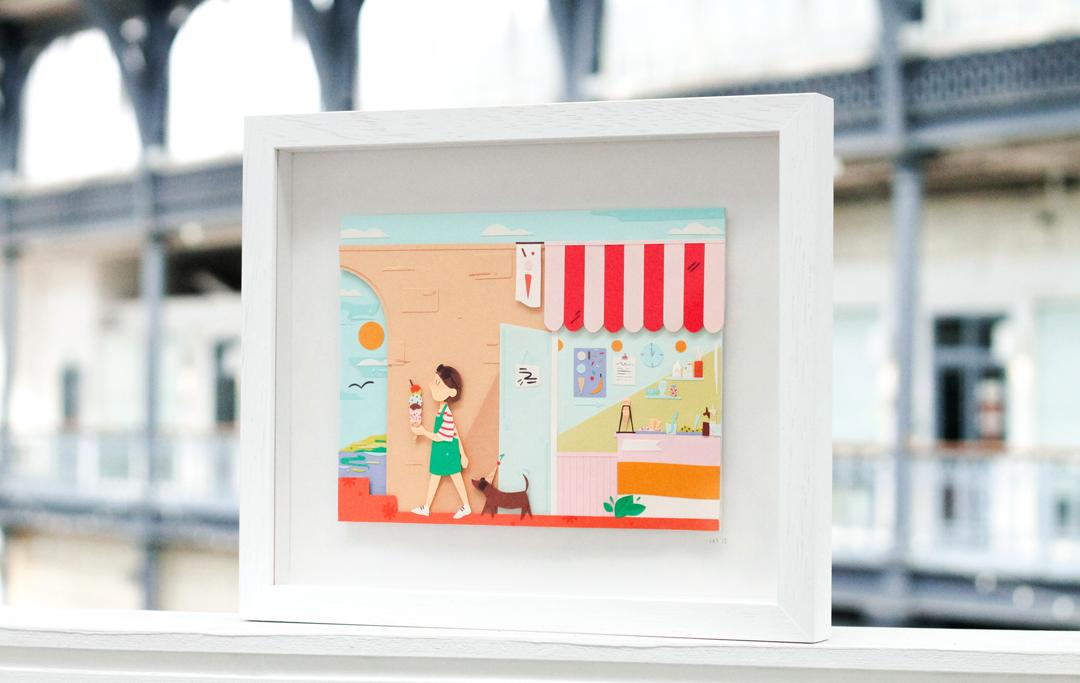
And here's the final image in its frame. I used some of those foam sticky pads to attach it to the back, so there's a nice level of depth and shadow.
I so excited to see what you come up with after watching this! You can find all the tools you'll need in the description or on my website here. I'll keep an eye on the comments so do get in touch if you have any questions, or you can find me on Instagram: @lauraksayers - do say hello!