Chibi Portrait with Acrylic Markers
I really wanted to learn how to draw chibis so that I could include them in journal entries, but I couldn't get the head shapes right. They always seemed to be so... lumpy? So I wanted to find a course that would teach me better proportions. I feel like my chibis have really improved through this course, but it is important to note that I do not have a tablet on which to draw, so I just used paper, pencil, pen, and acrylic markers (Arrtx 120 Anime set). I pencil sketched the green chibi (head on) first, but colored the pink one (angled) first, so I put the pink one first in the images below.

Fig. 1 Pink Chibi
In drawing this chibi, I knew I wanted this character to have pink and purple cloud-like hair and brows, so I wanted to leave the space to attempt a little blending. At this point, I wasn't planning on blending hair colors on the other chibi. Through coloring this one, though, I learned that it is not easy blending these markers! I needed more than two shades of pink, so I had to figure out what shades to shift in once I'd started working on the colors (see color list in Fig. 3). I still wish I'd used one more shade of pink before that lightest color at the end, and obviously I gave up on having purple in the hair, but I am broadly happy with how it turned out. I also didn't start keeping track of which colors I was using until after I used the wrong shade of pink to fill in a blank spot I'd missed (it wasn't even close), so there may be some colors missing from that list, like the gold of the necklace, but most of them are there.
Another thing I wish I'd done better would be the outline at the bottom right of her jaw, right under the ear. It's just not smooth. I also feel like I don't really understand where to place shadow and light yet, so I may take a course on that next. As for the light halo that was supposed to go on the hair, though, I did test that on a smaller sketch of the hair and felt entirely unprepared for it, since I couldn't just "undo" a mistake with these markers like I would be able to in Procreate. Out of fear of messing up my work so far, I decided not to add the halos on the hair. I had to decide that it was time to stop and let the drawing be finished so that I could move on and finish the green chibi.
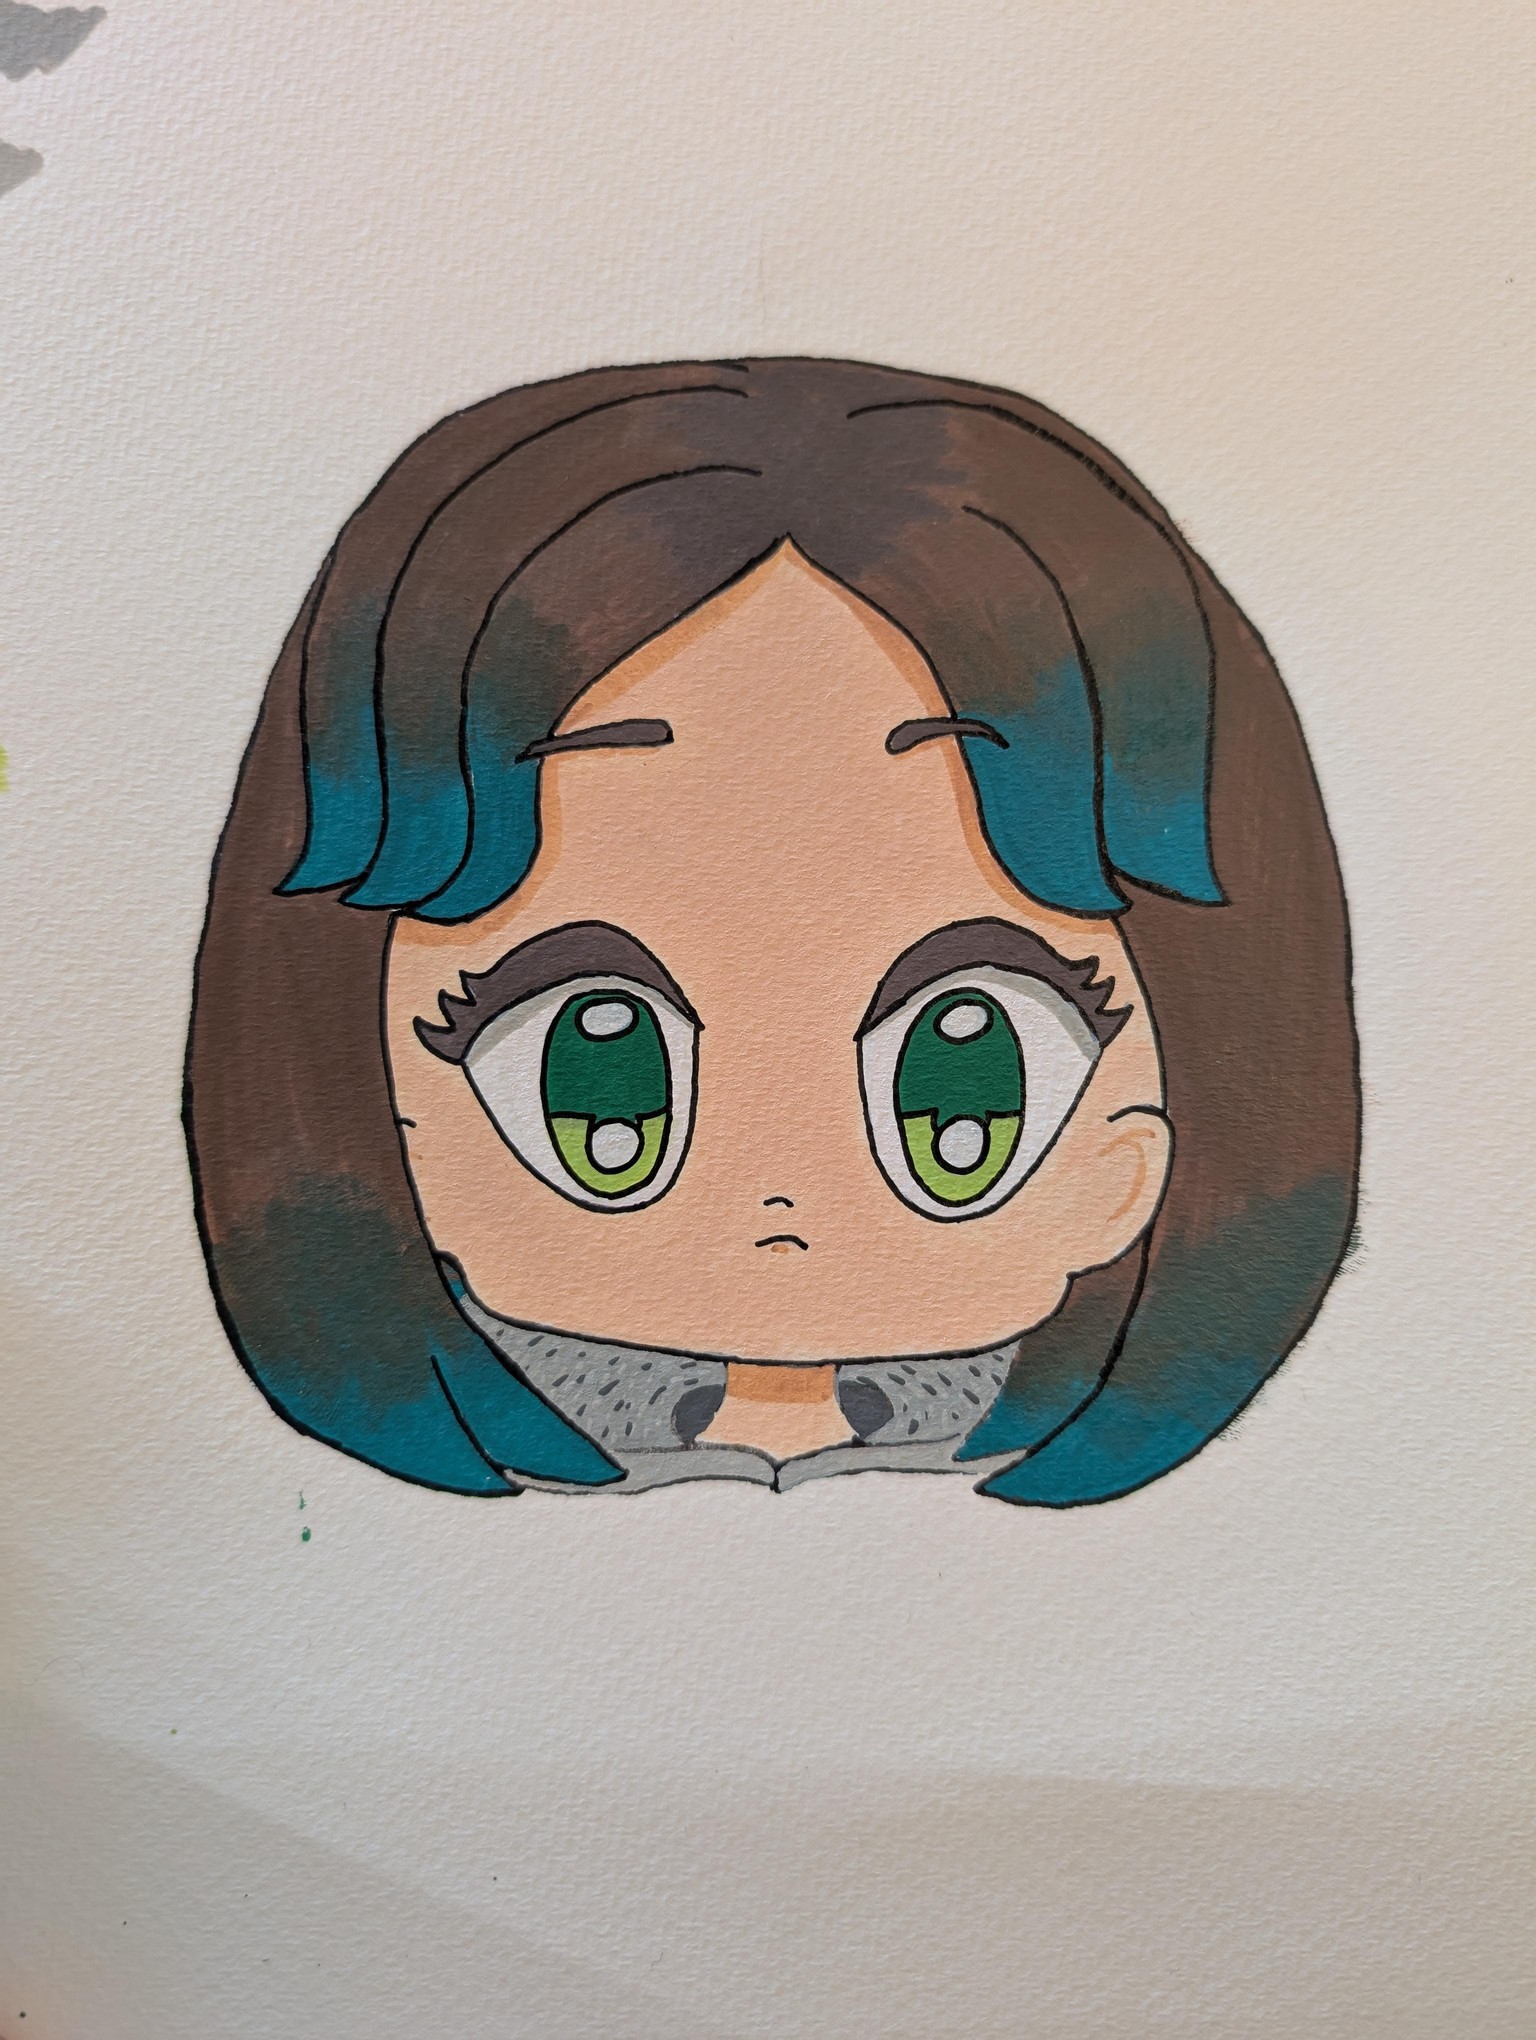
Fig. 2 Green Chibi
While I sketched this chibi first, I colored it second. Like with the pink chibi, I found that I didn't have the colors I would need to create exactly what I wanted to. For example, this green chibi was supposed to have almost black hair with dark green coming in at 3/4 of its length, and the eyes were supposed to be green/yellow. But when I used my dark green marker I's planned to use... it looked more blue lol. So plans changed. I also originally had the eyes for both chibis drawn more like the example, but I decided to change the style to match my current favorite, which I learned from practicing drawing characters in the reboot of Ranma 1/2. I really like the simple structure and contrast within so few colors. In order to change the eyes, though, I had to do SEVERAL layers of acrylic marker (especially the white) to cover over the already pen-traced lines of the original sketch. I think it was worth it. I'm pretty happy with how this one turned out, too. :)
For reference, here are those same images, but with the colors I wound up using.
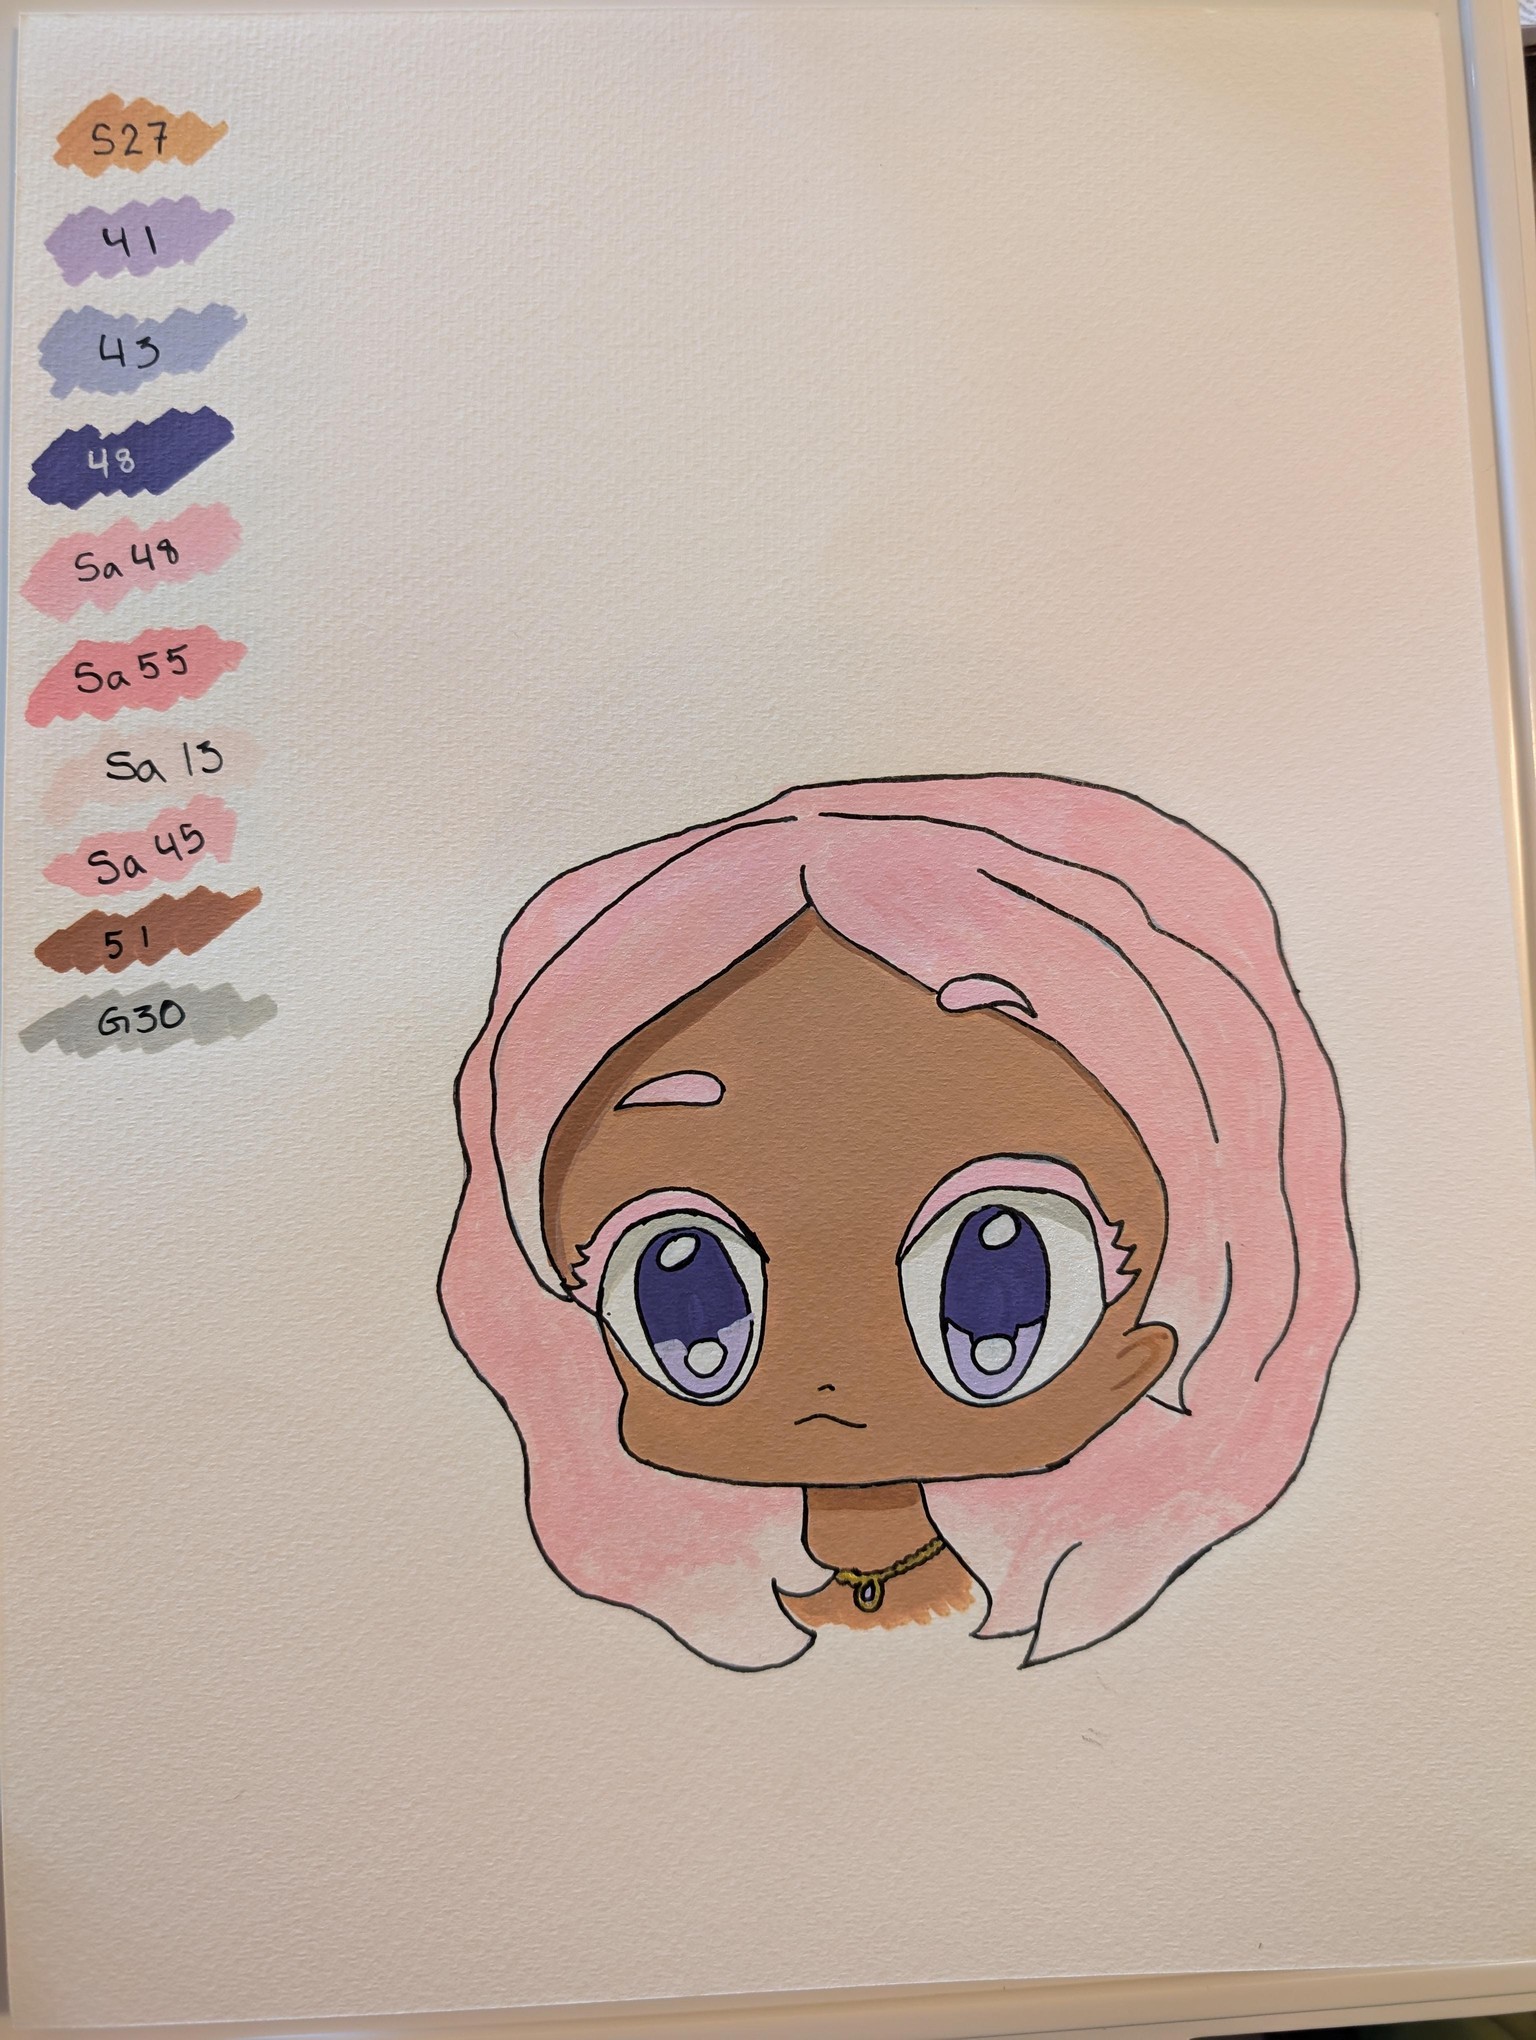
Fig. 3 Pink Chibi with Color Labels
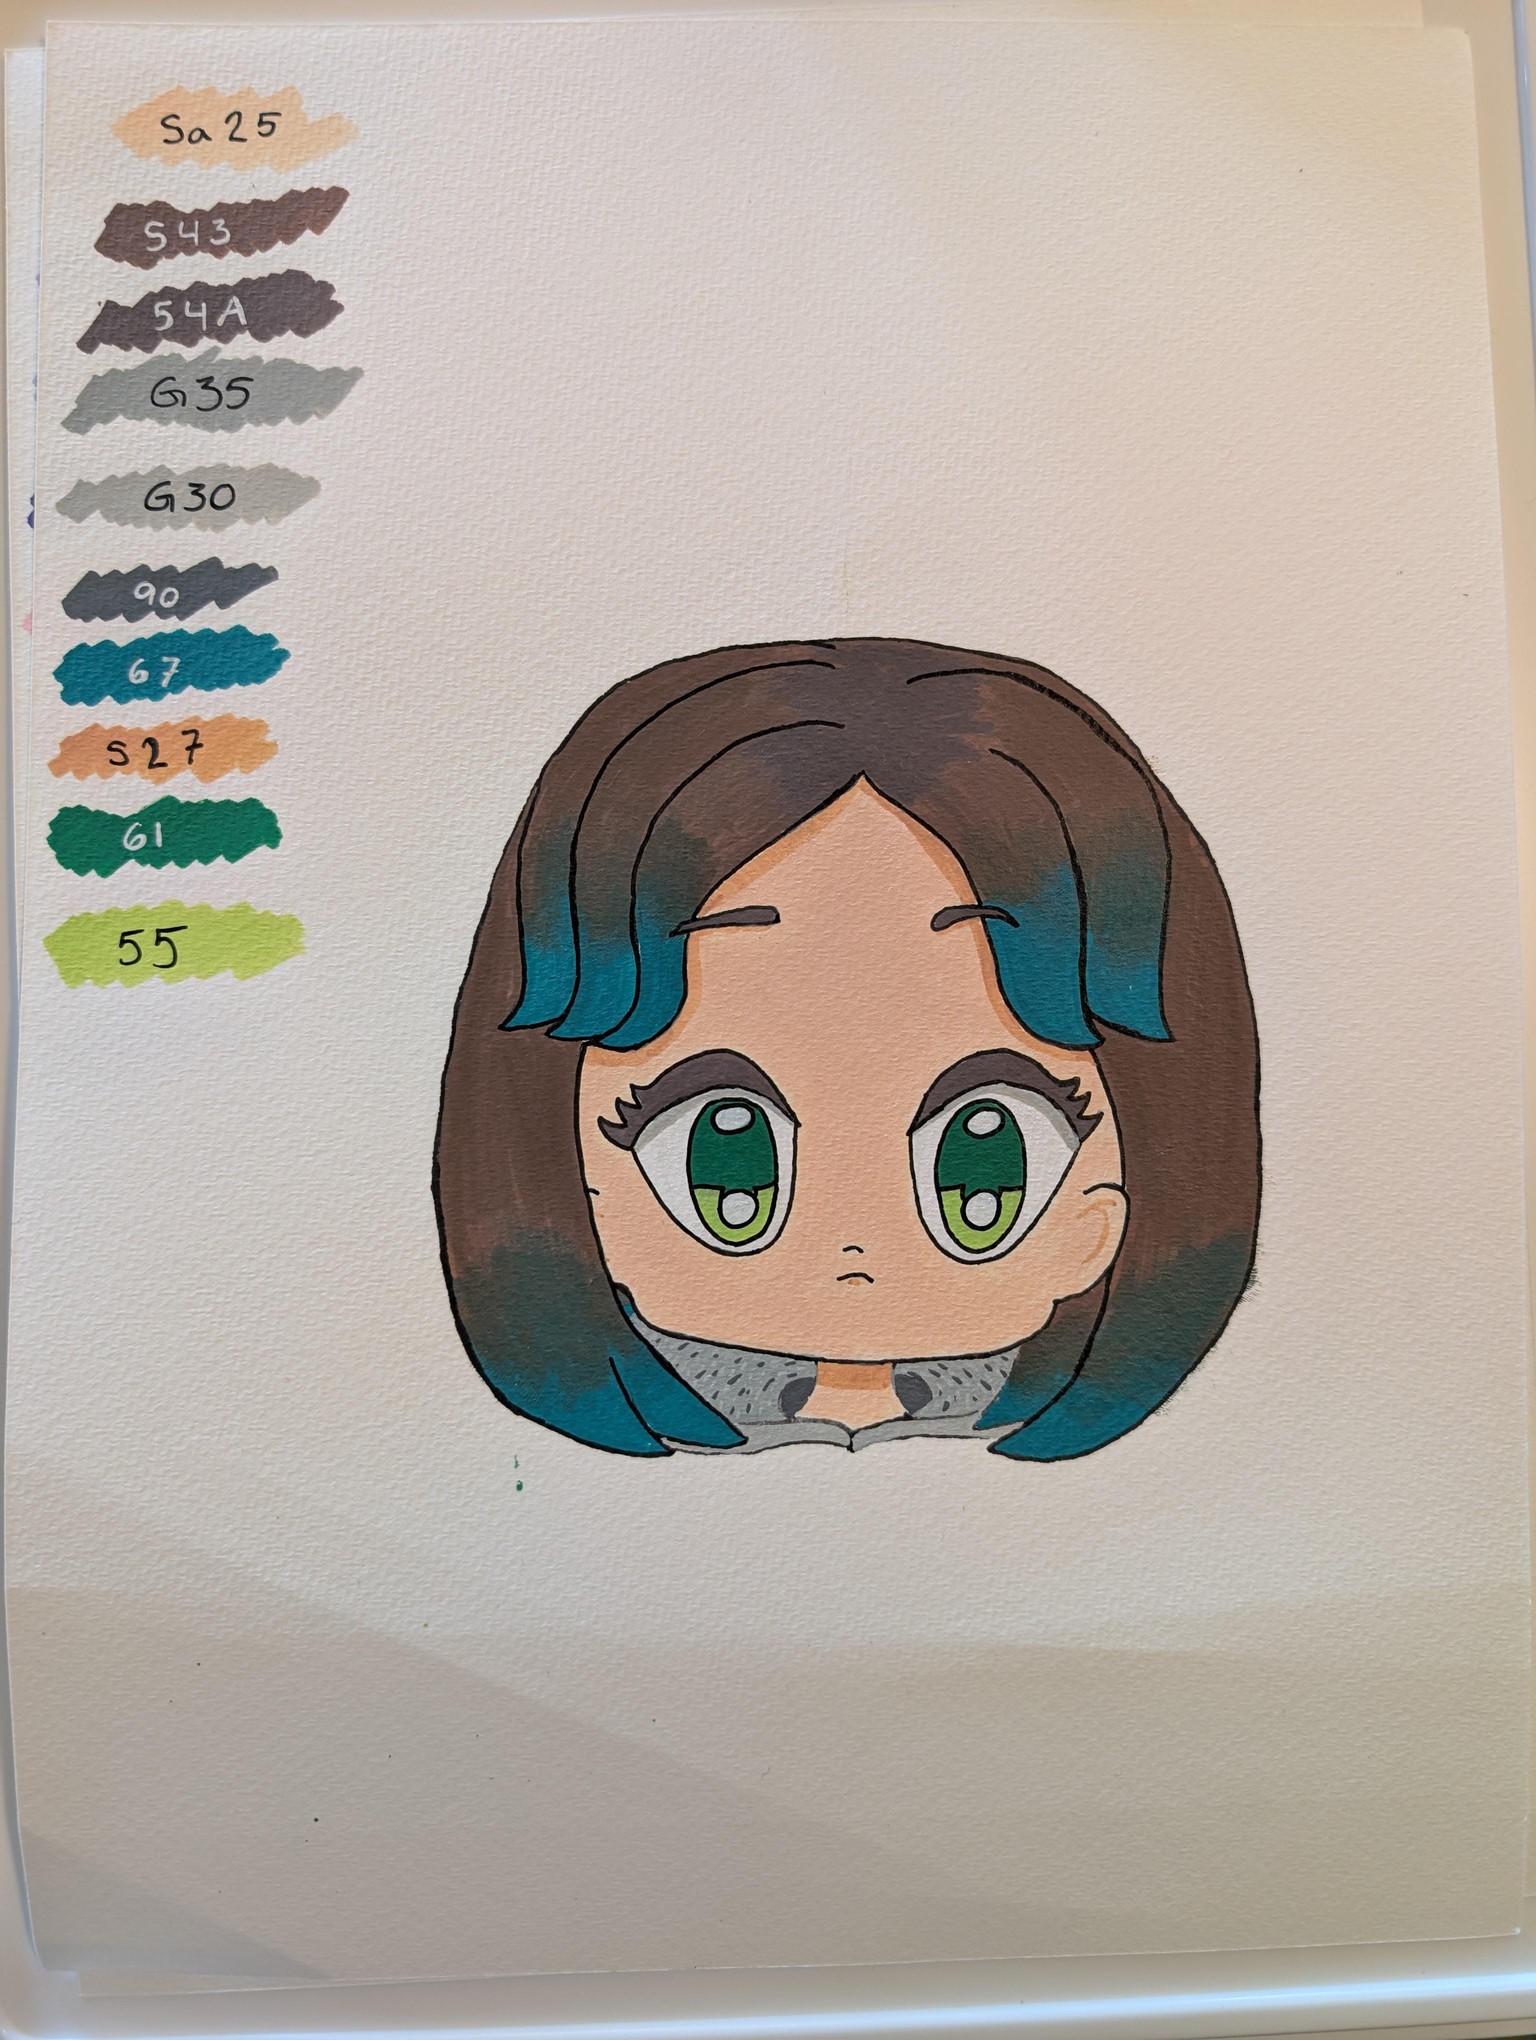
Fig. 4 Green Chibi with Color Labels