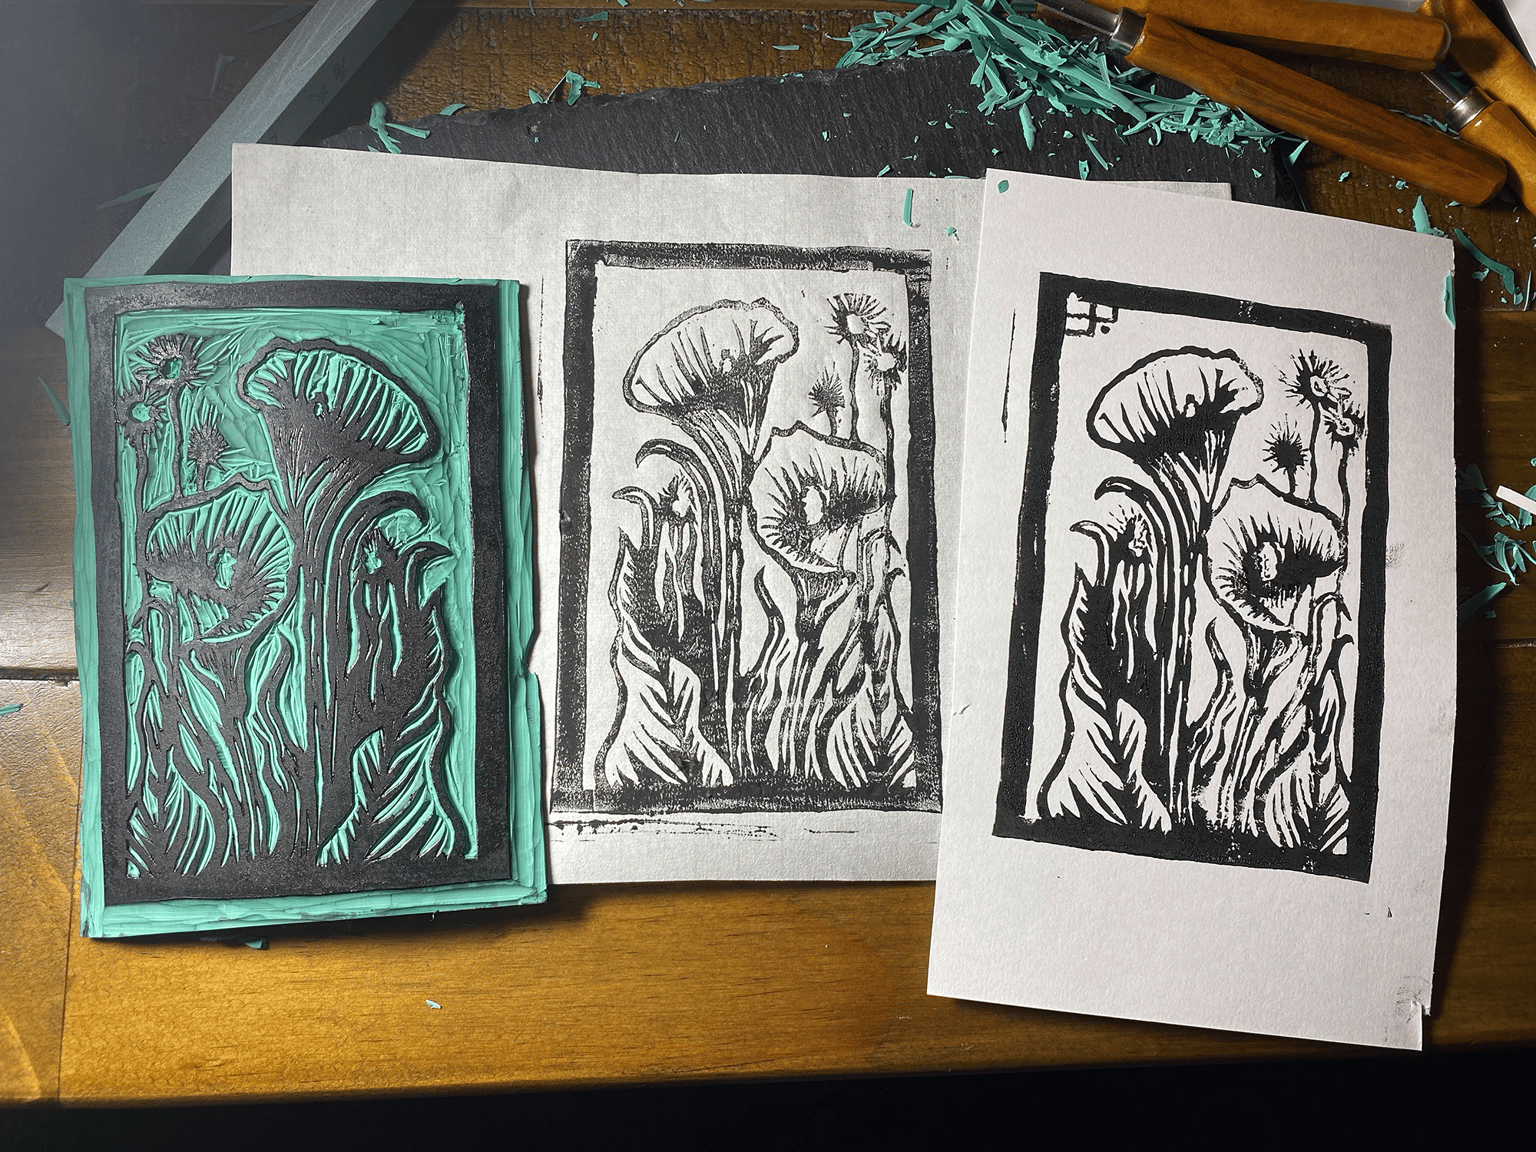
Arum Lily Linoprint
My first attempt at Linocut printing after receiving a kit for Christmas. I found the whole process to be very therapeutic and I'll definitely be experimenting more :)
STEP 1:
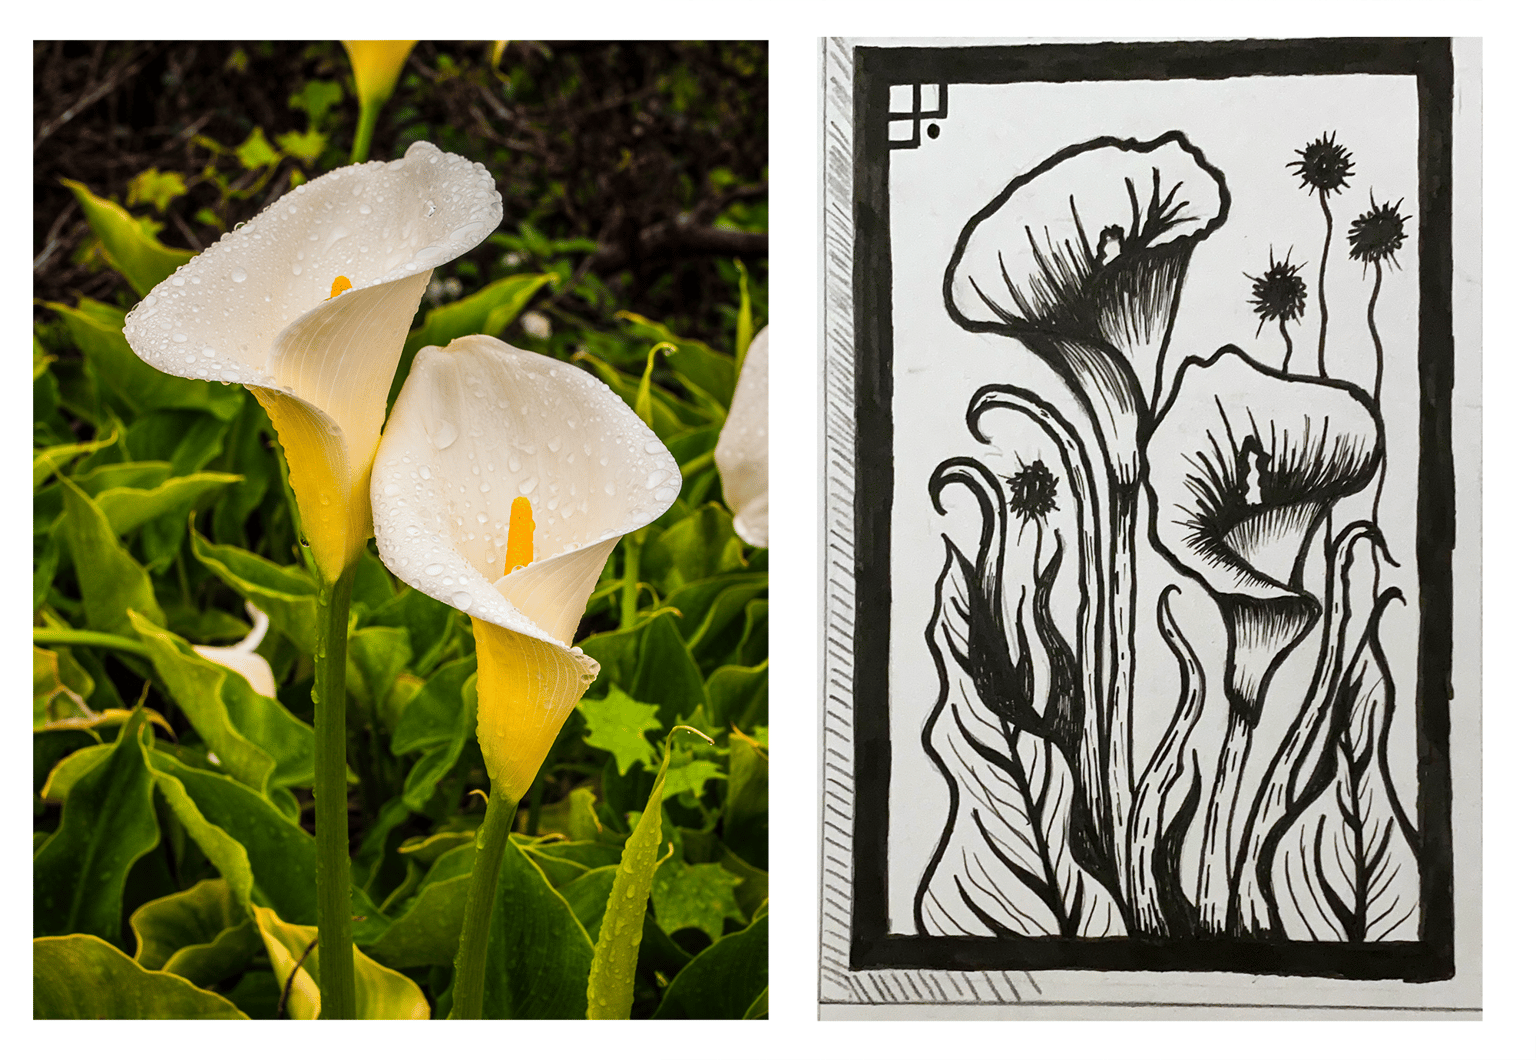
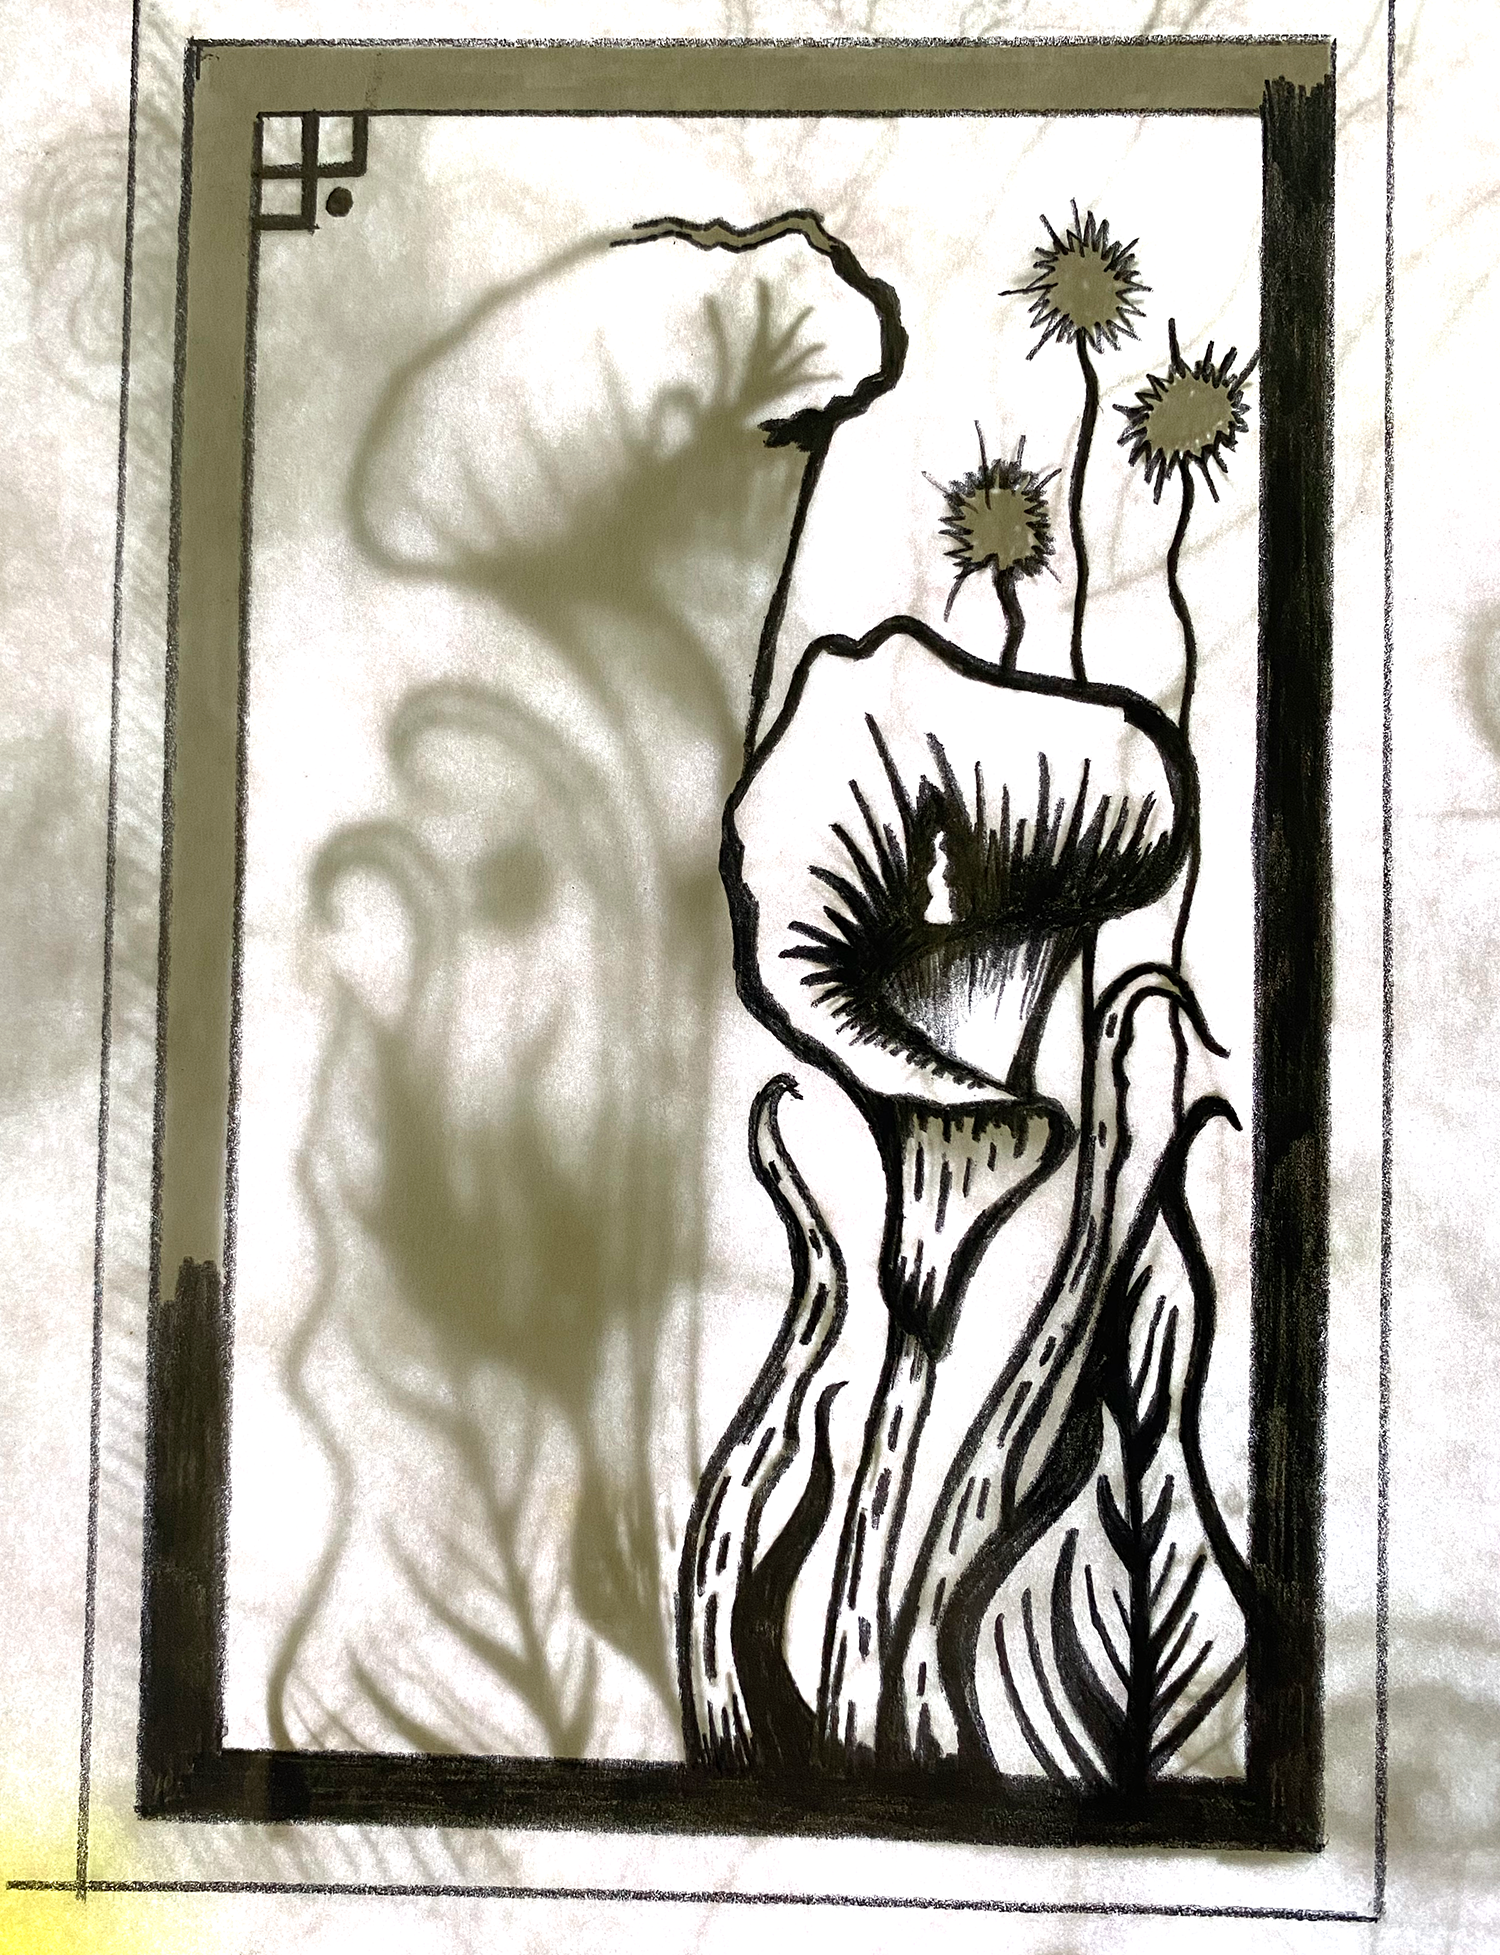
I chose the Arum Lily as my inspiration as I really love how elegant they are. I sketched my initial design onto paper using fine lines and markers.
STEP 2:
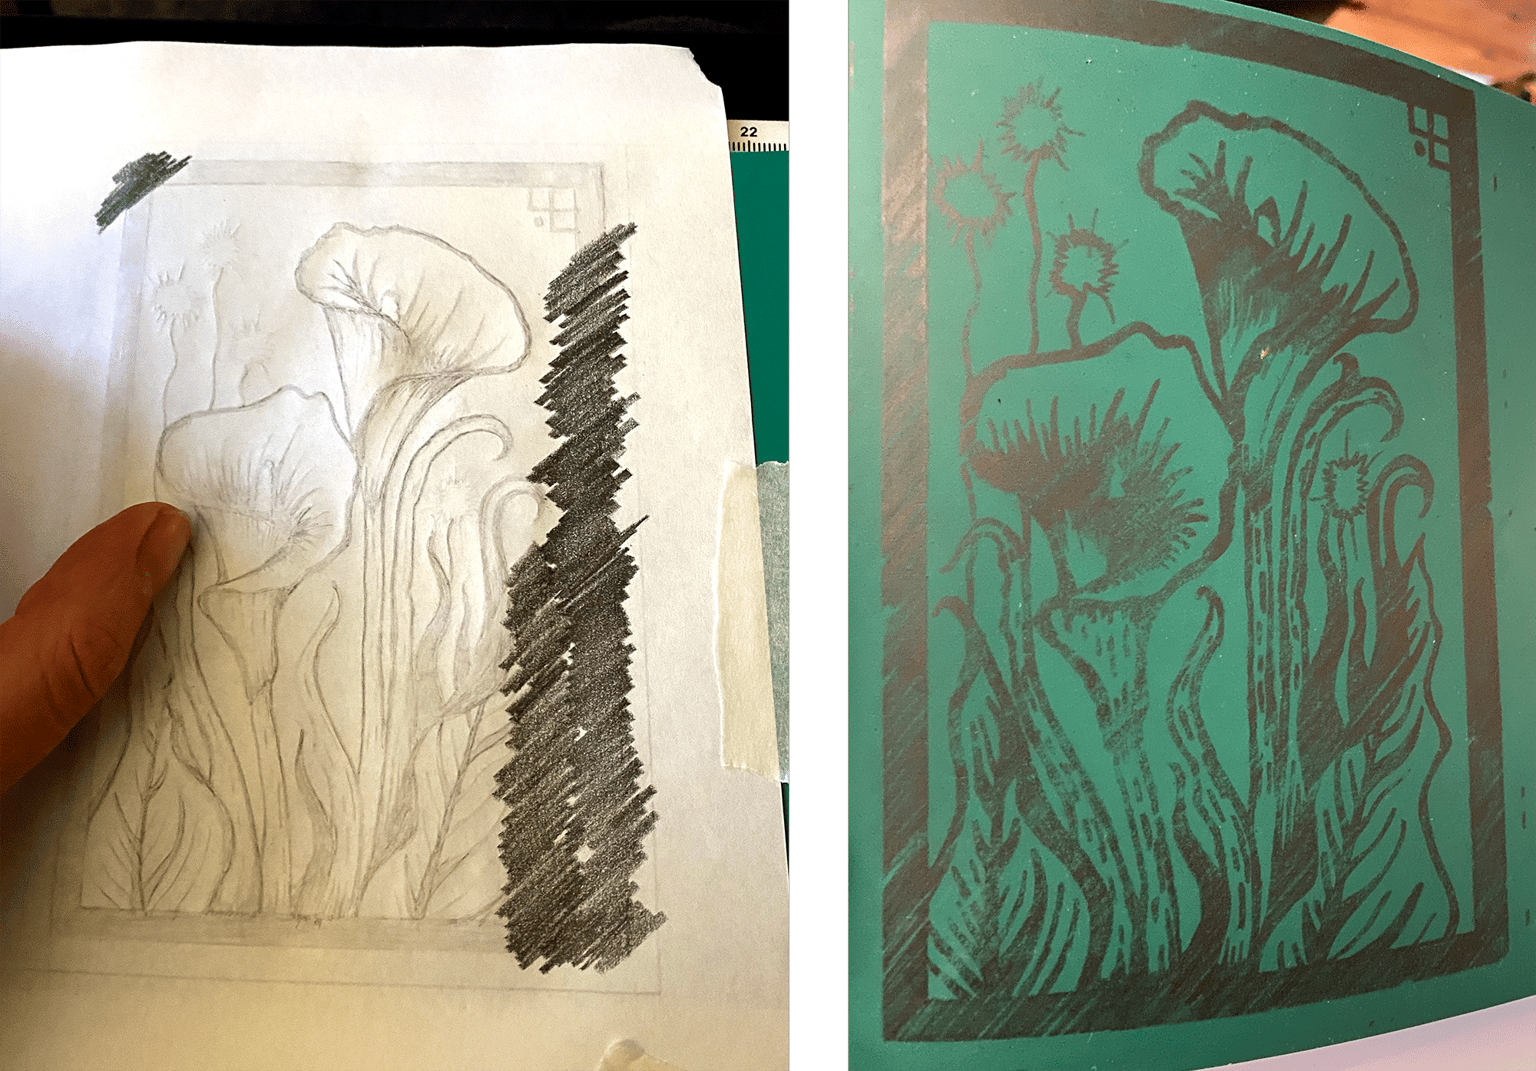
I then traced the sketch using soft pencil.
STEP 3:
I then flipped the tracing over and made a rubbing onto the Lino. This worked well however I found that the pencil smudged a lot after working on the piece for a while. I'd be interested to investigate other transfer methods.
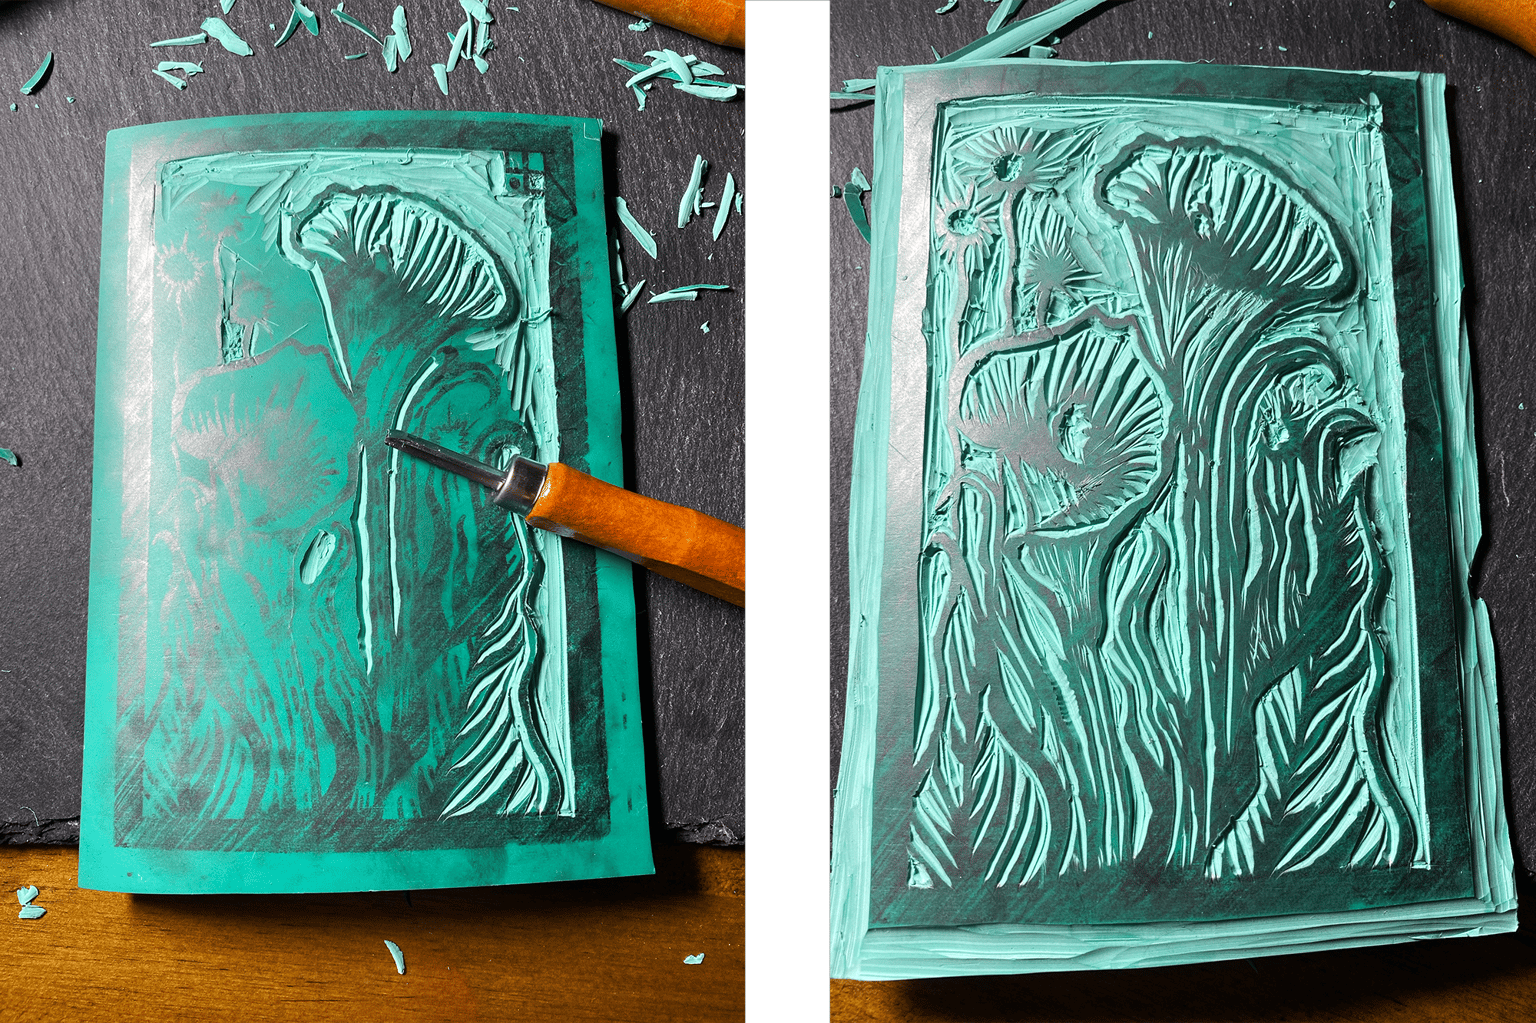
STEP 4:
I then began the cutting process. This was when realised my image was a little too detailed for a beginner haha
I managed to get the hang of cutting but I think I will buy a smaller cutter as it was really difficult to cut small details away like the squares at the top right. I ended up just removing them as I just couldn't work out how to cut away small squares. More practice and research is needed.
STEP 5:
I printed onto the very thin tissue like paper I received with the kit first. I tore it a couple of times whilst rubbing the back of the paper onto the Linocut but I liked the distressed print effect I got. I then tried printing onto card and I got a more solid result.
Overall I'm really happy with my first go and I really enjoyed the process.
Thanks for the class and inspiration Emil :)