And I thought I knew how to do a flat wash!
It's interesting, as I wrestled with this project, to realize how nothing is simple.
For starters, in all my watercolor courses, I've never seen this method of doing a flat wash. But, after a dizzying number of attempts, I realized the lesson is not about doing flat washes but about understanding water control. That's not to say I'm there yet, but at least I have an idea of what to do next.
Attempt #1
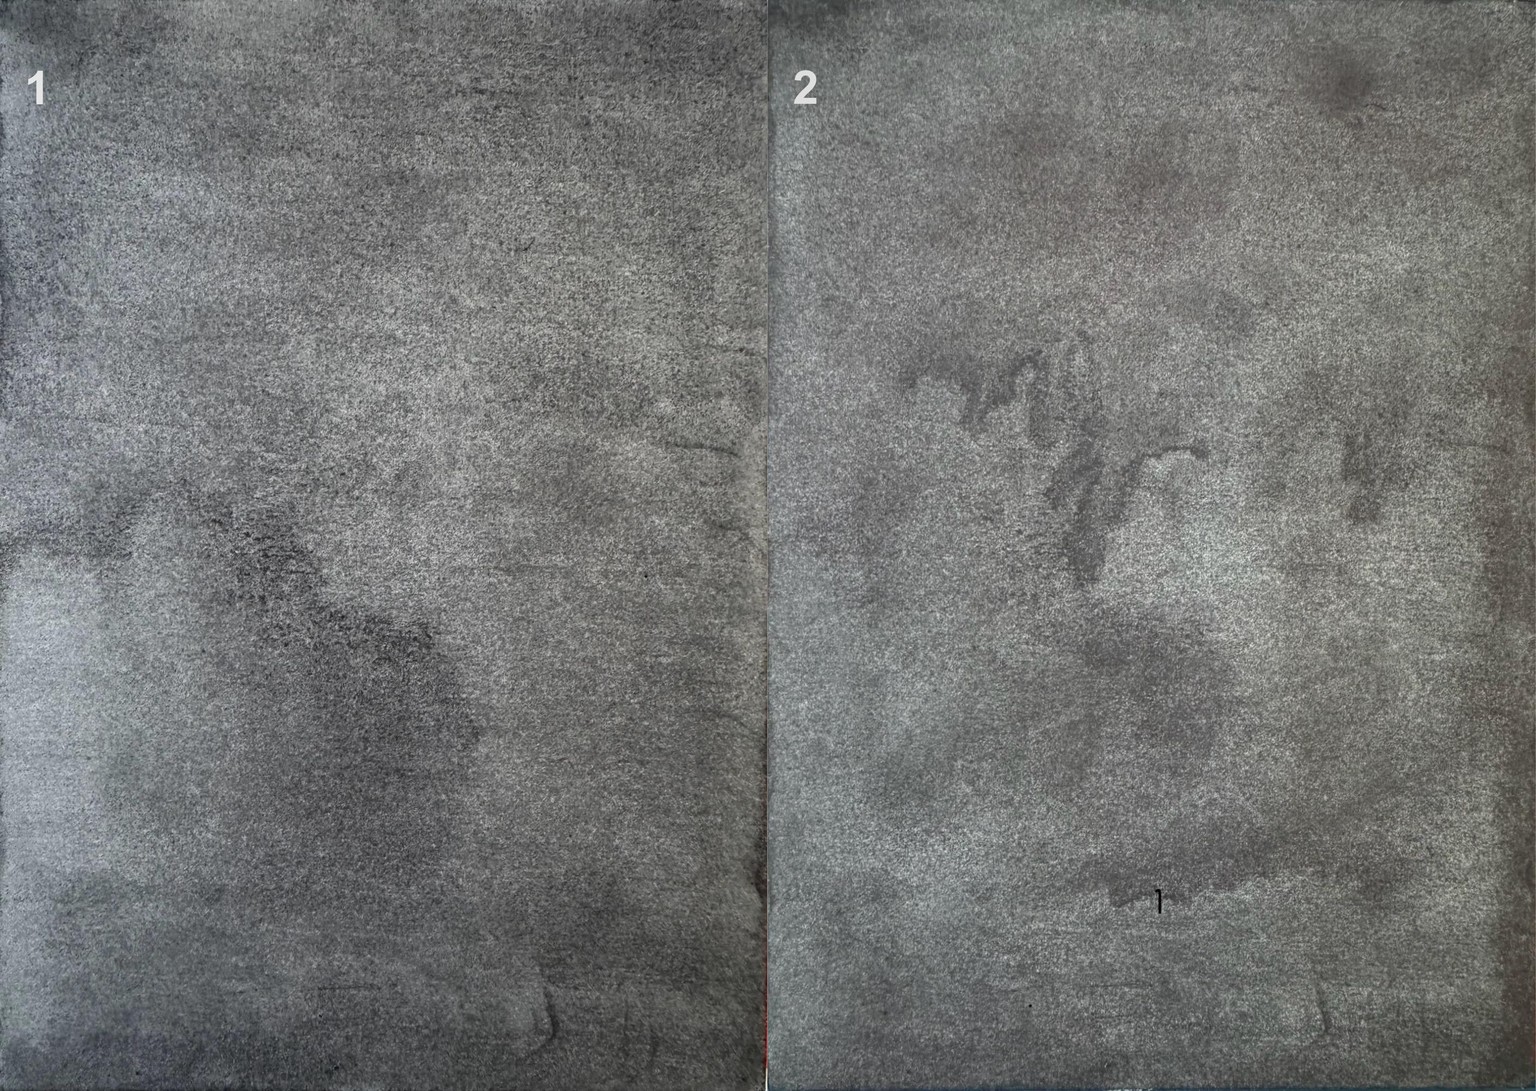
#1 is the first wash. (Say what?) For some reason. I figured I'd add another layer to even out the wash. Well, you can see how that turned out to be a disaster.
Attempt #2
I thought #1 was too light (and uneven), so I figured, let's do another layer. (Holy guacamole!) I have NO IDEA what happened to this layer. Where did all those "fiddly bits" come from? This is NOT going well.
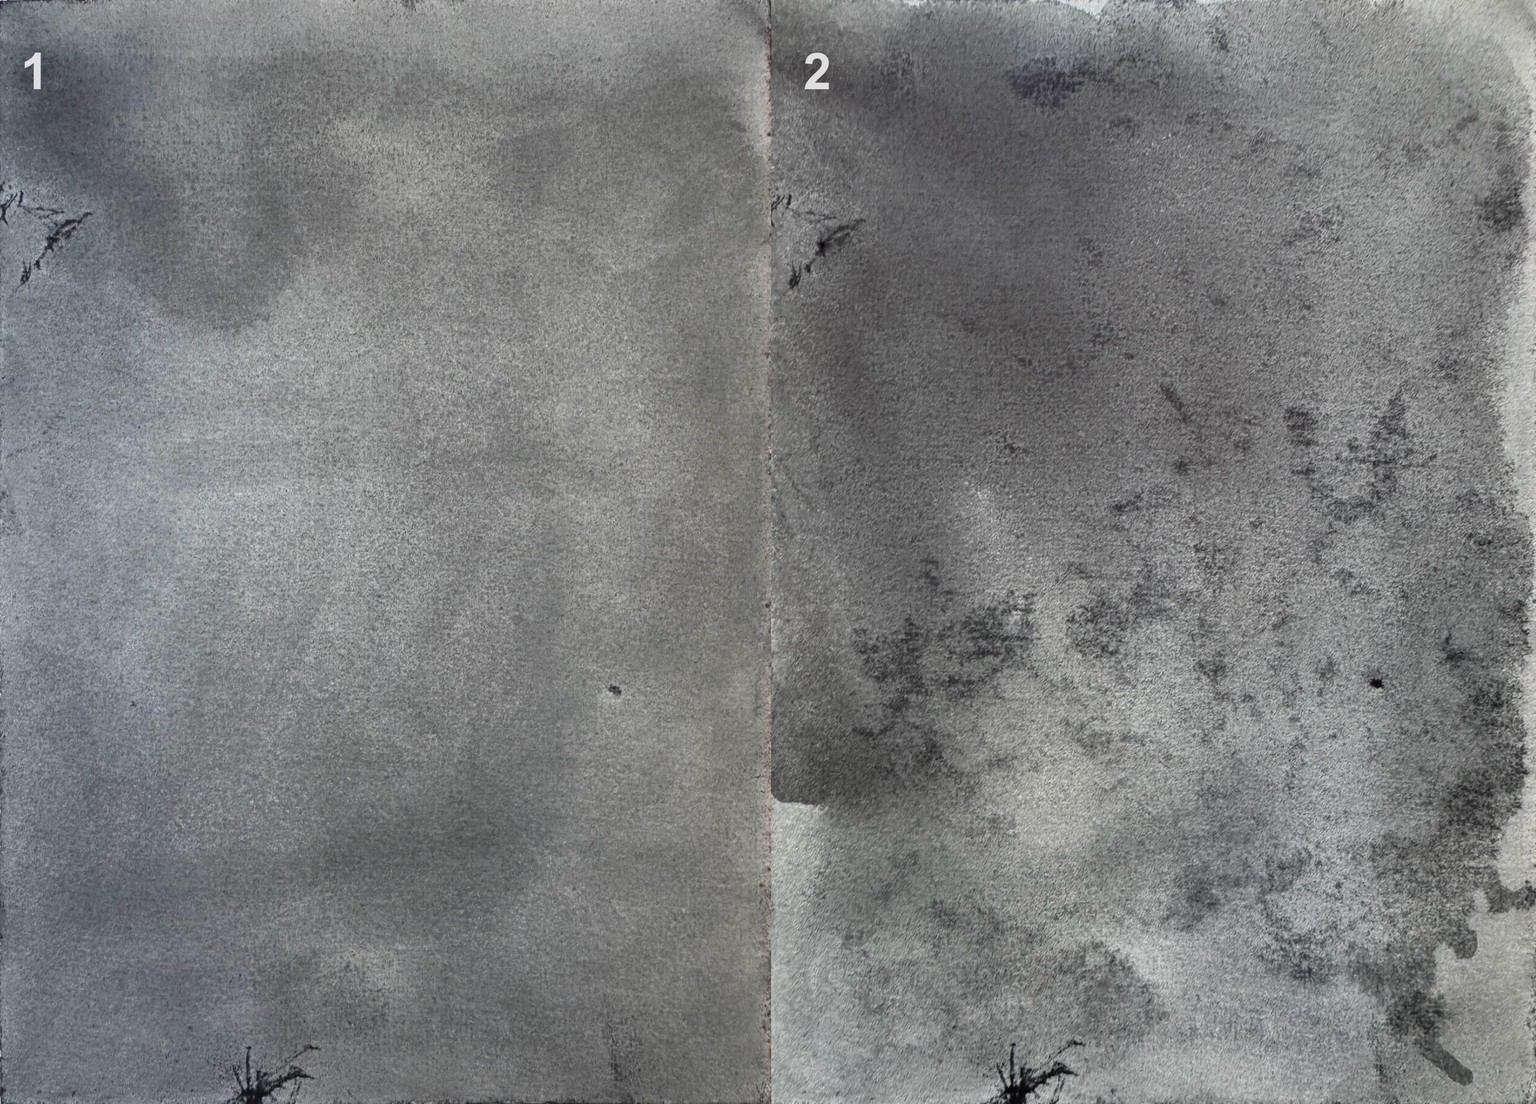
Attempt #3
 I switched to my 2" Hake Brush. I'm a BIG fan of Tony Smibert (check out his website), and he uses Hakes almost exclusively. They hold a TON of water and pigment. I used the back of a piece of Canson XL paper (Yeah, I know, wood pulp and all that, but I can't bring myself to waste paper. Besides, if I can do it on wood pulp, 100% cotton should be a breeze, no?)
Still uneven. But I did only one layer...I think! I did so many of these over the last week that I should have taken notes. Silly rabbit, I thought I'd remember what I did. Geeze Louise, I can't remember where I put my car keys, what made me think I could do that? But I digress...
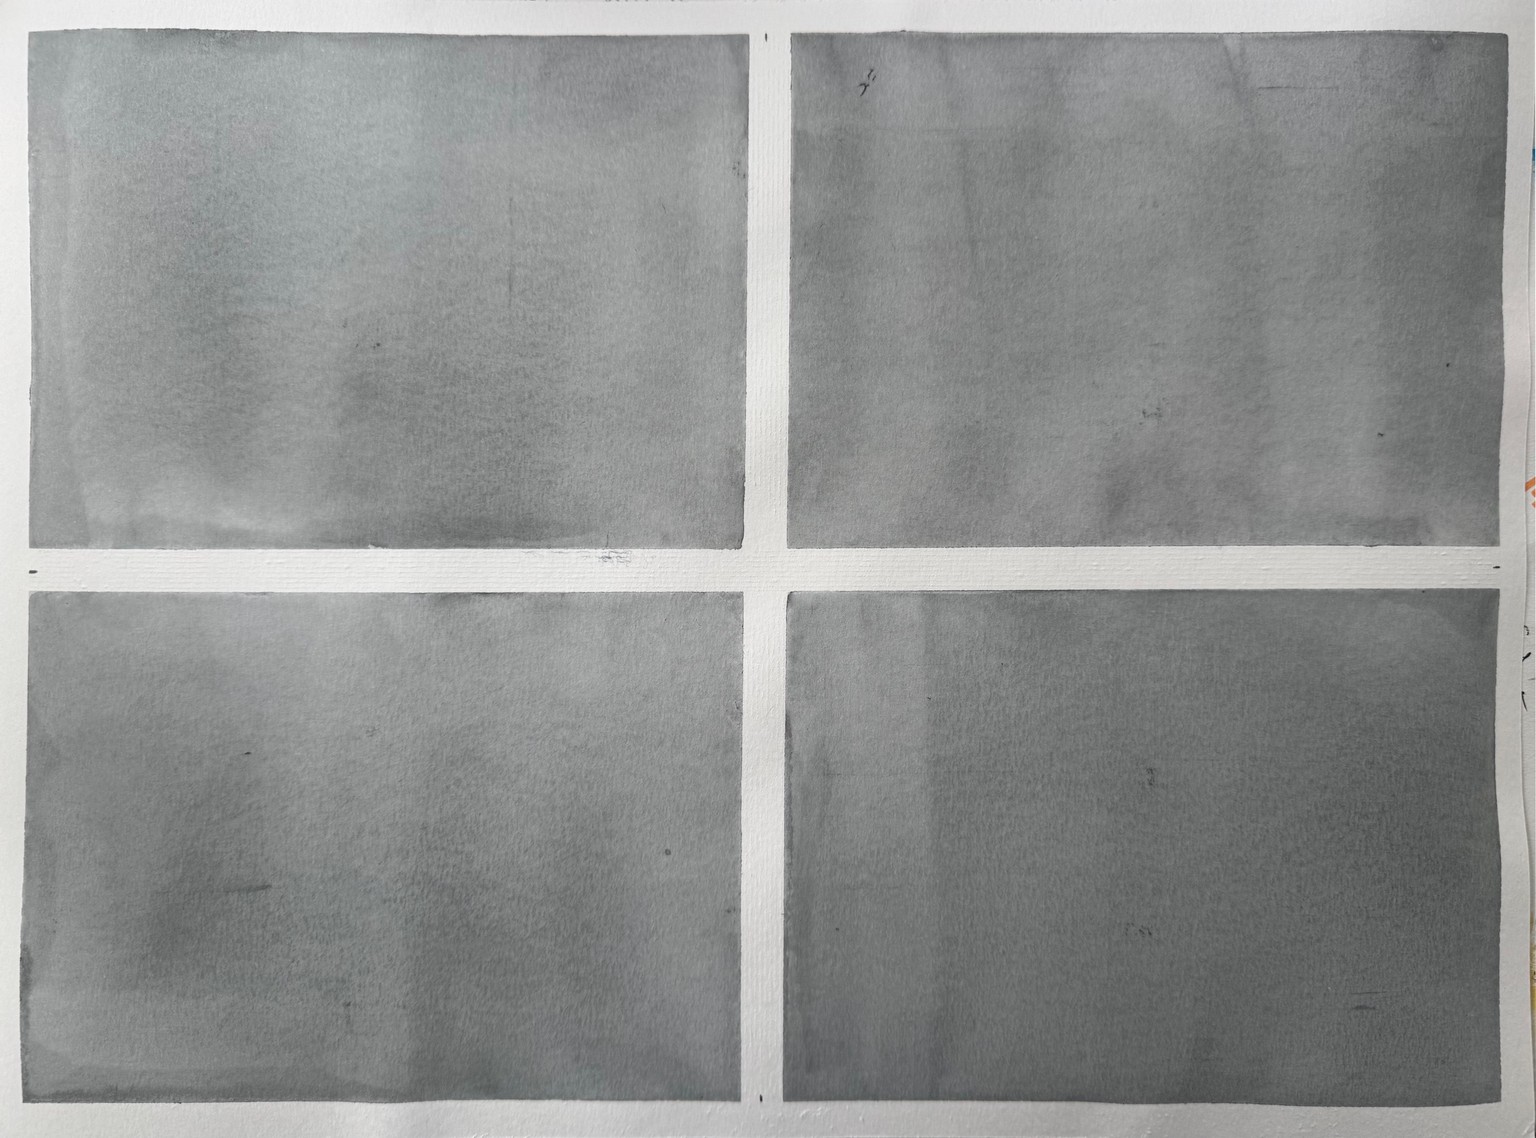
Attempt #4
Layer 1...way to light...Although I tried using more pigment as I "progressed" down the page. I'm still using the Hake. The funky lines are because I tried to avoid using tape around the edges... to separate the four segments. Then I realized I had to tape things down, but I still couldn't get the edges to line up. Nothing is easy...at least not the way I do things!
Layer 2
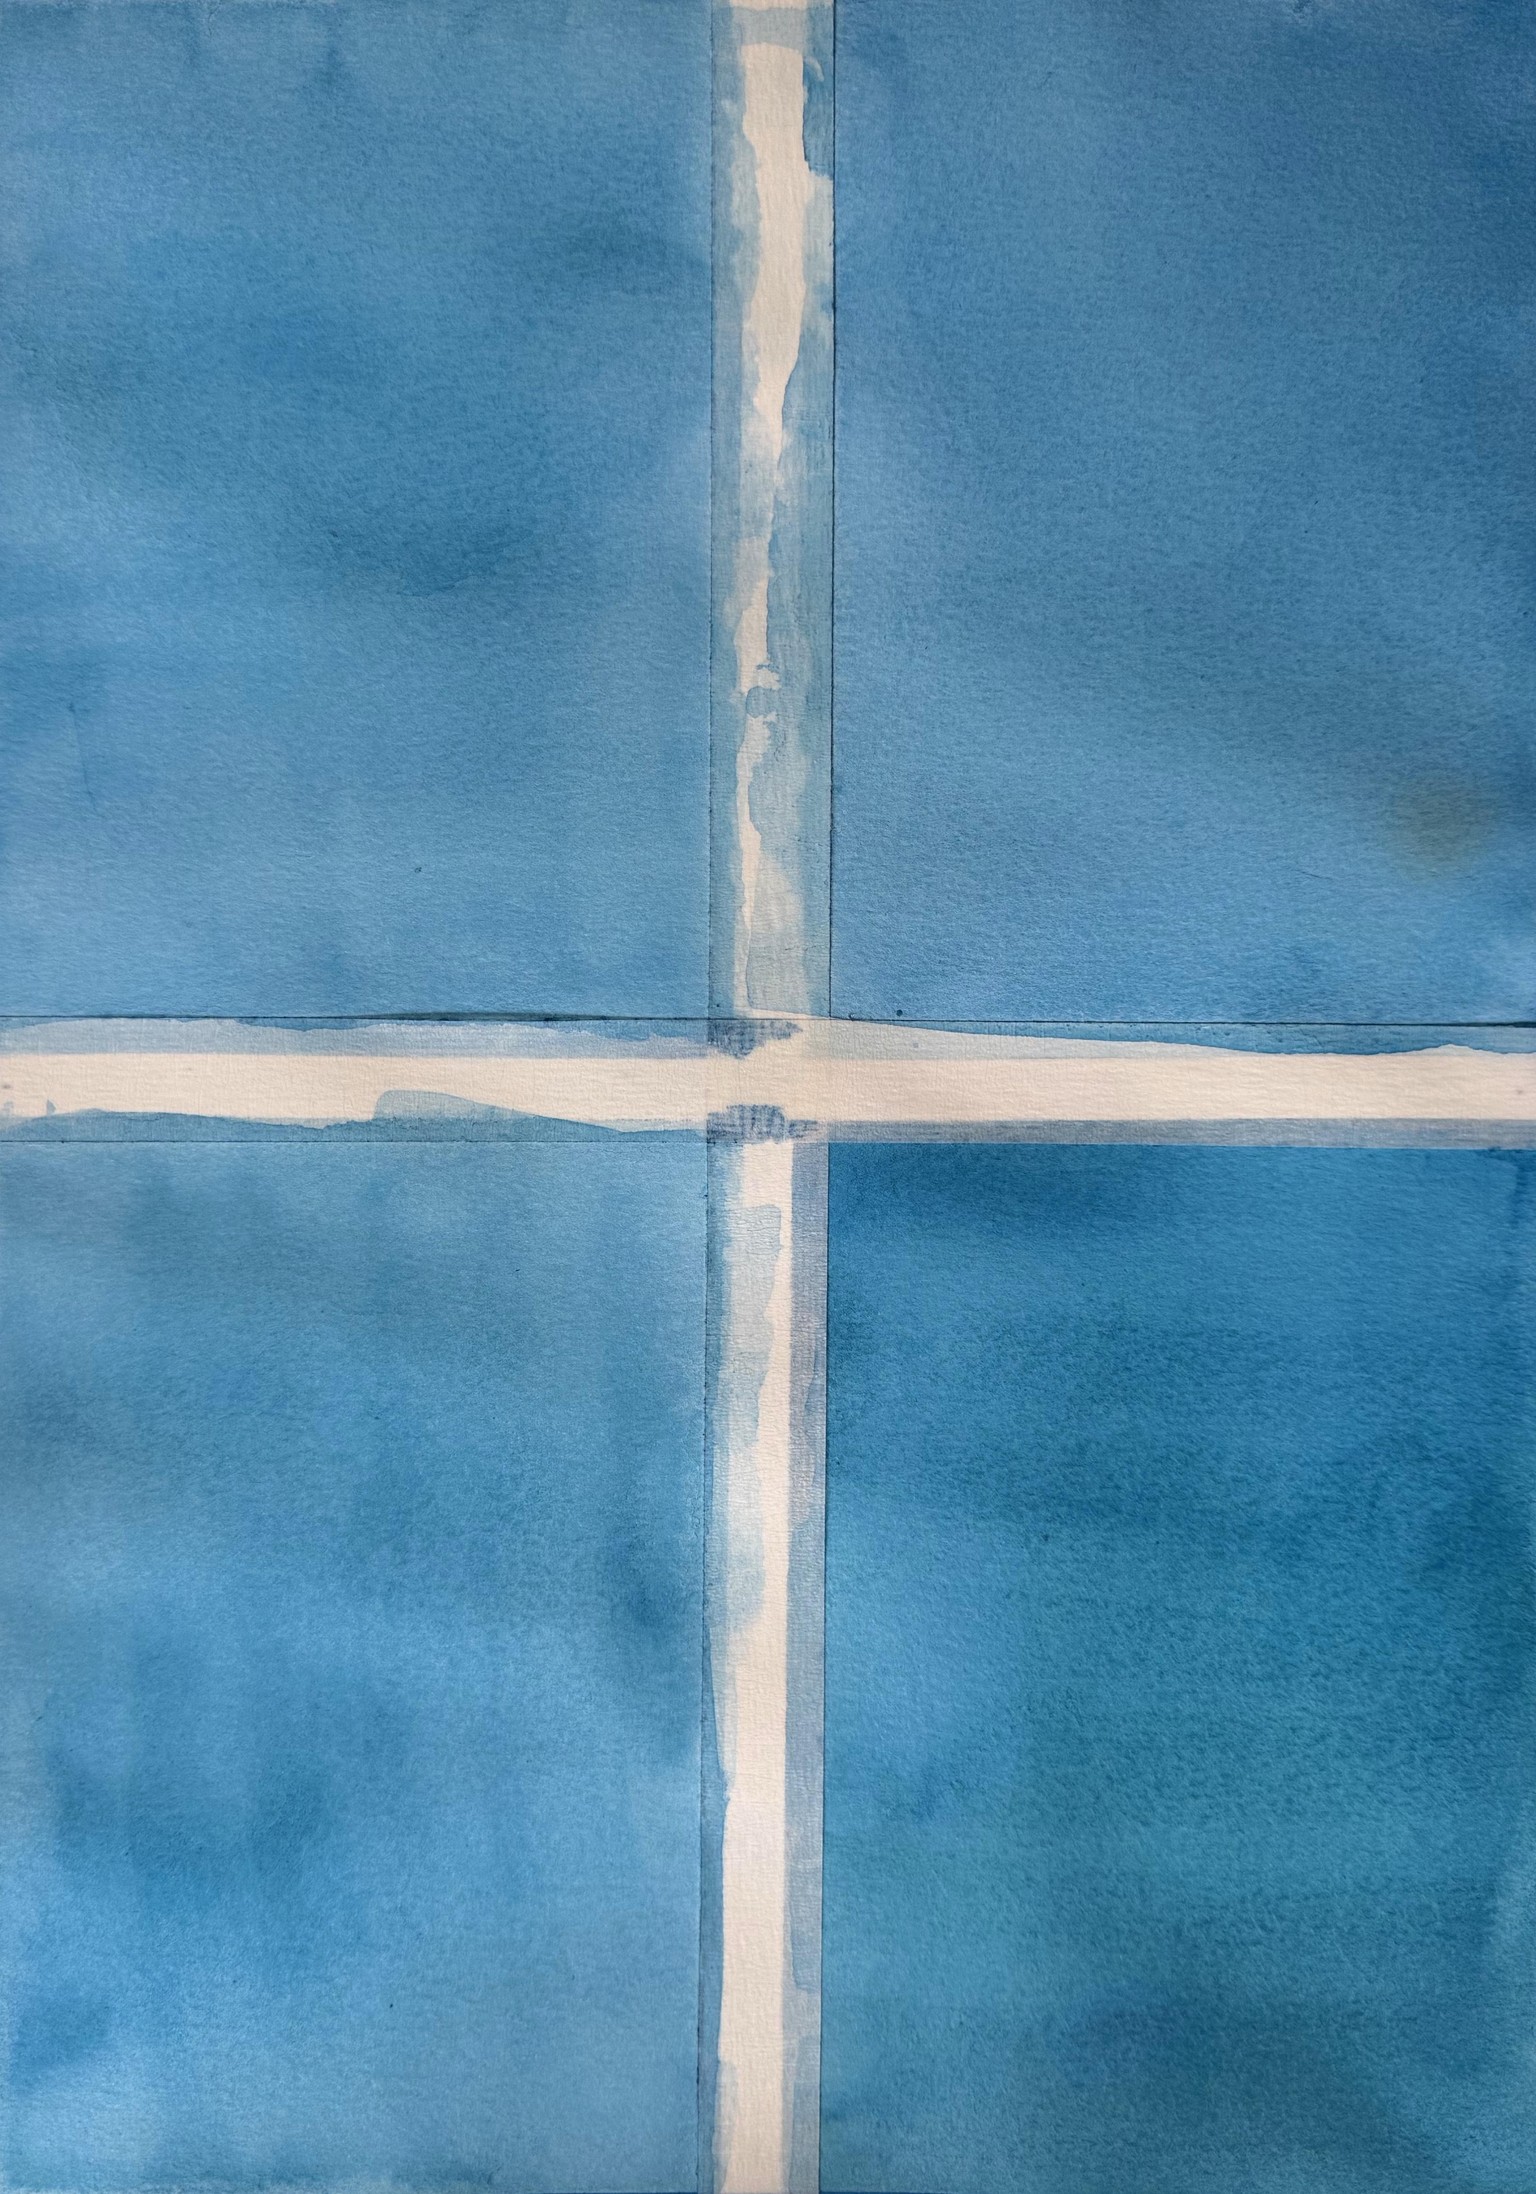
Definitely darker, but what is going on? That ain't a "flat" wash. So, OK, it could make an interesting background to draw on. We'll see because I'm saving them.
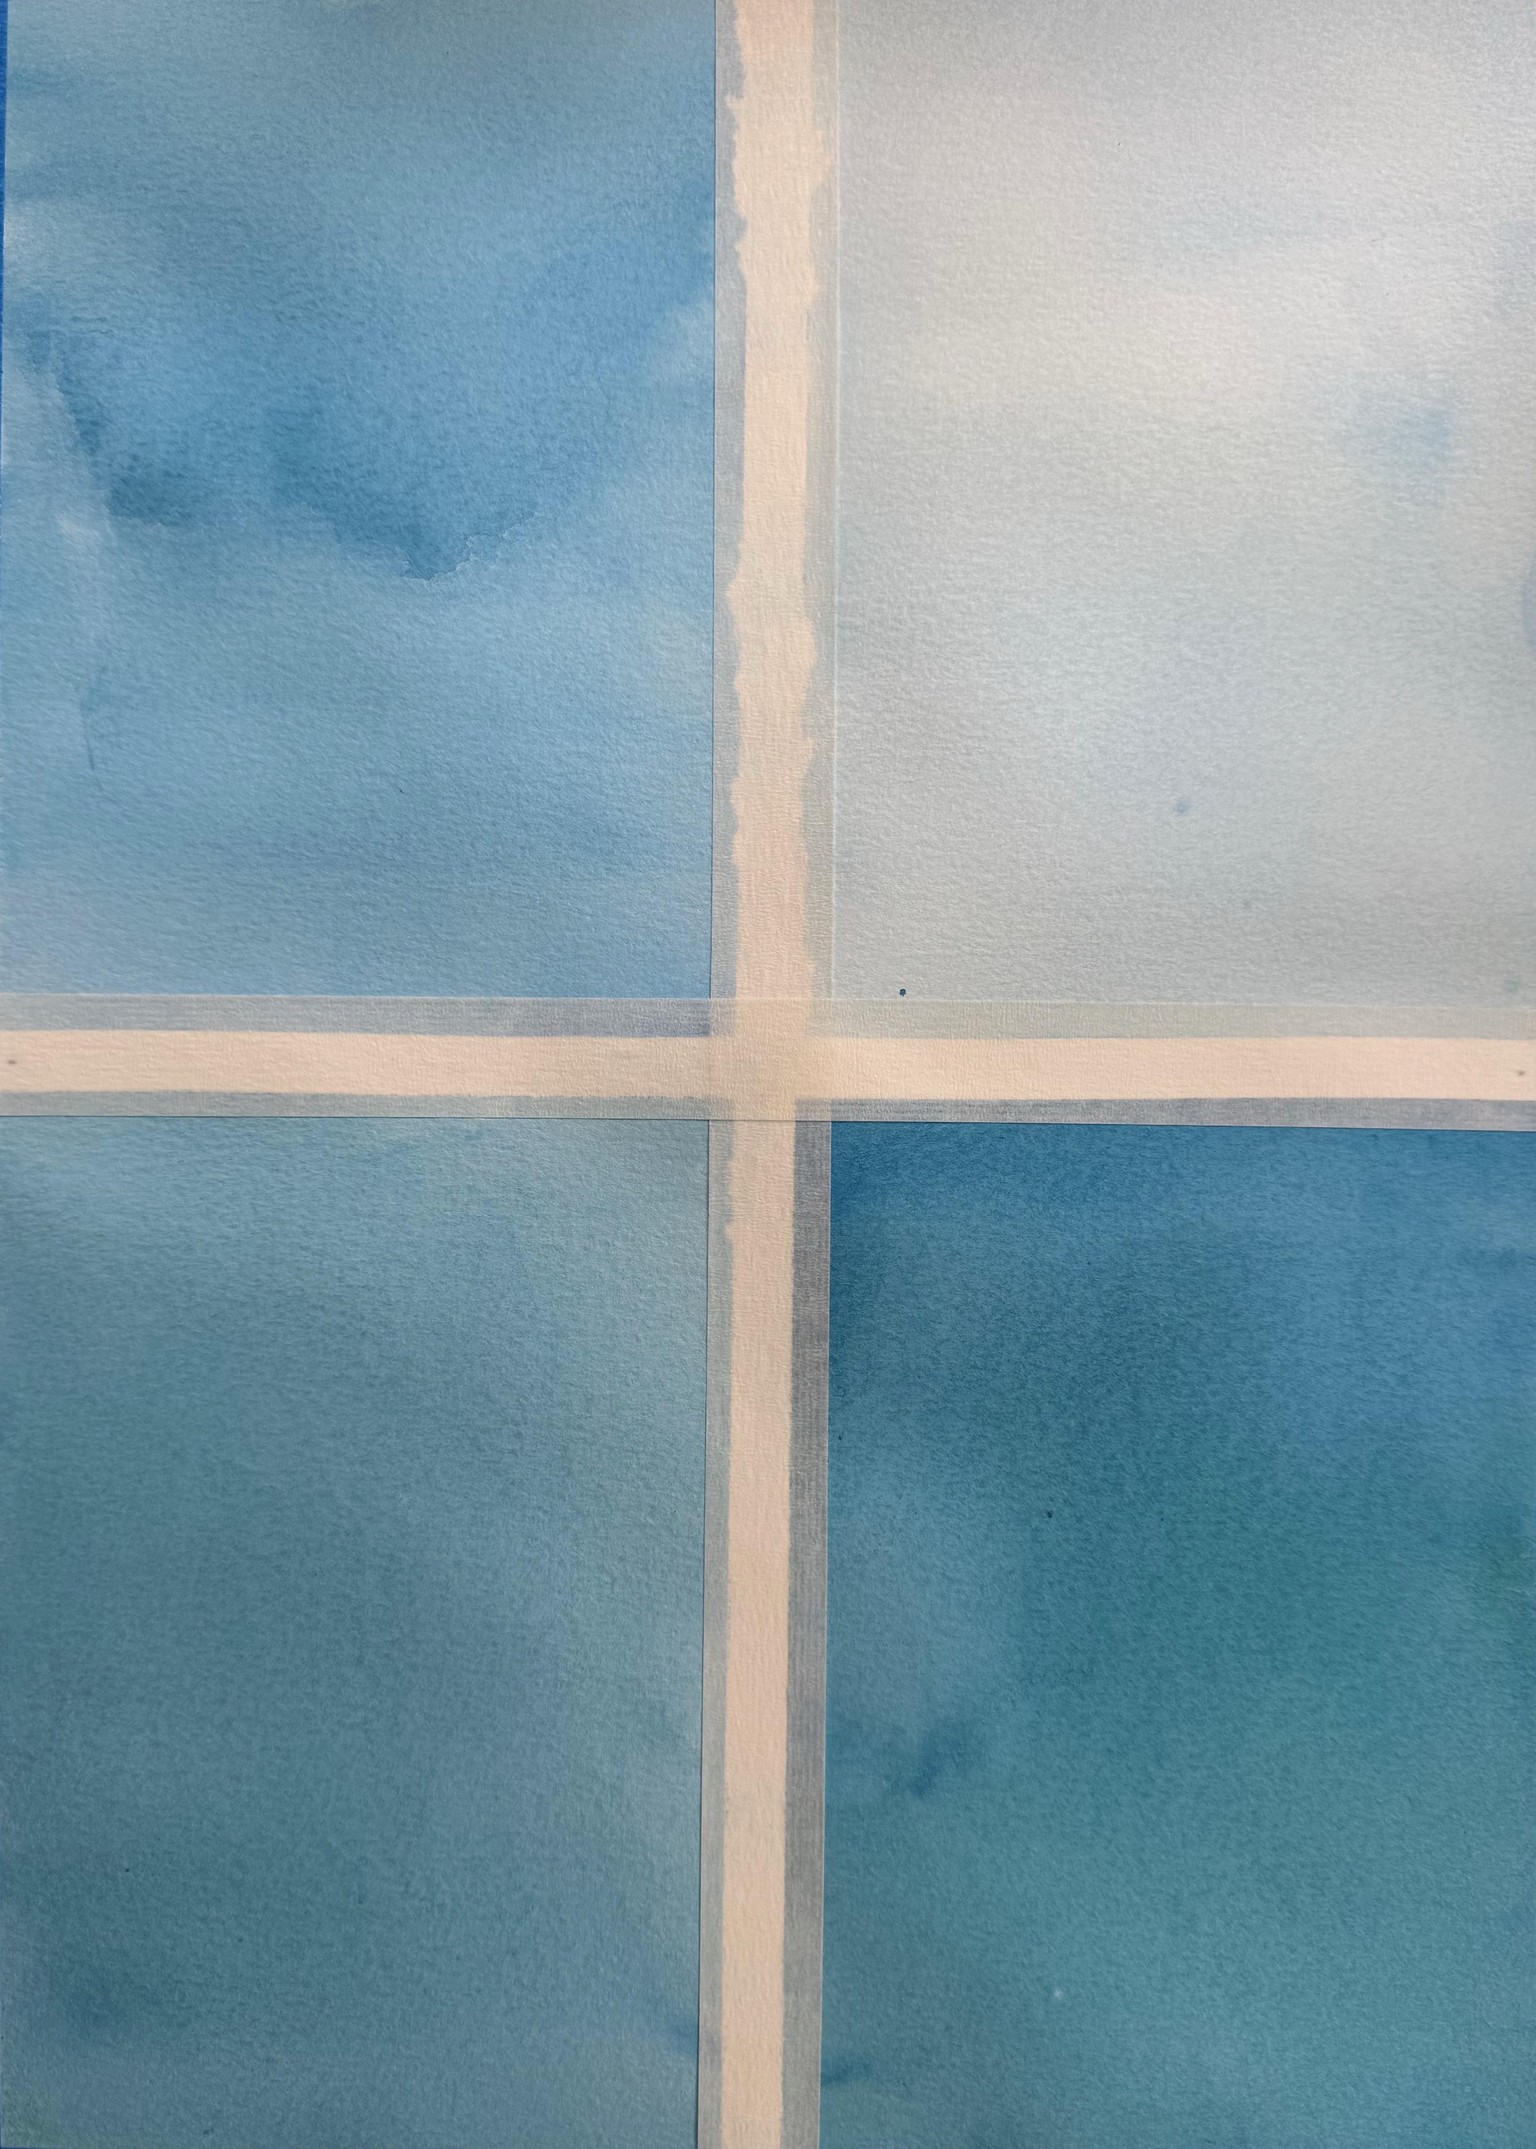
Layer 2 - Next day - drier
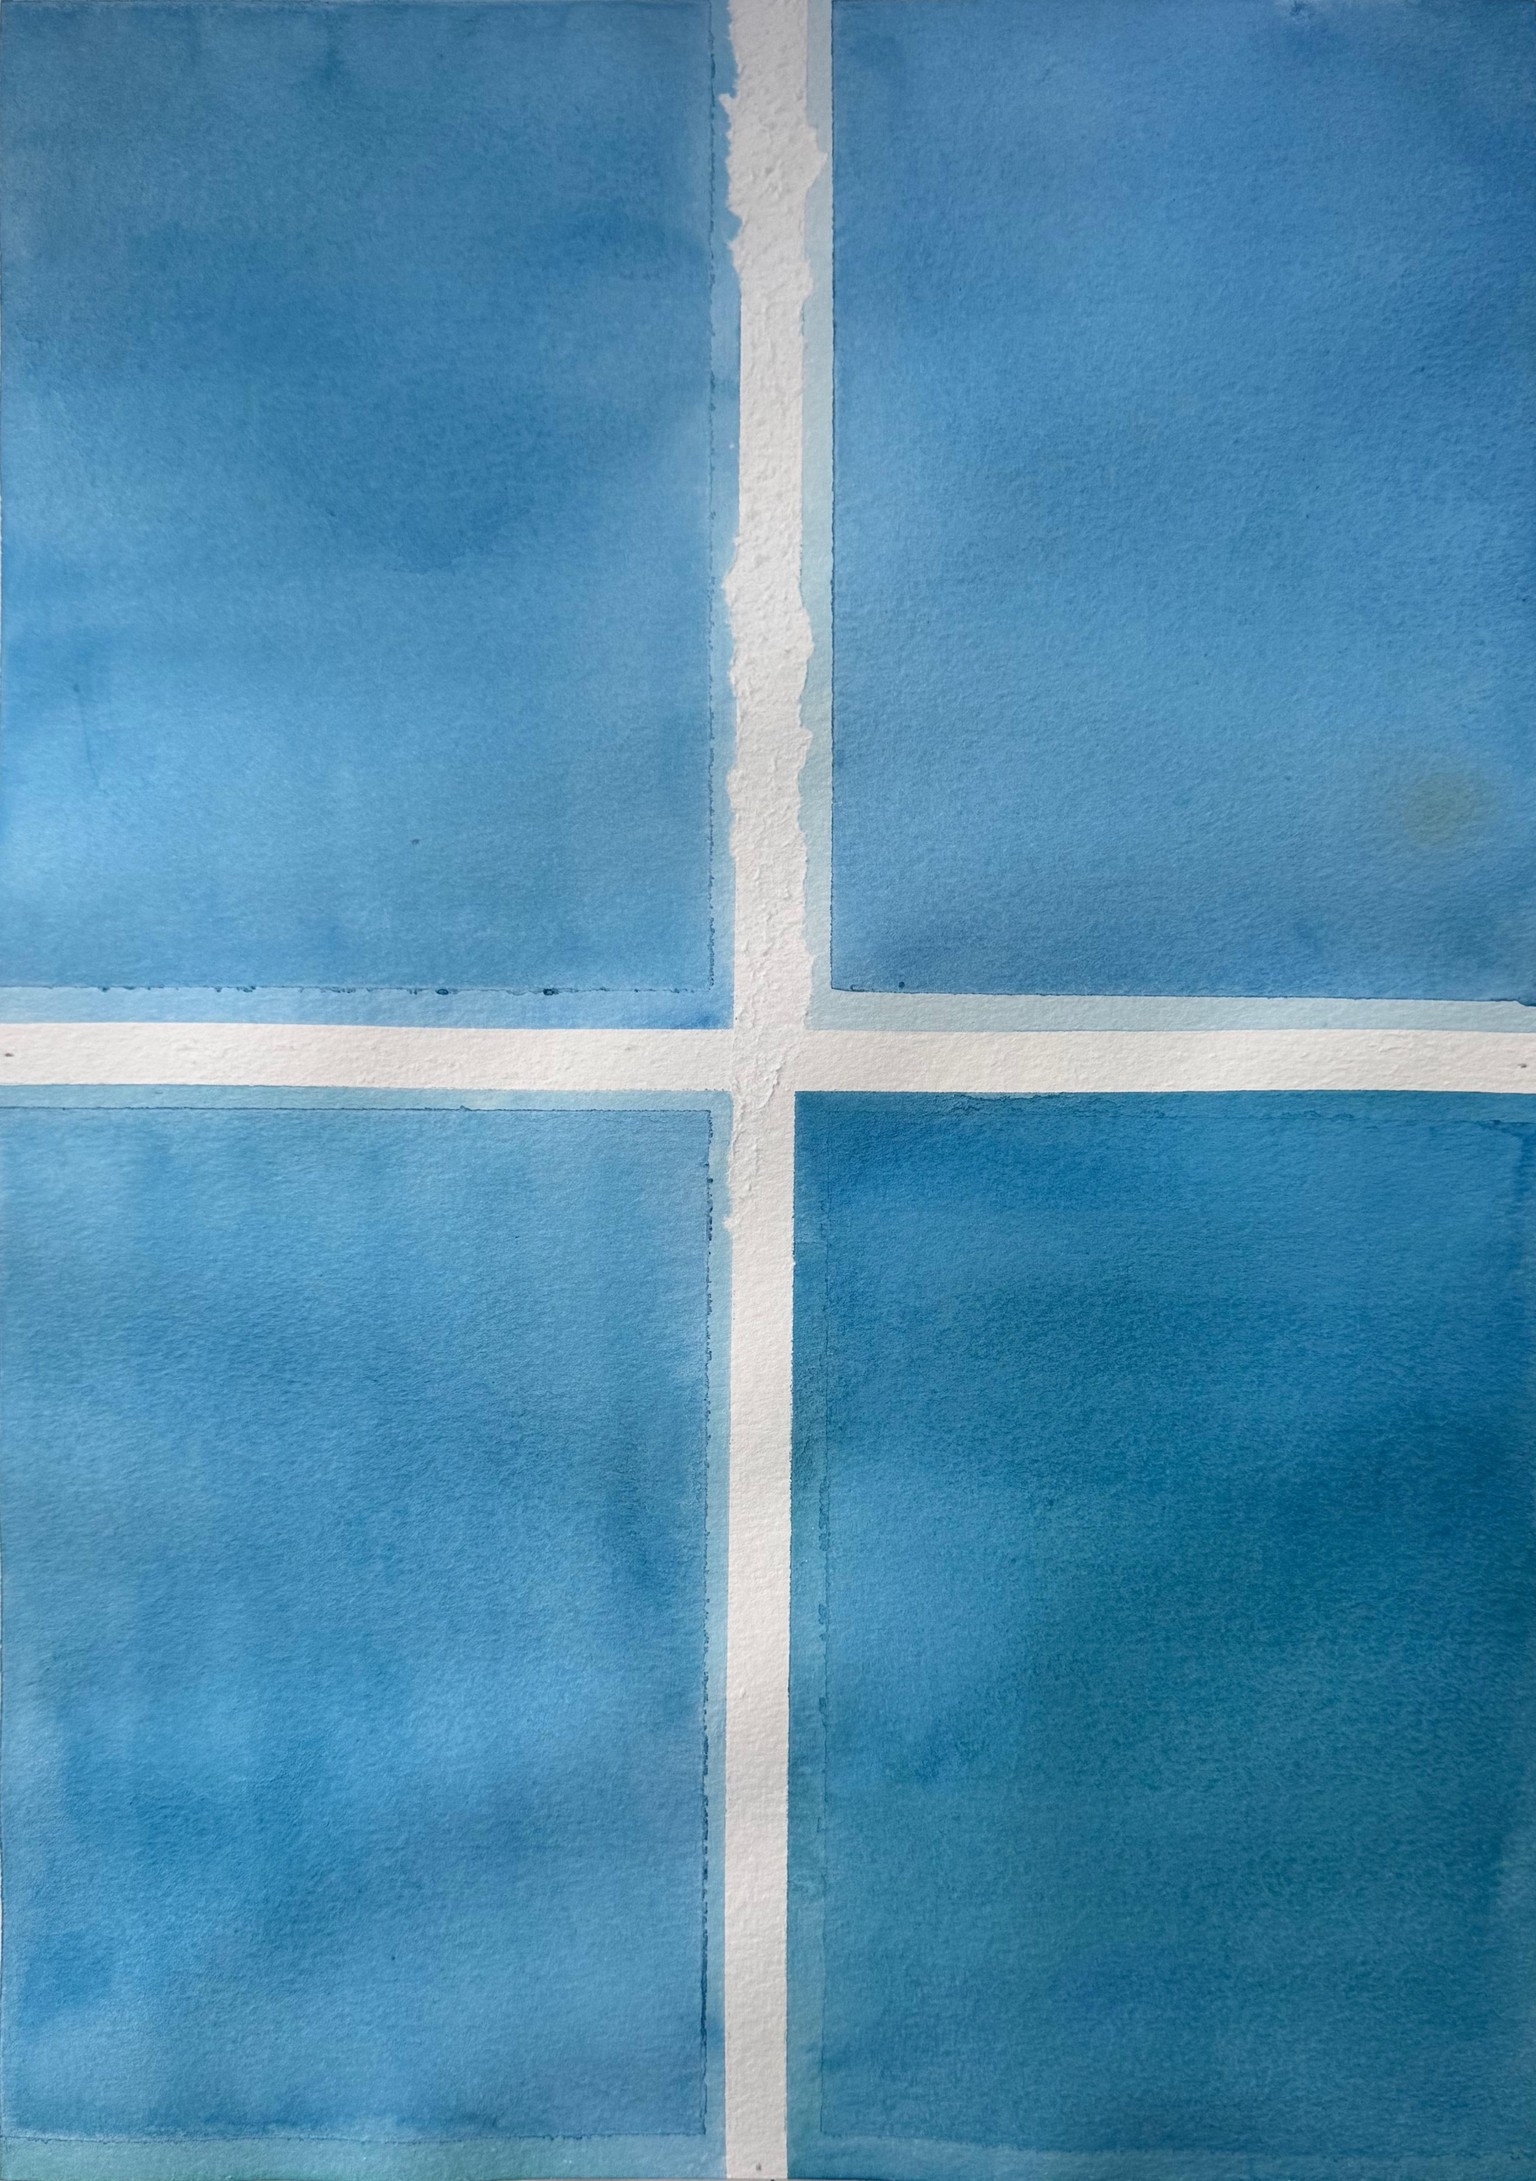
It almost looks like two entirely different pieces, no? But it's the same one. I'm not sure if it's the difference between morning and afternoon light, but at least it doesn't look as bad as it did the day before.
Moving on...
Attempting a Variegated Wash
Attempt 1
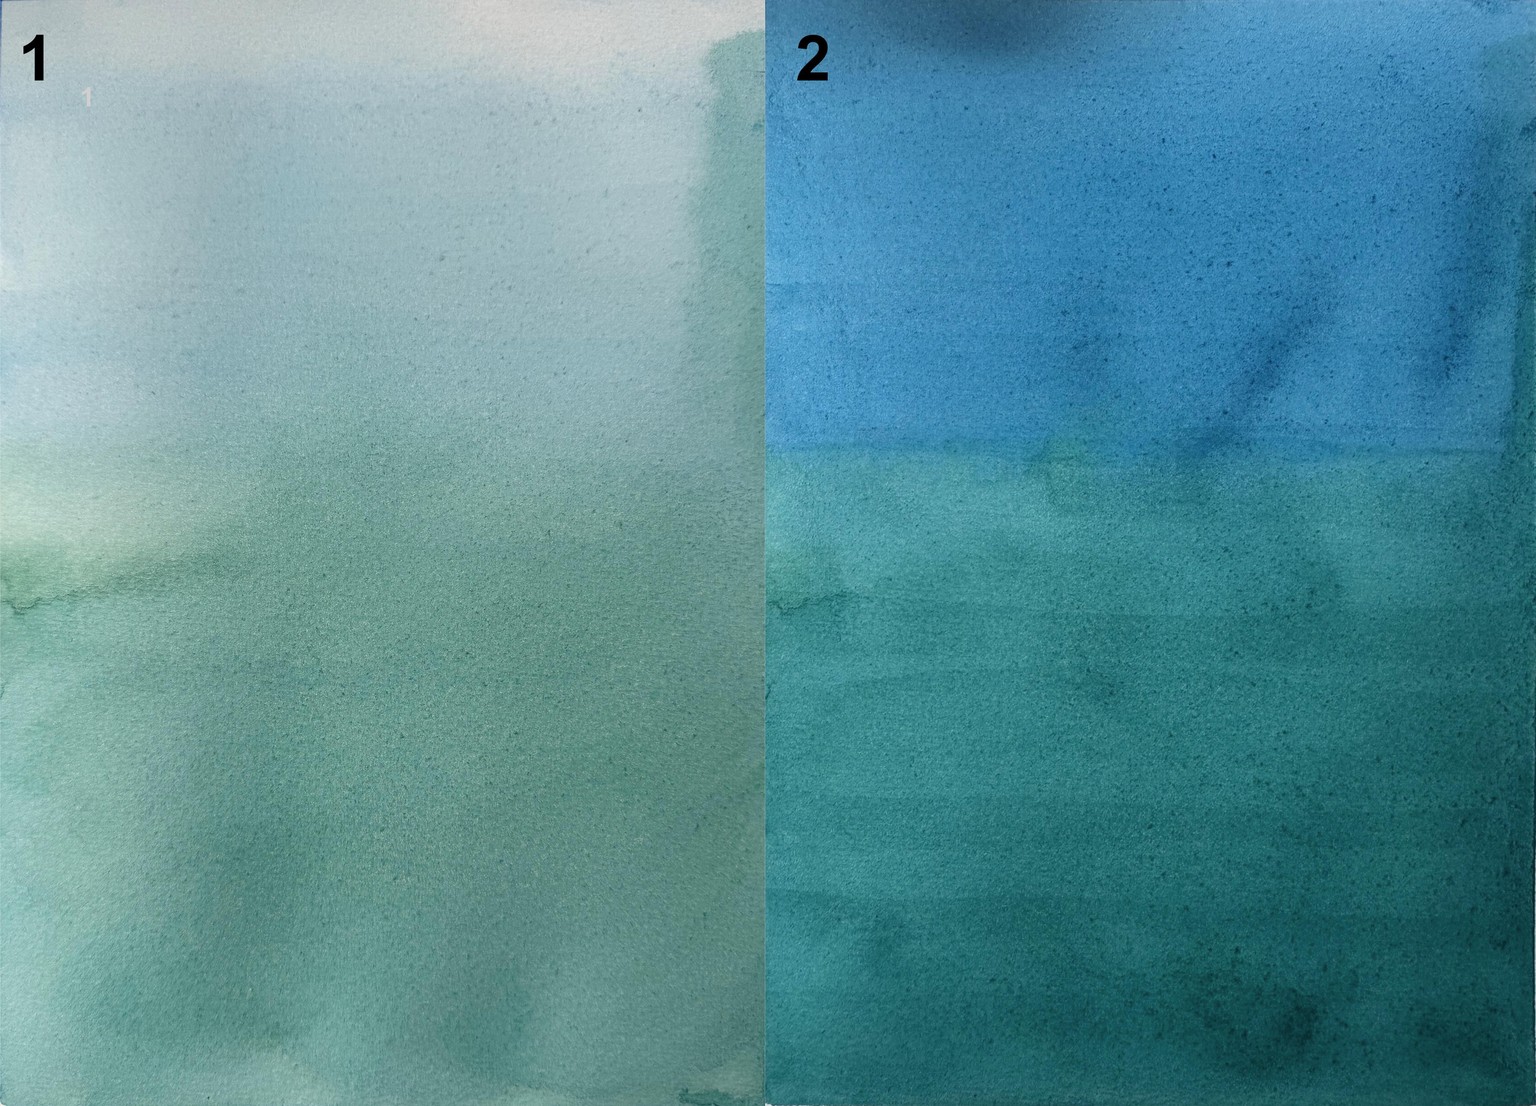
For some obscure reason, I decided to use Prussian Blue and Deep Green as my two colors. (Sheesh!) What I felt like I was doing was getting a blue-green flat wash rather than a variegated one. Of course, one problem was that I put too much water on the paper to start. (Another lesson learned...I hope!)
Attempt 2
This was this morning—only one layer. I thought I'd keep it lighter because it would be a better background for an ink drawing. It's supposed to be blue on top and green on the bottom. I should have used yellow and red. I've done that kind of wash before, and it turned out much better. Of course, I used paint bowls to hold the pigment. I will be going back to them with the type of painting I want to do.
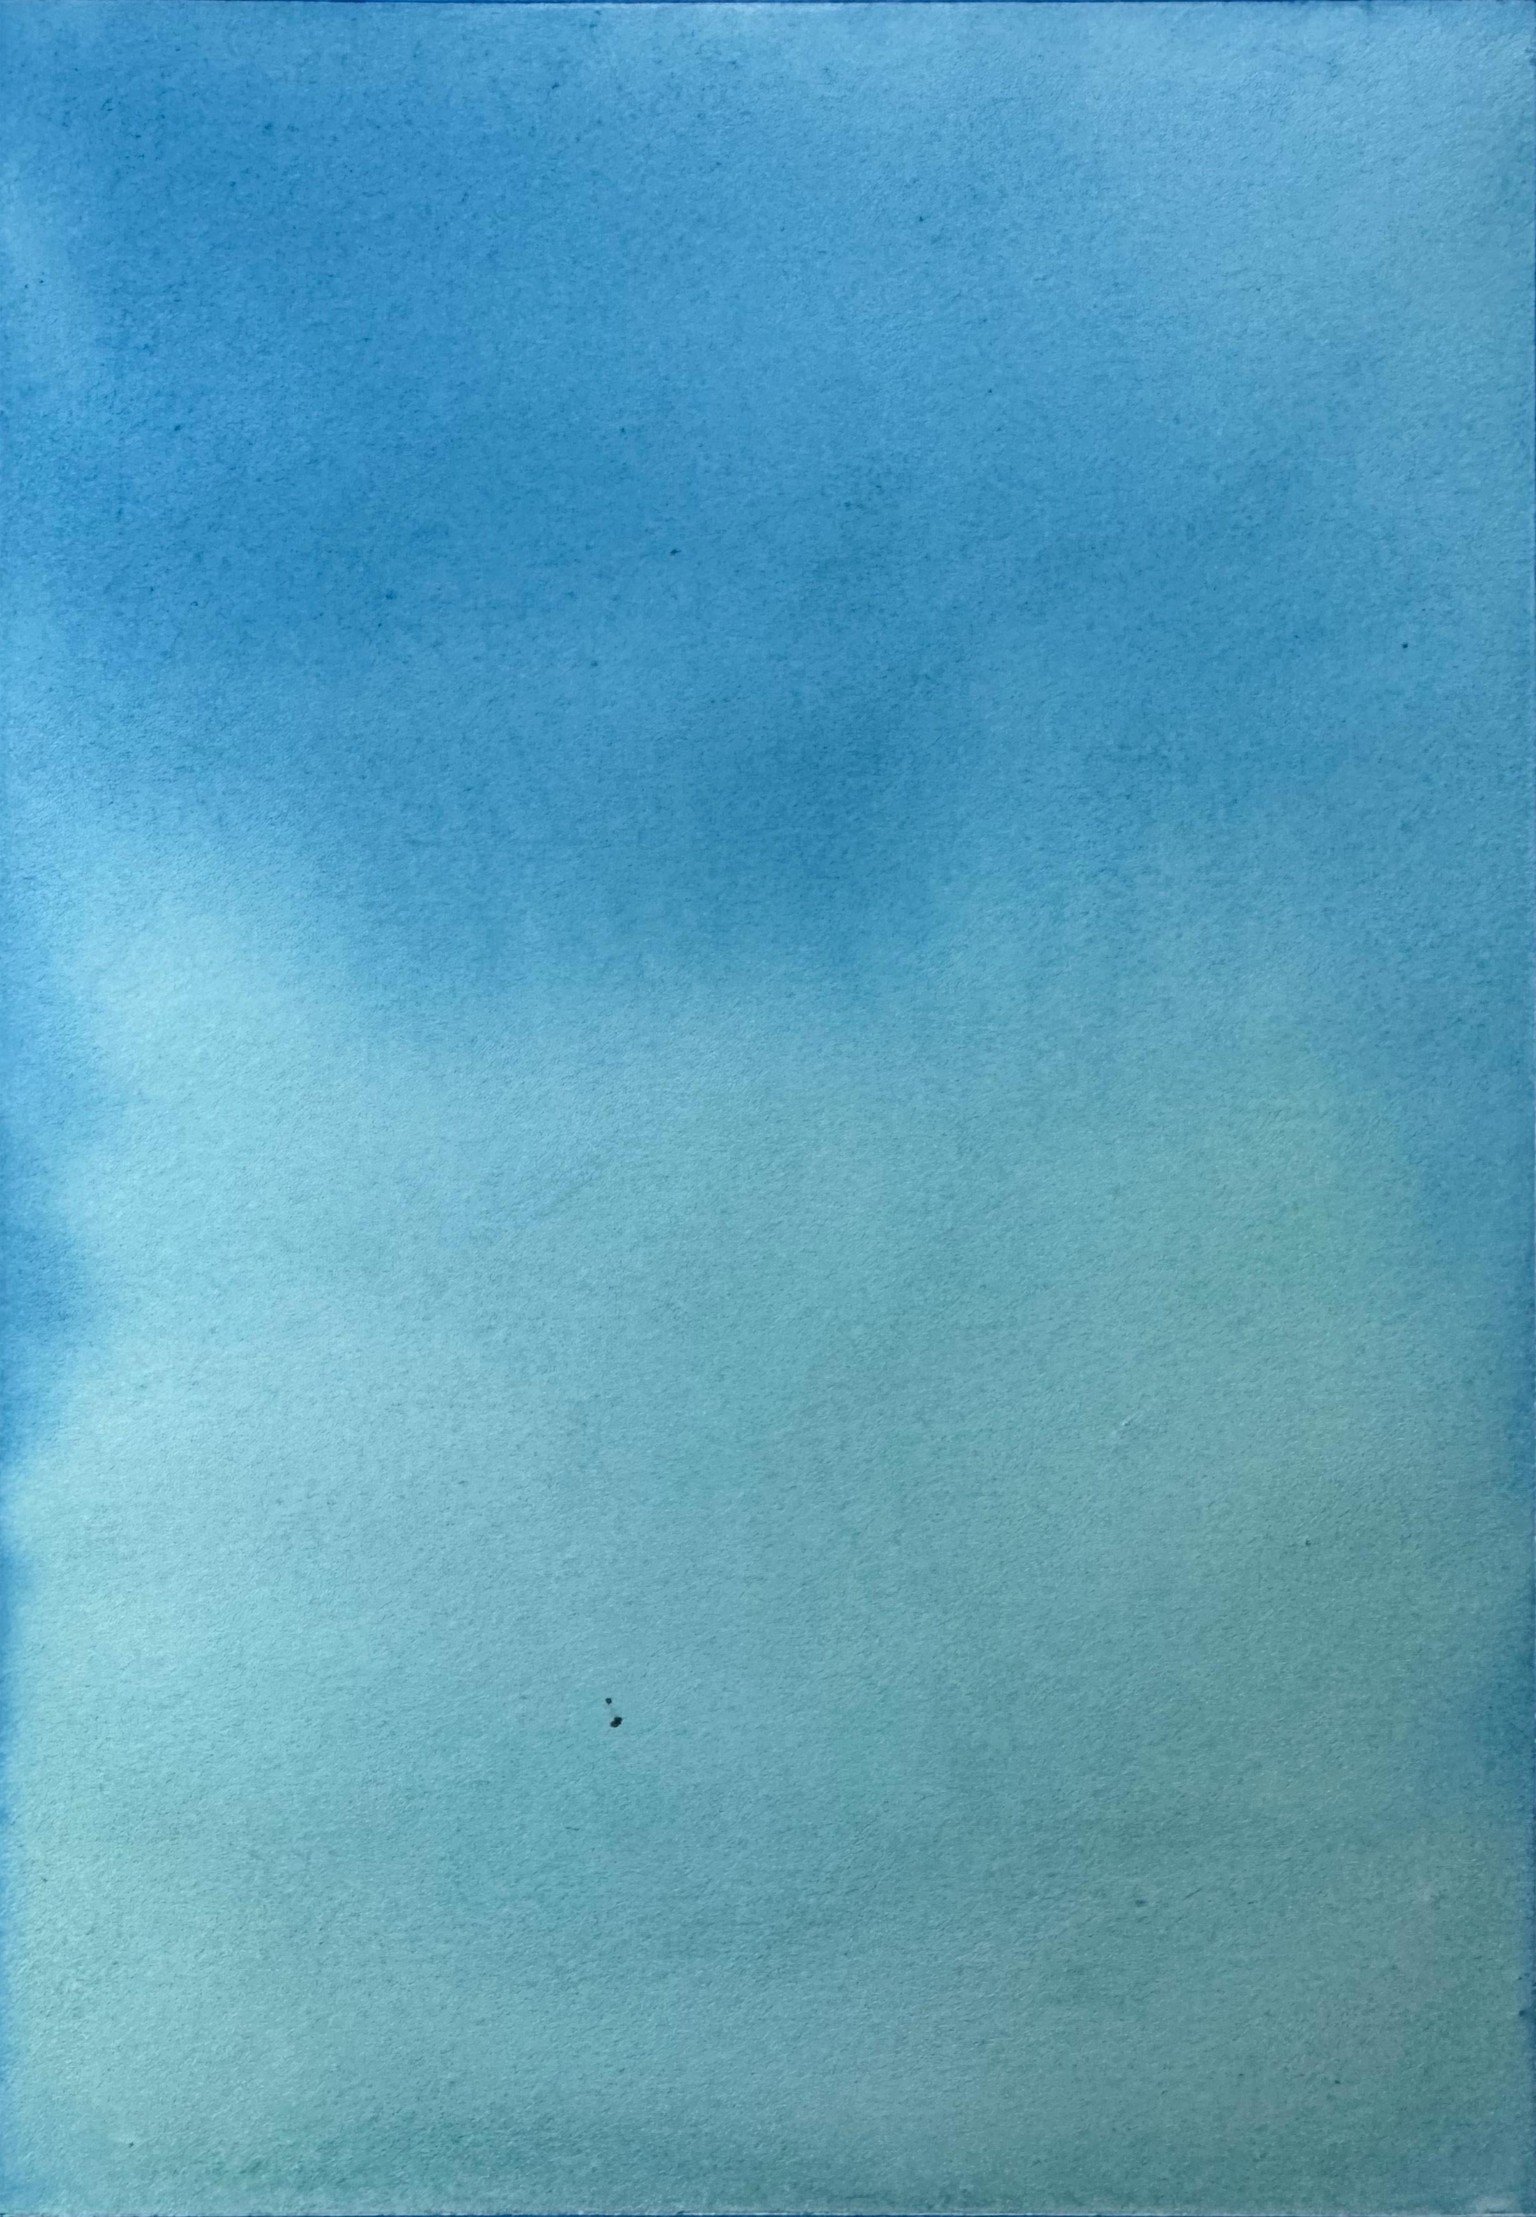
Here's a sample of what I've done before.
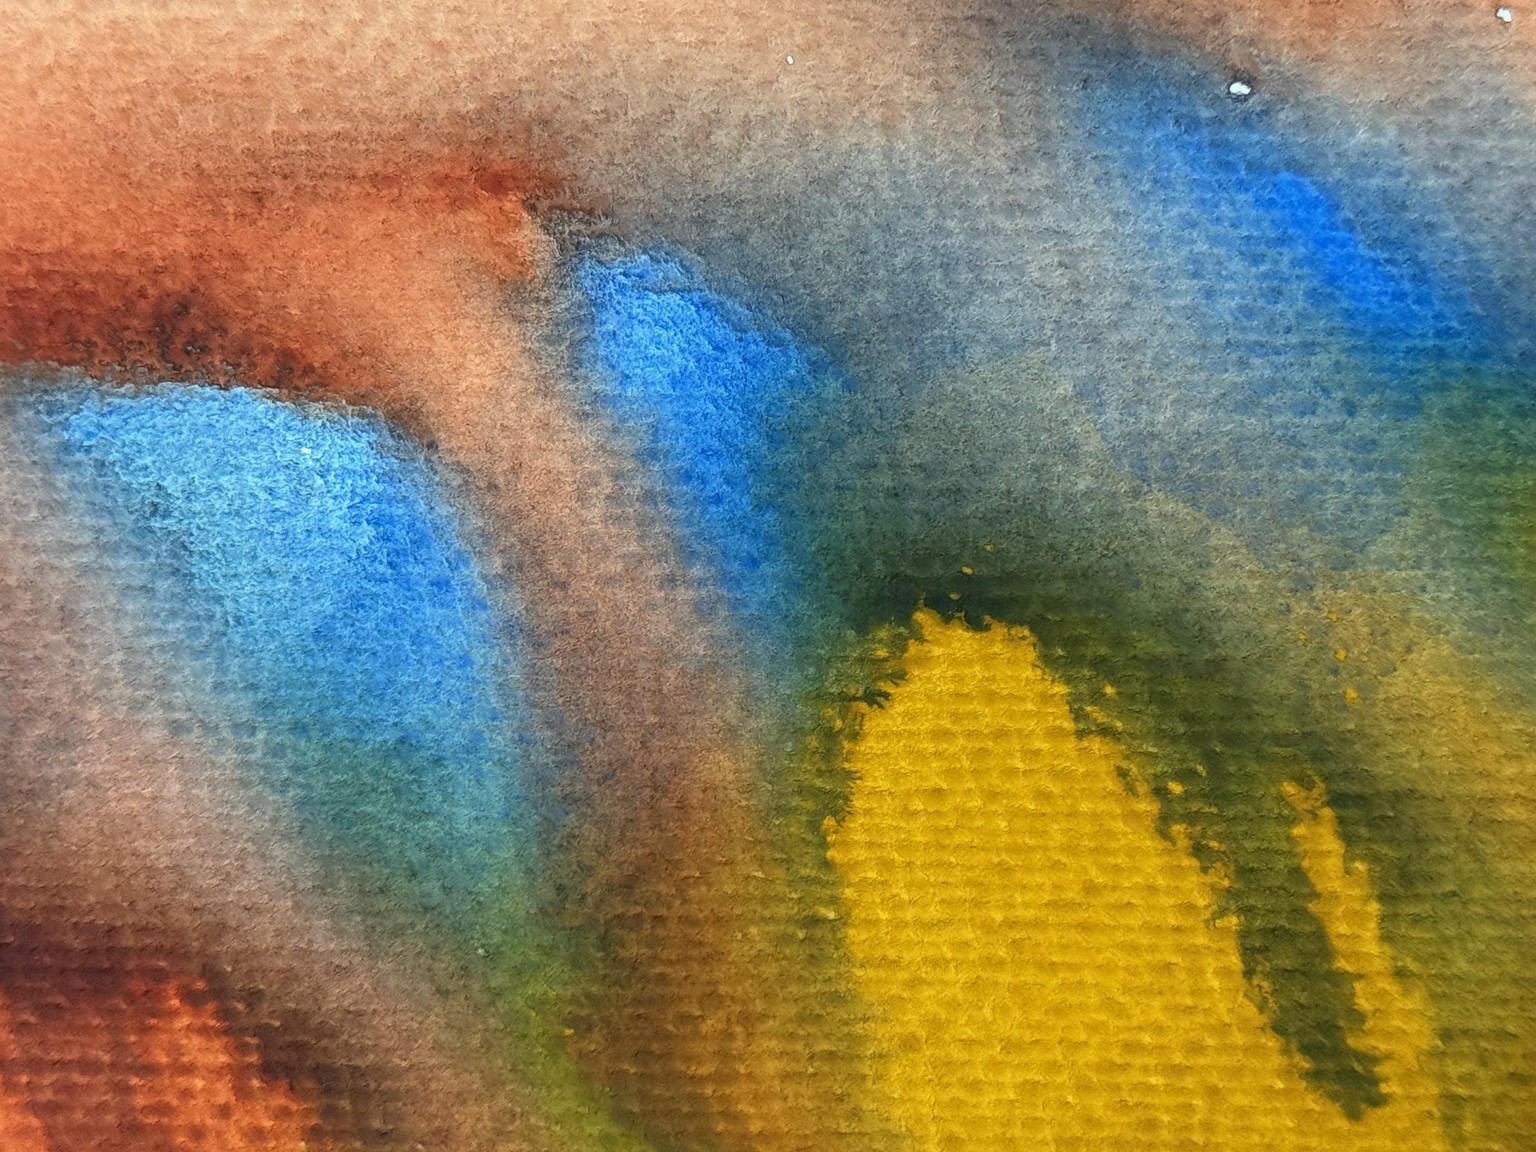
I'm pretty sure I used bowls for this one. Then, again, car keys!!
Cloud Wash
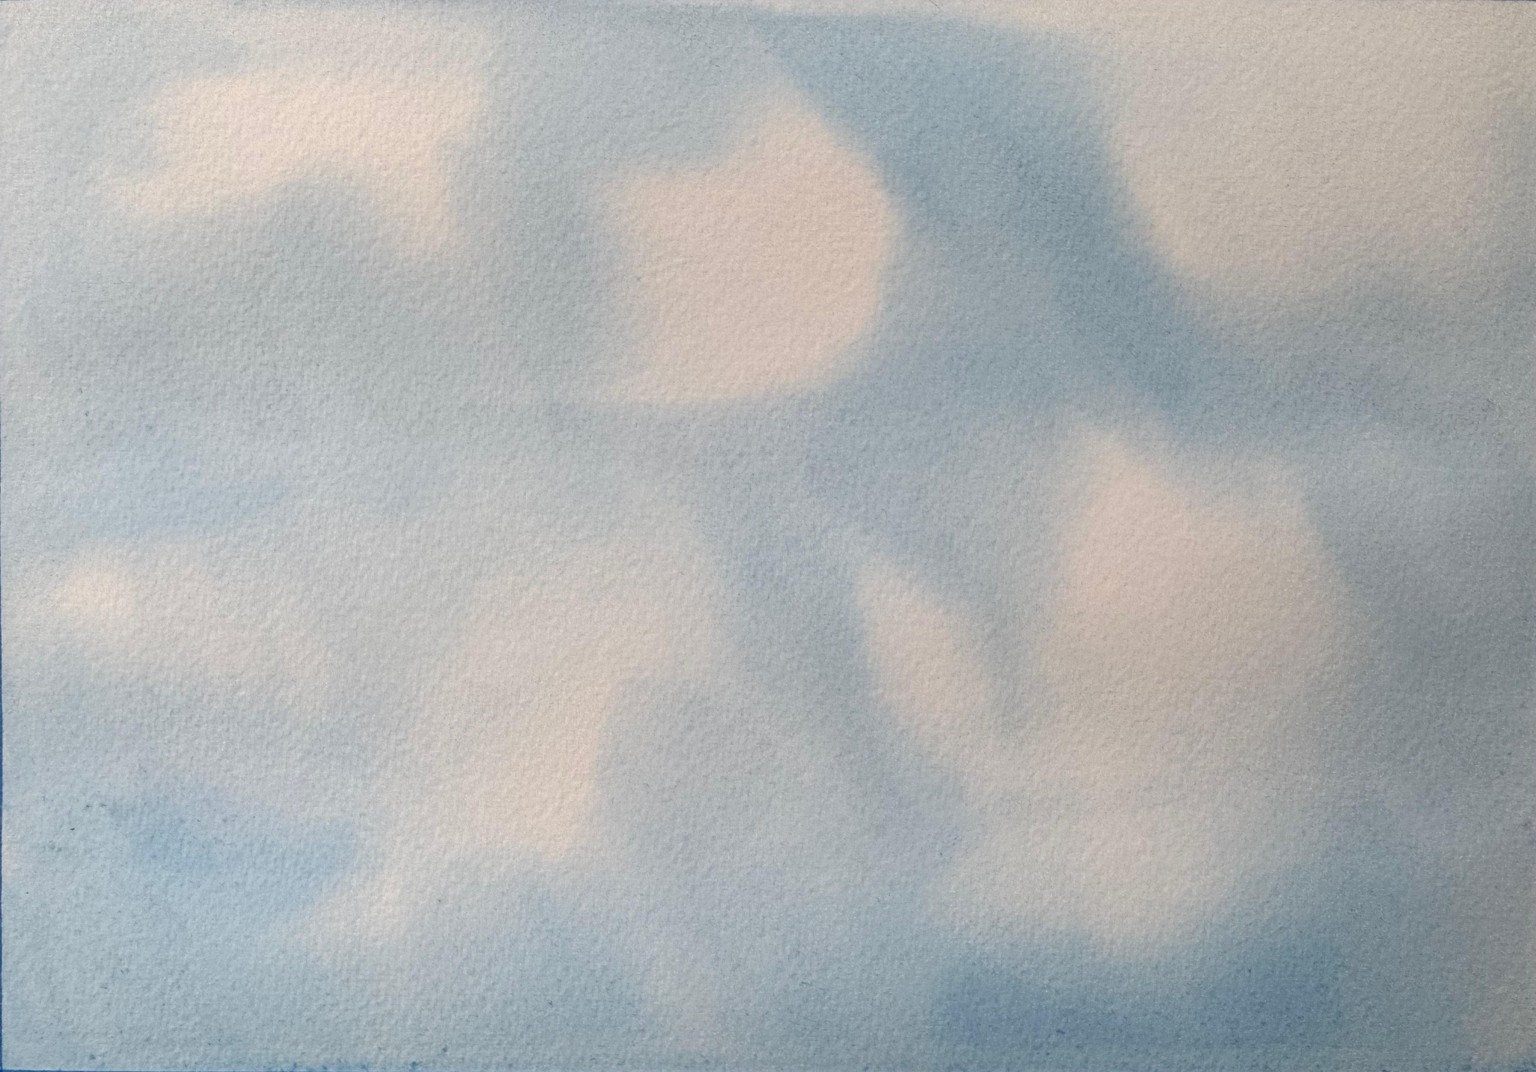
Also, a "bit" light...at least I know what to do.
Well, there you have it - my odyssey in re-learning how to do washes, despite the onerousness (is that a word?) of this project. I have to admit, I learned a lot, and I too was "mesmerized" by watching the water flow on the paper. I learned to use a "Kleenex" to sop up the excess water around the edges.
I knew water ratios were a problem for me. I learned how to deal with them on a smaller level, but this helped me understand how to work with them on larger pieces. The wonders of watercolor still fascinate me.
Thanks for a great course.