Transcripts
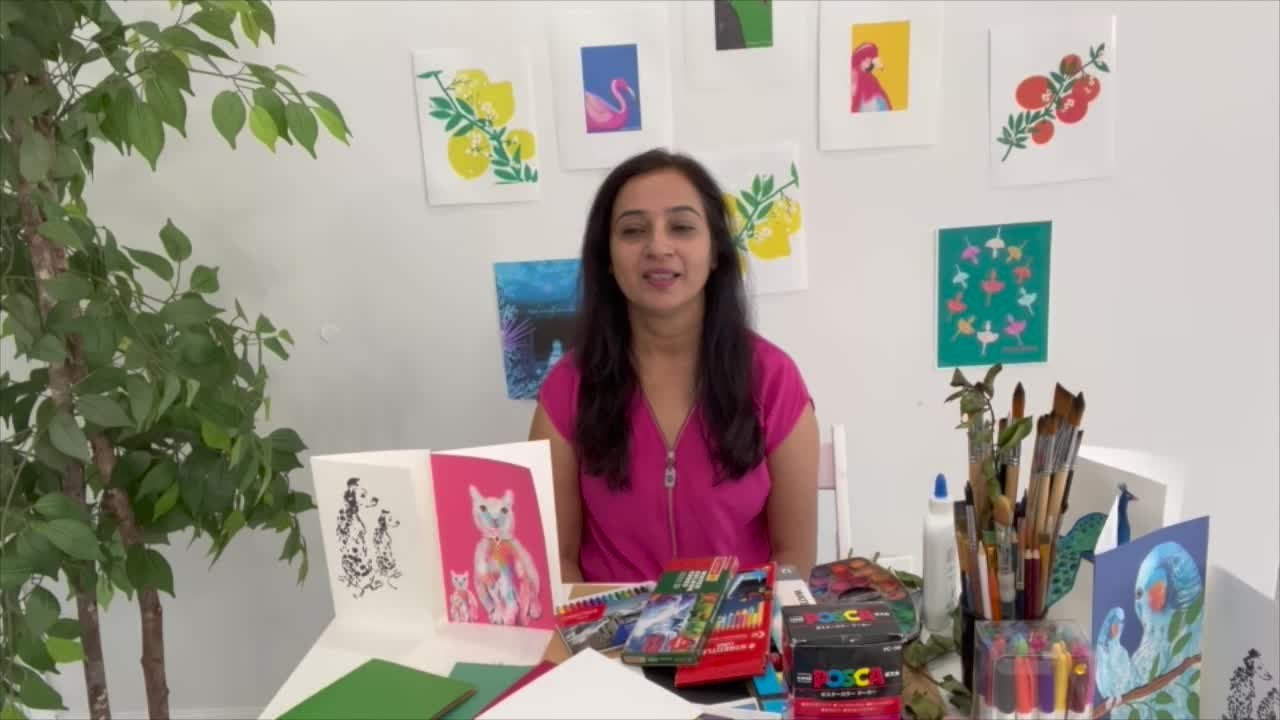
1. Introduction to Modern 3D Art: Take your creativity
to next level. From flat surfaces like
paper and Canvas. Make your Art in
3D, with a 3D printing pen. Let's do its own magic. 3d printing pen is
friendly and nontoxic. Adults and children can use it. So create fun, best, engaging project with
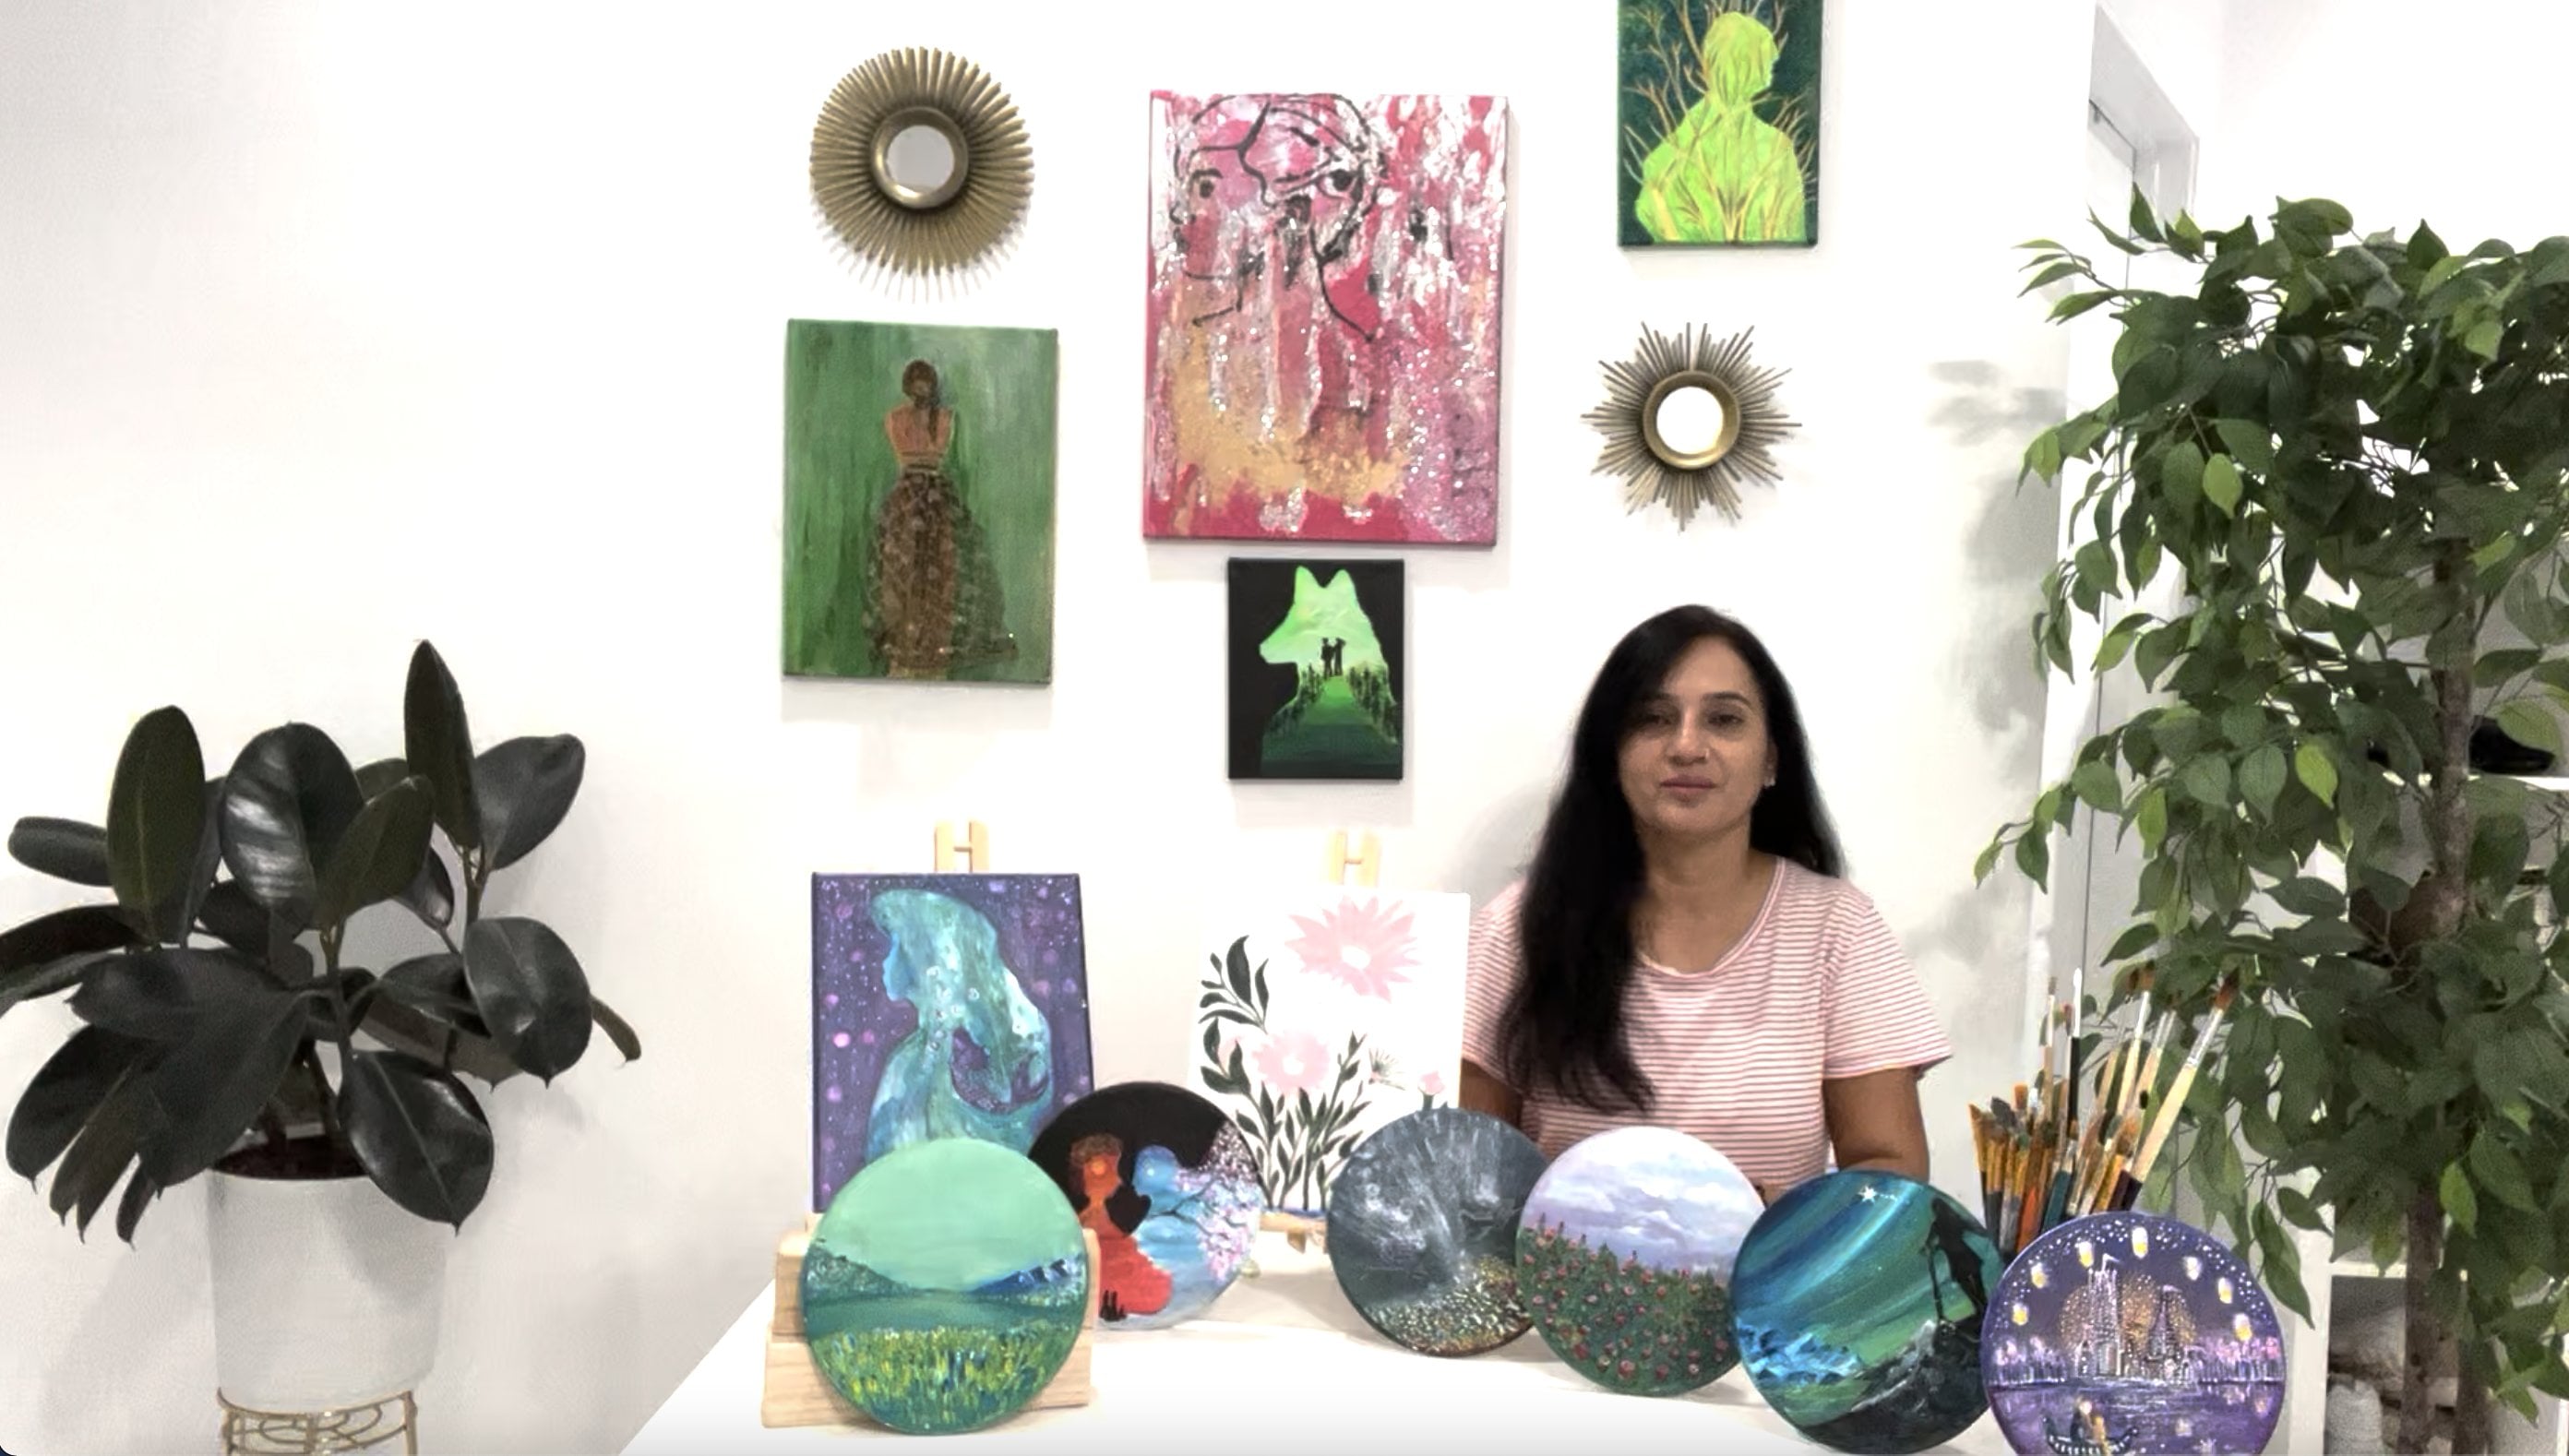
your whole family. My name is Shalina and I'm an artist and teacher
and a mother of five. I live in Atlanta, Georgia. Today I'm going to
show you how to create three-dimension with
3D printing pen. And I'm also going
to talk and share my thoughts on how to
apply for art shows. Let's begin. Let's paint
with 3D. pen. Thank you. I'm here to tell
you about 3D art, which can be with the 3D pen. And you can make it flat. And you can make
it Dimension 3D. these are the small
things that create You can create a big
one like this. Ready? I'm going to take
you step-by-step. Everything that you
need to know to create three-dimensional
Art with 3D pen. This is a fantastic thing and all the supplies and everything that you need
to know step-by-step. And I'm going to guide
you in the class. Project. For the class, you
create what you like. You come up with your own idea and create three-dimensional 3D. with 3d pen. I hope you enjoyed the class, so jointed. And let's begin.
4. How to start your work!: What I drew, this is the body, the knee. Coming out. I'm not worried about
too much details. What I want is the most important fire
that is coming out. This is how I want
the lease to follow. This is what I wanted to do. So I plot it and I put
the filament inside. But there was an old
filament inside. If it was green color, wait till the filament come out. What do you have to do
is see the numbers here. To see the numbers. This number needs to
be coming up to 230. When it is 230. Then we going to start. That means it's heat up. Right now it's 230. And the first button you
have to press it twice, And if you want this to be, continue press twice and
it will start working. Right now. I don't want this,
It's not too hot. You can see that the green
filament is coming out. So I'm going to keep pushing my white one and I will wait
till the white comes out. You'll see how the
green is still coming. We don't want green. There is a plastic. So I don't need to worry. Now and I'm waiting
for white to come out. As you see green coming out, I'm going to show you
very simple to work with. You can create any
design you like. What do you have to
do is just It melts and come out. So now it looks like
white is coming. Yes. Do you see the
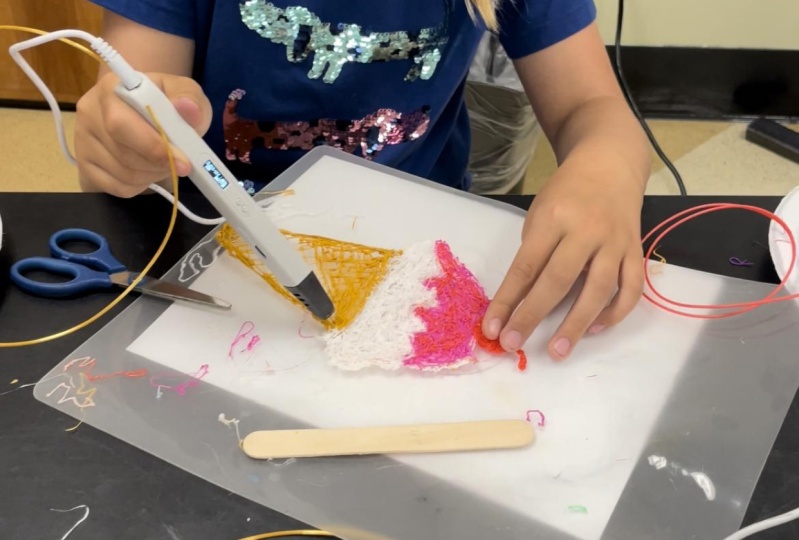
whites ready here? So we can start our work? What do you have to do is
just make swirls inside list, make the outer outline. This is all white on white, so you won't be
able to see much. This is how we get
filament out and you can see that it is
quickly filling. So I'm painting
with l3D pen And you can do it this time. I don't want a line,
so I'm trying to make some swirls and tacos
to connect them. Don't go too fast because
it's filament is very thin. You might have to do our code
to make it thicker lines. This is how it's going to work. For more than a
little bit thicker. I go to anymore. Why I'm using the
plastic sheet, plastic on plastic comes out very quickly. That's why I'm
using the plastic. Don't want too much swirls. So I'm going to cut down and fixed some, put some triangles. Basically I'm just putting some abstract lying,
not just abstract. Convicting them. You'll have to make sure that
you connect to each other.
5. The 3D printing Process!: almost half body is done, we
will slowly take it out. You can also use a butter knife, but it's easily peelable
it is on plastic Also wanted to show
you that just got the extra Let me try for us to
take out the inside piece. Any extra that you think
that you need to be trimmed. It is easily peelable. Plastic. As you go. You can
trim it carefully because it might get
a little attachments. I'm going to take this out. upper Body is done. This is under plastic. We see underneath this paper, they'd be traced, actually redraw and then did the outline. So far. We have finished
to keep continue. Upper head and upper body. Lower body is covered. We need foil to continue our work. What are we going to do is take a foil we want
to the shape of the leg. So I'm going to roll it. Make like a shape of leg just try it fold it This is upper part wider and lower part narrow going to attaching shoe be the sheet touching here. Then this part is going upwards, going to continue. Then we're going to attach
it to the part later. Pen start over with what
I'm going to do it. Whenever you would just
keep it on this site, the numbers go down and you
have to double-click it. Start heating the number. You can see we will wait. 230 appears. That's how our
filament will be warm. This is just dry,
take it out. Nice. and new filament coming soon. This time I got it
from the bigger role. I have only a little piece
left and I have to reload it. When this is finished. If you don't want to waste it, I always try to finish it. Instead of taking
out and putting. So I just wait till
it goes on in. Here it is 230. Double-click it. You
will see coming. So I'm just going to go over. Even the part is very
easy to fill out. Sometimes it gets stuck. So what you can do is spray some water or dividend the
water and it comes out, he's going to complete
this and come back how easily it came out. I did really abstract lines. Just peel out shape is
almost they're not ready yet. But yes, we want to
attach this leg Make sure that it
stands like this. Try to create a new shape. As you can see, the ankle come on the other side to attach
shoe Be creative and make
your own design. Right? I'm just filling up
the shape which I have drawn, the base of the shoes. I'm going to fill it and I will show you the
whole attachment.
6. Assembly and Completion: Already completed, almost
completed piece with 3D pen. You can see this is
the knee and thigh. This part showed
you how we put it. Then I attached it. Now we have to
attach to the shoes. The shoe is almost here, and we have to put the lease. But I have made
this all details, the lace to press
this little bit. Make sure that fits your shoes. Go or shows this really tying my shoes somewhere to attach this
to the canvas like this. As you see, spin to be
outside the canvas. This is a 3D dimension dimension thing. With 3D pen. Little bit like this. It as you go, you can arrange and fix it. Maybe you will have to crop a cardiac little bit to make a
perfect size that it fits. But I don't think so. We need to cut anything here. This looks just fine. This thing just
stick to the famous, it's going to look like this. 3d artist ready. I didn't see. Chooses
ready to attach to. So you can see how it is. You can see here, we have to piece the canvas to see this unattached.
Going to attach it.
7. The Final Product: Finished project is here, 3D. Tie my shoes and you can
see all the details. I hope you liked the project and I hope to see your projects. Please post design,
whatever you like. The final project.
8. BONUS: ART SHOWS: Thank you for taking this class. And final thought I wanted to share that you can
apply for show Art shows does not require
lot many things. Just Google in your area, where is the Art show, certain amount that
you have to pay, fill the form and then send with the required amount. as soon as you get the
email, that means your art is approved, and that's all you have to do
and be present on the day of open house. It's a fantastic journey
that your piece will be in Art show I hope to see your projects
in Project Gallery. Thank you.
 Shalina Chranya