Transcripts
1. Intro: We tend to think of
landscape as affecting us most strongly when we
are in them or on them, when they offer us the primary sensation
of touch and sight. But there are also
the landscape we bear with us in
the apps and TIA. Those places that live on in memory long after they have
withdrawn in actuality. And such places
retreat to the most often when we are most
remote from them, are among the most important
landscape we possess. Hello friends. My name
is more innocent, and I'm an acrylic artists. And today we'll be painting
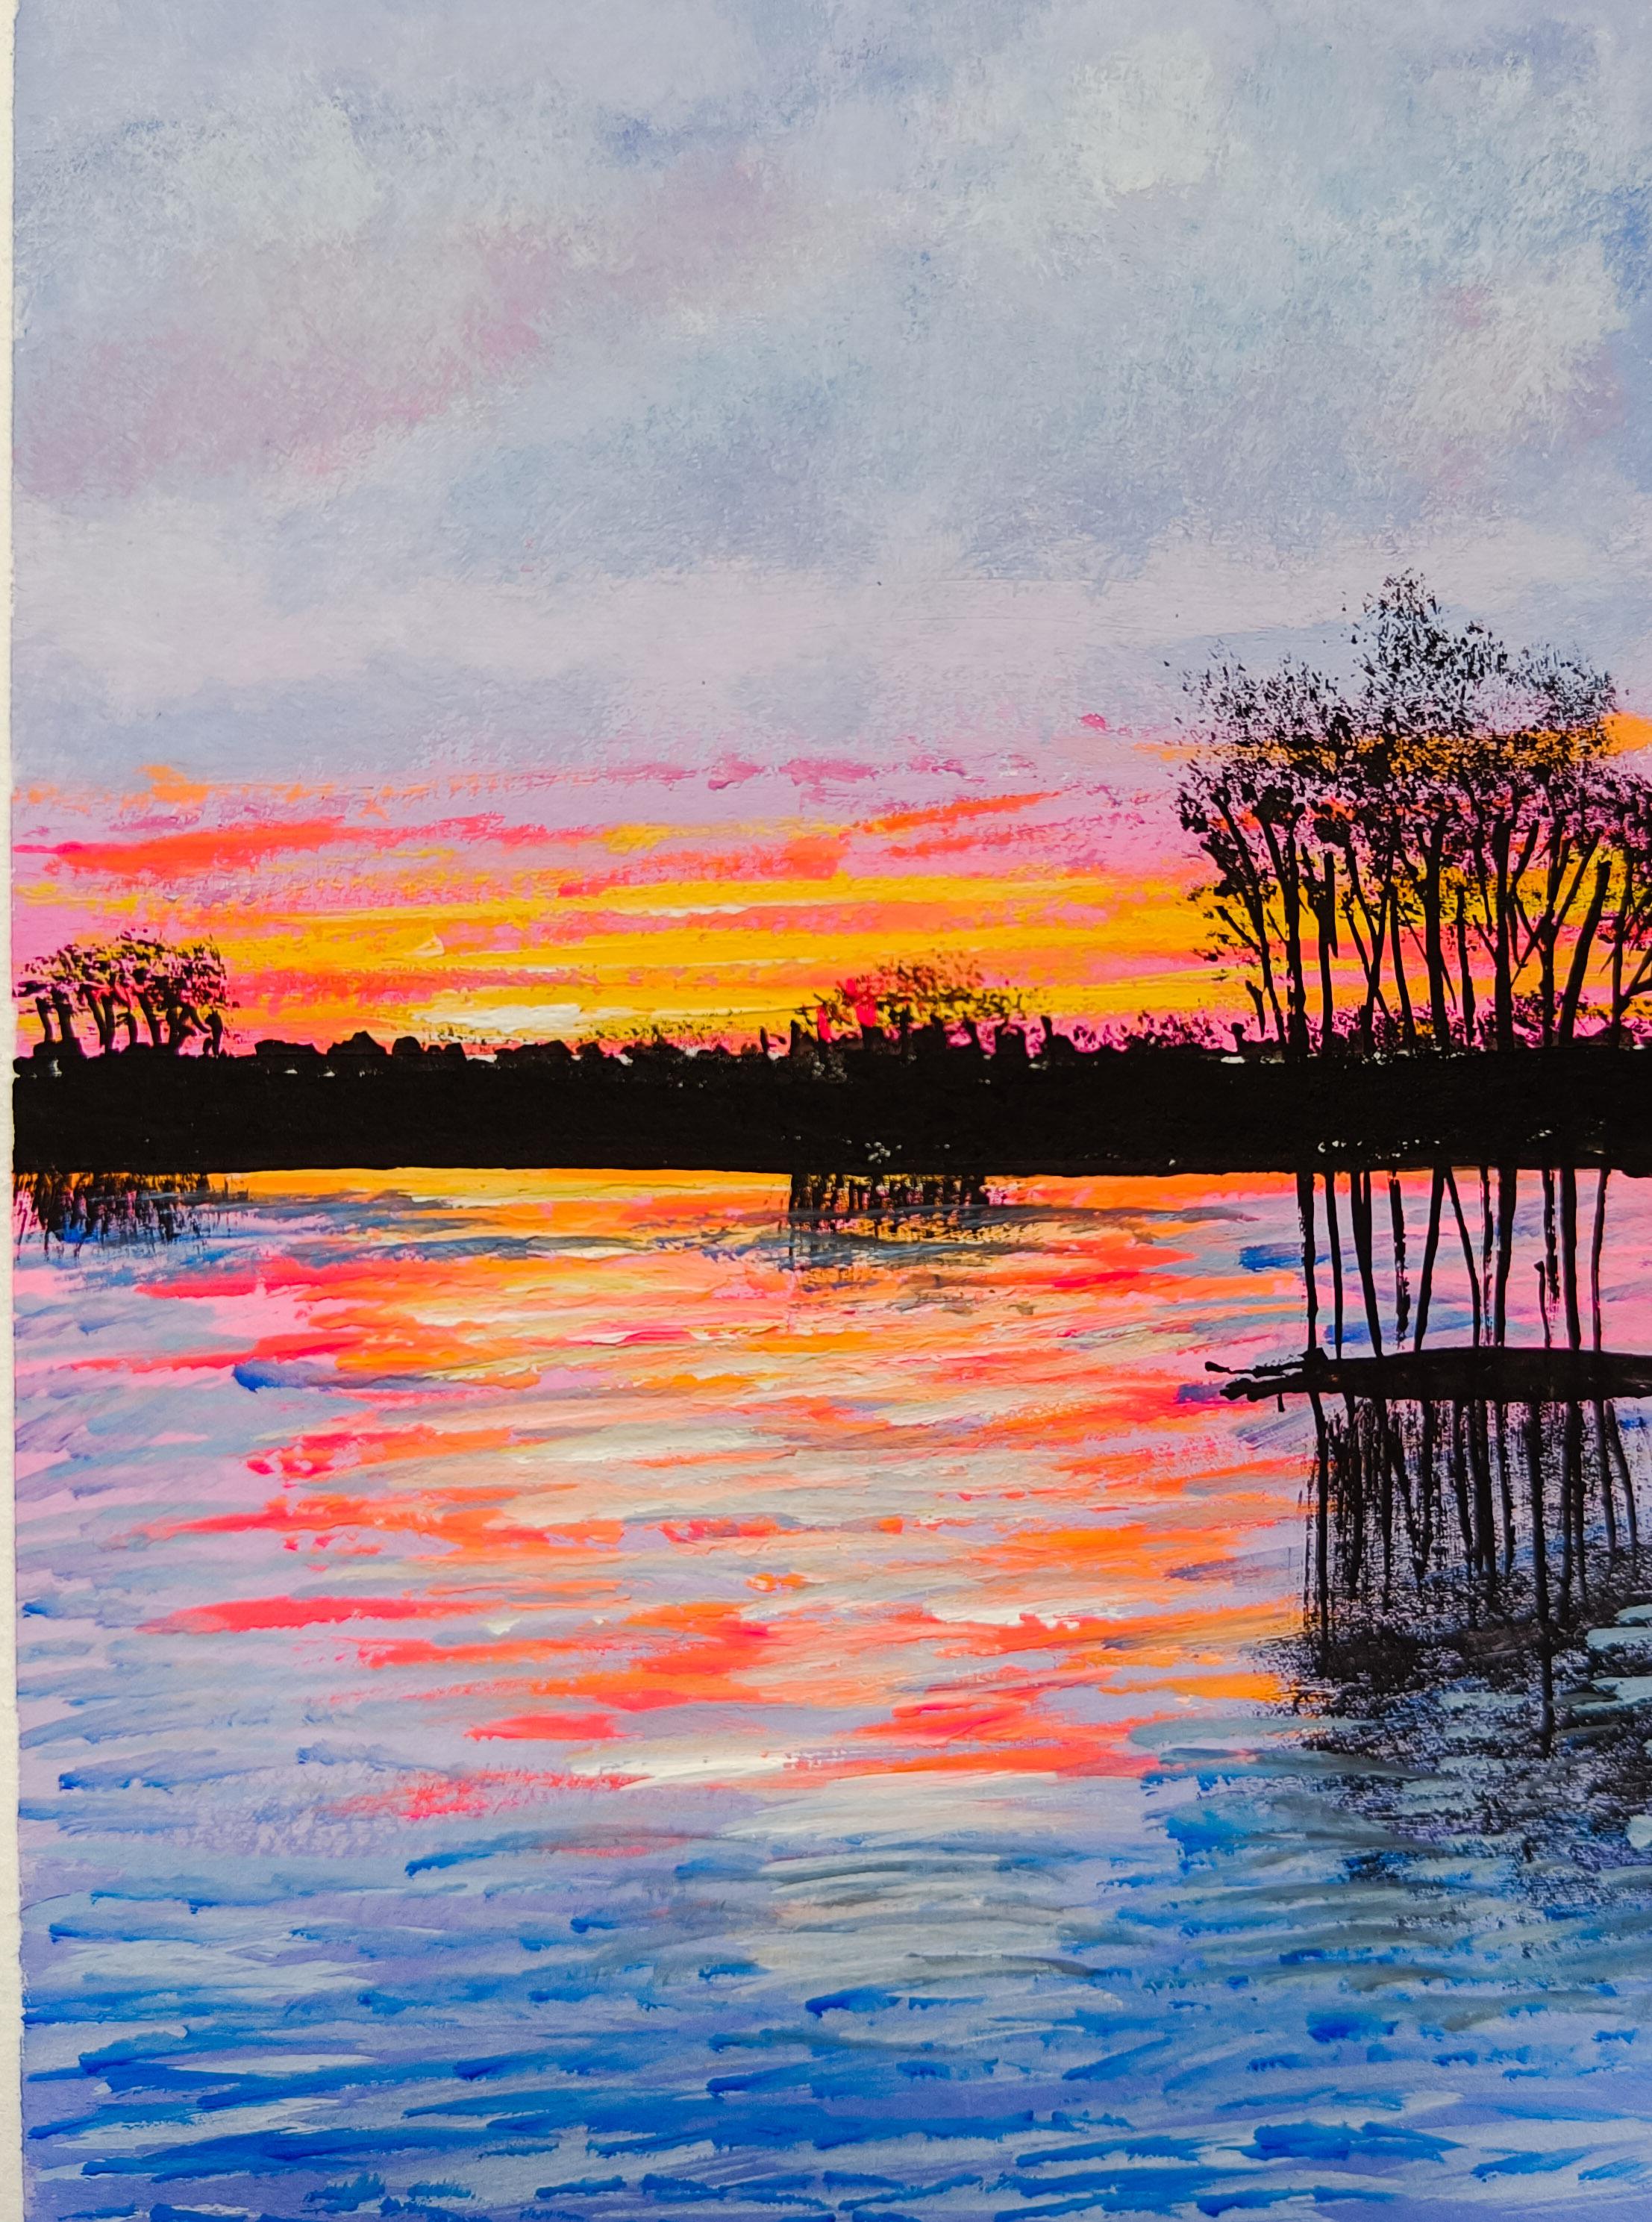
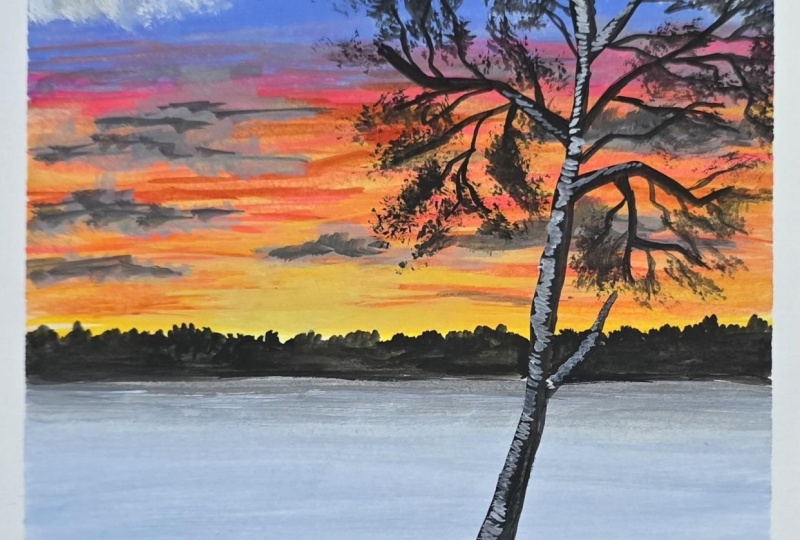
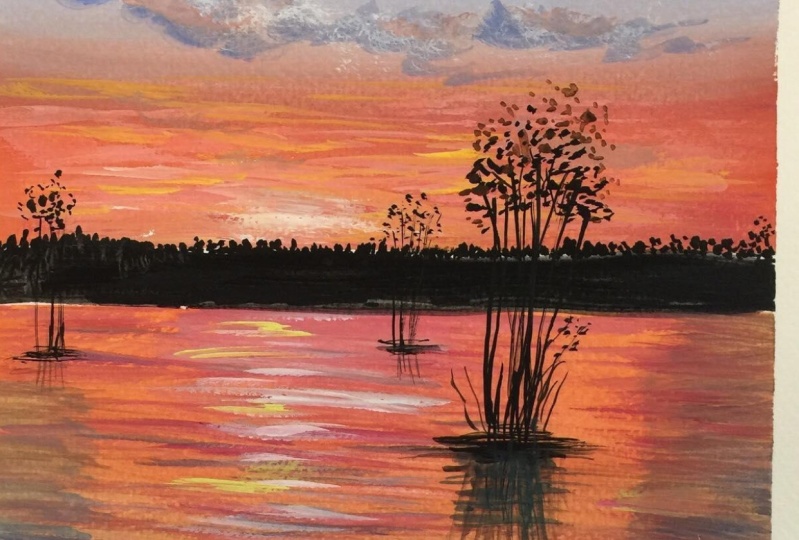
two most magical landscape. Both the landscapes are
unique in their own way. Their beauty, their calmness, and the serine and
D x by itself. Both the paintings are
divided into sections. And we will be learning complete step-by-step blocking, layering, creating clouds, and creating the landscapes, trees, bushes, everything
in detail step-by-step. So hope you guys will
like this and dry out. So let's start with
this magical beauty.
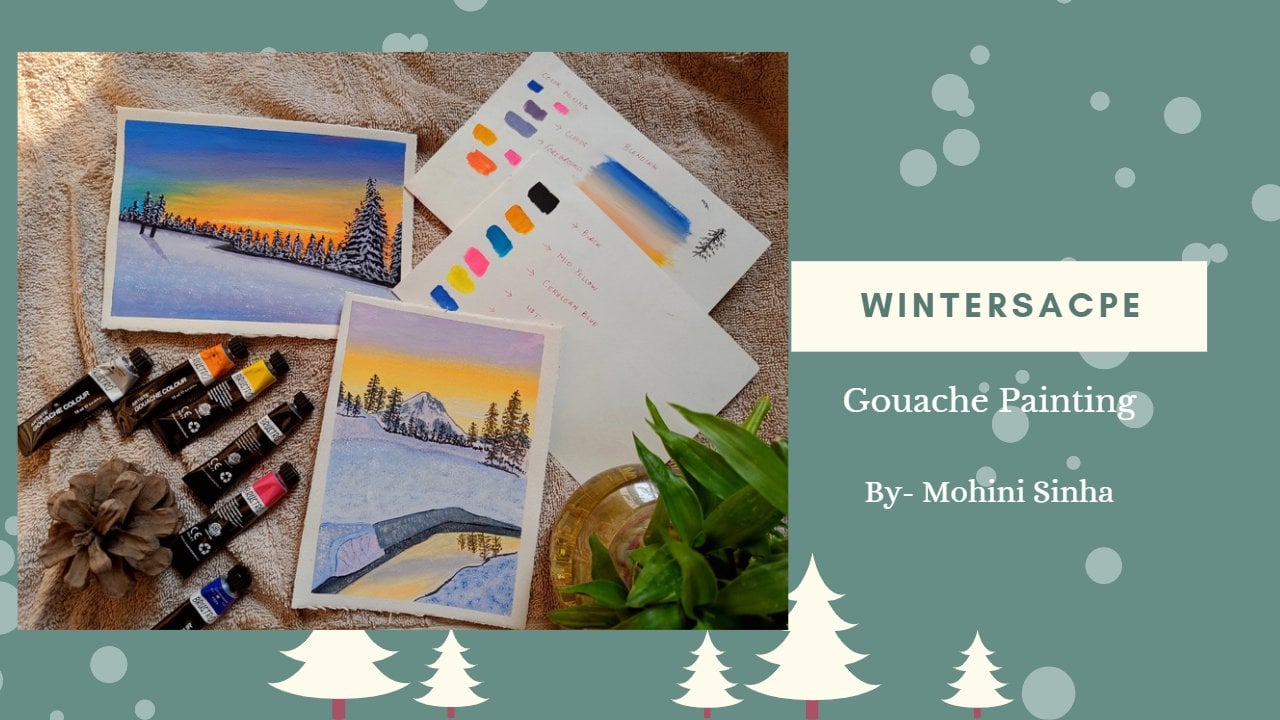
2. Materials Required: Materials used.
3. Blocking Background Landscape 1: Hello friends, welcome back. This is the A5 size 300 GSM
paper which I'm using here. And I have put masking
tape all around. And these are the colors. Black, ultramarine
blue, hot pink, cadmium yellow, lemon
yellow, and titanium white. All these color we will be
using for this painting. Actually for both the paintings, we will be using
the same colors. So this is our first painting
which we will be doing. So let's start with the process. So this is the actual image
which we will be painting. So it's not proper
copy, but yes, it's, this is the reference
image which I'll be using for painting the painting. Let's start. So first for the background, I will be using flat brush. It's of size four. So it depends upon what size
of paper you are using. The brush size matters. So here I'm just
mixing ultramarine blue and hot pink together. More of ultramarine
because I want to create something purplish color, purplish blue type color. So just adding more
of ultramarine. It's more of blue
and let soft purple. So it's like that kind of color which I'm trying to create. You can mix with your brush or you can mix with the palate. Either ways you can
mix the colors. I'm just trying to create
that proper shade of color. Adding little white to it. So just seen. You can see it's a bit dark, so I'm just adding little
more of white to that color. Let's try. This is
I think it's fine, but with light, little
bit more of blue. And again, water because
it is drying up. So one of the advantage of
using cautious that you can always it's water-soluble and it dries also if you
add water to it. And again, you can mix it. Again, you can make it soluble. So that is the plus point with
gouache, but with acrylic, you cannot make that color and make that color in
fluid form if it dries. Because you cannot
reactivate the color once it is done in acrylic, but in Gosh, you can always reactivate the color by adding water to it. So I'm just trying to
block in the color. So on the top it is bit of
bluish, purplish shade. And as we will go down, it is bit of hot
pink and yellow mix. I've left the bottom area. So just adding more of white. One little more light color. So I'm just adding more
white and you can see how you can reactivate
that color. It makes us so well. Now again, adding little with white and blue and a little bit of what pink and
creating the lower part. So this is actually
the snow area where we will be
creating the tree. So it's a bit lighter shade
as compared to the sky. It's light, purplish
shade it is. As you can see. I'm just trying to block in
that lower part. Now this is almost done. Try to do all the corners so that when you remove
the masking tape, it comes out neatly. So now I'm just washing off my brush and then
just taking more of hot pink and lemon
yellow and white. And we'll be doing the
lower portion of the sky, which is leftover to
just blocking from the line where I've put the masking tape
and just trying to block in the color
and as we go up it as more of a
pinkish and shade. So I'm just adding
more of pink to it. And I'm just trying to mix the
color with the upper part. This blocking is almost done. We will be now doing some detailing and the
cloud formation. So let's start.
4. Clouds Formation Landscape 1: Hello friends, welcome back. So now we have done
with the blocking. So now what we will do with
recreating these guys. So I'm using my angular
brush for creating the sky. Just taking lithium mount
of same color which we have used for the snow and just
creating some random skies. So I don't think this
brush is more effective, so I'll just be taking the
round brush. Smaller size. We will be creating this guy
just in circular motion. I'm moving the brush to
create sky and clouds. So just trying to create
the count contours. Contours. So it's mostly white and a little
bit of that color, which I'm trying to create. I've removed that
round brush and using the same liner brush and just adding little bit of same
color which I have used. So I'm just again blocking because I think it's quite dark. So just again block in that
column because that color is quite dark as compared
to the reference image. So I'm just blocking
in that color. So you can see how this blocking is being
done very smoothly. Whenever you are trying to create with any
reference image, you have to make sure that
what colors you are using, what color which match will match with that
reference image. So according to that, you have to decide your colors. So it's very important to
decide the color when you are doing painting using
that reference image. So here I'm just
taking lemon, yellow, and white mix and
using the tip of the flat brush and
creating lines. Just some cloud effect. You can see I'm creating. You can see how bright that
color is, that lemon yellow. And I've added a little
bit of cadmium yellow also, just creating clouds. And you will see that line which is dividing
those two color will disappear after we
create those clouds. Because that is what we
are trying to mix up. This is very basic
garage painting. If you are a beginner
and you want to learn something in Gosh, you can always go for it. There's also one more painting
which I have created. And gosh, you can check
that out as well. So yes, I'm just trying to
create a slowly the clouds, as you can see, does trying to create
some cloud effect. You need to be very
careful when you are using your colors
with that blue color. Because when blue color, blue color easily reacts
with yellow color to give it a greenish color so
that we don't want. So whenever you are trying
to create those shades, those layers, tried to use thick color when
you are doing it. So you can see I'm
using proper take color without any water. I'm just using that take color so that it
comes out really well. So again, I'm using that
yellow and white mix, a bit of cad yellow and
creating that lines. So you have to be very careful where to use that color and where to use that
liquid form of color. So whenever you are
doing any layering, tried to use thick color. It's not completely dry form. Water is there, but
very limited amount. That is 10% of water to make it just a little bit
of liquid form. Because we don't want that
color to turn out green. And whenever you are
using that color, make sure that your
background color has been dried off completely. Then only you can use
layering technique. So again, just trying to create more of
a yellowish shade, just adding white and lemon yellow and creating lines
with my liner brush. Because that lower part is very shiny and it's like
lemon yellow form. So that's why I'm trying
to create that form. Just adding a little
bit more of clouds. Now you can see that
line is not visible, which divides that two colors. So this is how you can
do the CloudFormation. You can see how
bright the color is, that pink, that pink color, that hot pink color creates
magic when you are creating any clouds or any
backgrounds and in Skype, I really liked that hot pink
and lemon yellow color. So let's start next.
5. Clouds Formation Part 2 Landscape 1: Hello friends, welcome back. So now let's start
creating the clouds. So here I'm using my blender
brush and same color. So what I've done is
I have wet my brush, but it's completely dried
off with the tissue. And they can quite dry colloids, very lesser water is
they're just trying to create small, circular contours. You can see where
I'm moving my brush. And it's a very light
pressure which I'm applying when I'm
creating those clouds. Very light pressure
because I want that coordinate
texture, you can say. So that's why I'm pressing
my brush very light. Now you can see my color
is getting dried off. So I'm just taking a little more of that color and creating little bit dark spots
to just adding more white and creating
some dark contours. Now just dipping my
brush and then taking my same flat brush and lemon yellow and
white and creating another layer of that lemon yellow, bright yellowish color. Because that color
is quite bright. And I want that bright
effect to come up. So I'm just adding yellow and white to it to create a nice, nice dark effect at that
glowy effect, you can say. So. Just using my tip off the flat brush for
creating that line. Now again, taking that hot
pink and cadmium yellow and creating just
overdoing the clouds. So just enjoy the
process of creating the clouds and try to do it
very slowly and commonly. Because creating
clouds need patients. Just overdoing the layers
and where cadmium, yellow and pink is required, I'm adding it actually, just overdoing it
and layering it. So now I've taken the Bristol brush for
creating that snow texture. So your RAM digging
blue and white. And we'll create some textures. Suggest small
textures. Urine there. No, actually I'm not happy with that texture which is coming up. Let's see if we can redo it. So how to redo it? I'm just taking my brush, just water and I'm just
mixing those colors. So I don't want that texture, so I'm just removing it
just by applying the water. I haven't used much off color. I'm just applying water on the top of it and
you can as you know, that coercion can
be reactivated. So you can see how
it is getting. Reactivated. So just
adding little bit of white and what
Bingham little bit blue. And adding at the lower part. And just trying to
blend the colors. So you can see how nicely
the color has blended. Again, we will be doing
the clouds because ads per reference image that is very cloudy and
whole areas cloudy. So it'll be, so I'm trying
to create that effect. So I've just taken that
blue color and just overdoing the colors on
the top of the clouds. Where does meeting?
Just overdoing and creating some contours. I'm just moving the brush. These circular motion to
create some cloudy effect. Because the whole sky is
actually filled with clouds. Just moving my brush
in circular motion, leaving that white contours
which we have created. So you can see how dusky look. It's coming up. We're just creating little
cloudy effect to it. Now again, adding a bit
of pink and blue and creating some clouds in
between those bright colors. Just creating some
lines in between those colors dictate color, otherwise, he didn't
mess up green color. So take, try to take the colors then only you will be able to layer that color. So this cloud portion
is almost complete. Just a bit of touch-up
is there, and it's done. So now we will be doing
with the tree part. So let's start with that.
6. Tree Detailing Landscape 1: Hello friends, welcome back. So now let's start
with the detailing. So as the black color, which I'm just making it
a little bit liquid form. So first we will be
creating that tree line. Actually. Here I'm using
my liner brush and just creating simple tree line
with my black color. If you feel it difficult to create your line with
your liner brush, then you can also use your
pencil for first creating it. So I've just remove that masking tape so that I
can cover that middle area. Also. Just creating
small textures. Just small does not smooth line. It is like textures. Small, small textures I'm
creating on the top of it so that it looks like
the bushes and bushes form. So just whenever you are using creating any lines
or creating sharp lines, your color has to
be in liquid form. Then only you will be able
to create those fine lines. You can see I'm just
trying to lock in that color, black color. So just enjoy that
process of blocking. So my blogging is
almost complete. So now what I will do is, will be creating
those three textures. Just creating a smooth line. A little bit of a
triangular shape to that base of the tree and some dots here and there to
look like the stones are, they're just making it
a bit smoother lines and now creating
the tree branches. When you are creating
any fine lines, make sure that your color
is in proper liquid form. Then only you will be able
to create those fine lines and always try to use
that smaller size, round brush or rigger brush. Just creating some lines. These are not straight lines. These are all different shapes. As you can see. Creating trees and branches comes
with practice. It takes a lot of time to create the exact branch
shapes and tweet. So it takes time. But eventually, when you
practice and practice, that fine lines will
definitely come up. So everything needs just
practice and muscular exercise. So as if you practice every day, almost 30 minutes also, you'll see difference
in your painting. Every day you're painting
will be improved. Now here I'm using
very thin brush. So fine liner brush for
creating that fine branches. Again, see how fine
lines are being created. So you have to use that fine
liner brush for creating that fine lines and branches. So everything needs practice. If you have to create
something realistic. It needs practice. For practicing writing. Notebook is the best part of it. So start using small
notebooks and creates, create one scene every day
if you are an HR level. So just take your
time and create lines slowly because it takes time
to create those fine lines. So just take your time
for creating those lines. You can see how bright that
background color is looking. It really looks very bright and scenic when
you use those colors. For the landscape painting. I hope you guys also enjoying
by doing this painting and just creating some
lines in between. Because every lines
are not same in trees. The different lines coming from different sides, from
different branches. So it's not necessarily that you have to create same lines
what I am creating, you can create your own. It all depends what
type you want. Now I'm just
creating small dots. You can see on the top of the branches so
that it looks like there's few leaves
on the top of it. Just small, small dots
which I am trying to create on the top of the lines. As you can see, if
your color is drying, just added a little
bit of water and then again started
creating small dots. So I'm already loving
this painting. I hope you guys are
also loving it too. So similar kind of painting
we will be doing for the next dog wash painting
using same colors. So this is one of them. Suggest creating dots. I'm not filling and diarrhea, I'm just leaving some
areas that blank so that they are only
branches, not any leaves. Just enjoy the process of
creating small dots and leaves. So now I'm using that same hot pink color
and mixing it with that same ultramarine color and creating some
snow on the branches. So even if the color is drying, you can see how the
dry factors coming up. So this is the
trifecta technique which comes up when you use the dry brush and
some dry colors. The color is not completely wet. So small, small dots here and there to create
that snow texture. So this is it. Just taking little wide
and adding little on the top of it to create
more bright texture. Some final detailing is left
and creating some grasses. Urine. They're just
so this is it. Now again, take little bit more of what pink and ultramarine blue and just create
those clouds little bit. Just layering those clouds. That's it. Suggest creating those clouds little
bit in shape. So now you can see how bright
the painting is looking. I'm really loving it. I hope you guys will also
enjoy doing this painting. So I'm just creating
one line for that dark color
below that bushes. So now it's done. Was done a little bit left here. Use it you, with your pen. Suggest removing
the masking tape and let's see how it looks. It's already looking beautiful, but let's remove
the tape and see the magic of the landscape. So this is the painting. I hope you guys
liked this painting. So let's start
with a second one.
7. Blocking Background Landscape 2: Hello friends, welcome back. So let's start with
our next painting. So these are the colors
which we'll be using. These are all similar
colors which we have used for last painting. So let's take a little
white and blue, very small amount, and hot pink. It's a bit of more
of white and less of less of hot pink and blue. It's very light color, which I'm going to make. Just adding little water
because the color is drying up. So just mixing the color. You can see how
light the colors. It's hardly bit of
blue and hot pink. Let's start blocking. Just starting from
the top. Same brush. I'm using that as
the flat brush. And I'm just trying to block
in the background first. And then we'll move downwards. So if your color is drying up, just add a little
amount of water and then started, start again. And don't make the
color to liquid. It needs to be a little bit
it needs to be semi fluid, not proper liquid form. And then try to blend
the colors slowly. Just adding little bit of
hot pink and then again, blending the cut off from
where I have stopped. Just slowly try to
blend the colors. Because we don't
want that line to come up when we're doing
the background Blocking. I'll just wash off your
brush and then again, just blend the colors. Just my brush has just water. I'm just trying to blend
the overall color. Now. Just wash off your brush. And again, take hot pink. Just makes it with
the same color which we were doing earlier. And then again
start from bottom. So it's quite pinkish shade. And just blocking
the whole thing and try to blend the colors. You can see my
color is drying up, so I'm just adding little
amount of water to it. And again, blending the colors and see how nice and smooth
blending is being done. So this is almost. So now let's start
with the foreground. So add a little more
amount of pink, little white, more pink. Just blocking the same color which we have done
on the above side. Adding little more of ultra marine and white
and just blending. Brush size completely
depends upon what size of paper
you are using. Here. I'm using A5 size
or my brush sizes for. So it all depends upon the brush and the paper size
which you are using. Just blocking. Sure that you don't forget to cover all the edges in order
to create a nice border. If you will leave the edges, that border will not come up. So try to paint all
the edges nicely. Just adding blue and just moving the brush to
and fro direction. I'm totally loving this color. I hope you guys are also. That hot pink is so soothing and that
ultramarine blue mixes it and gives a very
nice color to it. Let's not next.
8. Clouds Detailing Landscape 2: Hello friends, welcome back. So now let's start with
the cloud creation. The whole background
has dried up. So here also I'm using my blender brush to
create the clouds, just adding little
white to that color, which way we were using earlier. Just trying to create
the cloud shapes. So CloudFormation
actually take time. So I'm just moving the brush in this circular motion and trying to create random
shapes of the clouds. So that is what you have to do. Also. Just create random shapes and try to create the contours. So here I'm using
my blender brush. You can use round brush, also, round synthetic brush for
creating such clouds. Just trying to give
the shape to it. So just blocking the entire
area which we did earlier for the rest of the
CloudFormation, just blocking the
anti because it is quite cloudy
atmosphere all over. I'm just trying to create
that starting material, blue and white mix. And then a little bit off. But pink. And just trying
to create the shade. Because these clouds are
actually very quaternion shape. And that's what I'm
trying to create and my brush is dry completely, just the color is little wet. Removed extra water from
my brush and just using my dry brush and very
less amount of water. Otherwise, that cloud, that cloudy texture
will not be created. So you don't need to add, you don't need to add too
much amount of water to it. Suggest trying to create shapes, moving the brush in
the circular motion. So you need to be really very careful when to reactivate your background color
and then two NADH. So if you want to reactivate
your background color, then you can use the very
liquid form of color. But if you want, if you don't want the
colors to be reactivated, then you have to use
a bit thick color. So you can see it's
coming up the two. So just overdoing and layering the colors to give it the
exact shape to the clouds. Just adding more of white. And again, moving the brush and adding little white
texture to middle of the cloud and some
area, some below. So now I'm using my liner brush and see
the color has dried up. Just adding lemon yellow, white, and hot pink. And trying to create the
clouds in line form. So these colors are quite
thick because we want the, we don't want the background
color to reactivate. So I have used a quite
thick amount of color. When you use take color, there are less chances of the background color
getting reactivated. So just trying to create some
lines and shape of clouds. And daily. Similar
process which we have used in the previous painting. So it's quite similar
to previous painting. It's just that the color is bit more light than
the previous one. So just trying to add
little hot pink, yellow. The CloudFormation
is almost coming up. I hope you guys are enjoying it. Suggest adding the lines. You can also use
flat brush was all but I fell to use
this liner brush. You can use flat
brush also if if you are just adding little more
of a purplish shade, also, cloud formation takes time, so you need to give
proper amount of time menu up creating clouds. Because if you'll be in a hurry, the whole formation of
clouds will be destroyed, so you need to give proper time. So just adding more
of some textures, some layering, adding little hot pink and just applying above because it does
little bit bluish. So I'm just trying to
give a little bit of hot pink taste to
the clouds also. So you can see just moving the
brush and circular motion.
9. Detailing Of Water Landscape 2: Hello friends. Welcome back. So now let's start
to wet the water. So I'm just adding hot pink
and cadmium yellow and white. Just trying to create
a lighter shade. And using my flat brush tip, I'll be creating the lines. Just one line and
then just small, small lines I'm creating. Just using the tip of
the brush and dine to create small
lines and textures. Just adding more of hot pink
and creating the lines. You can see it's
quite thick color. So as I said earlier, if you're not using
thick color and you are using a
liquid form of color, their chances of color, background color
getting reactivated. So if you are doing any
layering technique and gosh, you have to use colors, then only you will be able to do that layering technique
or any details. Otherwise you will not be
able to do the layering. The middle portion is quite
bright and as we go down, the brightness reduces and it's more of a bluish,
purplish shade. So that's what we are
trying to create over here. So you just need
to move your brush and just using the
tip of the brush, you have to move the brush
in the to and fro direction. It's just applying little
more of a pink on the top. So just you can see how
I'm moving the brush. Just using the tip of the brush. I'm trying to move the brush. It creates a very nice, watery texture when you
use such technique. Now here I'm using white and ultramarine blue
and just adding the same textures to
add little bit of a bluish on the sides. The same process I'm
repeating and I'm just using the tip of the
brush and moving the brush and the to and fro
direction, creating lines. You can see how the
watery factors coming up. So just adding more of
white and creating lines. Just enjoy the process
of creating lines. So it's just a beginner
level painting and anyone can paint this. Even intermediate level. People can also
paint this if they are not going to go wash and they are
doing other mediums. Just adding little darker color
because it's quite light. So I'm just adding
little darker texture to this watery effect and just dabbing the tip of the brush and creating
the textures. Can see how the texture
is being created. In flat brush with fine tip is best for creating
the watery effect. If you have gum brush, you can use com brush also for creating such watery effect. So I'm just adding
little more of dark yellowish color to
give it a bright look. So just adding more of white and yellow mix to the below also because
it's quite bright. That's what we want. We can see how nice and
bright the color is. So let's take out the
middle part also. Need to take out very slowly. Otherwise the chances
of paper coming out see a little bit of
paper has come out. So what we will do, we will overdo it with the same color. So I'll just take same amount, same color in and just
fill in that area. Since this paper is quite thick, so it doesn't matter if the
paper tears off a little bit. But if you're doing it
on a thin papers or their chances of
paper tearing off. So now I'm using black color in liquid form and creating
some bush brushy texture, you can say, with my liner
brush, creating some textures. And then we'll fill
the entire area. Then with my flat brush, I'm just filling
the entire area. Keeping in mind
that the line below the water is straight. So you can easily
create straight line with this flat brush. You can see how nicely
the straight line is being created with
this flat brush. You just, whenever you are
creating any straight line, just don't move your wrist. Just try to keep it at 1 and then drag your brush from
one end to the other end. There's a bit of stone, or you can say is some land over in the middle of the
water so that I'm creating.
10. Final Tree Creation Landscape 2: Hello friends. Welcome back. So we were doing the
trees and the bushes. So let's start with that. Now here I'm using my fine liner brush
and trying to create the shape and the lines of the trees with my
fine liner brush. These, there are
many trees which are overlapping each other. So I'm trying to create that, make the black color but fluid. Then only you will
be able to create those fine lines and try to
create some random lines. And because there are lots of trees which are
falling in that area. So I'm just trying to create
as much lines as I could. Some branches and between
to create some tree. Some tweaks, some
branches here and there. Now. Similarly, I'm just trying to create small lines
on the top, also. Some lines over here. There are also some
small brushes. So I'm just trying
to create the lines. And there are some lines which are the reflection
of those lines. So I'm trying to
copy those lines and creating the reflections. These are the reflections of the lines here also
the reflection. And over here also some lines. Now that my Bristol flat brush, I'm just taking a row, white, black color and
trying to create small dots. Now this color is, or the dry color
that's not wet color. So then only you will
be able to create those small dots to completely dry brush
and dry color it is. I'm trying to create small, small dots which will look
like the tree leaves. And some dots over
the bushes also. And some dots where
I've created the lines. Some dots over there
and some dots over the lines which we have
created on the other end. So just creating dots. And similarly, just taking that color and just moving the brush in the
downward direction. Because the shadows
are never perfect. So I don't want that
shadow to be perfect, so it's completely
dry on dry technique. Then only you will be able
to create those effects. Just trying to create
some horizontal lines. Like the tree leaves
are reflecting. So just trying to create that. So you can see how
nicely it is coming up. Just creating more of dots. Because I don't want it
to be even and should be uneven because all the
trees are not same. Some nodes on the bushes also. Now just adding little
pink on the dots. Because that is near
the brighter area. So you can see how
bright this is looking. So just adding more of textures, more of lines to create
a realistic look. Taking more of ultramarine. And creating some textures
over the above area. Just few textures, few lines
with the tip of the brush. I'm trying to create seeds already looking
so beautiful. So just a few highlights, just few warm colors you can see I'm adding to it to give it a
more bright look. So this is the painting. So one with the snow escape
and this is the water escape. So I hope you guys enjoyed it. Just a bit of final details. So bit more of cloudy texture. See the more and more you
create the cloudy texture, the more realistic it looks. Just adding more of white and blue and
dry brush technique. And I'm just moving the brush in the circular motion. This is it. I hope you guys enjoyed
both the paintings. I love to see your
project works. Whichever you like the most, you can try out and share
your project with me. You can also share your
project work on my Instagram, that is more Guinea art gallery. You can see how nicely
the border has come up when you paint the
borders perfectly. So thank you and
have a nice day.
 Mohini Sinha, Acrylic and Gouache Artist- Nature Lover