Transcripts
1. Introduction: Hi, my name is Gabrielle Brickey and I'm a freelance artist with a focus on portraits and illustrations. In this class, I'll be teaching about one of my favorite elements of design, which is color. We'll talk about the power of color and practical ways we can use color to our advantage. To help us create more successful, beautiful competitions. To start, I'll break down color into its basic properties so that it's simpler to understand. Then I'll show you color tricks, how to arrive at beautiful color palettes, and examples of how you can use color effectively to portray the mood of your piece. This class will be great for beginners, traditional artists, painters, digital artists, and basically anyone who's interested in upping their color knowledge. This course will not be focused in on any one technique or medium, instead, I'll be sharing that basic principles of colors that you can apply that knowledge to your own unique style and workflow. So, please join in. All you need is your favorite color medium to get started. I can't wait to see you in class.
2. Class Overview: Composition is the placement or arrangement of elements using the principles of design. Let me break that down. When we make a drawing or a painting we draw our paint on a 2D surface, often a rectangle or square. Whether it's a piece of paper, a canvas, or a digital file, we have to build our composition within these four sides. When we make a piece of art we're working with and arranging the elements of design on that 2D surface. Elements are the visible things we can see, form, shape, space, texture, line value, and of course, color. These elements are the makeup of a piece of art. In other classes, I'll go into each of these other elements in more detail. But for this class, we're going to just dive into color. Color is really an amazing thing. According to scientists, the human eye can detect millions upon millions of unique colors. So how can we possibly translate this complex thing in to our art? Well, in this class I'll explain the properties of color so that you understand it a little better. I also want to share some principles that had been tried by artists before us and have proved successful, so that the use of color in our art is made a bit simpler. The more we understand about color and the other elements to design, the better our compositions will be. In making this color class, I realized that everyone has slightly different thoughts about color. I personally believe that there is no end-all, be-all, and that there are no exact color roles. In fact, I think that all of these wheels can be used, even though they're all different. So please don't walk away from this class and think if you don't follow one of these ideas then your piece is going to fail. Certainly not. Think of this class, these color schemes, and these ideas as a jumping off point to help inspire you and get you started. At the end of class, please share your color experiments and creations in the project gallery. All subjects and color mediums are welcome. I cannot wait to see what you create. All right. Now let's jump right into the element of color.
3. Properties of Color: There are three properties to every color, hue, intensity, and value. Hue is what people are often referring to when they say color, like red, orange, yellow, etc. Hues are the colors we learned as kids, and they're arranged here around the color wheel. On this side of the wheel we have the warmer hues, the warm greens, yellows, oranges, and reds. On this side we have the cooler hues, cool greens, blues, and purples. Now this next property I'm going to refer to as intensity. You'll also hear this referred to as chroma or saturation. There's some debate about the best word to use. But what I'm referring to here is how pure or gray the color is. Really intense colors are supersaturated with color, while colors with low intensity are more dull. Intensity tells us whether it's a pure color or if gray has been added to it to make it more muted. On this wheel, we see that the most intense colors are on the outside. As we work our way towards the middle here, the colors become less intense because with each level, more gray has been added. Any color and that has gray added to it is considered a tone. You can also experiment with bringing down the intensity of a color by adding the colors compliment to it, you can get some really interesting shadow colors this way. Now value refers to how light or dark color is. Often in art school students are first trained in a gray-scale medium like charcoal or pencil, because it eliminates those two complexities of color I just mentioned. Charcoal and pencil train us to see and arrange values, which is such an important element of good design. There are thousands upon thousands of value increments. So to make it simple, many artists use a value scale. The scale breaks down into just ten values, from white to mid gray to black. So when trying to figure out how light or dark something is while painting, artists will sometimes pull out a value scale and compare. In color, lighter valued colors with white added to them are called tense. Often these light tense will look like pastel colors. While colors with black added to them are called shades. As an Adobe Photoshop users, the tense are here and the shades are here. Don't be deceived and think that this is a one on the value scale because it's across from white. Because this red is actually more like a five. For artists who are working from life or from photos, here's a practical way to help you see values. Squint your eyes down at your subject. This will blur the details and also place a haze over the whole scene, which helps you see the basic values in your scene in relation to each other. The darks will group together and the lights will group together. Now the values themselves will become inaccurate because as you can see, your lashes will darken the entire view. But it'll enable you to make judgments about the relationships between the values in the picture. You'll be able to answer the questions of where's my darkest dark and where's my lightest light very easily. The lights will pop out at you and will be more obvious than with eyes wide open. You can also simply take a photo of your subject in black and white, and also take a photo of your piece, convert it to black and white, and see if your values are strong and accurate. You can also do this while painting digitally by making a copy of your image and viewing it as gray-scale to see if your values are strong enough. Values are important to get accurate because they're what makes the thing look real and convincing. I've even heard it said that its value that does all the work, but color, that gets all the credit. Another important thing you want to note about color is color temperature. Whenever you have two or more colors, which is pretty much the case in any painting, you'll have to compare temperatures. In addition to the basic breakdown we learned earlier about the warmer colors on the wheel compared to the cooler colors on the wheel. We must also realize that colors can be more warm or more cool in relation to each other, even if they're called the same basic color. Let me show you an example. Looking at this color here, we could probably all agree that it's simply called yellow. Then looking at this color, we could all probably say, yeah, that's yellow too. But when we look at the two colors in relationship to each other, we see that one a slightly cooler and the other is slightly warmer. They belong to the same general hue, but they're different in temperature. Many painters will even have both a cool version and a warm version of colors on their palate, so that they can get these slight variations in color temperature. Again, there's another debate over blues, which of these is warm and which one is more cool? It may depend on your perception. But point is, if you're using a pallet, have both versions of blue, if you'd like to experiment with a full array of colors. So now that you know about hue, intensity, value and color temperature, let's break down this color wheel a bit further.
4. RYB and CMY Color Wheels: Now, we're going to discuss what the color wheel is, the two main color wheels, and how we can use it as a tool for both mixing and designing compositions. The color wheel is an arrangement of 12 hues around a circle. To break down the parts I'll use the RYB color wheel you may already be familiar with from your school days. In this color wheel, the primary colors are red, yellow, and blue. Primary colors, in theory, can't be mixed from other colors. But primary colors when mixed two at a time will create secondary colors. In this case, red and yellow make orange, yellow and blue make green, and blue and red make purple. So that gives us these six colors. Then when you combine a primary color with a secondary color, you get a tertiary color. Those intermediate colors like this golden yellow, this red-orange, etc. This will give you 12 hues that you can place in a color wheel like this. Another important term to know is complementary colors. Complementary colors or complements are those colors that are across the wheel from each other. This will become important when it comes to experimenting with color mixing and for designing color schemes as well. Now that we know the basic breakdown of the color wheel, let's talk about the two main color wheels artists use today and the colors they consider their primaries. In school, you may have learned that the primary colors are red, yellow, and blue. This is what I was taught too and it has served me well enough throughout the years. This is often called the artists primaries, traditional color wheel or what we'll refer to in this class as the RYB color wheel, red, yellow, blue. But you may have heard the newer theory that cyan, magenta and yellow are the truer primaries, which we'll call the CMY color wheel. Like we just learned, primary colors are colors that when mixed two at a time will create the secondary colors. In the RYB wheel, in theory, red and yellow make orange, yellow and blue make green, and blue and red make purple. But if you've ever started with red, yellow, and blue as your primaries, you may have found that particularly the purples you're able to create are dull. You just can't achieve really vivid purples and some other colors with these primaries. In more recent years an updated set of primaries has come about and now, cyan, magenta and yellow are often regarded by artists as the truer primaries. So which wheel do we use? Which is right? The answer will depend on your specific situation: what medium you use, what subjects you like to paint, and also simply your personal preference. Let's first discuss the wheel as a tool for mixing colors to help us figure it out. If you want the largest range of colors, starting with only three tubes of paint, then at this point in time, cyan, magenta and yellow will be the way to go. Vivid reds can be mixed when magenta and yellow are combined and you can also achieve a beautiful deep blue when cyan and magenta are mixed. I've had to fight against accepting cyan, magenta and yellow as the truer primaries for a while. But for me, I find it easier to accept this theory when I think of magenta as just a version of red, just a purply cool version, and cyan as a type of blue. What's the problem then? Why don't all artists jump on the bandwagon and accept these new primaries? Well, it works better in some painting mediums than in others. For example, in a medium like watercolor, this works great because of the wide range of vivid colors available in the market by quality brands, where transparency isn't really an issue. But for some painting mediums like oil paint, these colors are hard or impossible to come by with good opacity at this point in time. Most of the colors that get close to cyan and magenta are transparent. It can also depend on the subject matter you like to paint. If you like to paint vivid, colorful illustrations or perhaps bright, floral paintings and you only want to invest in three tubes of paint, then try colors close to cyan, magenta and yellow. Investing in these tubes of paint will give you the widest gamut of colors for your buck. By contrast, if you're a portrait painter or a realist painter and you like a more traditional look, you may still prefer to use the traditional red, yellow, blue color wheel, as it would probably lead to less mixing time and you'll likely get to flesh tones quicker with this set of primaries. Cyan, magenta and yellow are beautifully vivid, but it can take quite a bit of time to make some down to neutrals. For artists who need to get to those duller colors quicker and don't need the super intense colors anyway, RYB may be the way to go. When it comes to mixing neutrals, you can use the color wheel as a guide. If you want to dial down a color, look across the wheel to its complement as I mentioned earlier. This will help die down the color and bring it to a more neutral state. If you're looking to purchase colors and you aren't ready to invest just yet, stick to one of the sets of three primaries. You can get a huge range of colors from both RYB and CMY primaries, or by both, since one leans more cool and the other more warm. You'll also probably want a black and white as well. If you're willing to invest a bit of money in your medium, again, I would recommend buying colors close to both RYB and CMY primaries, black and white, but also investing in the secondary colors and some earthy colors. Color names and exact pigments are not universal across brands, so use your best judgment. Or if you check out your favorite artists online, oftentimes if they work in a traditional medium, they'll share their color list. Here are my go to colors and my favorite traditional painting mediums if you'd like to see. Personally, I like to have a full range of colors. This opens up a lot of color options and also cuts down on mixing time. As a note, if you're a digital painter, there isn't too much in the way of color mixing, since you can just pick up specific colors. So don't get too hung up on mixing from the primaries. Now that we've covered using the wheel as a tool for mixing, in the next video, we'll discuss using it as a tool for designing. When it comes to designing color schemes, I think both the RYB color wheel and the CMY color wheel can work great as guides, and we'll talk more about that in the next video.
5. Color Schemes: When we were kids, we would just grabbed from the crayon box any color would do. A couple of times in my life, I've seen child's drawings and I've thought in my head, well that is surprisingly harmonious. But if I'm being honest here, most often that hasn't been the case. It's the same for us. We can't just close our eyes and grab colors at random and hope they'll work in harmony with each other. Sometimes this might work, but usually not. As we grow as artists or intuition when working with color will become better and better with practice. But if you're just getting started or if you want to try a fresh pallet, you can use the color wheel as a tool for coming up with color schemes. Using a color scheme in your piece will often help make it harmonious and more pleasing to look at. As I mentioned, I've seen successful art pieces made with both our Yb MC, MY color pallets. Either can be used as a guide. There are more color schemes too, these are just some of the most common you'll see in art pieces. Monochromatic schemes are made up of a huge tense, tones and shades. Here we can see some examples of monochromatic color schemes. The scheme may lack a bit of exciting variety of color, but there's no doubt that it is harmonious. Because skin tones are so human and normal to us. I think of them as a neutral color they can still work well and monochromatic color schemes. I also think slightly different temperatures of the same general color can work well in a monochromatic color scheme. For example, here we have a lemony yellow and here we have a more golden yellow. Even though they're not the exact same temperature, they have close to the same general hue. So it still works. Complementary color schemes are those colors that are across the wheel from each other. Here's some example, our pieces were complimentary color schemes have been used. Now personally, I don't think this needs to be an exact math where this exact orange Moscow with this exact blue. I would even proposed that really any two colors can be used to make a harmonious picture. Because you're only working with two root Hughes it's not super overwhelming to look at, especially if you use tense tones, shades, and less intense versions of those colors. Even this orange and these grains work well in harmony. Another great color scheme are analogous color schemes. With this harmony, you choose colors that are right next to each other on the color wheel. These schemes are very natural and they just flow from one color into the next in harmony. They're an effortless, comfortable color scheme because they're a natural rainbow order. With analogous color schemes, you can also add a compliment and you can expand further around the wheel to include more colors as well. Triadic color schemes, you use three colors evenly spaced around the color wheel. I found that triadic color schemes are particularly common in abstract art and in graphic design. These are just a few go-to color schemes you can use in your pieces. But it doesn't stop there. The more you work with color, the more your personal taste and what you like we'll develop. When you see colors that greatly inspiring you, take note of what colors are at play there. Save the picture for your reference later. Point is you don't have to limit yourself to one of these ideas. They're just a jumping off point. As a note, you'll want to remember that you don't have to use colors at full force unless your intent is to make a piece that's really colorful. Just remember that you can also use colors with low intensity light values and dark values too in harmony with those more intense colors. I have lots of harmonious color schemes in the class project section of this class. Please check them out if you're stuck or if you'd like some inspiration or ideas. Also, if you have Photo shop, I've provided a blank palette for you to make your own. Describe the paint bucket tool, your first color, and then build upon that. Another resource you may find is worth checking out is the Adobe color wheel site. If you love the colors that are in a specific folder or image, you may also want to try a color palette generator to help guide you. I'll have the links to these sites in your project section as well. Try experimenting to see what pallets and color combinations you can come up with. Color is a beautiful natural thing. When you're working from life you may even find that the harmony happens naturally without you even trying. Because the light source will work to harmonize and unify everything. Whether it's sunlight, cloudy day light, or electric light. Color schemes can be very fun to explore though in illustrations. I would encourage you to experiment with them and see what you can come up with.
6. The Power of Color: Now let's talk about the power of color. If you wanted to make the most intense red ever, sometimes this is the best you can get. But what we have to remember is color is relative. We can put other colors around this red to make it appear even more saturated if we wanted to. See how that just brings that read to life. This is a same exact red, but it pops when it's placed with green surrounding it. Complimentary colors like this will usually pop more when they are near or around each other. If you think about it, you can see this in action in real life, like in Delhi shops, you'll often see green surrounding the red meats, making the right appear more intense and therefore fresher looking. The store will make more money just by using color to their advantage. We can actually alter the appearance of a colors hue, intensity value, and temperature depending on the colors we decide to place around it. Let's take a look at some examples. These squares here are the exact same color. Now look at this same gray squares, but look how they seem to become different just because of the values placed around them. Because the first one is surrounded by a dark value, it makes the square look lighter in comparison. Then over here on the right, we can see if we surround a color with lightness, it makes the value appear darker. We can do this in color to same purples here, but one looks darker in the other lighter, just because of the difference in value of the surrounding colors. Now checkup the intensity here. Same color on the inside, but they look dramatically different because the one on the left is surrounded by a less intense $ color, that orange just punches through. But on the right, it gets lost. Here on the left, the hue seems to be going in an almost green direction compared to the more cool blue on the right. Now look here. These are both gray, but on the left, because it's surrounded by warmth, it's made to look cool. While on the right because it's surrounded by coolness it looks warm. It's really quite amazing the tricks colors can play on our eyes. Here to me it looks like the hue and value change. On the left it looks bluer and comparison, and lighter in value and on the right it seems more purple and darker in value. Aren't these amazing? I actually had a really great time making these and I think you might to. So I've added a blank one to your project section, if you'd like to experiment with it in Photoshop and come up with your own. Just remember to keep those middle squares the exact same color. This is cool, but how can this knowledge make us better artists? Well, the range of paint colors and tubes or pencils or any other medium can not even begin to match the amount of color variations we see with our human eyes. We need some tricks up our sleeves. Try using some of these ideas in your paintings. If ever you need to push a color a bit further.
7. Color and Mood: Did you know that the use of certain colors can actually help tell your story in aid your audience and understanding and seen better. Color can help you achieve a variety of moods. With the use of certain colors, emotion can be felt through your piece to better tell your story. If you wish to tell one that is. You can really see this in films and animated movies. The artists work hard to use colors that convey the stories, ups and downs. We can do this in our art as well. Take a look at this. We have a photo of mountains. Here we have a calm stable, positive scene. Nothing really out of the ordinary happening, just a normal day. But in this scene we're looking at something much more somber and cold, perhaps right before a storm. Now here this is a majestic scene where maybe this is the shot right before we cut to the scene with a princess who's a hopeless romantic. But now here it's quite ominous and [inaudible] , as if there could be some unknown alien or monster lurking just beyond the mountains. In this scene it's like the storm has passed and there's a feeling of hope in the city below. All the same picture here, but dramatically different moods were able to be achieved through the use of different colors. I think we associate colors with moods and emotions because of our life experiences. Associating colors with feelings, themes and emotions will vary from culture to culture. You'll have to see for yourself if you agree with these common associations between color and mood. The color red is intense and passionate. Scenes associated with red range from romantic love to bravery, to anger and war. I think our associations come from imagery and real life. Red hearts and red roses are romantic love themes. Pops up the color red will often work well for romantic illustrations. Red is also associated with power, think red power tie. Many flags have reading them to represent the courage of the country or even danger, depending on the flag. It's also the color of blood, which makes us think of war and battle. Often imagery associated with these themes will use the color red for the overall color of the light. Red can create a really dramatic scene. Red is an attention grabber. If you want to grab attention in your piece, pop and read, think stop signs. You never miss them because they always kept your eye. Oranges a warm color, when we think of it, fire may come to mind. Orange is full of energy. Orange may also remind us of warm personalities. It's often a color used to convey happiness, friendliness, fun, and excited energy. Oranges also associated with autumn scenes. It may also give off an nostalgic feel. Yellow is bright, stimulating an energizing. Think of the sun. When you wake up in the morning, you wake up rested full of energy and ready to take on the day. Yellow with reminiscent of springtime and new birth as well. It's a good color to use when you want to depict scenes of hope and happiness. The color green can go many different directions. As you probably could have guessed, green is the color of nature, so it works well in images with messages of growth. Natural greens are also associated with harmony and peace. Green can also be a relaxing color, perhaps because of the cucumbers people put on their eyes when they're getting facials, or maybe because of relaxing green tea. Some of the more unnatural green colors can go in a sci-fi direction though. Think aliens. Blue can go many ways as well, often it's used as a color to portray trust, dependability, instability. Like our sky and sea, it's always there. But blue is also cold. Often when darker shades are used and lots of it, the move can quickly become quite somber and sometimes even frightening. Perhaps the association comes from thinking about storms or night time when there's no warm light around. In many scary movies, they'll even use a cool filter to elicit a filling of freight from the audience. Even still some of the very bright blues can do well represent futuristic themes with ideas of sci-fi in advancing technology. Purple is associated with royalty, wisdom, creativity, imagination, mystery, and nobility. It's often associated with royalty. Things have a majestic nature because originally purple wasn't expensive, died to produce. Clothes made with the color were bought by the elite who could afford it. Purple became a status symbol because of the cost. Purple may remind people have flowers as well. It's also a color which can be used nicely in sweet or romantic scenes. Pink can be used effectively and childlike, cute, sweet, cheerful, and romantic scenes. Pink is really a tend of red and also a tend of purpley reds, if you remember from before, a tend, is a color plus white. It makes sense that it would also be considered a romantic color since red and purple are. It's also a sweet color because it reminds us of candy. We can use pink to show the sweetness of a character. Pink can also be used effectively to show a feminine or cute girly personality. White is associated with purity, faith, heaven, light, innocence, and spirituality. White may remind us of children, wedding gowns and other peaceful and innocent imagery. White can also show cleanliness, or it can be used in very sterile environments. Black can often be associated with dark themes. But black is also considered a classic. It's associated with sophistication and power as well. Now all of this said, this doesn't mean if you use red and your image, for example, you're automatically going to be sending off messages of war, anger, or another strong emotional response. These colors just help if the subject and everything else in your image is already pushing in that direction. In your piece, you can use colors that help convey the mood, but you don't have to do this. Color is powerful and amazing, even without all of these color meetings. If your intent is more so just to create a painting with a beautiful color harmony with no thoughts to color moves, then by all means, forget the color meanings. They vary from culture to culture anyway. This is just something fun and useful for creators who are making story scenes in illustrations.
8. Color in Compositions: Here are some cause and effect principles, that you can use in your artwork, as well as some general quality standards you may want to strive for in your illustrations. Atmospheric perspective can help create an illusion of depth in a painting. Basically, you can use color changes to show space and distance in your piece, between the foreground close to the viewer and the distant background. Colors off in the distance may appear later in value when compared to the same objects closer to the foreground. Distinct colors may also appear less intense than the foreground. You can even make an obvious huge change to help show distance in your painting. There's atmosphere between us, the viewer, and the objects all the way off in the distance. There are gases and water vapor in the atmosphere, as well as dust and other particles, that can affect the colors are I see in the distance. Painting a different value, intensity and hue from the foreground to the distant background will help give your piece the illusion of depth and space, making it look more convincing and real. Here's something you might want to exploring your work, when working from life in particular, you'll see in a scene that cool lighting will produce warmer shadows and warmer lighting will produce cooler shadows. See how the light on this copies on the cool side. I used light from a window on an overcast day. You can see as I pick up greens and blues. But the shadow produced is very warming comparison. Here on this cup and picking up warmer yellows on the light side. I had a warm electric light bulb shining on the cup this time. You can see the shadow gets quite cool and places, sometimes the light will be so neutral that you can't even tell the difference. But you as the artist can experiment with this and see if it helps your piece. Consider using one of the color harmonies we talked about earlier. Whether it's a monochromatic, complimentary, analogous or triadic color scheme. Or if it's another harmonious pallet you've come up with. When you have a center of interest, it will help tell the story of your piece, because it draws your viewers eyes to a certain area. Perhaps it may be your subject's eyes, somebody character as holding in their hands or looking at or maybe you want to draw attention to an important object in your picture. You can help lead your viewers eyes to the focal point of your piece. In many ways. You can use real and implied lines, that point to your focal point or points or you could add stronger detail to where you want your focus to be. But you can also use color to direct your viewers eyes to the center of interest. You can do this by making the focal point a hue that's unlike the rest of the piece, or you can make it the most intensely saturated color, or you can make it the area of highest value contrast. Your viewer's eye will be drawn to this point because it's been made special, because it's unlike all the areas surrounding him. As a note, even though it's called the center of interest, it's usually not at the center of the Canvas. Also, you can have more than one center of interest. Many artists choose to have 1, 2, 3. Establishing the dominant value will help support your center of interest. Think about it like this. If you have all dark values dominant in your piece and then you add in this little pop of bright orange, where we'll everyone's eyes go to first and where will their eyes keep returning to? Of course, to that pop of orange, because it's been made special, unique and different than everything else. If you're going to use a color in just a small area of a piece. It's often a good idea to use that in your center of interest, where you want your viewers to look. Because inevitably, it'll grab your audience's attention. Here you can see the dominant value is a very dark color, making the green inner drafts in the orange inner hair really stand out. Here are the dominant value is in the mid tones. This helps make the darker details in her facial features become the focal point. Finally, here we have the light colors as the dominant value, which allows that tight details and the wolf's face to really stand out. Unity of color will create a sense of harmony and wholeness. While variety will add interest to your peace. Unity and a pieces good, it's familiar and comfortable, but unity alone, using only one color can become boring and predictable. On the other hand, variety can be exciting, but too much variety can become very chaotic. That's my unity with variety works really well. It's comfortable and easy to look at will also be an exciting and stimulating with variety. You'll often find that the unifying color and a peace will just be the temperature of the light. The color schemes we talked about earlier, particularly complimentary color schemes and analogous color schemes, will easily give you unity with variety. Try experimenting with some of these ideas to see how they affect your piece. It may work or you may find that it doesn't work for your aesthetic or the look you're in for. These can be helpful ideas if you're starting a piece or they may help you with problem-solving as you work through it. Using these color principles and ideas can help us make more successful compositions.
9. Color Studies: Through practice and lots of time experimenting with color, you'll develop your color intuition. You'll start to memorize color mixtures that your unique set of colors gives and you'll also start to figure out which color harmonies resonate most with you personally as an artist. The best way to work your color muscles is to get out your materials and get painting, so here are a few different projects you can try. Create color wheels with the colors you already have. Here I'm just using some washy tape and the pencil to make some clean circles. Then as you saw in the previous video, I used my closest colors to red, yellow, and blue to create this RYB wheel and the closest colors I had to cyan, magenta and yellow to create this CMY wheel. This is great to test out what mixtures are really possible with the paints you got on hand. Make sure to use lots of clean water for this so that your mixtures are as true as possible. Use at least a bucket for dirty water and another for clean water. You can also create color charts, here I'm using artist's tape to tape off some areas for nice clean strips of color. Today I'm going to be experimenting with my yellows. Once the tape is down securely, I trim the edges and fold them over, then I put one more piece of tape vertically so that I can write notes on the left. I'm using shorthand brand for all but one of these, so I put the brand name here at the top for reference and I also make sure I write down the color name so I don't forget. Now getting started here, I put down the color straight out of the tube, since this will be the darkest value for this chart then adding more water and move to the right trying to make a smooth gradient of values. This is a great reference for me, now I can see all the tense this paint tube is capable of. I continue on in the same way, trying out my other yellows as well. For this last one, I'm using Winston and Newton brand instead, so I make sure I make note of that. Once the paint is dry, I remove the tape and now I have a finished color chart for reference. From doing this, I learned which colors are similar, which ones I might want to put on a more permanent palette and which ones I might want to leave out and I also learned how the colors look straight out of the tube versus with water applied. I even learned little random things like my particular peacock green looks more like a blue to me. Here on oil paint, I did the same thing and instead of adding water to get lighter tense, I added more and more white paint and I also taped off individual squares versus making a smooth gradient. There is no right or wrong way to make your charts, what's important is that it's useful for you and that you're getting to know your colors. Here I have my starting colors straight out of the tube and here working down I added more white to see what tense I could get. It's amazing to see what colors you can get and oftentimes you wouldn't be able to tell just by looking at the tube. Here, I made a chart to see what mixtures two colors can make between them, so in this row, here are my two starting colors and here are the mixtures that fall between them. The middle mixture being about a 50-50 split and the other two, about 75-25. Again, so many amazing and surprising color mixtures came out of this. This is another great chart to make for reference. You can also make charts for shades, adding more and more black to your colors and the same goes for tones adding more and more gray. Another way to really exercise you're mixing muscles is to create still-life paintings. This is how I personally got better at working with color, I took classes where the teacher would setup still lives by a window so that we could paint from life, putting our perceptions straight from life onto the canvas. You can set up your objects by a window for more subtle lightened scenario or set up you're still life under one electric light source like this for clear, easy to read shadow shapes. You can get these clamped lamps from Amazon or Home Depot. You might want a box like this if you stand while you paint, but basically you'll just want to set your items on a flat surface. Now I'm putting up a little poster board backdrop in the cloth for the surface and then I just start experimenting, moving around the objects and trying things out until I come up with something that looks exciting to paint. You can also re-angle the light source to come up with a good angle for the shadows. Continue to experiment with your objects, bowls, fruits, bottles, flowers, coins, all make for great items. Antique stores are also great for finding little still-life treasures. Have a variety of objects on hand for easy experimenting. If you're not up for a more challenging still-life like this, you can't go wrong with basic geometric forms, about these geometric solids from Amazon and I painted some of them different colors for study. Painting from life with a set-up like this is an excellent way to learn to mix colors, but also to study lightened shape, so definitely give this a try if you're up for it. When it comes to designing with color, it's good to know what you like and creating abstract color compositions can help with that. Here again, I'm taping off my paper to make many abstract compositions, this will help me learn what color combinations I like and also those I don't like. Don't take yourself too seriously with this exercise, be bold and try some strange combinations still, you might hate them or you might be surprised to really like them. This quick exercise will help you discover what color combinations you enjoy, so take note of what you like and try it out in a future piece. If you love the colors from an existing art piece or photo, create a color palette from it. Again, this can be a pallet you explore in future painting. Another way to experiment with designing color schemes, is to repaint a simple image with four different color schemes, this is a great way to thumbnail out ideas for larger pieces as well. Have fun with your color studies and be sure to share whatever you're working on in the project gallery.
10. Closing Thoughts: Thank you so much for joining this class. Color is such a big topic and this is really just scratching the surface. But I hope you are able to learn something new that you can apply to your work. To practice, I encourage you to draw and paint from life, photo references, the masters, and from your imagination too. Definitely share your color experiments with the class in your projects section. I'll be there to provide feedback or help if you have any questions. If you're interested in continuing learning with me, please check out my other classes. I have lots of art classes and I would love to see you there too. Please also follow to stay updated on new classes to come. Thank you so much again for joining. Now, go and create some beautiful art.
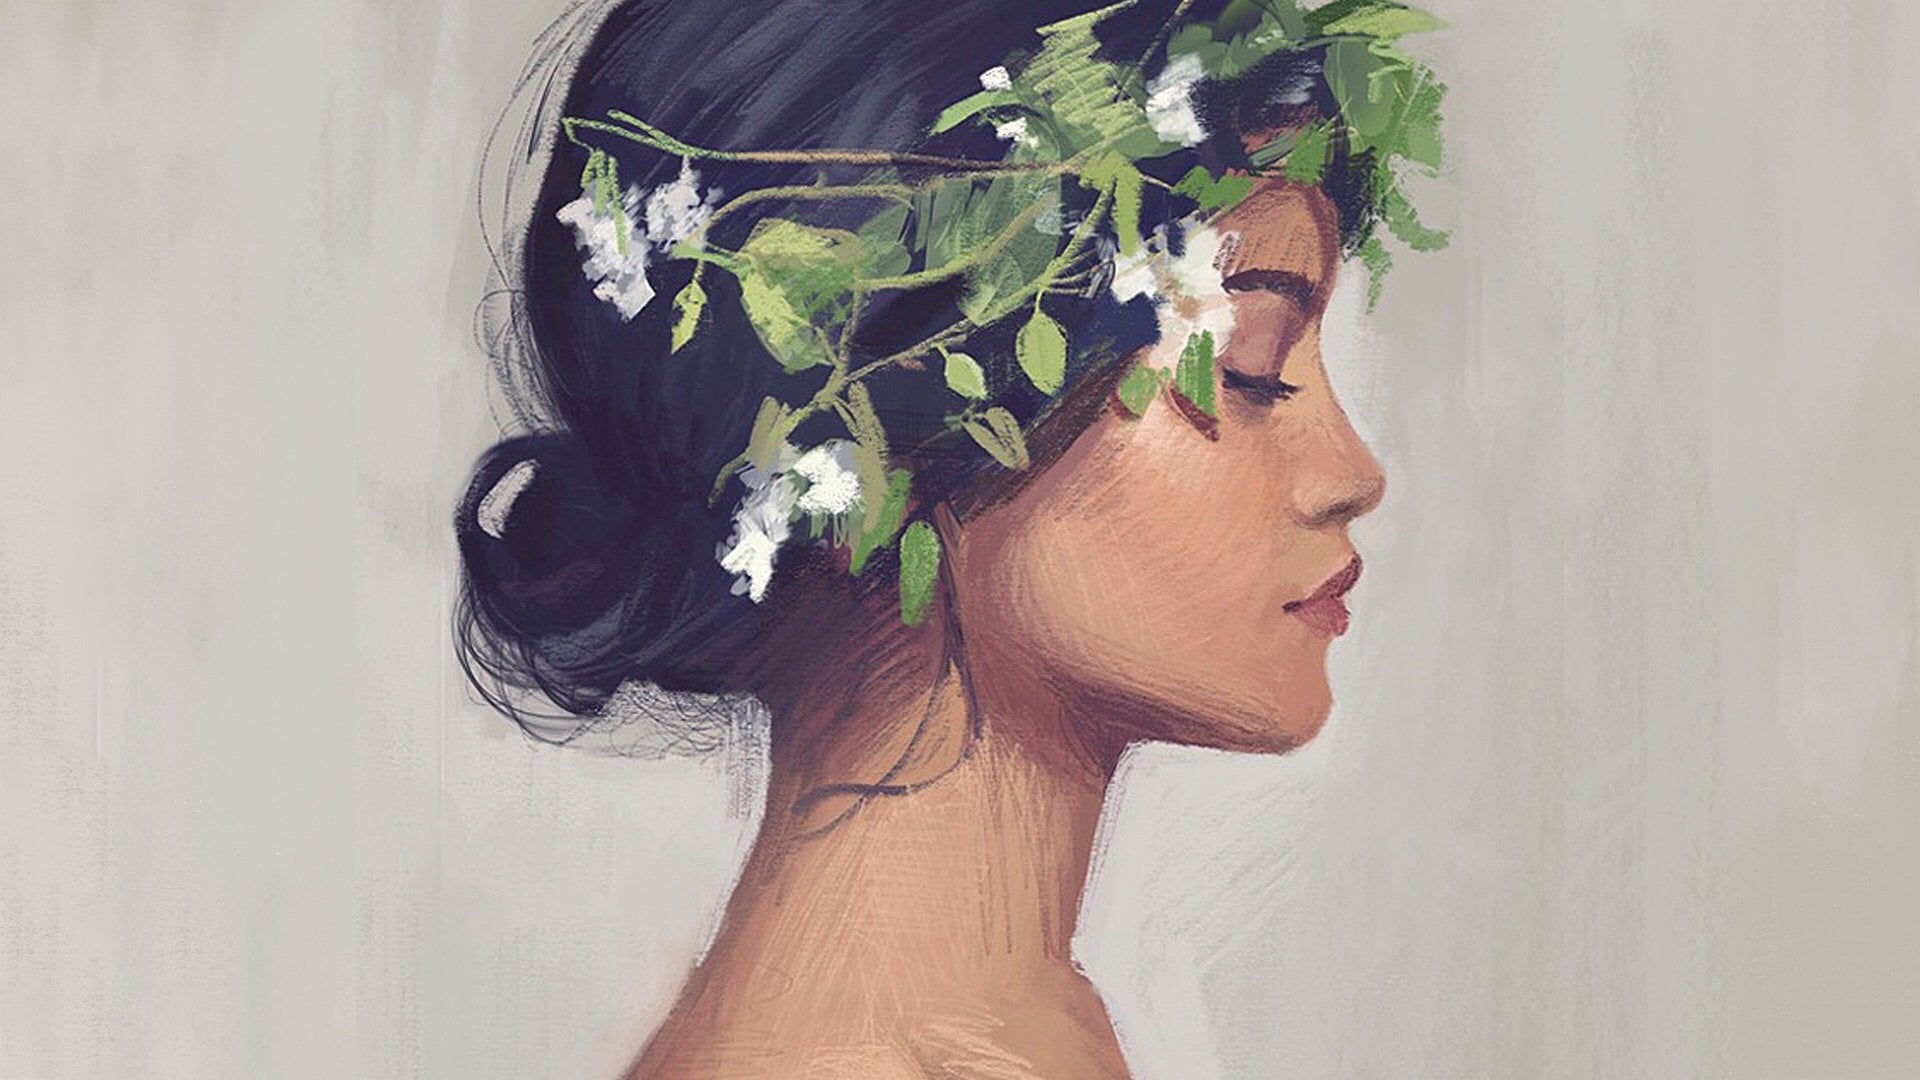
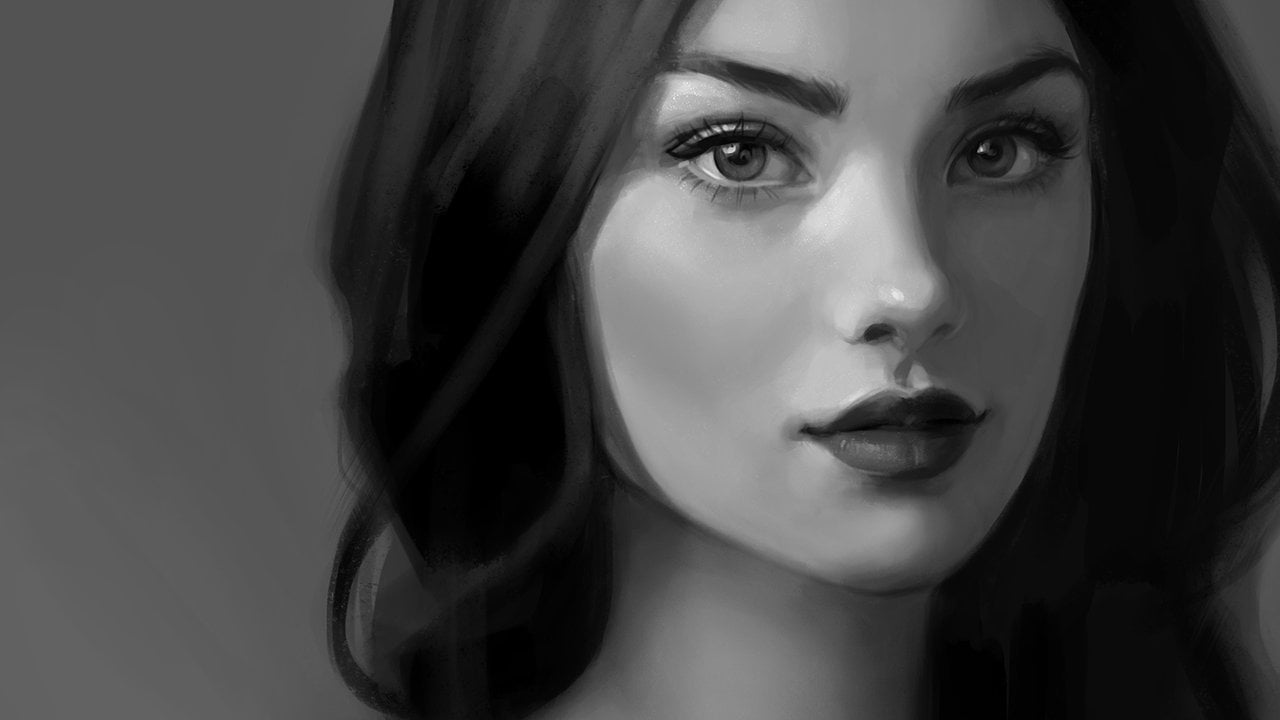
 Gabrielle Brickey, Portrait Artist - ArtworkbyGabrielle.com
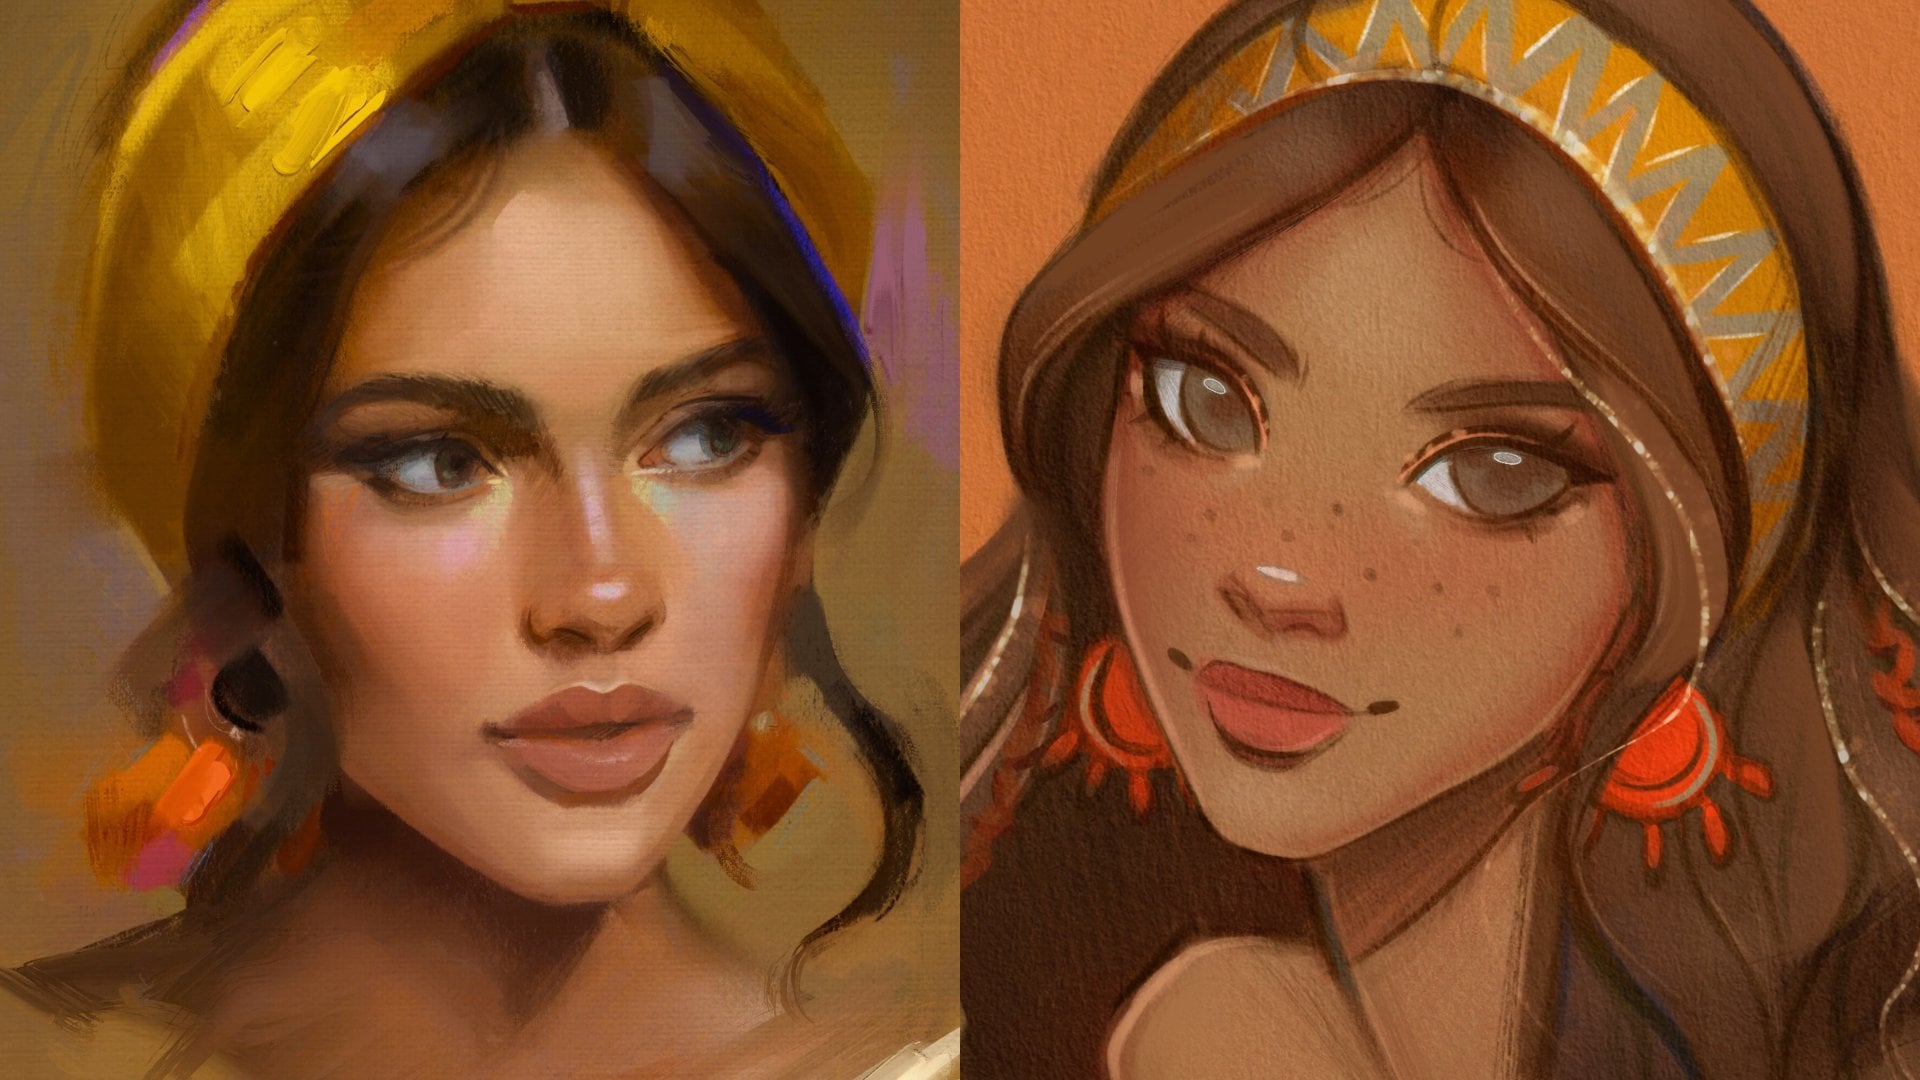